Cost to Replace Bathroom Cabinets: A 2026 VIC Guide
The average cost to replace bathroom cabinets in Australia typically ranges from $1,500 to $2,500, depending on the cabinet type, materials, and how complex the installation is. If you choose a simple pre-made unit, you can spend far less on the cabinet itself, but custom designs, plumbing changes, and wall-mounted styles can push the total much higher.
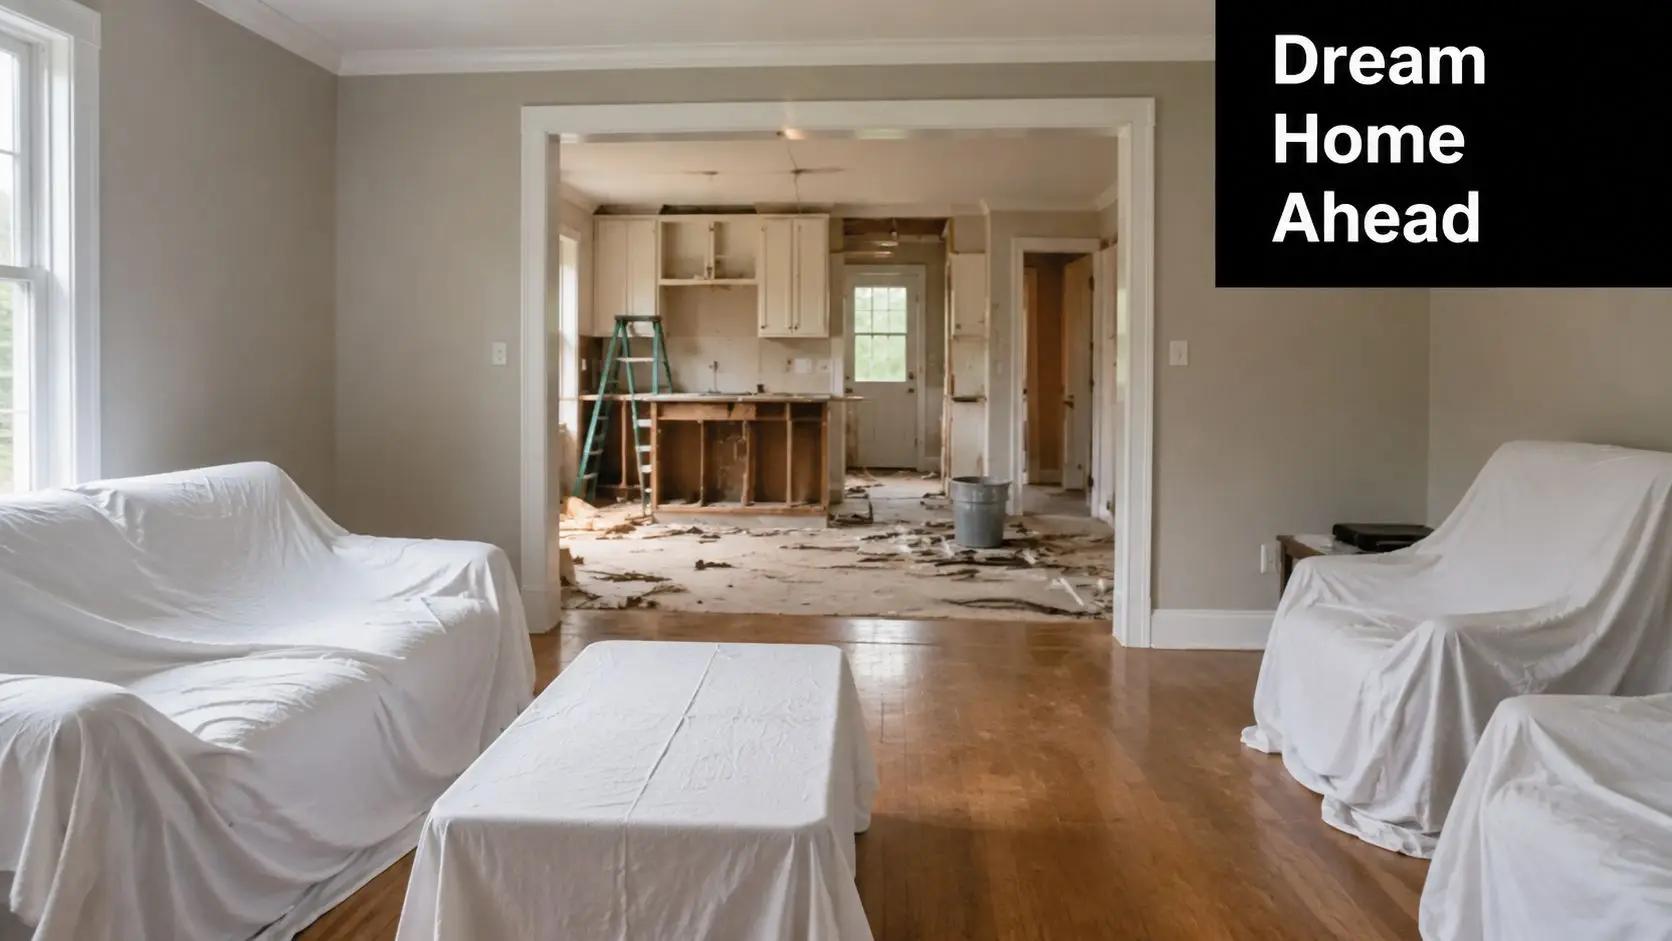
Most homeowners start looking into this when the bathroom still works, but it no longer feels good to use. The vanity doors are swollen, the drawers stick, the finish looks tired, and the whole room dates the house more than you'd like. That's usually the point where bathroom renovations move from “one day” to “we need to sort this out”.
In Victoria, that decision often comes with a second question. How do you improve the look of the room without overspending on features that don't add practical value? That's where important details matter. The cost to replace bathroom cabinets isn't just about the cabinet box. Labour, removal, plumbing access, mounting method, and finish choices all change the final number.
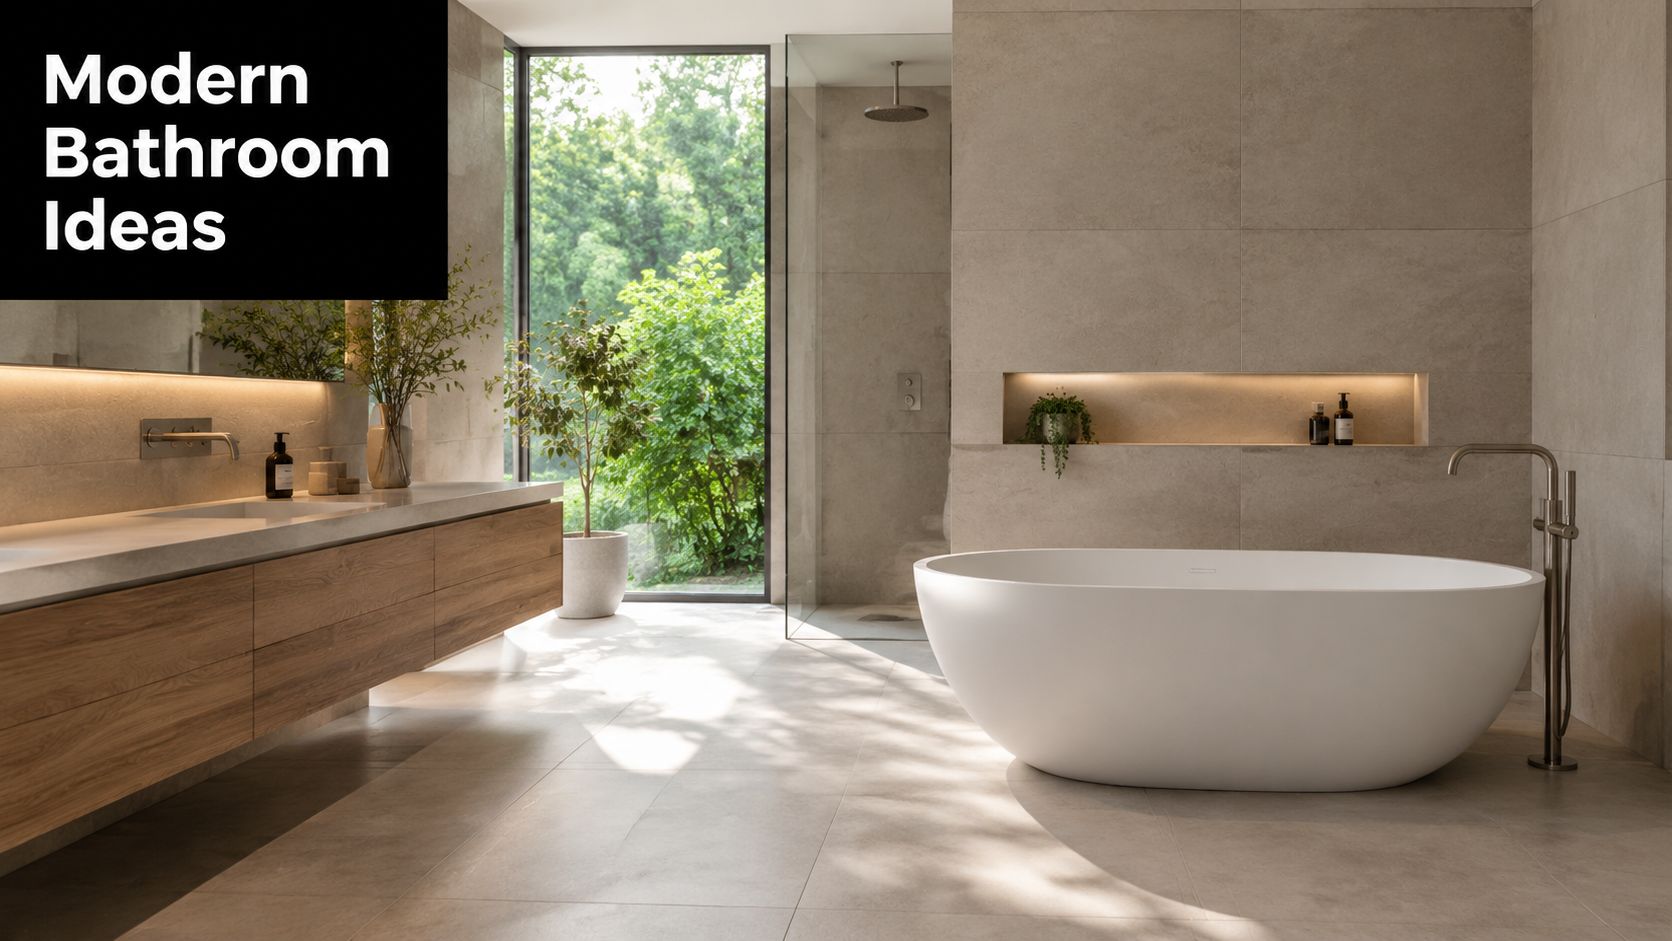
Some homeowners want a tidy refresh. Others want modern bathrooms with cleaner lines, better storage, and finishes that feel more considered. Some are aiming for designer bathrooms, while others need durable cabinetry that can handle family use. All of those goals are valid. The key is matching the cabinet choice to the room, the budget, and the way the bathroom is used every day.
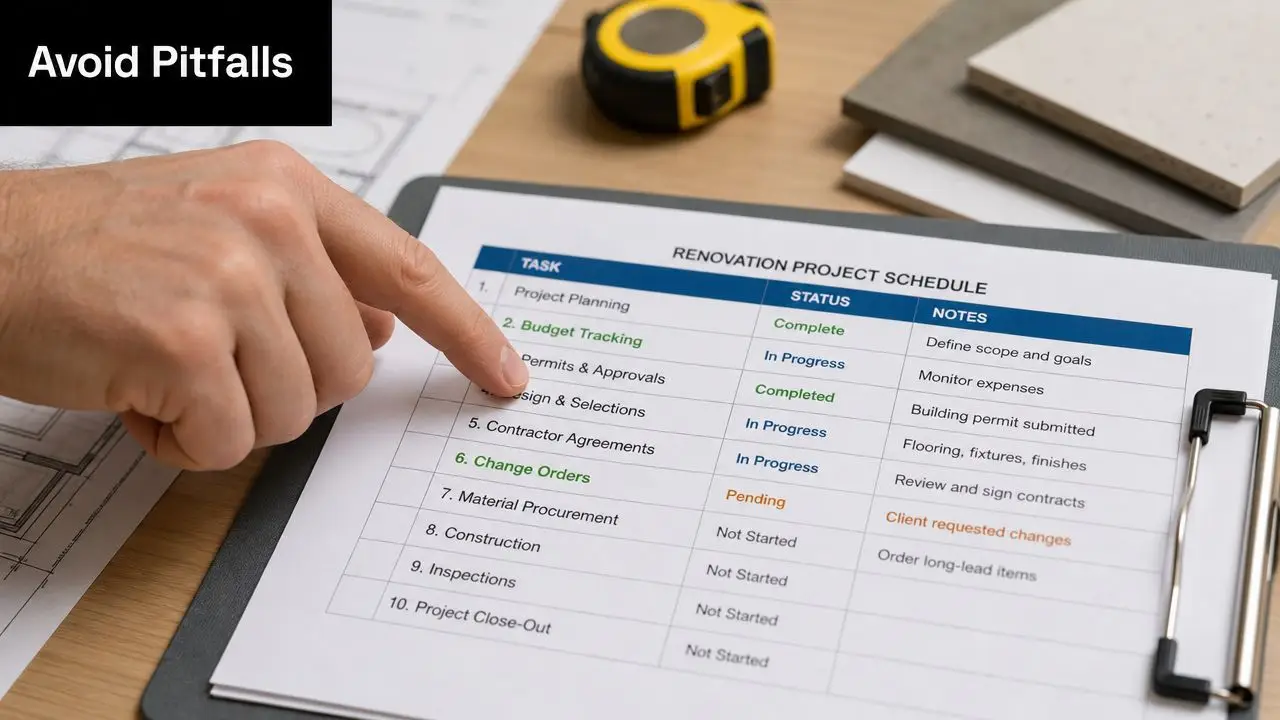
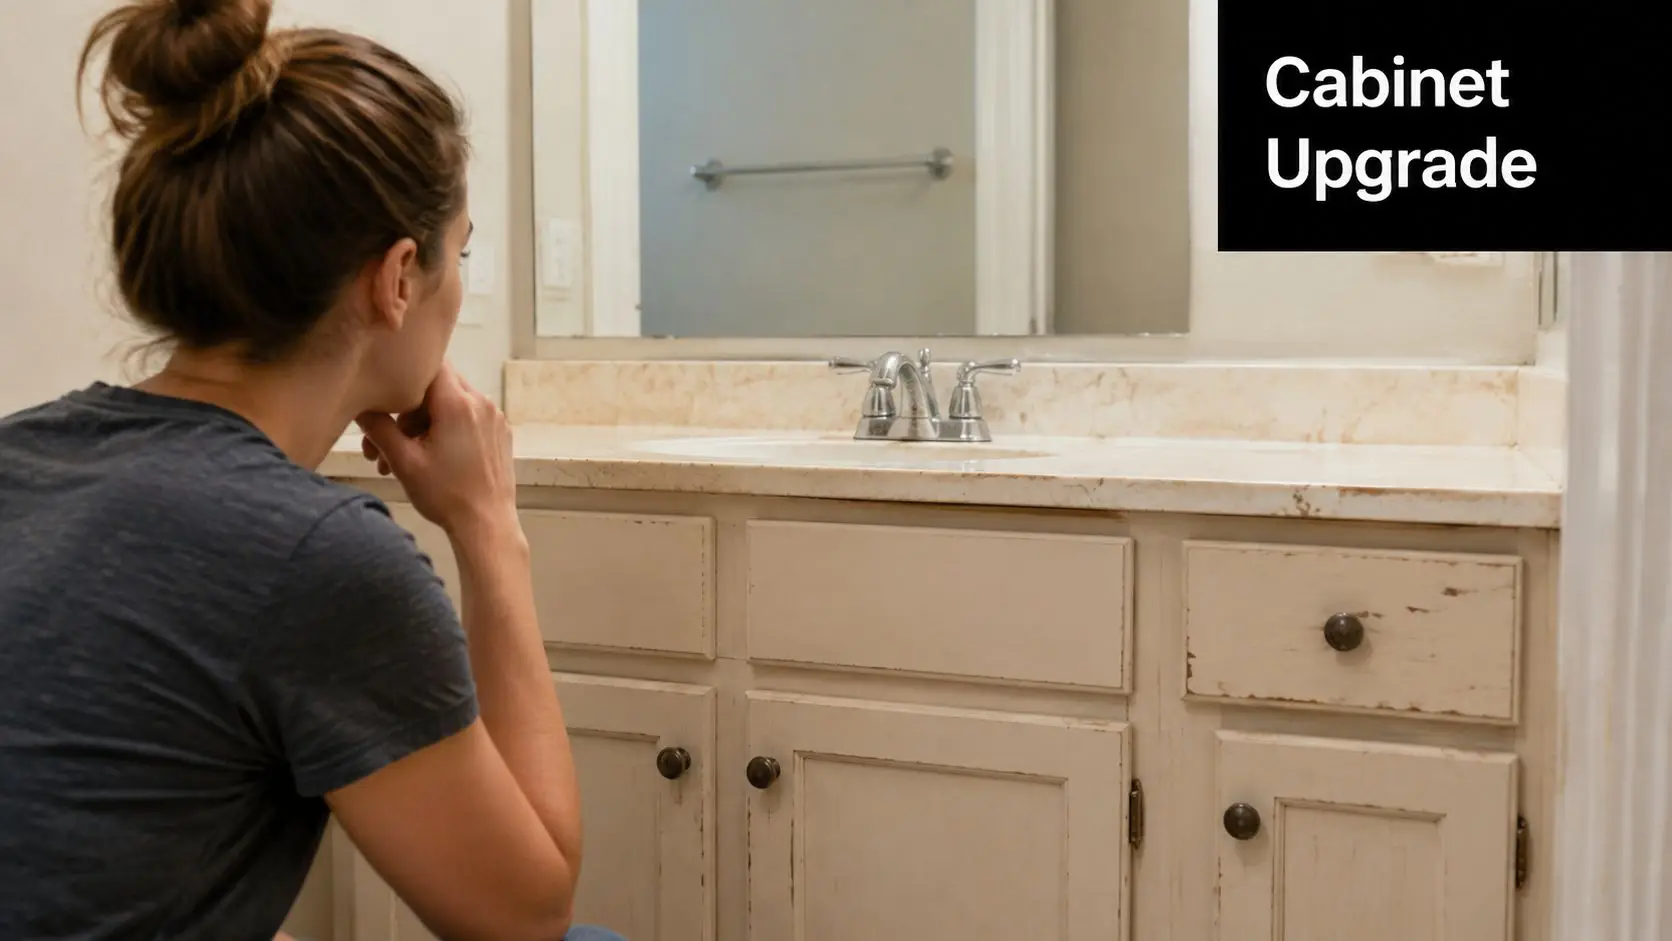
Planning Your Bathroom Cabinet Upgrade
You're probably standing in front of an old vanity right now wondering whether it's worth replacing just the cabinets or whether the room needs more work. That's a common starting point, especially in older homes around Melbourne where the cabinetry has aged faster than the rest of the bathroom.
A useful first step is to separate a cabinet upgrade from a full renovation. If the waterproofing, tiling, and layout are still in decent shape, replacing the cabinet can be a smart way to freshen the room without taking on a full strip-out. If the vanity is failing because of leaks, poor layout, or water damage around the walls and floor, the cabinet is often only one part of the job.
Start with what you're keeping
Before choosing colours or looking at new bathroom ideas, decide what stays:
- Keep the plumbing where it is: This usually helps control labour and reduces disruption.
- Keep the existing layout: If the room functions well, layout changes often cost more than they're worth for a cabinet-only project.
- Keep what still performs: Mirrors, tapware, or tiles don't need replacing just because the cabinet does.
Practical rule: Spend money on the parts that improve function first. Better storage, durable finishes, and correct installation matter more than decorative upgrades you won't notice in six months.
Then define the brief properly
Most cabinet replacement projects become more expensive when the brief stays vague for too long. If you know you want wall-hung cabinetry, extra drawer storage, or a double-bowl setup, say it early. Those choices affect joinery selection, wall preparation, and installation sequencing.
If you're still shaping the project, this guide on how to plan a bathroom renovation is a practical place to organise the scope before you ask for quotes.
For homeowners in Highett and across Victoria, the best outcomes usually come from making a few grounded decisions early. Decide whether this is a simple cabinet swap, a style-driven update, or the first stage of broader bathroom renovations. Once that's clear, the pricing starts to make sense.
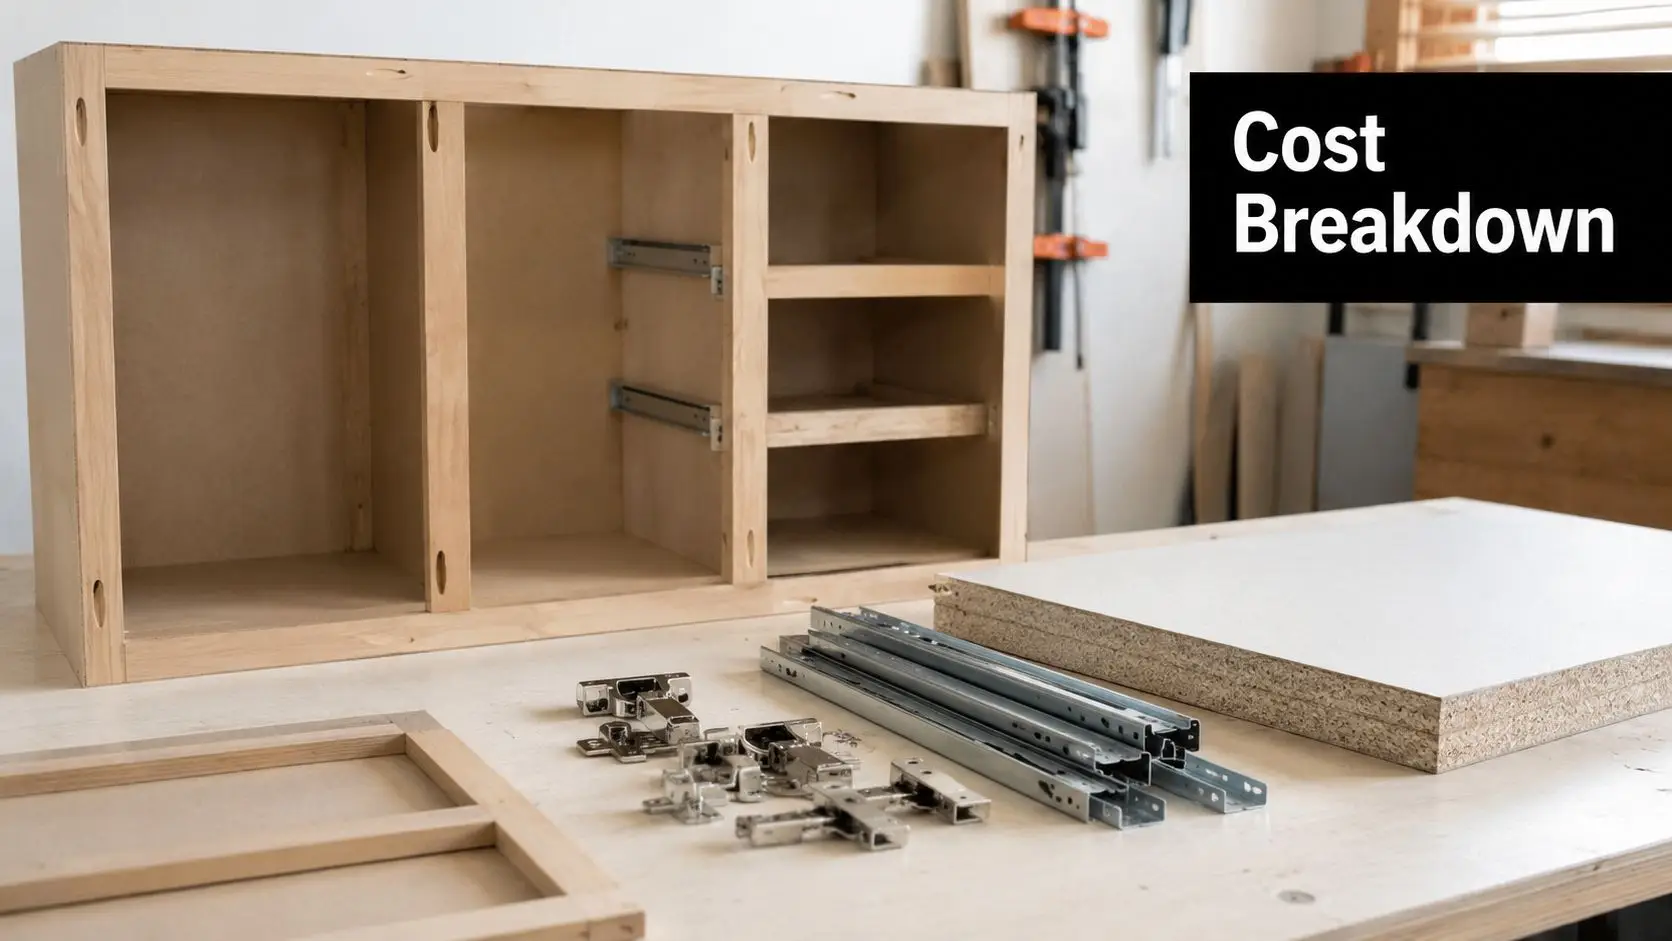
The Real Cost Breakdown for Cabinet Replacement
The total price only makes sense when you split it into parts. A lot of confusion comes from people comparing one quote that includes removal, installation, and plumbing with another that only covers the cabinet itself.
According to 2026 bathroom vanity replacement pricing in Australia, the average cost to replace a bathroom vanity ranges from $1,500 to $2,500. The same source notes that pre-made cabinets start around $200 to $500, mid-range options are $500 to $1,500, custom cabinets start at $1,500, and installation labour typically adds another $400 to $600.
Where the money usually goes
In a standard cabinet replacement, your quote generally covers four things:
The cabinet itself
This is the obvious cost, but it's not the whole job. Pre-made units are usually the cheapest entry point. Mid-range cabinets often give better finish quality and storage. Custom cabinetry costs more because it's built for your room, not adapted to it.Installation labour
Labour covers setting out, levelling, securing the cabinet, reconnecting services where needed, and adjusting for walls and floors that aren't perfectly square.Removal and disposal
Taking out an old vanity sounds simple until you run into silicone, swollen panels, tight plumbing clearances, or damage behind the unit.Fittings and finishing details
Handles, soft-close hardware, filler panels, seals, and trim details can change both the look and the final spend.
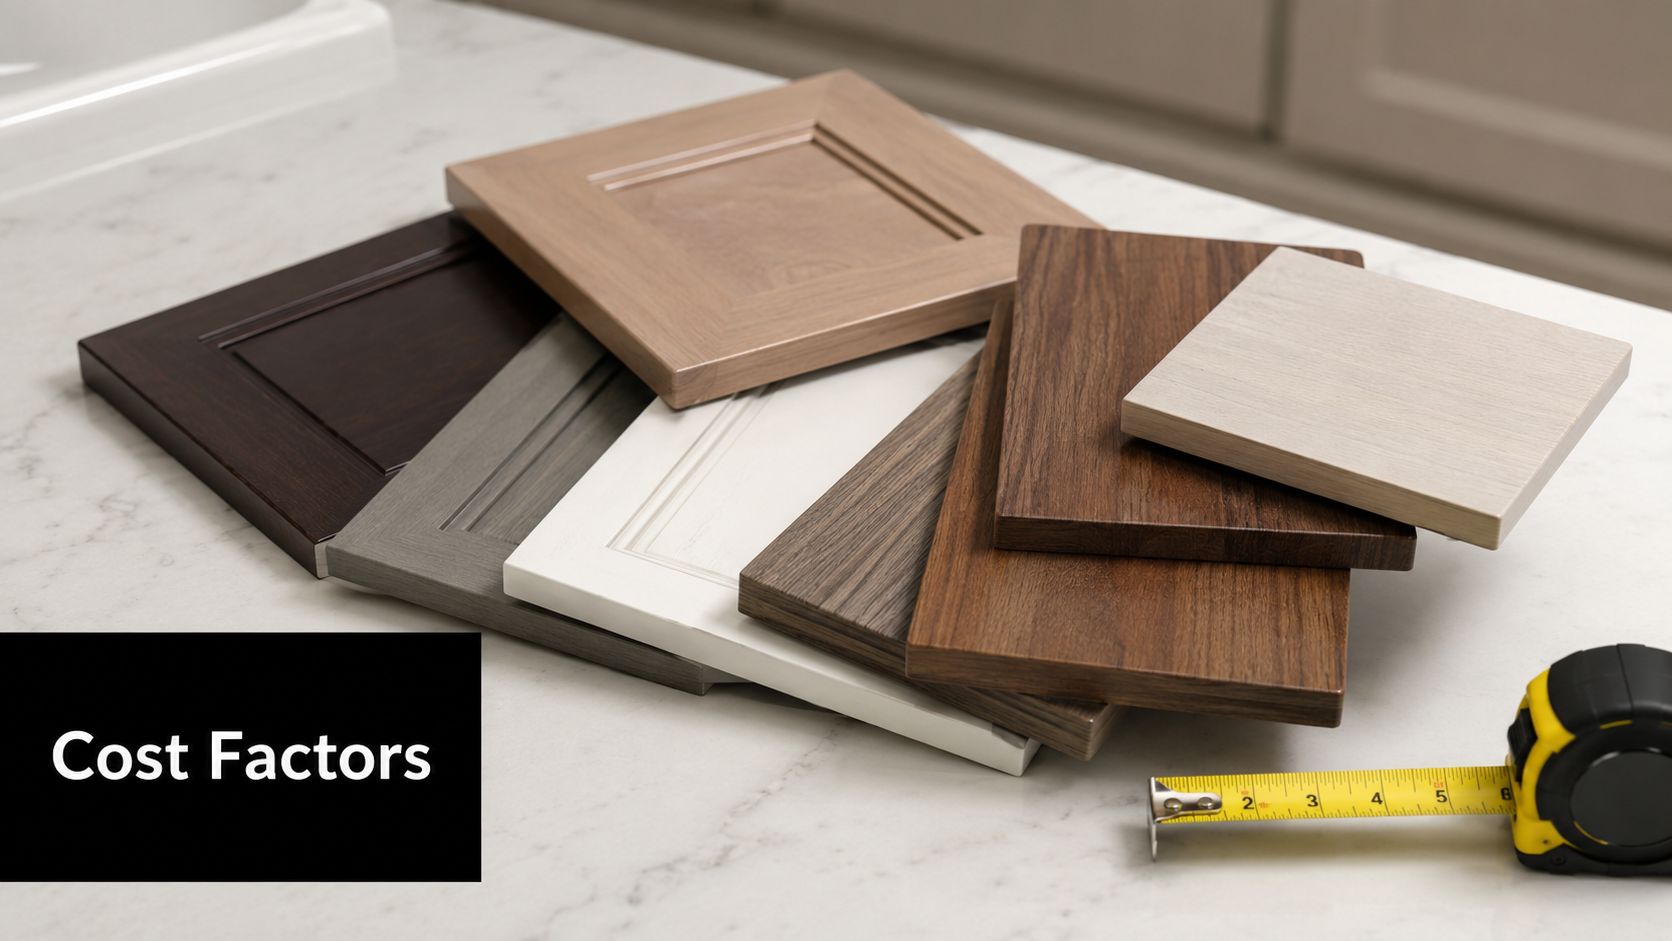
Bathroom Cabinet Material Comparison 2026
| Material | Cost Tier | Pros | Cons |
|---|---|---|---|
| Melamine | Budget | Affordable, easy to source, suitable for straightforward updates | Less forgiving in wet conditions if edges are damaged |
| PVC | Budget | Good option for moisture-prone bathrooms, practical for basic upgrades | Style range can feel limited compared with more premium finishes |
| Laminate | Mid-range | Wide finish choice, easy to clean, suits many modern bathrooms | Can look ordinary if paired with cheap hardware or poor detailing |
| Timber veneer | Mid-range to high-end | Warmer, more refined look, works well in modern bathrooms and softer palettes | Needs careful finish selection in humid spaces |
| Solid timber | High-end | Strong visual impact, suited to designer bathrooms, can be long-lasting when detailed well | Higher cost and more maintenance sensitivity in bathrooms |
The exact material prices vary by supplier and finish, so it's smarter to use these as cost tiers rather than expecting one fixed dollar figure for each board type.
What works and what doesn't
A budget cabinet works well when the room is straightforward, the plumbing stays put, and you need a clean replacement that improves function. It doesn't work as well when homeowners expect a budget carcass to deliver a custom-fitted look against uneven walls.
A custom cabinet is worth it when the bathroom has awkward dimensions, when storage matters, or when the vanity is a major visual feature. It's less worthwhile when the rest of the bathroom is due for replacement soon and you're only trying to get a few more years from the room.
For anyone comparing cabinetry spending across rooms, this breakdown of the cost of kitchen cabinets helps show why bathroom joinery is priced differently. Bathrooms demand tighter tolerances, moisture resistance, and more careful installation around plumbing.
A good quote should tell you what's included, what's provisional, and what happens if the wall or plumbing needs adjustment once the old unit comes out.
That's where many homeowners either save money wisely or get caught by avoidable extras.
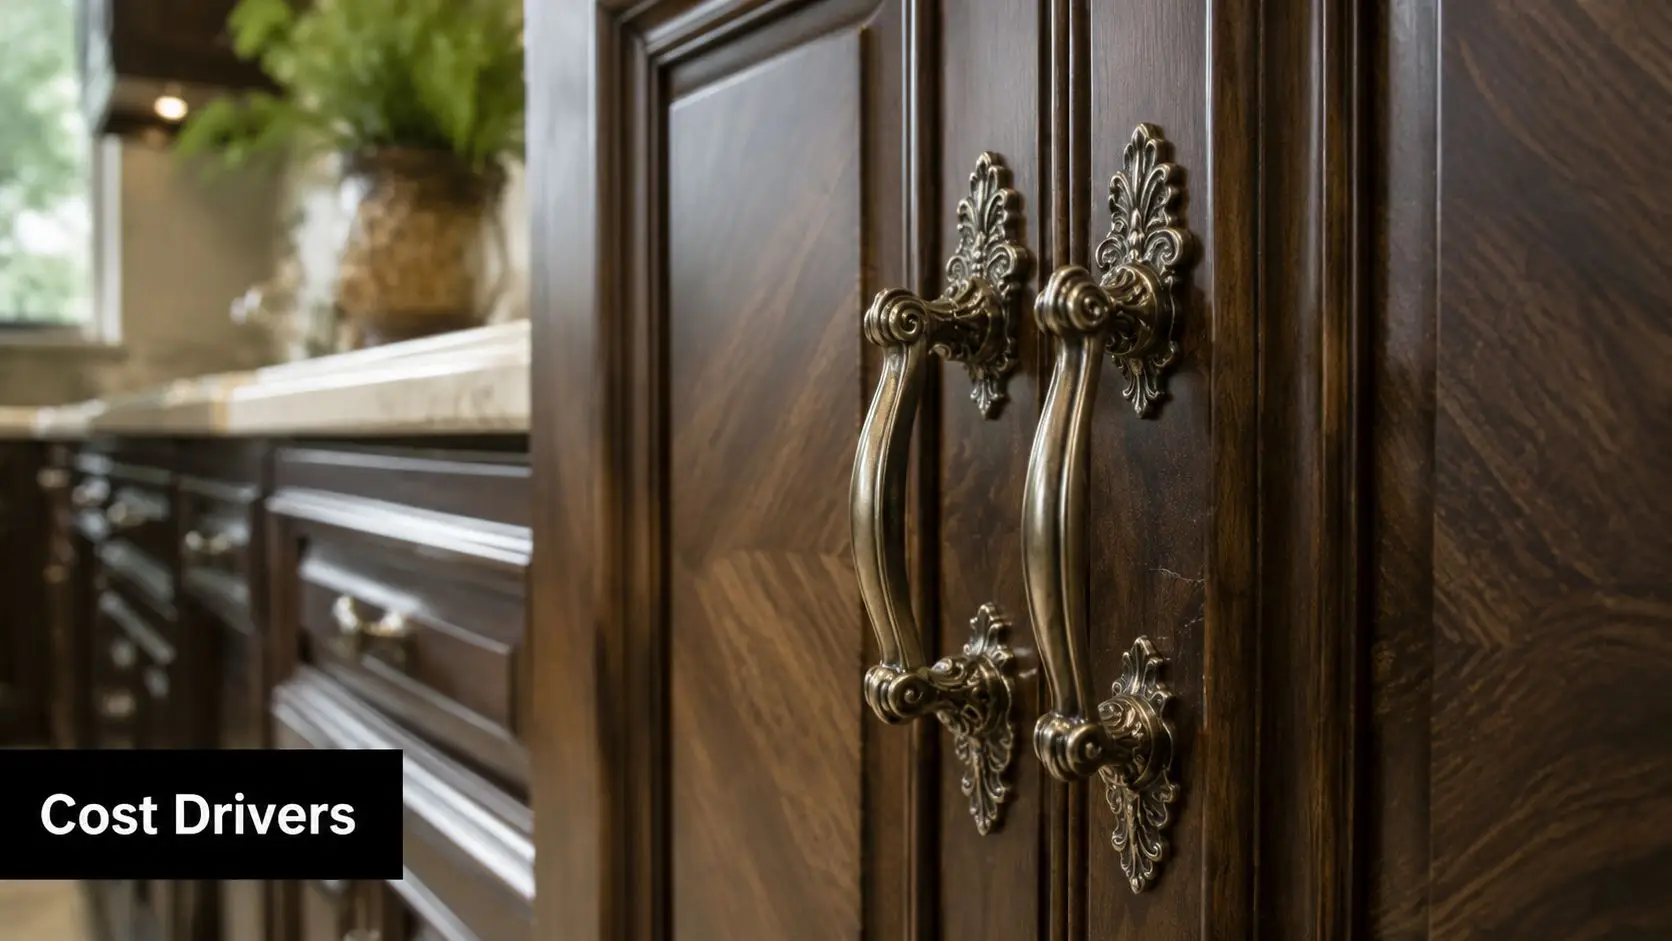
Key Factors That Influence Your Final Quote
Two vanity replacements can look similar on paper and still land at very different prices. The reason is usually hidden in the conditions of the room, not the photo of the cabinet.
Size changes more than storage
A larger vanity doesn't just use more material. It can require more handling, more fixing points, a larger top, more drawer hardware, and sometimes more plumbing coordination. Double-bowl units especially need more planning because internal drawer space and plumbing routes start competing with each other.
Bathrooms with tight doorways, uneven walls, or older plumbing can also slow the installation down. That's why a neat-looking room on inspection can still produce a more expensive quote once the install method is properly assessed.
Off-the-shelf versus custom fit
Off-the-shelf cabinets are the best value when your bathroom dimensions suit standard sizes and you're comfortable with modest compromises. A filler panel on one side or a small gap adjustment is usually fine.
Custom joinery earns its keep when the room is out of square, when you want every millimetre used well, or when the vanity is meant to anchor the room visually. That's often the case in modern bathrooms where the cabinetry line needs to feel clean and deliberate.
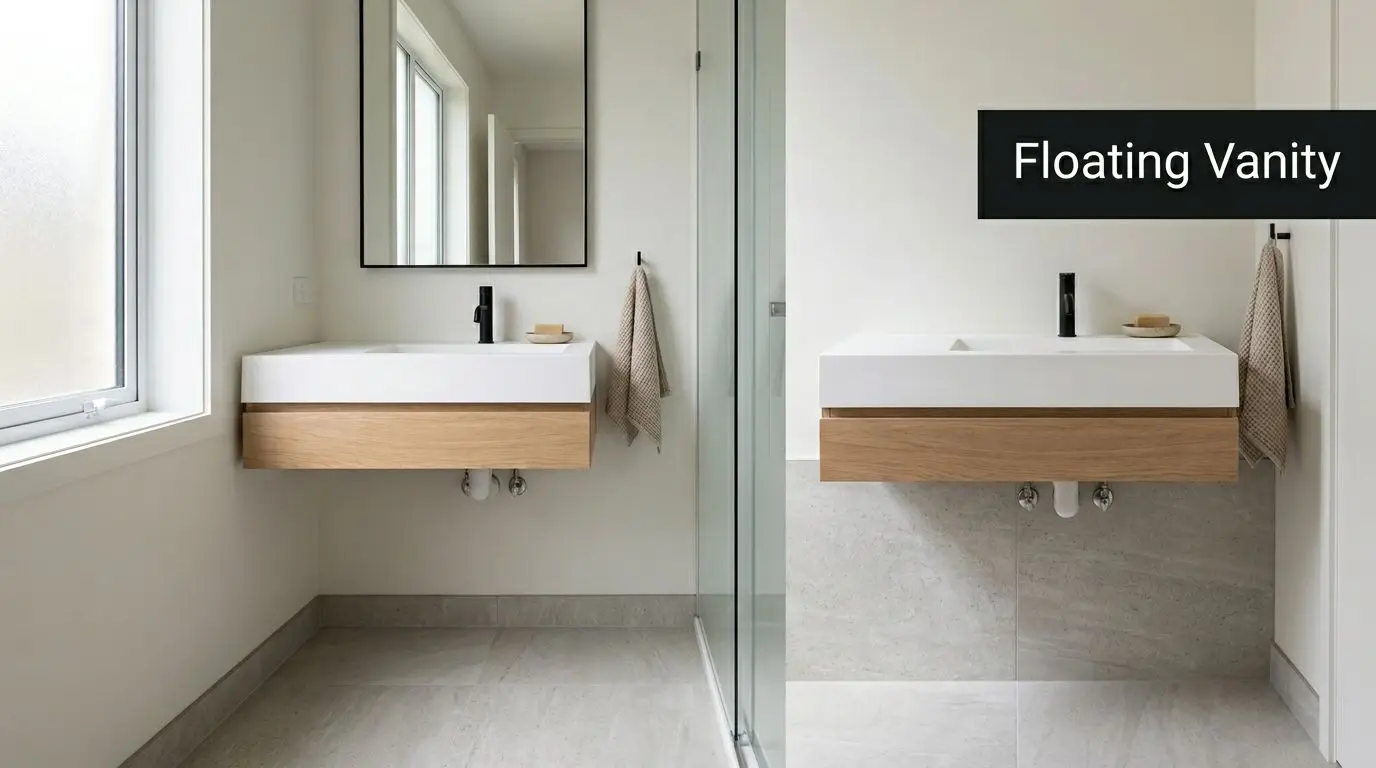
The hidden cost in floating vanities
This is the detail many generic guides skip. Wall-mounted vanities look simple. Installing them properly isn't simple.
According to Australian guidance on bathroom cabinet pricing and hidden wall-mounted vanity costs, wall-mounted vanities are found in 35% of new urban bathroom renovations and can cost 1.5x more to install than freestanding units, with $500 to $700 in extra labour often added for structural reinforcement and precise levelling.
That extra labour usually comes from issues homeowners don't see in the showroom:
- Wall reinforcement: Floating units need solid support behind the wall, not just neat tile lines.
- Precise set-out: If a wall-hung vanity is even slightly out, it looks wrong immediately.
- Service coordination: Waste and water positions matter more because the underside stays visible.
- Finish sensitivity: Modern styles expose errors. Freestanding cabinets can hide a lot more.
Wall-mounted vanities suit compact bathrooms well, but they only represent value when the wall can support them properly and the labour allowance is realistic from the start.
Style can be cheap. Proportion can't
Homeowners often focus on the door profile or colour first. In practice, proportion matters more. A cabinet that's too deep crowds the room. One that's too shallow looks underdone and often sacrifices usable storage.
That's why the smartest spending usually goes into layout fit, durable board selection, and installation quality. Handles, mirror pairings, and surface styling are easier places to save without making the room feel compromised. If you're aiming for fresh new bathroom ideas, spend on the bones of the cabinet first and the decorative layer second.
Sample Budgets for Common Bathroom Renovations
Real budgets are easier to understand when you attach them to a bathroom type. In Victoria, labour for a basic vanity installation generally sits at $50 to $100 per hour, a simple pre-made cabinet might cost $500, a larger 1500mm double bowl unit can be nearly $1,000, and a full custom replacement for two cabinets can approach $5,000 including professional installation, based on Victorian pricing examples for bathroom cabinet replacement.
Budget refresh for a small ensuite
A common ensuite update uses a simple pre-made cabinet, keeps the plumbing in place, and focuses on function over statement design. This suits landlords, investors, and homeowners who want a visible improvement without opening up the whole room.
What you're buying here is practicality. Clean lines, better storage than the old unit, and a bathroom that feels maintained again. This level works best when the room already has a decent layout and the existing finishes still look acceptable.
Mid-range makeover for a family bathroom
Most owner-occupiers tend to choose this option. The vanity quality steps up, the finish looks better, and the storage usually improves enough to make the room easier to live with every day.
A larger unit or upgraded hardware can be worth the spend in a family bathroom because this is the cabinet that gets used hard. Drawers that open properly, surfaces that handle moisture better, and better internal organisation usually matter more than chasing a dramatic designer look.
If the bathroom is used by multiple people every morning, storage and ease of cleaning usually deliver more value than decorative extras.
Designer upgrade for a main bathroom
At the premium end, the cabinet becomes part of the architectural feel of the room. Key elements include bespoke proportions, cleaner detailing, and stronger visual integration. A larger double-bowl arrangement or a two-cabinet replacement can approach the upper end of the figures above.
This level suits homeowners who want the vanity to feel built into the room rather than placed into it. It's also where mistakes cost more. If the joins, proportions, or mounting aren't right, the whole room feels off.
The key difference between these scenarios isn't only the cabinet price. It's how much precision the room demands, how hard the cabinetry will be used, and whether the project is about a tidy upgrade or a more complete bathroom renovation outcome.
DIY vs Hiring a Professional Renovator
DIY cabinet replacement looks straightforward when you're only looking at the old vanity from the front. Once removal starts, the job often becomes about hidden pipe positions, damaged wall linings, floor levels, and how well the new unit fits the room.
According to Australian vanity installation cost guidance, professional vanity installation costs between $50 and $100 per hour, a typical replacement takes 3 to 8 hours depending on complexity, and the average total installation cost is around $1,500 per unit when including removal and plumbing adjustments.
When DIY can make sense
DIY can be reasonable if all of the following are true:
- You're replacing like for like: Same general size, same plumbing position, no layout changes.
- The room is accessible: Plenty of working space and no hidden damage.
- You've got the right skills: Accurate measuring, levelling, fixing, sealing, and safe handling of the unit.
If any of those points are shaky, DIY savings can disappear fast.
Where DIY usually goes wrong
The biggest issue isn't always the cabinet itself. It's everything around it.
- Poor levelling: Doors and drawers never sit right if the cabinet starts out uneven.
- Bad sealing: Water gets where it shouldn't, especially around tops and wall junctions.
- Incorrect fixing: A vanity needs to stay rigid under daily use.
- Plumbing surprises: Even a small mismatch can stop the install cold.
A wall-hung unit raises the stakes further because the fixing method matters as much as the cabinet.
Why many homeowners bring in a professional
Professional installation buys speed, accountability, and a cleaner result. It also helps when the scope crosses into work that needs licensed trades or broader building coordination. If plumbing is being moved, if walls need alteration, or if structural changes are involved, this is not the place to improvise. That's where licensed trades and, where relevant, registered builders unlimited matter.
You can save labour money with DIY. You can't save money by installing a bathroom cabinet twice.
For straightforward cabinet swaps, some capable homeowners do manage the job well. But if the room is older, the vanity is wall-mounted, or you want a polished finish that matches the rest of your home, hiring a professional renovator is usually the safer and better-value choice.
Your Project Timeline From Idea to Installation
Most cabinet replacements feel slower than homeowners expect at the start, then faster once the unit is on site and ready to install. The early time goes into decisions. The physical work usually moves much quicker.
Stage one is clarity
The first step is deciding whether you're replacing a single vanity, two bathroom cabinets, or folding the work into broader bathroom renovations. This is also when homeowners narrow down style direction, storage needs, and whether they want a freestanding or wall-mounted unit.
Rushing this part often creates delays later. If you haven't settled the cabinet width, basin arrangement, mounting type, and finish, the quote can only ever be partial.
Stage two is selection and ordering
After the scope is clear, the main time factor becomes product selection and supply. Pre-made cabinetry usually moves faster because sizes and finishes are already standardised. Custom joinery takes longer because it needs final site measures, production, and coordination with any related trades.
This is also the point where good planning protects the budget. A cabinet that looked right online can feel oversized in a compact bathroom once proper dimensions are checked.
Stage three is installation
For a simple replacement, installation itself is often the shortest phase. Removal of the old cabinet, preparation, fitting, and final connections can happen quickly when there are no surprises behind the unit.
If the project includes plumbing changes, wall repair, or floating vanity support work, the process naturally stretches out. That extra time isn't waste. It's what makes the final result line up, function properly, and last.
A smooth timeline usually comes from one thing. Decisions made early, with enough detail to avoid changing course once the job starts.
Visualise Your New Bathroom with SitePro
Most cabinet mistakes happen before the first tool comes out. The vanity is too bulky for the room, the drawers clash with the door swing, the finish fights with the tile colour, or the wall-mounted design looked better in theory than it does in the actual space.
That's why visual planning matters so much, especially if you want more than a basic swap. Homeowners chasing modern bathrooms or more refined designer bathrooms usually benefit from seeing the room properly before construction begins.

Why 3D planning removes costly guesswork
A good 3D concept doesn't just show style. It helps test proportion, storage layout, circulation space, and how the vanity sits with mirrors, tapware, and lighting. That matters when you're trying to balance value and finish quality.
It also helps homeowners avoid two common problems:
- Choosing a cabinet that suits a showroom, not the actual bathroom
- Paying for custom work without being certain the layout solves the right problem
For cabinet replacement projects, visualisation is especially useful when the room is small, when storage is tight, or when the vanity needs to carry a lot of the design weight.
A stronger way to plan the spend
The best renovation budgets aren't always the biggest ones. They're the clearest ones. If you can see the design properly before the build, it becomes easier to decide where to spend and where to hold back.
That might mean choosing a more practical cabinet finish and putting the money into better drawer storage. It might mean realising a freestanding unit suits the room better than a floating one. Or it might confirm that the custom option is worth it because the room needs that level of fit.
For homeowners who want to test layouts and finishes before locking anything in, SitePro Bathrooms offers a free 3D bathroom planner that makes those decisions far easier to judge in context.
If you're weighing up the cost to replace bathroom cabinets and want a result that feels considered, not guessed, a clear plan is the smartest place to start. SitePro Bathrooms, based in Highett, helps homeowners turn ideas into practical, buildable bathroom renovations with personalized design support, reliable execution, and a no-obligation quote when you're ready to move forward.