
9 Kitchen Lighting Design Ideas for Renovators in 2026
You've chosen the cabinetry, settled on a benchtop and started comparing pendants. Then you stand in your existing kitchen after dark and notice what really needs fixing: your shadow covers the chopping board, the island looks dim and the pantry feels like a cave.
A single central ceiling fitting can make a room look bright without lighting the places where you work. Adding more ceiling lights doesn't necessarily solve it. If they're behind you, poorly shielded or reflected in polished stone, you can end up with more glare and the same shadows.
The most useful kitchen lighting design ideas start with placement and timing, not a fitting catalogue. Decide where you'll prepare food, wash dishes, eat and move through the room, then coordinate the lighting with the cabinetry, ceiling construction and electrical rough-in.
Fix the light's job and position before choosing its decorative finish.
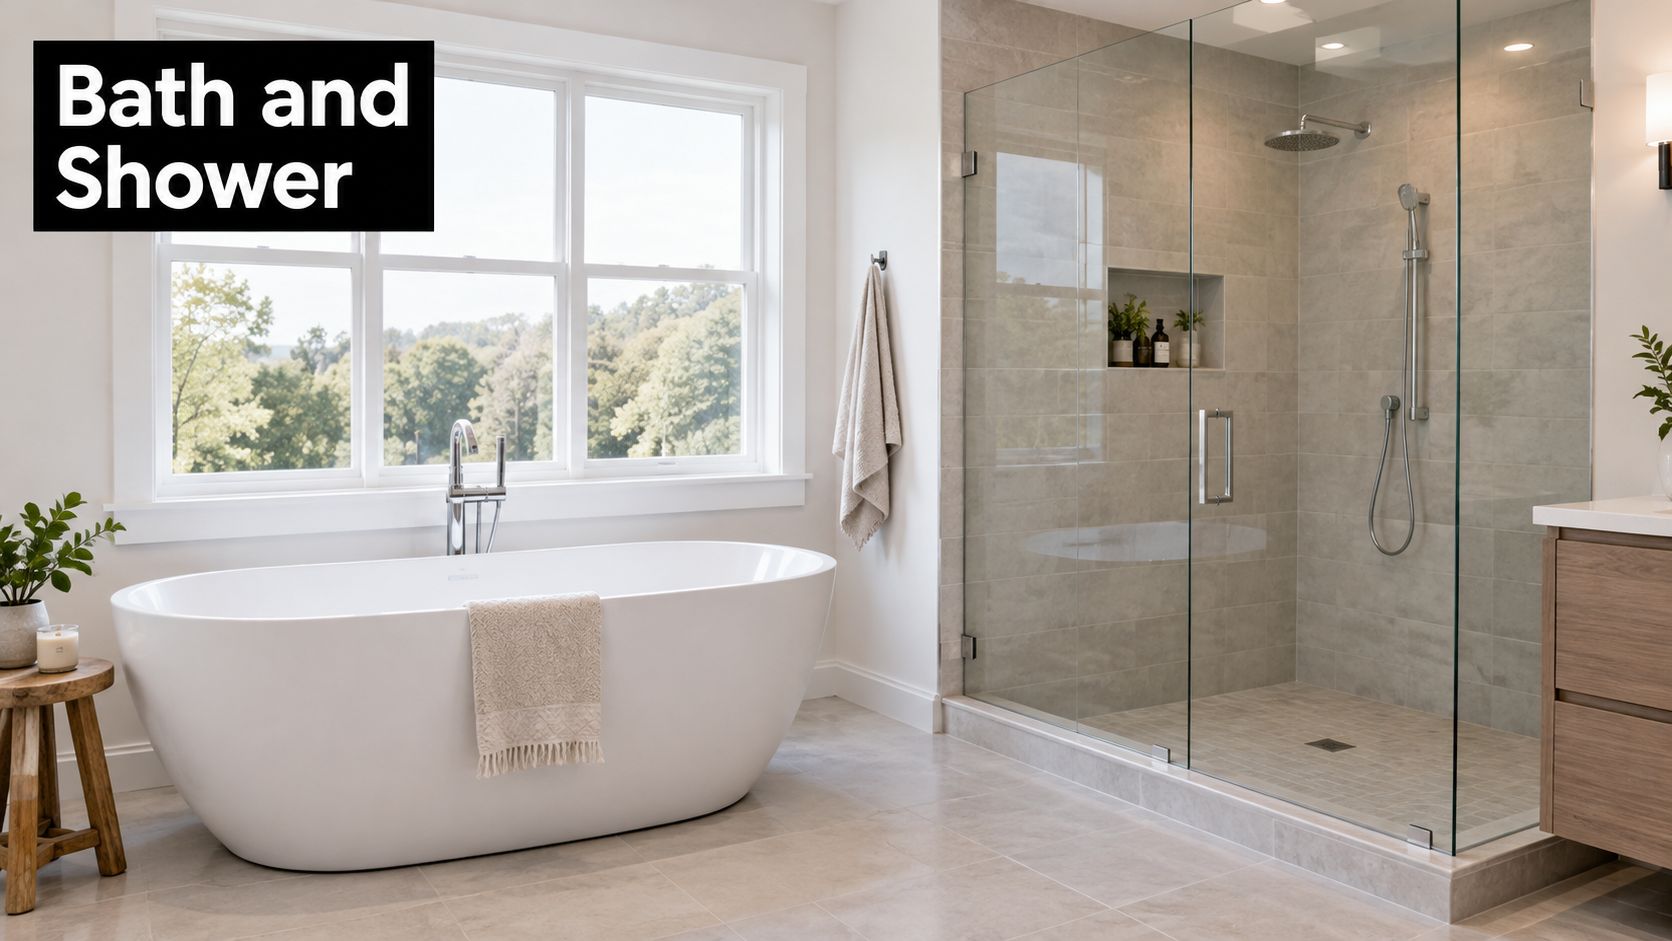
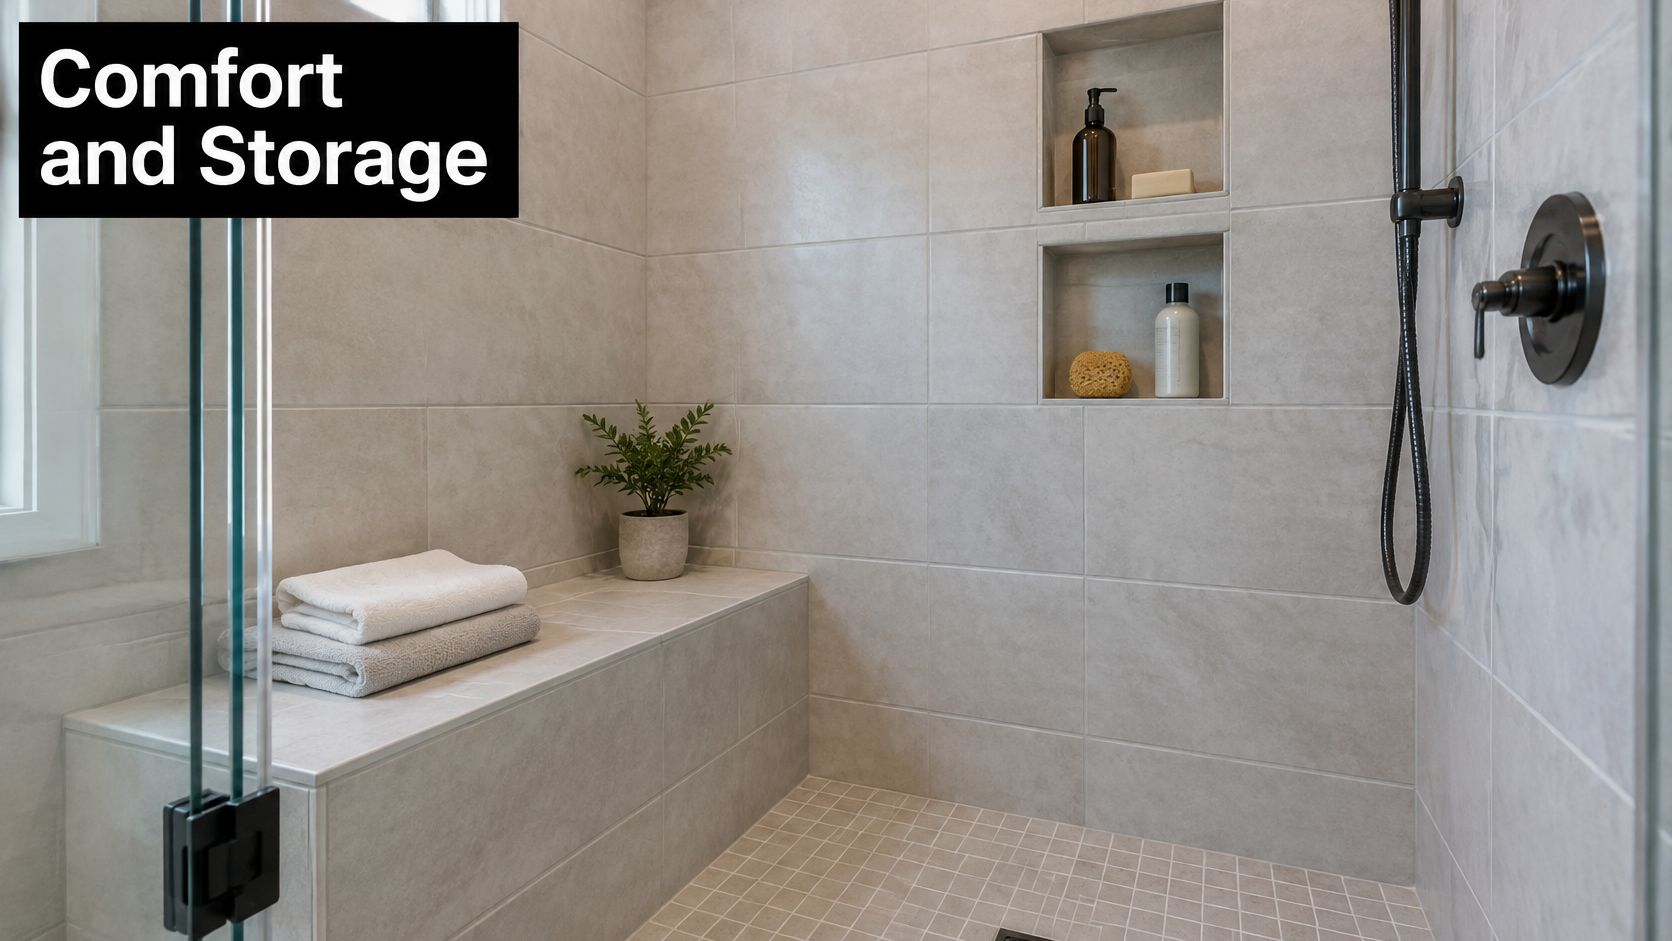
The same thinking applies to bathroom renovations. A suitably moisture-rated downlight provides general illumination, while vanity lighting puts light on your face rather than behind your head. New bathroom ideas and designer bathrooms work better when concealed lighting supports those practical jobs instead of replacing them.
For a kitchen renovation, the opportunity is before construction starts. A lighting layout tested against the joinery and room proportions is much easier to adjust than a cable emerging from a freshly painted ceiling.
1. Layered Lighting Design
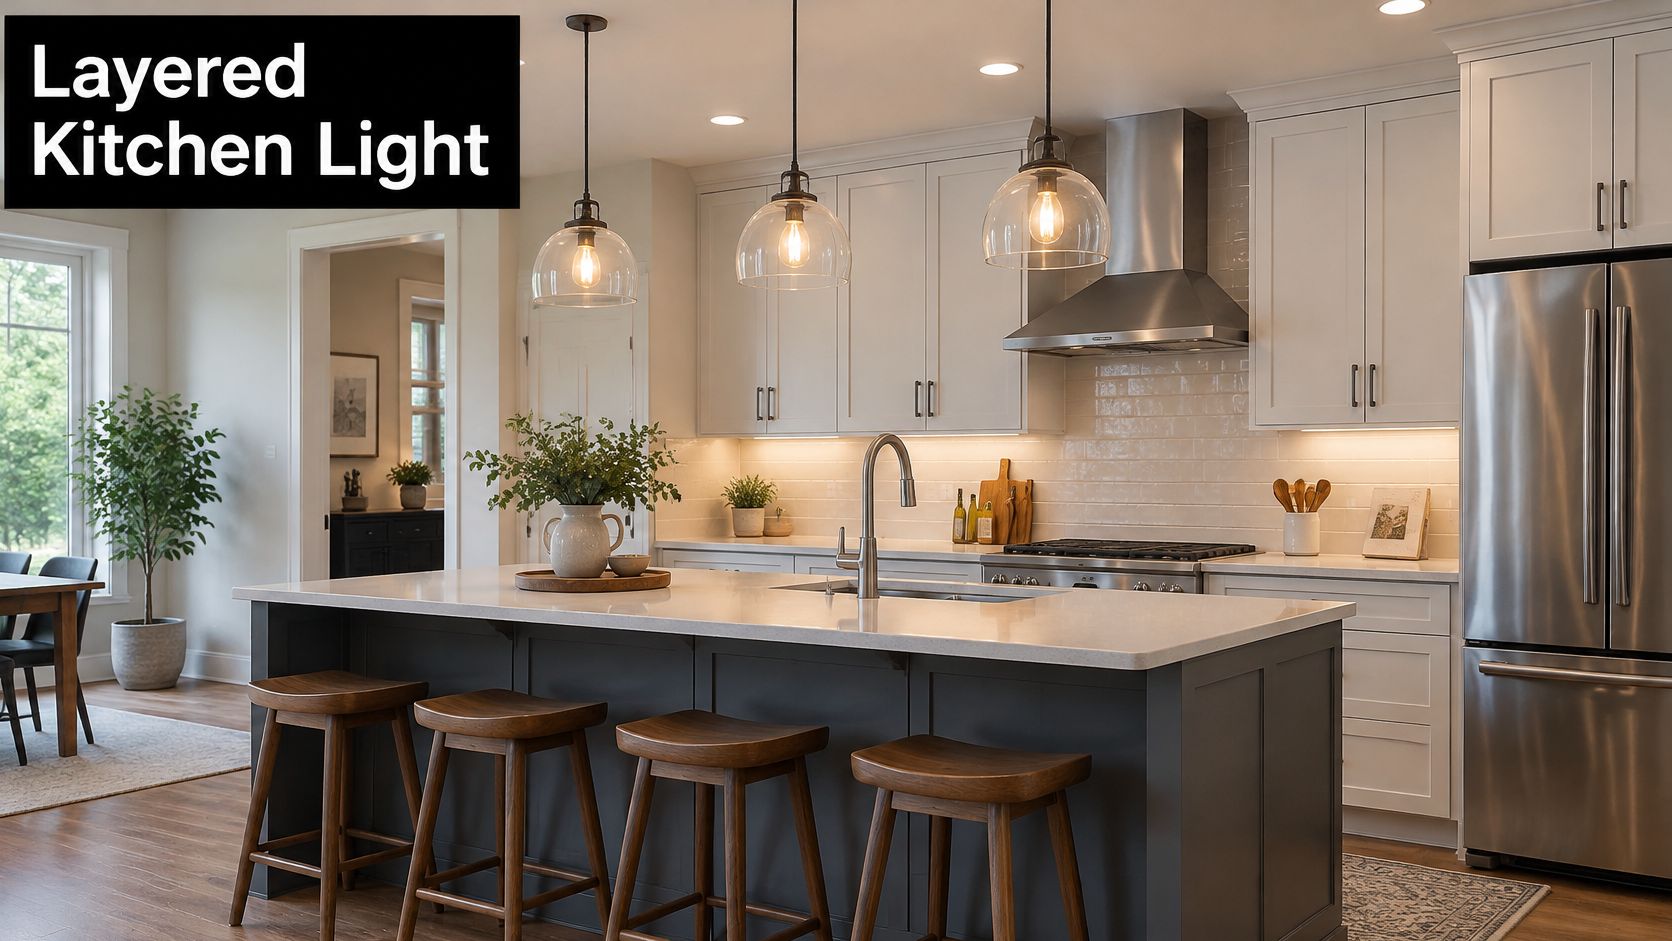
Mark three layers on the room plan during 3D design: ambient, task and accent. Each fitting gets one clear job, and each layer needs resolving before electrical rough-in locks in the cable routes.
Ambient lighting lets you move around safely. Task lighting illuminates the chopping board, sink and cooking surfaces. Accent lighting brings attention to shelving, artwork or architectural details. A layered plan also shows what you can drop: if under-cabinet strips cover the benches, the ceiling fittings can be spaced for movement and mood rather than task output, which often means fewer downlights and less glare.
Draw the controls alongside the fittings
A family kitchen might combine dimmable downlights, island pendants and under-cabinet strips. In an open-plan room, you can leave the bench lighting on while dimming the ceiling layer, keeping the kitchen usable without flooding the living area. That only works if the circuits are split during rough-in, so the switching plan belongs on the same drawing as the fitting positions.
- Separate the layers. Give task, ambient and decorative fittings independent switching and compatible dimming.
- Check entry points. Position controls where you enter, not behind an open pantry door.
- Coordinate the trades. Have a licensed electrician carry out electrical work in Victoria and confirm the builder's registration covers the building work.
On registration, check the builder's class covers the job. Victorian domestic builders register through the Victorian Building Authority (VBA), and the Unlimited class covers projects of any value. Confirm current registration through the Building and Plumbing Commission before appointing anyone, and treat that check as separate from the electrician's licence.
2. Under-Cabinet LED Strip Lighting
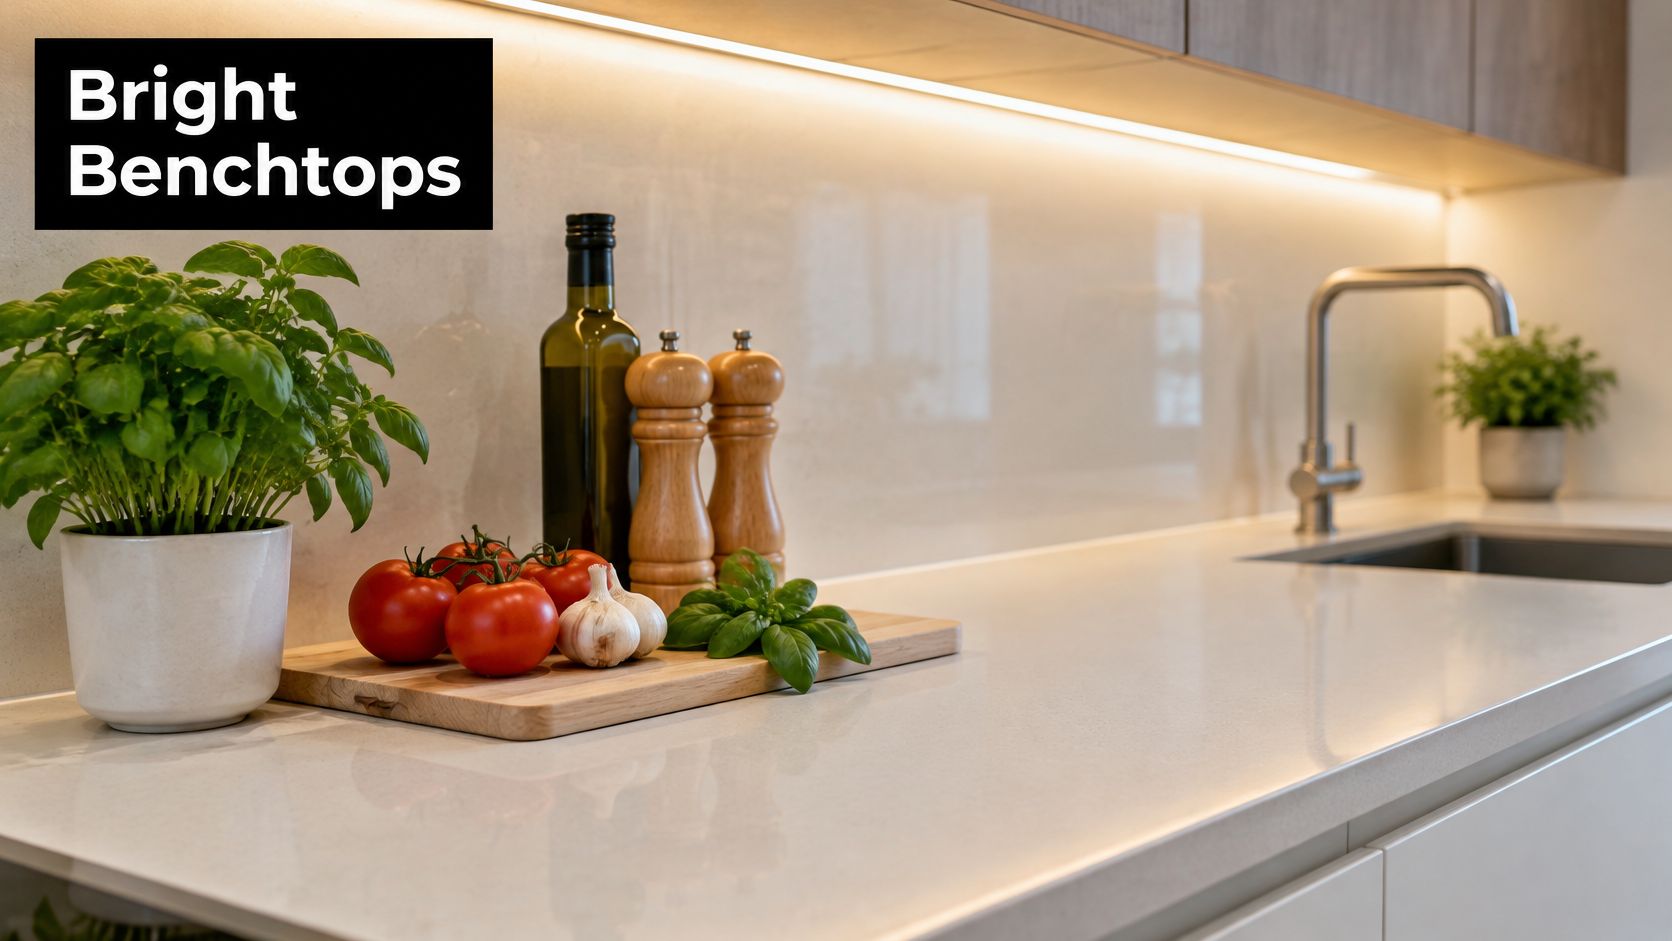
A galley kitchen can have plenty of ceiling light and still leave the back bench in shadow once someone stands at it. Under-cabinet LED strips solve that by placing the source below the wall cabinets, in front of the person preparing food.
Make the recess decision while the joinery is still being drawn. The cabinet maker can set an aluminium channel into the underside, a licensed electrician in Victoria can rough in the feed and driver position before plasterboard closes up, and the finished elevation keeps the cable out of sight. Surface channels can be retrofitted, though a recessed detail is cleaner and easier to wipe down.
Put the beam on the benchtop
Mount the strip toward the cabinet front edge and use an aluminium channel with an opal diffuser so the beam spreads across the bench and softens into a single line. Check it from a seated position as well: exposed LED dots can be distracting from an adjoining dining table.
Coordinate overhead cabinet height with the lighting position before approving cabinet elevations. Cabinet depth, mounting height and the front lip all decide where the beam lands.
For a working reference, the NSW Department of Education technical schedule, citing the AS/NZS interior lighting framework, specifies 240 lux for food preparation, cooking and washing-up areas, with 4,000 K light and colour rendering of Ra 80 or higher. In a compact apartment, continuous strips can carry the back bench without extra ceiling fittings; put them on an accessible wall switch, with a sensor-controlled low setting where night-time access matters.
3. Pendant Lights Over the Island or Breakfast Bar
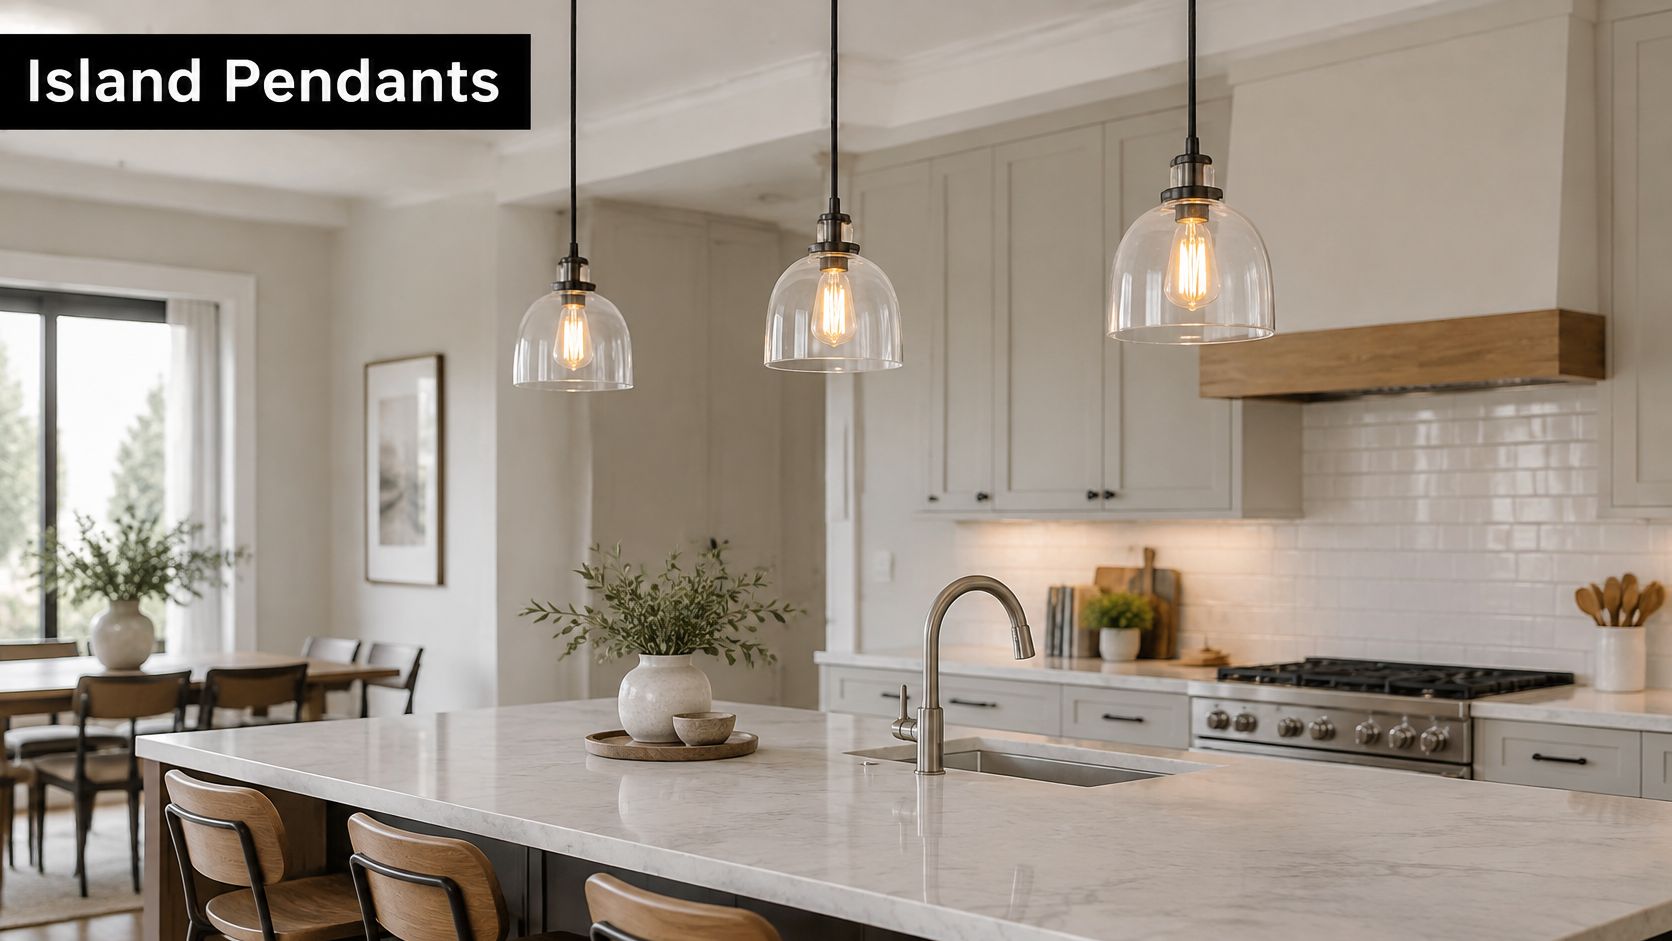
Hang pendants 760 to 915 mm above the benchtop as a starting height, then adjust for the fitting and the sightlines of the people using the bench. The wrong shade can block conversation across the island or leave bright pools separated by dark patches. Size each fitting against the actual island dimensions, because a pendant that reads well in a product photograph can dominate a compact room or disappear over a substantial island.
Mark the centre points during 3D design and confirm them again when the island position is set out on site. The electrical rough-in must follow the finished joinery layout, and in Victoria the wiring itself is licensed electrician work, so agree suspension points and switching before plasterboard goes up.
Test the view across the bench
Check the view standing at the sink and sitting at the breakfast bar before shortening suspension cables. Small changes in drop determine whether a seated guest sees the room or a row of shades.
- Match the scale. Small shades can look lost over a substantial island; oversized fittings can dominate a compact room.
- Choose the light distribution. Opaque metal shades direct light downwards, while diffused glass spreads more light into the room.
- Keep the evening setting warm. Dimmable LED globes around 2700K to 3000K suit dining and conversation, provided separate task lighting supports preparation.
When designing a kitchen island, draw the pendant outlines into the render before cabinet approval so the proportions can be judged in place. In an open-plan Highett kitchen where a peninsula faces the living room, choose glass pendants to keep that sightline open. Clear glass shows dust and exposed globes more readily than an opal shade, so weigh the maintenance trade-off before ordering.
4. Recessed Downlights
A neat grid on the reflected ceiling plan meets reality once the ceiling is opened and a joist sits exactly where a cut-out was marked. Positions need to be settled before plastering, and only after the framing, ductwork and insulation above have been checked on site.
Downlights provide unobtrusive ambient illumination and suit most cabinet styles. In an open-plan kitchen they work best as a controlled background layer behind more focused bench lighting.
Space fittings around the work zones
As an initial layout guide, space downlights roughly half the ceiling height apart, then adjust for beam spread, cabinetry and actual light output. Treat that figure as a marking-out guide rather than a finished lighting calculation.
Choose about 3000K for a warmer appearance or 4000K for a crisper, neutral working environment. Test a sample against your splashback and cabinet finish before ordering the full set.
Placement rule: A downlight behind your shoulders can illuminate your back while leaving the knife and chopping board in shadow.
Moisture and insulation are separate checks. IP44 or IP65 fittings may be appropriate where moisture is present, but the electrician selects the rating for the actual location; being near a sink doesn't automatically establish the requirement. The same distinction applies when choosing a downlight in a bathroom, where moisture zones apply. Confirm the insulation-contact classification, the manufacturer's installation instructions and required clearances instead of assuming every recessed LED can touch insulation. In Victoria, fixed downlight wiring is licensed electrical work, so ratings and positions belong in the rough-in scope rather than a later variation.
The Australian Government's lighting guidance states that LEDs use about 75% less energy than halogen lamps, so swapping old halogens is worthwhile. Check the replacement cut-out diameter, glare control and dimmer compatibility before ordering.
5. Track Lighting
A sloping ceiling or exposed structure can make recessed fittings awkward. Surface-mounted track offers a practical alternative, particularly when you want to aim light at shelves, artwork or a feature splashback.
Choose the track position during electrical rough-in and arrange structural fixing before the ceiling is closed. Adjustable heads don't remove the need to decide where the power feed and mounting points belong.
Use adjustment with restraint
In an industrial-style kitchen, black track running parallel to the island can reinforce the room's geometry. A track that cuts diagonally across cabinet lines usually looks accidental unless the architecture clearly supports it.
- Use narrow beams for displays. Direct them towards crockery or artwork without spilling light into seated eye lines.
- Use wider beams for coverage. Check that adjacent beams overlap rather than creating isolated bright patches.
- Keep a general layer. Accent heads alone rarely provide comfortable illumination throughout the kitchen.
- Specify compatible components. Confirm the track, connectors, heads and dimming controls belong to a compatible system.
The trade-off is visibility. Track remains part of the ceiling composition, whereas recessed fittings largely disappear.
For glass-front cabinetry, aim the heads carefully so they illuminate the contents rather than reflecting straight off the doors. Ask the installer to demonstrate the adjustment after installation, then record the preferred aiming positions so cleaning doesn't permanently change the setup.
6. Plinth and Toe-Kick Lighting
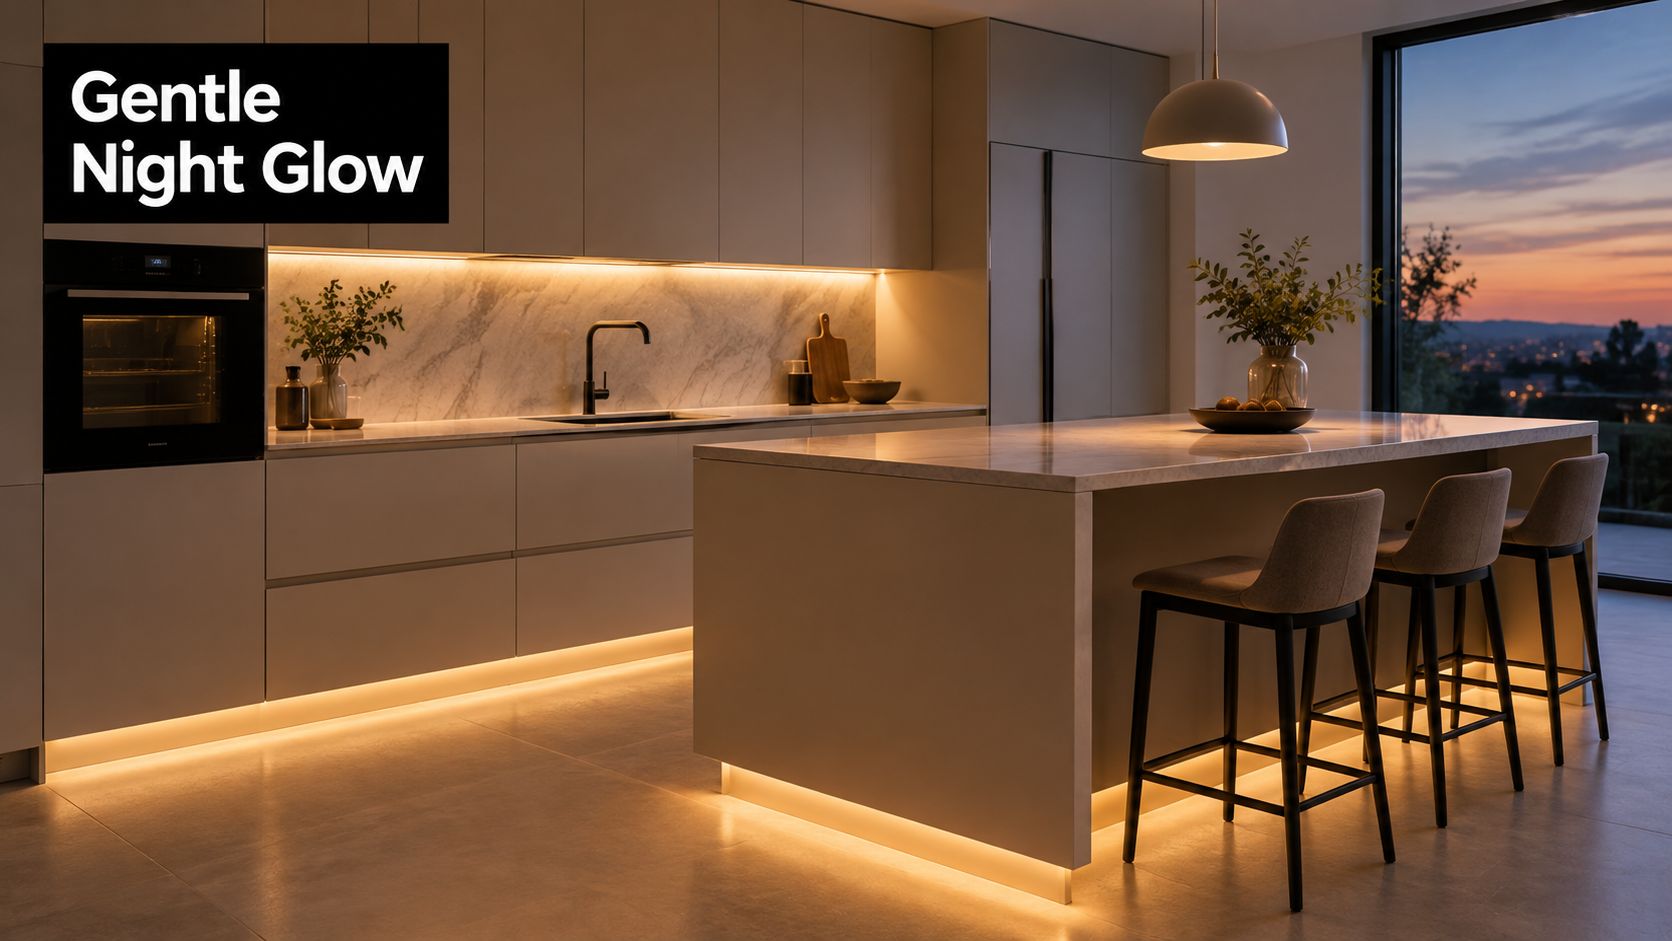
Someone padding to the fridge at midnight shouldn't have to flood the whole kitchen with light to find a glass. A concealed strip in the toe-kick recess solves this: it washes the floor edge and makes the island cabinetry appear to hover above the tiles.
Decide the toe-kick channel at joinery stage, because once the plinth is sealed there is no tidy way to retrofit it. The cabinet maker needs to allow for the channel, cable openings and removable access to the driver. In Victoria, hardwiring that driver is licensed-electrician work, so confirm during electrical rough-in whether the strip runs from a switched feed or a plug-in supply.
Conceal the strip from normal viewing angles
Set the light back within the recess so you see the wash on the floor rather than the strip itself. Glossy tiles can mirror individual diodes, which makes a diffuser and an on-site sample worth ordering before the joinery is finalised.
Warm 2700K strips produce a softer evening appearance; 3000K gives a little more visual clarity. Keep the output modest, since this layer guides movement through the room rather than food preparation.
- Plan the sensor view. Aim it towards the approach path rather than directly at moving curtains or a frequently used adjoining room.
- Include a timed shut-off. Avoid leaving low-level lighting running unnecessarily.
- Protect service access. Drivers fail eventually, so mount yours where it can be swapped without dismantling cabinetry.
The same recess detail carries across to a bathroom project. Under a floating vanity, an identical strip marks the floor line at night, with one change to the specification: use a moisture-rated driver and strip, and tuck the driver into a dry zone such as the vanity drawer space rather than the plinth itself, where steam gets trapped. In either room, inspect the floor sample under the proposed light first, because grazing illumination exaggerates dust, uneven surfaces and grout variation.
7. Smart and Tunable White Lighting
A guest walks into the kitchen and cannot turn on the bench lights without downloading an app. That control design has failed. Smart lighting earns its place when it simplifies daily use, and in a family kitchen that means a wall panel as the default: one control that recalls cooking, cleaning and entertaining scenes, with the app as optional adjustment rather than the only way in.
This is an electrical rough-in decision. Smart globes, smart switches and dedicated LED controllers each carry different wiring and operating requirements, so the control architecture needs to be locked before the electrician runs cable. Swapping approach after the walls close up means reopening plasterboard.
Make the wall control the default
Tunable white fittings allow a neutral preparation setting and a warmer evening setting without installing separate decorative lamps. The same layering works in modern bathrooms, where one wall control can switch a designer bathroom between a bright morning setting and a low evening scene.
Buy products that support an interoperability standard such as Matter, then run one check before purchase: confirm the exact functions available through the selected controller. A compatibility logo confirms the product joins the ecosystem. The controller's own specification is where you verify that dimming and colour-temperature control carry across.
Keep everyday lighting usable when the internet connection drops or the next occupant doesn't want an app.
Before handover, have the electrician test the controls, LED drivers and dimming range together. Check for flicker, delayed response, buzzing and lights that fail to turn down smoothly. In Victoria, fixed wiring sits with a licensed electrician regardless of how wireless the controls appear.
For an investment property, straightforward labelled wall controls are usually more valuable than elaborate automation. Provide the operating instructions, explain any hub requirements and make account transfer part of handover so the tenant never depends on the previous owner's login.
8. Cove and Soffit Lighting
Stand in the adjoining lounge during the design render and look toward the kitchen ceiling. If the LED strip or its channel is visible from the lounge or the doorway, the cove detail has failed before it is built. The light source has to stay hidden from normal viewpoints, so check it from those angles rather than directly below.
That mock-up check belongs in the 3D design stage, because the plasterer, cabinet maker and electrician all need the same drawing showing the channel, concealing lip, cable route and access arrangement before framing and plastering. In Victoria, the registered builder confirms the bulkhead dimensions and structural fixing while the licensed electrician roughs in the driver location, so lock the section detail before the ceiling is closed.
In a kitchen with a lower ceiling, a softly illuminated ceiling can feel less enclosed, but a bulky boxed section may undo that benefit. Keep the construction proportionate and avoid adding a deep soffit solely to accommodate a slim strip.
- Test the strip position. Moving it within the recess changes whether the ceiling receives a broad wash or a hard bright line.
- Coordinate colour. Use warm-white or neutral light that sits comfortably beside the other fittings.
- Retain access. Provide a serviceable driver location and access panels where necessary.
- Check construction requirements. Have the builder confirm structural fixing and any relevant fire-safety requirements.
The same layering logic works in a designer bathroom, where a cove above a vanity or a strip concealed in a shower niche adds a soft ambient layer while mirror lighting does the practical task work. In both rooms, dark finishes absorb much of the reflected light, so treat concealed uplighting as atmosphere on top of the task and ambient layers, sized and positioned during design rather than retrofitted after plastering.
9. Statement Feature Lighting
A polished marble island will bounce a pendant's reflection straight back at the people seated around it, so test glare from seated and standing positions before approving the final suspension height. Get that right and a brass linear suspension over a dining bench or a glass-globe cluster above stone gives a restrained kitchen its character while the functional fittings stay quiet.
Select the feature during 3D design so its weight, mounting and electrical requirements are settled before plastering and the electrical rough-in. The finish can be a late decision; the support cannot. In Victoria, a registered builder confirms the fixing point and a licensed electrician runs the new circuit.
Centre it on the activity below
Take the alignment from the island or dining table. Walls and cabinetry rarely leave the activity zone at the middle of the ceiling, so the geometric centre is the wrong reference. Check the position against final cabinet dimensions and allow for any table movement.
A linear fitting suits a long island because its shape follows the surface below. A globe cluster reads lighter and more informal, though uneven suspension lengths need careful adjustment to avoid visual clutter.
- Check cleaning access. Intricate glass, fabric and textured shades collect cooking residue and can be awkward to maintain.
- Check replacement options. Find out whether the light uses replaceable globes or an integrated LED module.
- Confirm structural support. Give the builder the actual fixture weight and mounting instructions before ordering.
- Draw the fitting to scale. A generic pendant symbol will not show whether the selected piece overwhelms the room.
A designer bathroom follows the same logic: a pendant over a freestanding bath needs its fixing point and circuit decided before the ceiling is lined.
How the nine kitchen lighting options compare by layer, colour temperature, placement and best use
I treat this table as a decision schedule, not a shopping list. The same ambient, task and accent logic used in designer bathrooms and modern bathrooms applies here, but in a kitchen the benchtop, island and toe-kick details force earlier choices. In Victoria, keep the registered builder and licensed electrician aligned on support, switching and drivers before the ceiling closes.
| Item | Lighting Layer | Typical Colour Temperature | Typical Placement | Best For | Decide By |
|---|---|---|---|---|---|
| Layered Lighting Design | Ambient, task, and accent | Set per layer | Ceiling, work zones, and feature areas | Flexible lighting for cooking, dining, and everyday use | 3D design, before trade sequencing |
| Under-Cabinet LED Strip Lighting | Task | 2700K–4000K | Beneath wall cabinets | Illuminating benchtops and food-preparation areas | Cabinet joinery, before manufacture |
| Pendant Lights Over the Island or Breakfast Bar | Task and accent | 2700K–3000K | Suspended above an island, peninsula, or breakfast bar | Focused surface lighting and defining gathering zones | 3D design and electrical rough-in |
| Recessed Downlights | Ambient | 3000K–4000K | Flush with the ceiling | Even general lighting with a discreet appearance | Electrical rough-in and plastering |
| Track Lighting | Accent and task | Match selected heads | Ceiling or wall-mounted rail | Adjustable lighting for displays, shelves, or specific zones | Electrical rough-in |
| Plinth and Toe-Kick Lighting | Accent | 2700K–3000K | Beneath base cabinets, within the toe-kick recess | Subtle night lighting and a floating-cabinet effect | Cabinet joinery and rough-in |
| Smart and Tunable White Lighting | Ambient, task, or accent | Around 2000K–6500K | Across controllable kitchen fittings | Adjustable scenes for different activities and times of day | Electrical rough-in and control setup |
| Cove and Soffit Lighting | Ambient and accent | Warm to neutral white | Concealed ledge or soffit above cabinetry or at the ceiling | Soft indirect light and a greater sense of height | Framing, soffit detail, and plastering |
| Statement Feature Lighting | Accent | Match lamp or module specified | Above islands, dining tables, or breakfast nooks | Creating a distinctive focal point and expressing personal style | 3D design for size and weight, rough-in for support |
The smart range is wide because tunable white hardware can cover warm evening scenes through cooler daytime work light. Specify two or three usable presets during the design stage rather than leaving the full 2000K–6500K spread to guesswork later.
Lock Your Lighting Plan Before the Trades Arrive
The cheapest lighting mistake is the one you catch on the drawing, before the plasterboard goes up. Once the ceiling is finished and the cabinetry is installed, moving a single fitting can mean patching, painting and joinery changes on top of the electrical work.
Start with the activities rather than the shopping list. Mark where you'll chop vegetables, wash dishes, unpack groceries and sit with a coffee, then place the light sources so your body won't block them.
Turn the design into an installation plan
Show the ambient, task and accent layers on the room plan, together with their controls. Include cabinet elevations and ceiling details wherever a light is recessed, concealed or suspended, so every trade can see what the finished surface must accommodate.
- Before joinery approval. Confirm strip channels, cable entries, sensor positions and driver locations on the cabinet drawings. A driver sealed inside a cabinet void cannot be serviced without dismantling the joinery.
- Before electrical rough-in. Confirm fitting specifications, switch locations, dimming methods and power requirements. A circuit added after plastering means opening finished walls.
- Before plastering. Check structural support for suspended fittings, cable positions, insulation clearances and concealed-lighting rebates while the framing is still visible.
- Before handover. Test each layer independently, run every dimmer through its range, demonstrate the controls and leave the product and warranty information with the owner.
Review colour temperatures against physical finish samples. A warm lamp can soften timber beautifully but change the appearance of a cool-white cabinet, while a neutral task light may reveal reflections you didn't notice in daylight.
Don't judge the scheme only at full brightness. Test preparation, dining and late-night settings, and stand where the cook and seated guests will really be.
Apply the same discipline beyond the kitchen
Bathroom renovations need equally careful coordination because vanity lighting, moisture exposure and concealed services affect fitting selection. New bathroom ideas involving niches, coves or floating vanities should be resolved with the joinery and waterproofing details, not added casually after tiling. Modern bathrooms and designer bathrooms respond to the same layering logic as kitchens: direct light where people need to see, then softer illumination for atmosphere.
In Victoria, building work on a renovation should be carried out or supervised by a registered builder whose registration covers the scope of the project, so confirm the current registration before contracts are signed. All wiring must be installed by a licensed electrician, who should also confirm circuit capacity, switching and dimming requirements before rough-in. For apartments, establish owners corporation approval requirements before proposing changes that affect shared services or building fabric.
SitePro Bathrooms, based in Highett, provides concept development, detailed 3D design, construction and finishing for bathroom and kitchen renovations. Its design process establishes fitting and switch positions before construction, so lighting is coordinated with cabinetry and finishes rather than treated as a late addition.
The final check is practical. Stand at each bench, the island and the table after dark, and confirm the light reaches the task without glare or shadows.