

You've found a vanity you like, checked the wall width and started matching tapware. Then you open the bathroom door and realise the drawers might hit it. Or the cabinet fits, but there's nowhere comfortable to stand while someone else uses the room.
That's the practical starting point for how to choose a bathroom vanity: work out how the whole room functions before choosing the cabinet. Width matters, but circulation, plumbing access and future use decide whether you'll still be happy with it after the renovation dust has gone.
Match Vanity Width to How the Bathroom Is Used
A vanity that fills the wall can still fail a family at 7 am. Choose its width around who uses the room, what needs to be stored and how long the layout must serve the household. A guest powder room mainly needs a hand basin and a place for soap. A shared family bathroom needs accessible storage, clear bench space and room for overlapping routines.
The Housing Industry Association reported that Australian homes averaged 2.6 bathrooms in 2022, up from 2.2 in 2019. The same Australian bathroom report recorded a typical renovation cycle shortening from about 17 years before the pandemic to fewer than 14 years in 2022. Allow for likely household changes when choosing a vanity, while giving priority to the people using the bathroom now.
Use width as a starting range
These are planning options, not guaranteed product configurations. Common Australian vanity size conventions provide a starting point, but check the selected unit's basin layout, drawer count and depth before deciding.
Vanity width by room and household
| Width | Typical depth | Best fit | Basins | Storage pattern |
|---|---|---|---|---|
| 400–600 mm | 450–500 mm | Guest powder room | 1 small basin | Open shelf or one drawer |
| 600–750 mm | 450–500 mm | Ensuite or small main bathroom, one user at a time | 1 basin | Two drawers |
| 900–1200 mm | 450–500 mm | Family bathroom, two regular users | 1 basin, occasionally 2 small | Three to four drawers |
| 1200–1500 mm | 450–500 mm | Shared ensuite or larger family room | 1 wide basin or 2 basins | Four to six drawers or cupboard |
| 1500–1800 mm | 450–500 mm | Master ensuite, two people preparing at once | 2 basins | Drawers plus tall cupboard |
Choose extra width only when it improves daily use, such as giving each person a place for toiletries or keeping shared items off the bench. Check the effect on the route to the shower. A wider cabinet that makes the shower awkward to enter is a poor trade-off.
Choose storage around the morning routine
For a family of four sharing a bathroom, with two people getting ready at 7 am, a 1200 mm vanity with four drawers may work better than a 900 mm model, provided both fit the room without restricting circulation. Separate drawers give each person an organised place for their everyday items.
A second basin is useful when two people regularly need to wash at the same time. If the congestion comes from scattered products rather than simultaneous washing, prioritise bench space and well-planned drawers instead.
Practical rule: Buy enough vanity to support the household's routine, and leave comfortable access to the shower.
For a family bathroom around 900 mm wide, choose one well-organised basin over a cramped twin arrangement. Wider shared bathrooms can support two basins when simultaneous use is a regular need.
Measure and Check Clearances Before Ordering
A vanity may fit between the walls and still obstruct the doorway, toilet or shower in daily use. Older Victorian bathrooms often have uneven surfaces, tight footprints and plumbing that does not line up with a new cabinet. Check the whole route through the room, not just the width available for the unit.
Measure the finished room, including proposed wall linings, tiles and floor build-up. If demolition has not started, ask the installer to account for those layers before treating rough measurements as final.
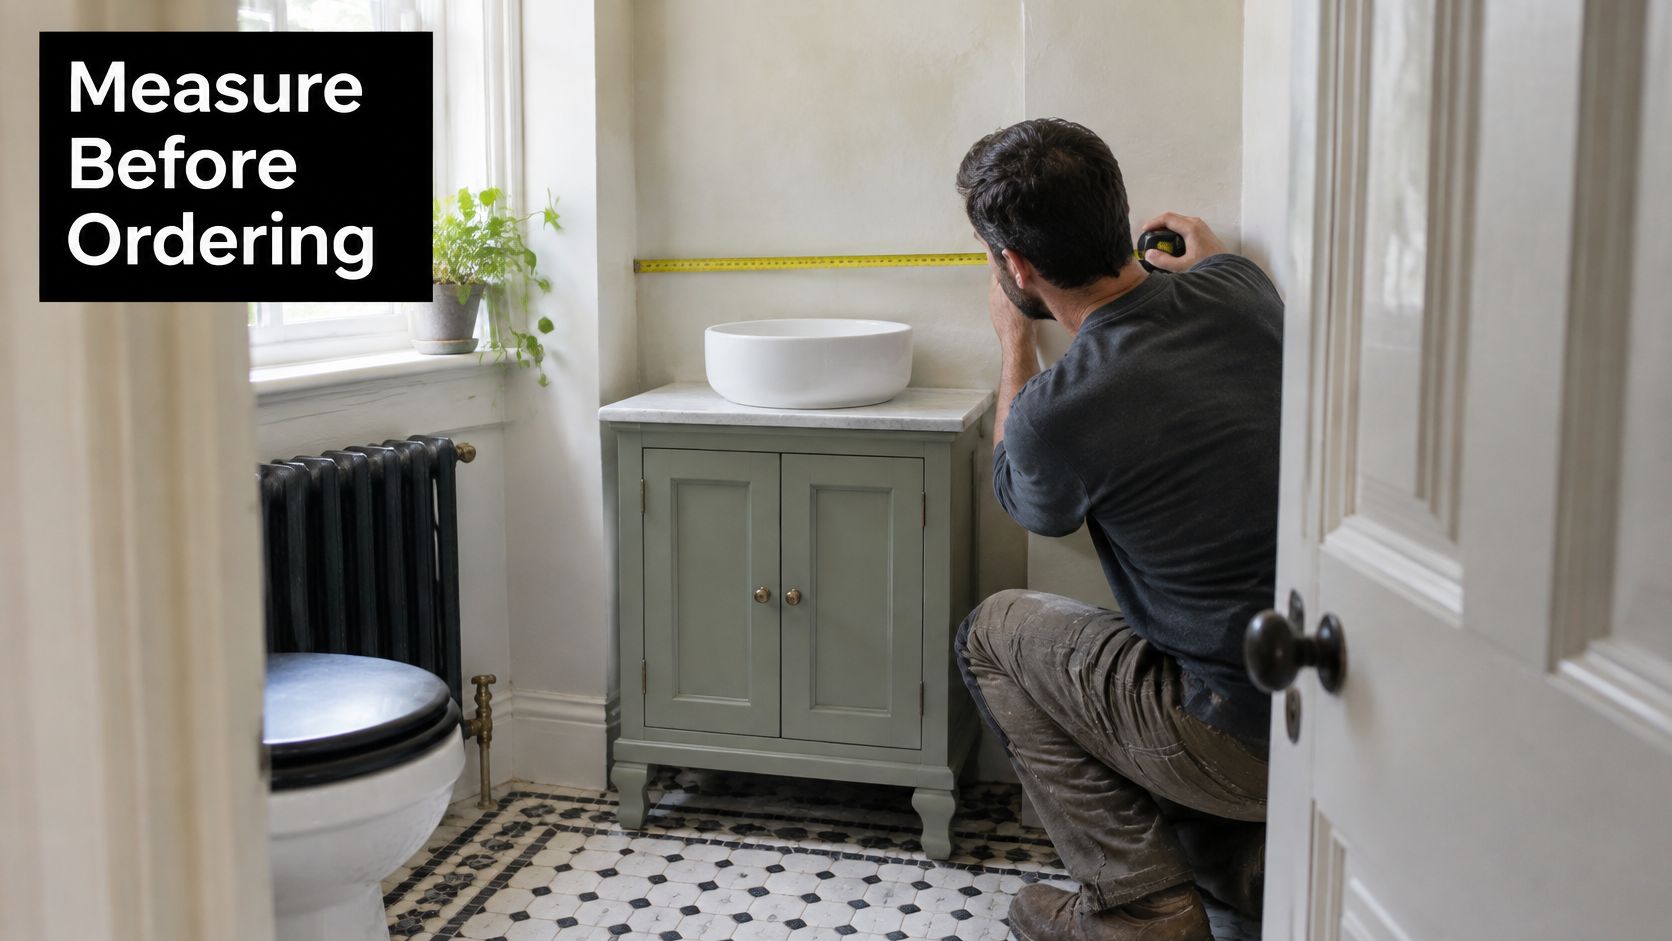
Record the room in a usable sequence
Use a tape measure, pencil, masking tape and a simple drawing. Write each measurement directly onto the drawing so the carpenter, plumber and designer can work from the same dimensions.
Measure the available width at different heights. Check at floor level, around the proposed benchtop and above it. Use the narrowest relevant measurement and allow for the installer's fitting tolerance. Bare walls can give a false reading if skirting, tile thickness or an out-of-square corner is overlooked.
Record usable depth. Measure from the finished wall towards the door, shower screen and opposite fixtures. Include handles and projections, not only the cabinet box. The basin and handles can reduce walking space even when the cabinet itself looks shallow.
Trace the door swing. Mark the door's arc on the floor and check whether it passes over the proposed vanity. Include the handle, not just the door edge. A door that clears a closed cabinet may still hit someone using the basin.
Allow for drawer extension and basin overhang. Get the actual drawer projection and benchtop dimensions. Cabinet depth alone will not show whether a drawer clears the toilet or whether the basin intrudes into the walkway.
Locate structure and services. Mark the studs, hot-water and cold-water points, and waste outlet. Ask the installer to confirm concealed conditions where needed. Guessing from the existing cabinet can leave the new unit without suitable fixings or put pipework in the path of a drawer.
Mark the toilet centreline and shower entry. Show how the fixtures relate to each other, not just where each one sits. Products can each fit their own spaces and still leave an awkward gap between them.
Photograph each wall with the tape visible. Photograph exposed services before they are covered, and record relevant wall-cavity details. These images help the trades work from actual site conditions rather than separate assumptions.
Add windows, architraves and towel rails to the drawing. Check that drawer handles will clear nearby trim and that a mirror or tapware will not interfere with a window opening.
Separate legal clearances from comfortable fit
Under the NCC 2025 livable-housing provisions, where they apply, a fixed obstruction such as a vanity must be at least 450 mm from the toilet pan centreline, with a minimum 1,200 mm × 900 mm circulation space in front of the pan. Check the sanitary-compartment requirements and have the building surveyor confirm which provisions apply to the project.
Australian access guidance includes washbasin coordination benchmarks of 800–830 mm height, 450 mm width and a 425 mm wall setback. Treat these as part of the complete design, not a standalone compliance recipe. The designer or surveyor should confirm the applicable requirements and how they relate to the relevant access standard.
A legal minimum does not guarantee a comfortable fit. In a narrow ensuite, the toilet opposite the vanity may seem workable with every door and drawer closed. Open a deep drawer while the entry door swings, and the route can disappear. Reducing cabinet depth may solve the problem more effectively than reducing width.
If you are considering a second basin, use this double vanity sizing guide alongside the full room drawing. Check that both basins and their users fit without restricting access to the toilet, shower or doorway.
Plan for changing mobility
If ageing in place matters, assess the space beneath and around the basin before choosing a large floor-standing cabinet. Partly open or removable cabinetry beneath a suitably designed wall-hung basin may preserve options for seated use or future changes.
Check knee and toe clearance, reach to tapware, and space for a mobility device or assistance. A product described as accessible does not make the completed room compliant.
More concealed storage is no improvement if it takes away the space someone needs to use the basin.
Tape the chosen footprint onto the floor at full scale and leave it there for a day. Use the doorway, approach the shower and test the drawer positions. Then approve a dimensioned plan, with a model where useful.
The final check is practical: can every drawer and door open fully while someone stands at the toilet, without blocking the usable route through the room?
Basin, Style and Plumbing Fit
A basin choice changes more than the look of the vanity. It affects splash, bench space, cleaning and the position of the waste pipe, so confirm the bowl and tapware before ordering the cabinet or top.
Compare cleaning and bench-space trade-offs
Splash depends on the bowl shape, water flow and tap position, not just the basin type. Use the table to compare typical trade-offs, then check the dimensions of the exact model you plan to install.
Basin types compared
| Basin type | Splash exposure | Cleaning | Storage impact | Best for |
|---|---|---|---|---|
| Vessel, sitting on top | Greater bench exposure if poorly matched to tapware | More work around the base and rim | Raises rim height and occupies bench area | Feature bathrooms where style leads |
| Undermount | Generally contained with a suitable bowl and tap | Easy bench wipe-down; maintain the underside joint | Bowl occupies cabinet space below | Busy family bathrooms where a clear bench is useful |
| Integrated top | Generally contained; check bowl depth | Few junctions to clean | Bowl and bench layout determine storage below | Compact or low-maintenance bathrooms |
| Semi-recessed | Depends on projecting bowl and tap position | More edges to wipe | Can preserve space behind a projecting bowl | Renovations balancing basin size and cabinet depth |
| Twin basins | Depends on the individual installation | Additional basin surfaces to clean | Uses width and can reduce drawer space | Shared ensuites with overlapping routines |
An integrated bathroom sink can suit a compact bathroom where wiping down the basin and bench with fewer joints matters more than replacing the basin separately later. With an undermount, confirm how the installer will support the bowl and seal its underside junction.
A semi-recessed basin can provide a larger bowl while keeping the cabinet shallower, which may help in a tight room. Check the actual projection against the clear route through the bathroom. A larger basin is a poor trade if it crowds the approach.
Coordinate appearance and pipework
Choose a finish family, such as timber-look, painted shaker or gloss white, and coordinate it with the mirror, lighting and tapware. Matte black hardware can add contrast without making every surface compete for attention. Coordinated finishes make the room look planned rather than assembled.
Wall-hung units need confirmed structural support and accurately positioned wall connections. Floor-standing cabinets can conceal more pipework, but either design must leave isolation valves accessible for maintenance.
Before approval, confirm:
- Waste alignment: The selected bowl and trap must suit the cabinet's internal layout.
- Tap mounting: Decide between wall-mounted and deck-mounted tapware before finalising the top.
- Maintenance access: Keep valves and connections reachable without dismantling the vanity.
For a busy family bathroom, an undermount basin is a practical choice when an easy-to-wipe bench and a conventional cabinet layout are priorities. In a small bathroom where cleaning fewer joins matters, an integrated basin and top may be the better fit. Choose a vessel basin when its appearance justifies the extra cleaning and the combined basin, tap and finished height work for daily use.
Storage, Materials and Wet-Area Durability
Start by classifying the splash exposure. A vanity beside an unenclosed shower or bath needs a more demanding material and installation specification than a cabinet in a relatively dry powder room.
Moisture-resistant doesn't mean waterproof. The substrate, edge treatment, plumbing cut-outs and benchtop junctions all matter, especially where water can reach surfaces you won't inspect during ordinary cleaning.
Match storage and surfaces to exposure
Choose deep soft-close drawers for bulky products and hair tools, with internal organisers for small daily items. Allow a suitable compartment for cleaning products, kept safely away from children, and use open shelving only where stored items will remain reasonably dry.
The bathroom benchtop materials guide can help narrow the surface choice. Ask for the manufacturer's written suitability and care requirements rather than relying on a showroom finish.
Vanity surface materials for wet and dry rooms
| Surface | Water tolerance | Upkeep | Watch for |
|---|---|---|---|
| Laminate-faced particleboard | Vulnerable where edges are unsealed | Wipe dry and maintain seals | Swelling at cut edges and beneath the basin |
| Moisture-resistant MDF or melamine-faced board | Depends on substrate and sealed edges | Wipe clean; inspect junctions | Swelling where the seal fails |
| Sealed solid timber | Depends on finish condition | Renew the finish as specified | Finish wear near the basin |
| Solid surface, acrylic | Generally suitable for wet benchtops | Follow specified cleaning and repair methods | Heat damage and scratches |
| Engineered stone | Check the exact product specification | Follow manufacturer's care instructions | Weight and current supply and installation restrictions |
| Ceramic or porcelain top | Suitable surface with sound junctions | Clean joins and any tiled grout | Joint staining or damage |
| Stainless steel | Suitable for wet use | Wipe clean | Visible scratches and water marks |
Material names aren't complete specifications. In particular, don't assume a material remains available or suitable for new installation just because it appears in an older product catalogue.
Require a sound wet-area build
The Victorian Building Authority states that wet-area construction must comply with NCC requirements and AS 3740 waterproofing provisions in its wet-area waterproofing guidance. A cabinet, plumbing cut-out or silicone bead cannot substitute for a compliant membrane system.
Require documentation of waterproofing before it's covered, photographs of concealed plumbing and accessible traps and isolation valves. Cabinet fixings and penetrations must be coordinated without compromising the waterproofing.
Handover check: Don't accept a dry-looking cabinet as proof that the installation is watertight.
Run the basin at full flow and inspect joints and cut-outs. Check for exposed MDF beneath the basin, confirm that doors and drawers clear adjacent fixtures, and make sure water doesn't pond against the wall or travel into an unsealed edge.
Budget Tiers and Where the Money Goes
A rental ensuite with existing plumbing and a standard layout rarely needs custom joinery. A family bathroom used by several people may justify mid-range construction, with drawers and dependable runners that stand up to daily use. Choose by how the room works and how easily the plumbing can be reached, not by the catalogue width alone.
The cabinet is only one part of the bill. Basin and tapware, plumbing changes, installation, mirrors, lighting and any repairs to the wet-area build can all affect the total.
Compare complete specifications, not headline prices
Keep quotes in AUD and ask suppliers to separate the vanity-only cost from installation and other trade work. Compare the same cabinet dimensions, top, basin and drawer configuration to see what drives the price.
Vanity budget tiers in AUD
| Tier | Main cost drivers | What it typically includes | Trade-off |
|---|---|---|---|
| Budget flat-pack | Standard cabinet size, basic top and minimal drawer hardware | Laminate faces and limited configurations | Check moisture protection and service access carefully |
| Mid-range | Top material, drawer count and upgraded runners | Soft-close drawers and more size options | Fewer bespoke finishes |
| Premium made-to-measure | Specified top material, custom dimensions and fabrication time | Bespoke finishes and a cabinet fitted to the room | More coordination and potentially longer lead times |
For a rental ensuite, a standard-width cabinet that resists moisture may be a better use of funds than custom joinery. Put the savings towards documented installation work. That can reduce avoidable replacement risk, though it cannot prevent all future damage.
Spend where it changes daily performance
- Prioritise: Drawer runners, sealed edges, a suitable top and competent installation.
- Save selectively: Choose standard dimensions and straightforward finishes when they fit the room and suit the existing service positions.
- Separate the quote: Show the vanity, installation and trade-specific work as separate costs for a fair comparison.
Keep plumbing reachable for servicing, and make sure cut-outs are sealed. Set the budget after confirming the required dimensions, materials and installation work. If the total is too high, simplify decorative finishes before compromising access or construction quality.
Confirm the Vanity Choice Before You Order
A vanity can fit the wall and still make the bathroom awkward to use. Before ordering, check how people move past it, whether drawers and doors open without clashes, and whether pipes and fittings will remain accessible for maintenance. Approve one complete specification against a dimensioned plan, including the cabinet, top, basin, tapware, hardware and service requirements.
A design model can show drawer collisions, door swings and the view from the doorway. Check finishes under the proposed lighting, too. These checks help catch problems before a change affects finished work.
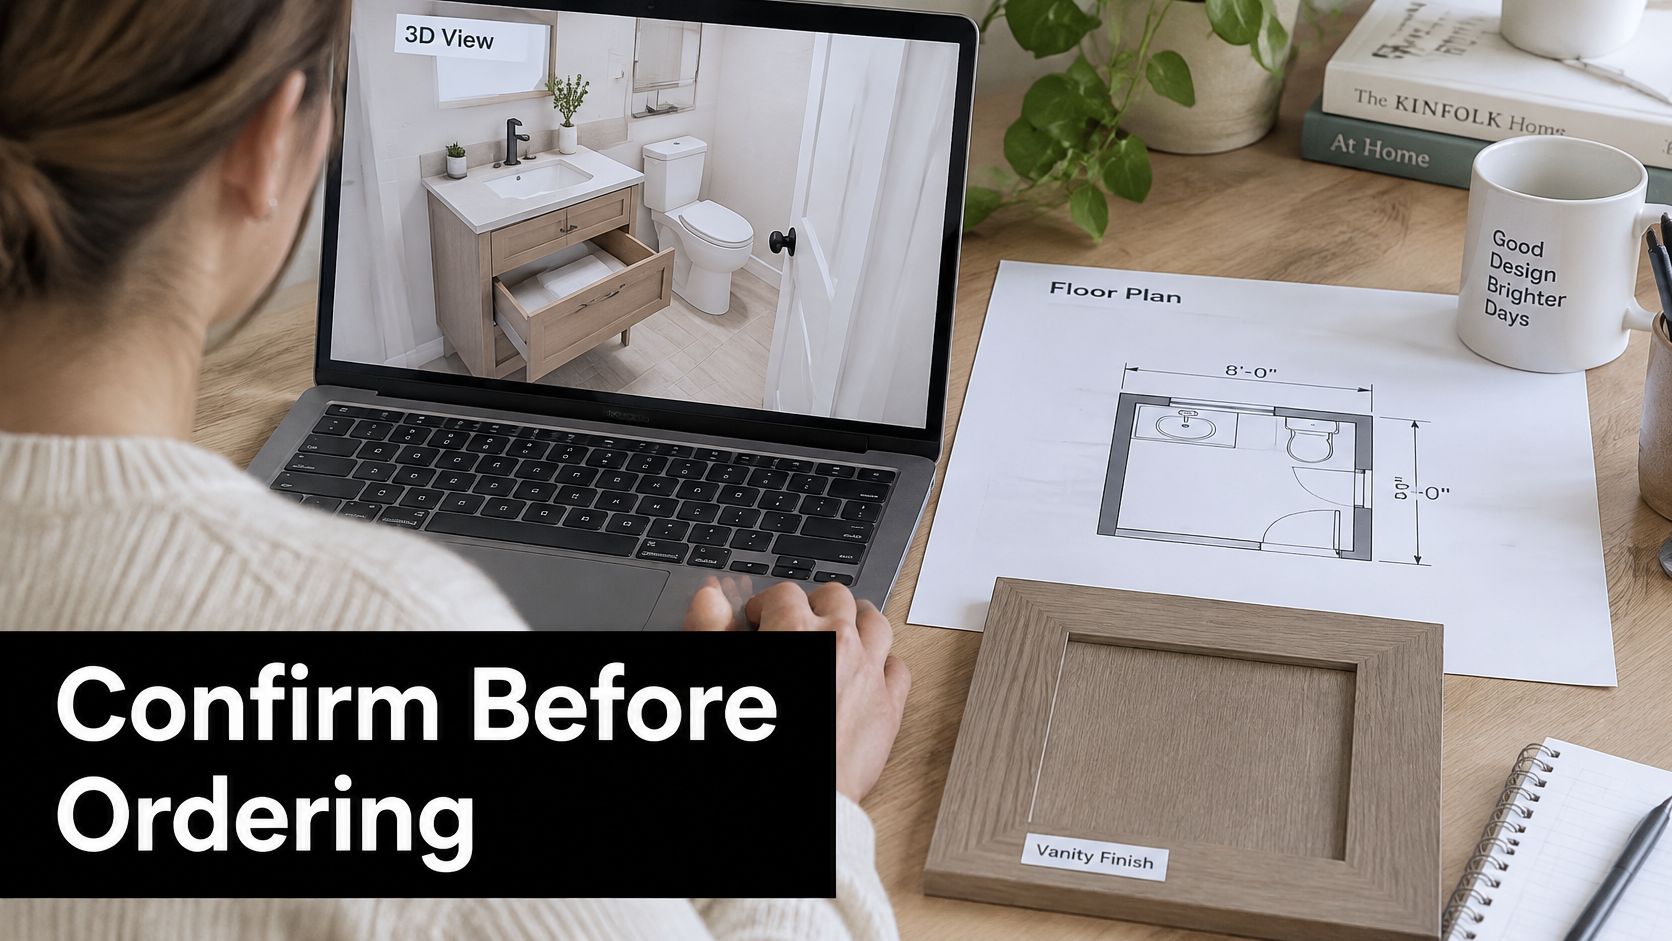
Check who is authorised to carry out the work
For Victorian domestic building work worth more than $10,000, a registered practitioner and written contract are generally required, subject to specified single-trade exceptions, according to Consumer Affairs Victoria's renovation checklist. A bathroom project involving demolition, waterproofing, plastering and tiling needs a scope that accounts for each part of the work.
Check the actual registration class of any builder you compare. Confirm that it covers the proposed work, rather than relying on a broad description in an advertisement.
If the layout changes, check whether permits are required. Where applicable, a planning permit comes before a building permit issued by a registered building surveyor. The written scope should state who handles applications, while recognising the owner's responsibilities under Victoria's plans and permits guidance.
Sign off the complete specification
Before ordering, get written confirmation of the selected products, wall fixings, pipe positions and maintenance access. Agree how operation, drainage, workmanship and completion will be checked. These details help keep the vanity serviceable after installation, not just tidy on handover day.
SitePro Bathrooms provides concept development, 3D design, construction and finishing for bathroom projects.
The final fit test is practical: the vanity suits the room's circulation, leaves services accessible, and supports the household's needs over time.