Waterproofing Standards Australia: 2026 Compliance Guide
You're probably here because a bathroom renovation has stopped feeling exciting and started feeling risky.
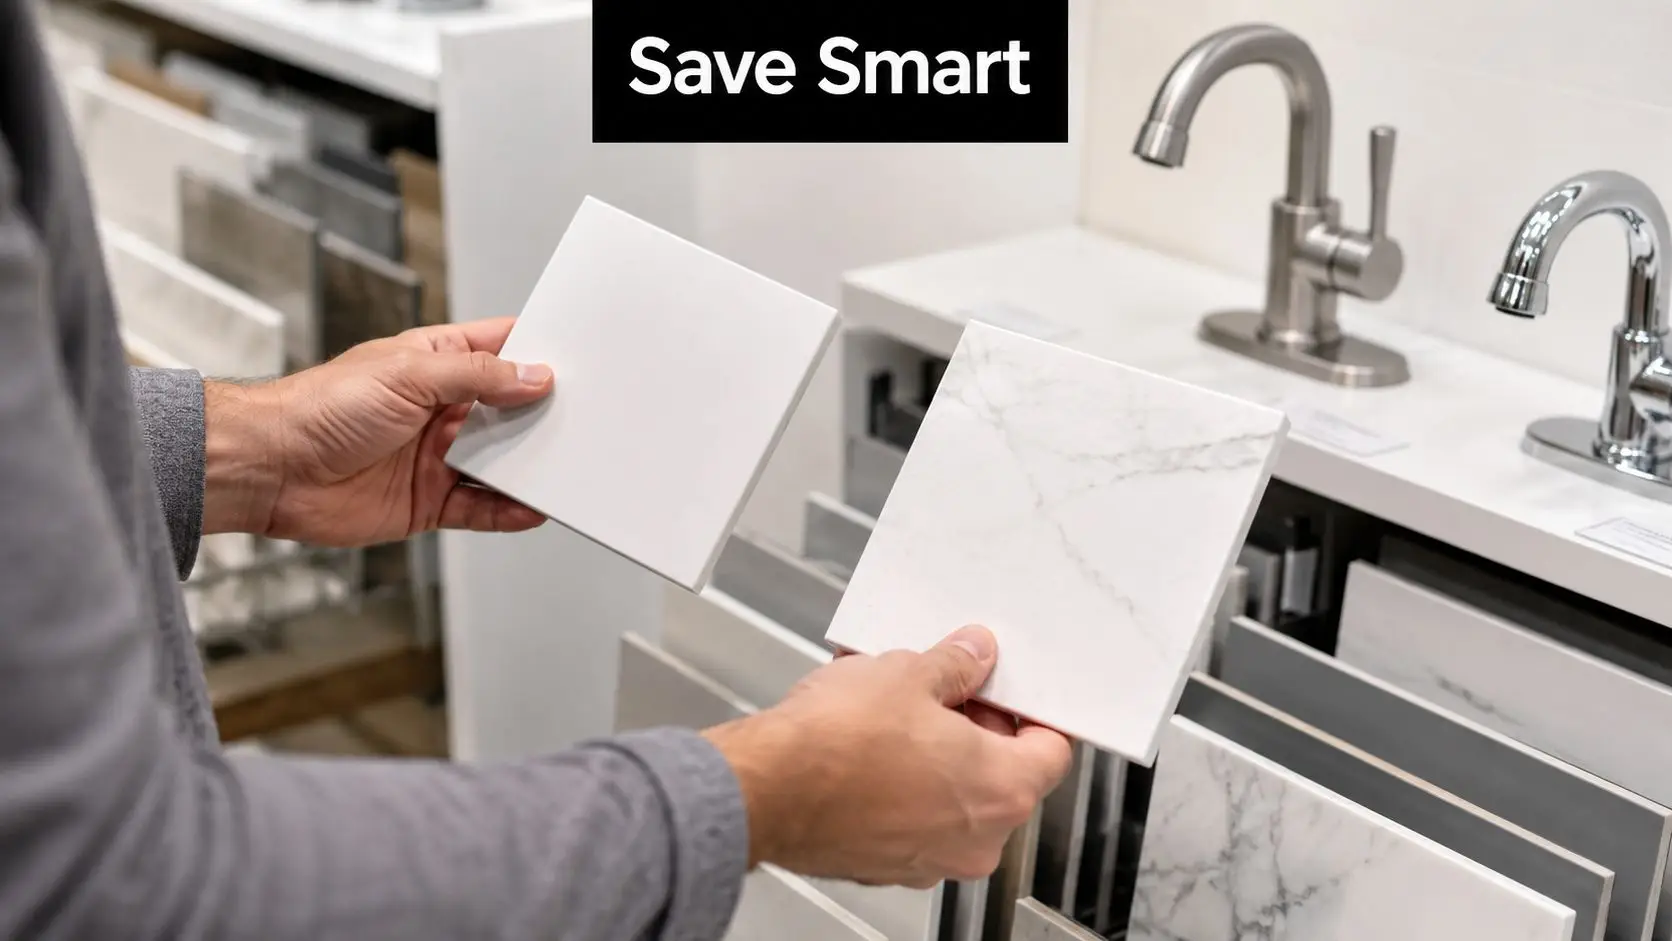
You've picked tiles, saved new bathroom ideas, and pictured one of those clean, modern bathrooms with a frameless screen and tidy joinery. Then someone mentions waterproofing, certificates, inspections, membrane heights, falls to waste, and compliance. That's usually the point where homeowners realise the part nobody sees is the part that matters most.
A bathroom can look perfect on handover day and still be built wrong underneath. Water doesn't need a dramatic leak to cause trouble. It only needs a weak corner, an unsealed penetration, or a floor that doesn't drain properly. Then it gets into plaster, framing, skirting, ceilings below, and the kinds of repairs that force you to rip out work you've already paid for.
Why Waterproofing Is the Most Critical Part of Your Renovation
The most expensive bathroom problems usually start unnoticed.
A shower goes in. The grout looks neat. The silicone is fresh. Everything appears finished. Months later, paint near the shower starts to bubble, a skirting board swells, or a musty smell hangs around longer than it should. By then, the tiles are often the least of the problem. The damage is behind them.
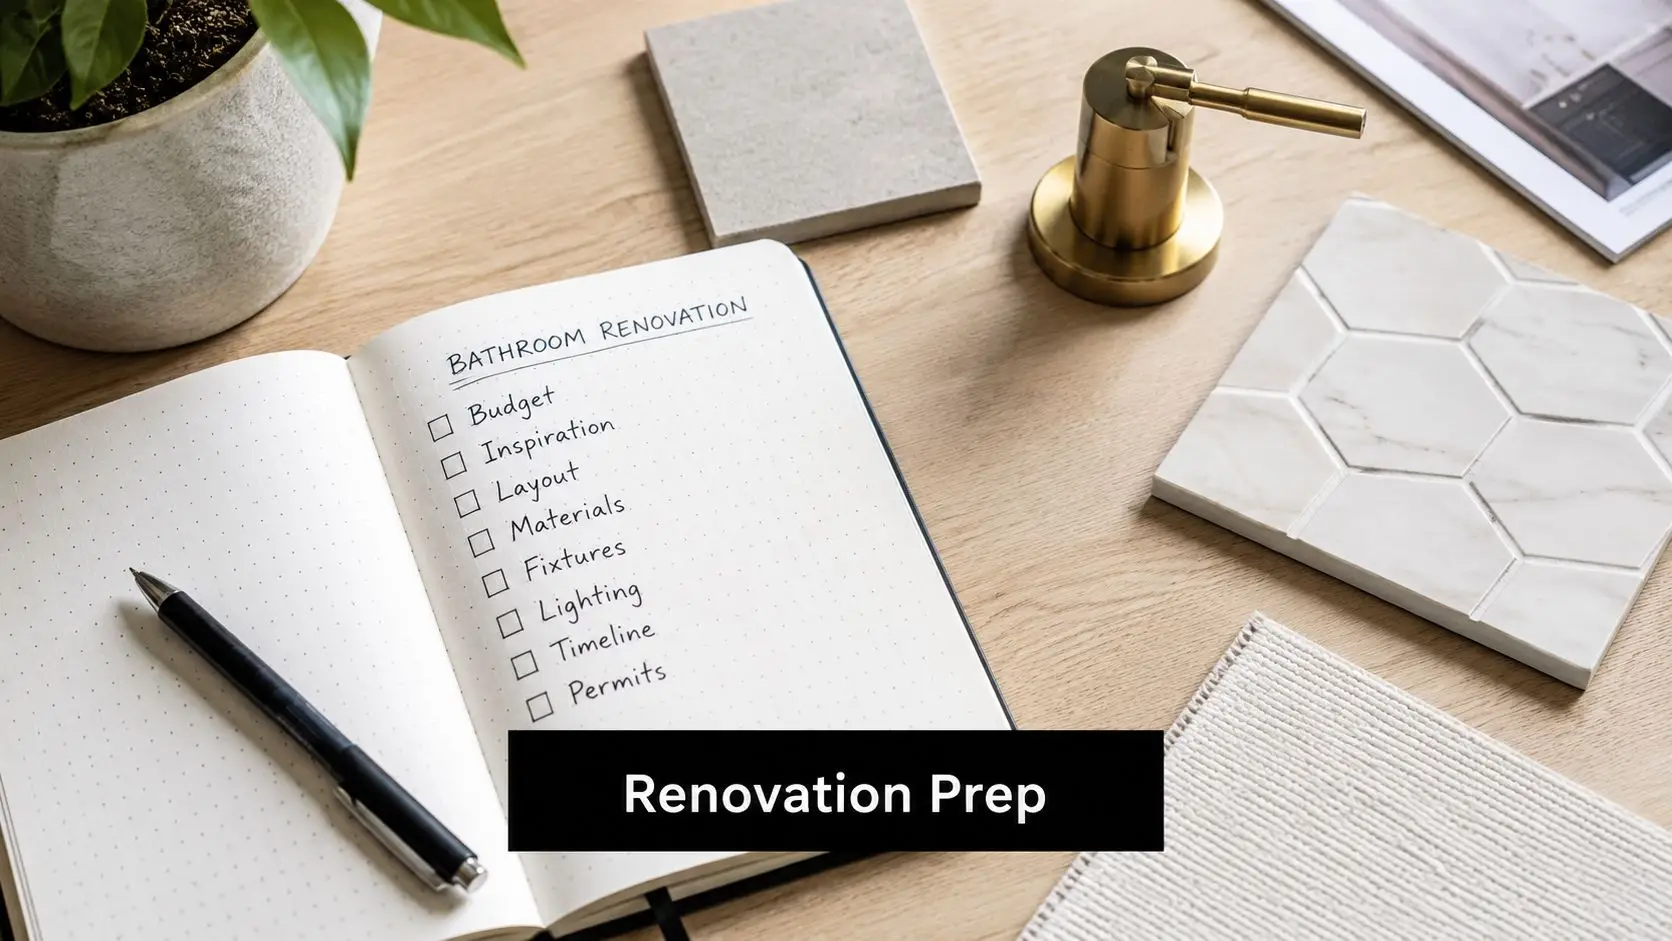
That's why waterproofing standards in Australia matter so much. They're not paperwork for the sake of paperwork. They're the rules that stop a bathroom renovation turning into demolition later. If you're still planning your project, a practical bathroom renovation checklist for homeowners helps you catch the big issues before work starts.
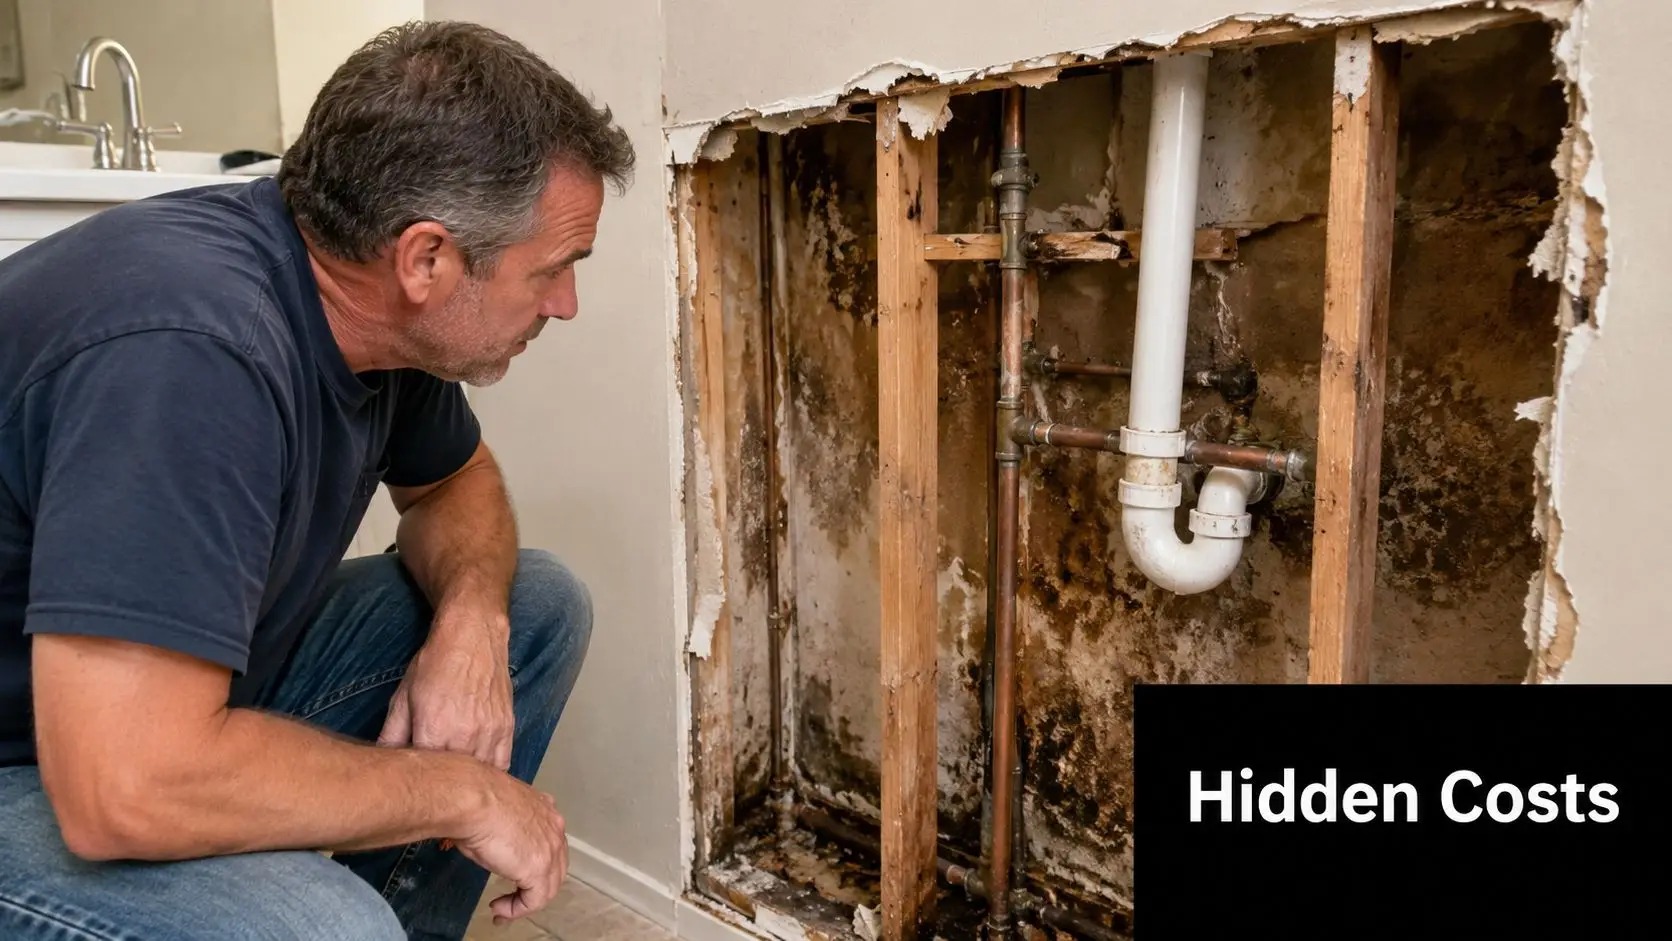
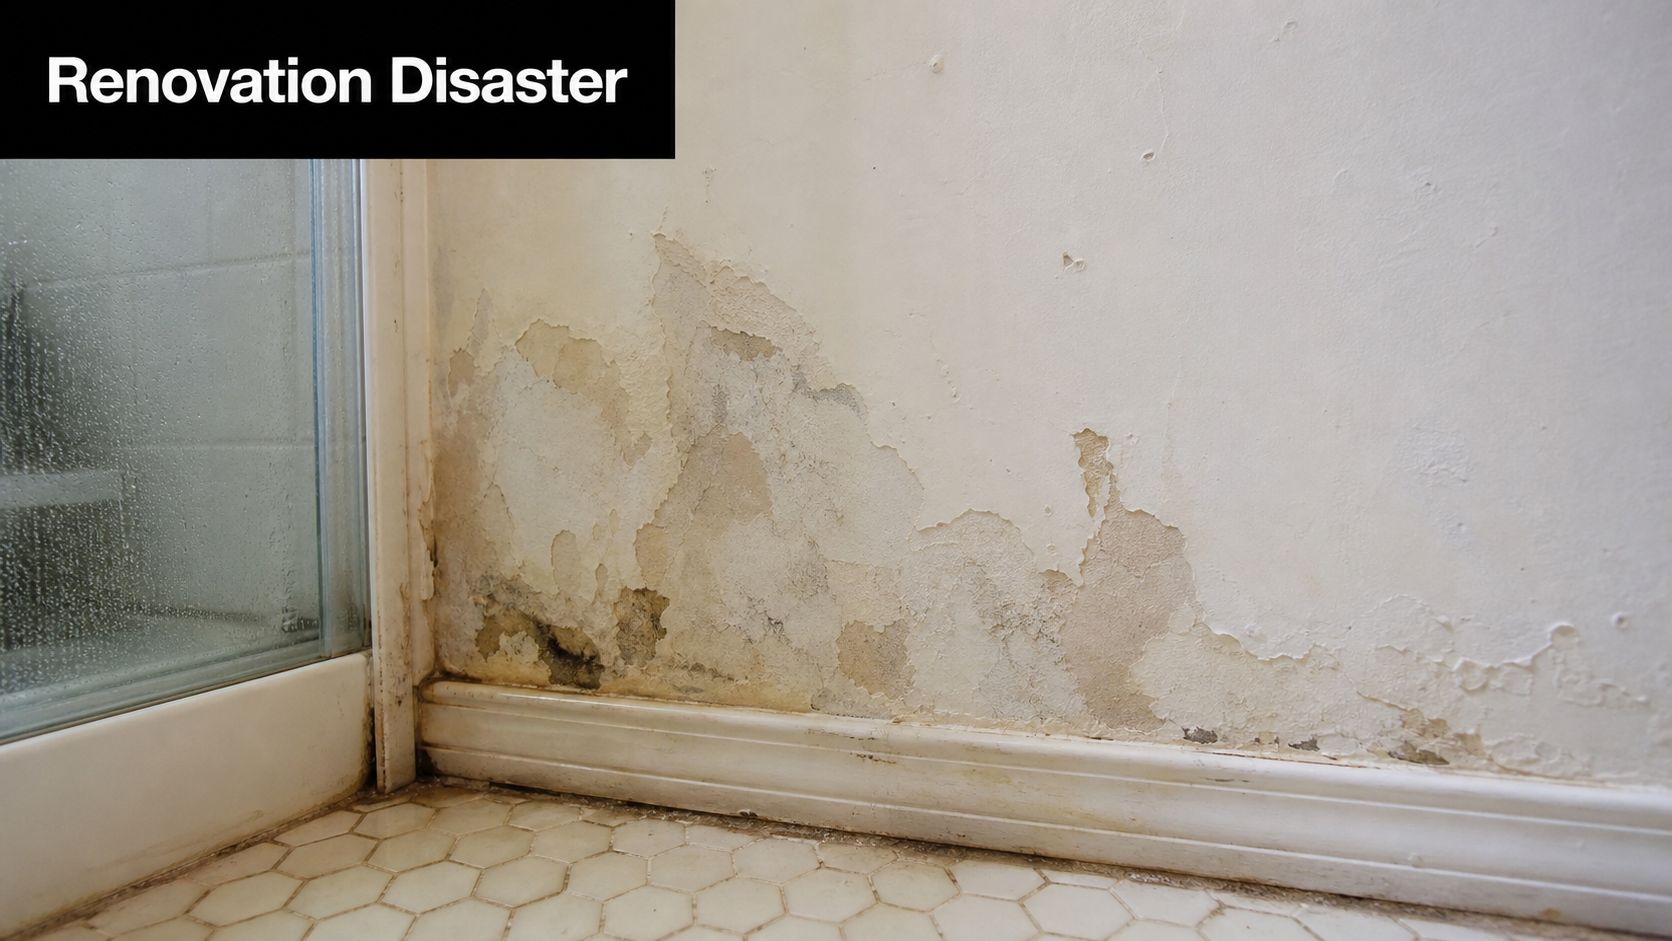
What failure looks like in real homes
When waterproofing fails, the water rarely stays where you can see it. It tracks into wall cavities, sits under tiles, reaches adjoining rooms, and damages materials that were never meant to get wet.
Homeowners usually notice one of these signs first:
- Peeling paint: Moisture pushes through adjacent walls or ceilings.
- Persistent mould: Cleaning removes the surface, but the source stays active.
- Loose tiles or drummy tiles: Adhesives can fail when moisture gets where it shouldn't.
- Swollen trims and door jambs: Timber products show water exposure quickly.
- Ongoing damp smell: A bathroom should smell clean, not stale.
Practical rule: Tiles are a finish. The membrane is the real defence.
The core standards exist to stop exactly this kind of slow failure. In Australia, bathroom wet areas are governed by the National Construction Code and the relevant Australian Standard. For homeowners, the point isn't memorising every clause. The point is knowing that compliant waterproofing protects your structure, your budget, and your peace of mind.
Why this matters before design decisions
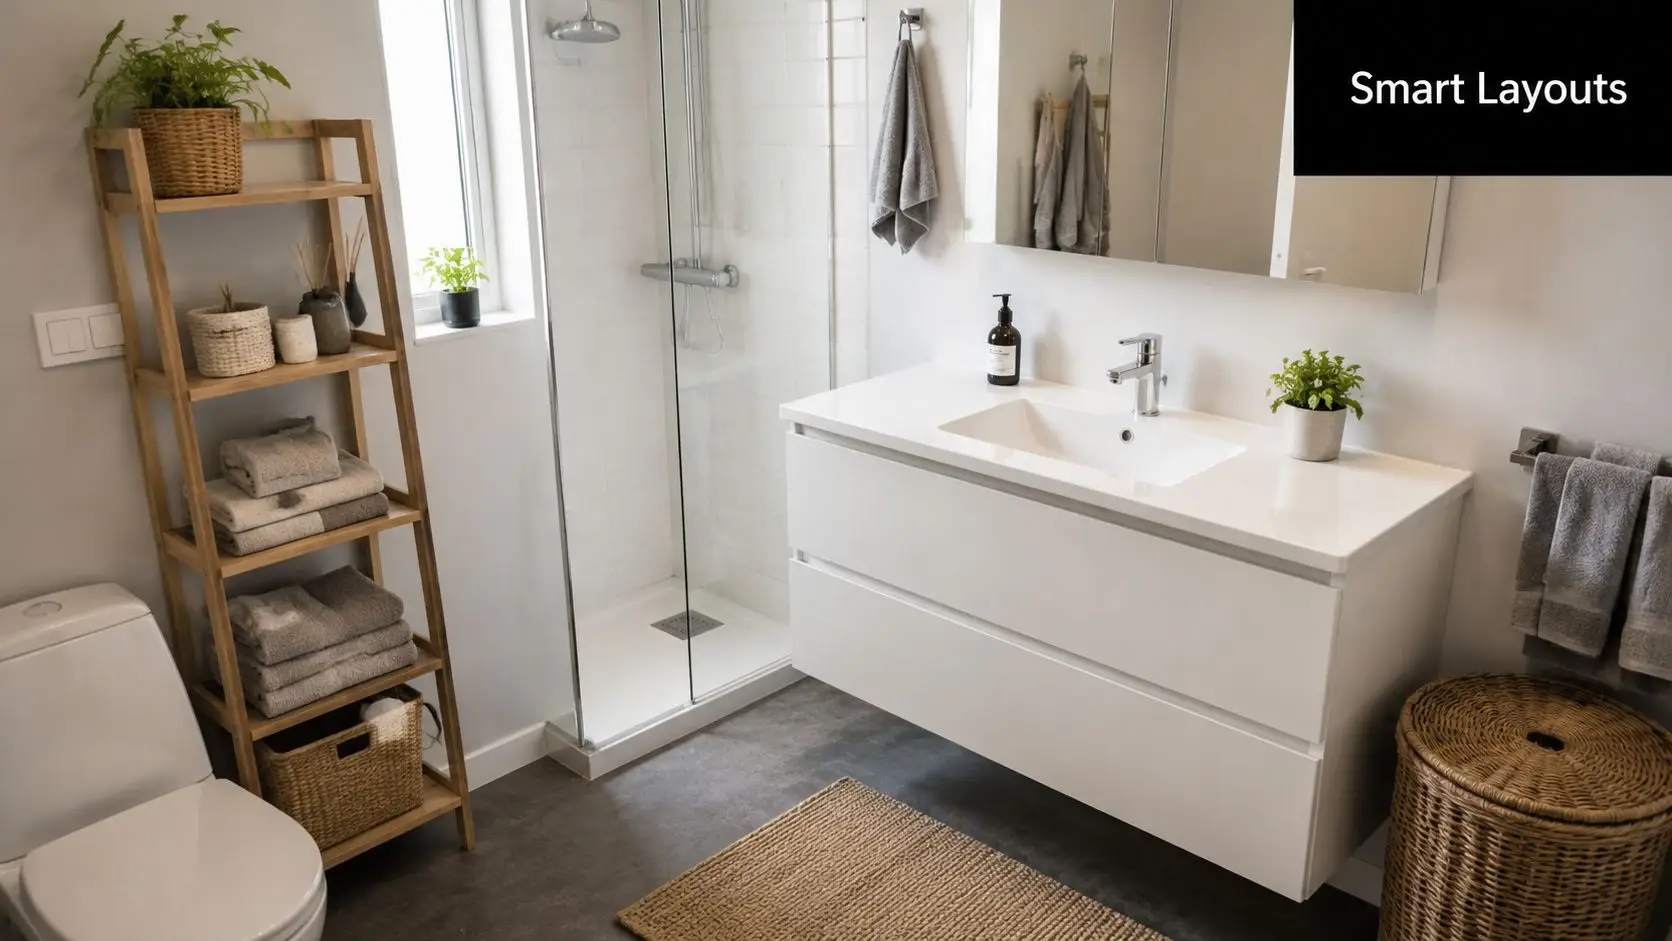
A common pitfall is that many people choose layout and style first, then expect the waterproofing to somehow fit around the design. It should be the other way around.
If you want open showers, designer bathrooms, recessed niches, or a level-entry look, those details have to be designed around compliant waterproofing from the beginning. Good bathrooms balance appearance and performance. Bad ones force a trade-off that usually shows up later as damage.
The Two Pillars of Waterproofing Compliance
There are two documents that matter most in domestic wet area work. Think of one as the law, and the other as the rulebook builders use to satisfy that law.
The National Construction Code, or NCC, sets the legal performance requirements for building work. The Australian Standard AS 3740:2021 gives the detailed methods commonly used to meet those requirements in wet areas. If the NCC is the destination, AS 3740 is the map most trades follow to get there.

The NCC sets the legal baseline
For homeowners, the key point is simple. The NCC isn't optional. It's the compliance framework for new building work and renovations that fall within its scope.
That matters because people still talk about waterproofing as if it's just “how one tradie likes to do it”. It isn't. It has minimum requirements, and those requirements exist because bathrooms are one of the easiest places in a home to create hidden building damage.
AS 3740 gives the technical pathway
The detail sits in AS 3740:2021. As noted in this summary of the AS 3740 update, the current Australian Standard governing domestic wet area waterproofing, AS 3740:2021, is referenced in the NCC 2022 as an alternative compliance option alongside Part 10.2. It also introduced a new requirement that the waterproof membrane itself must be graded to the drain waste puddle flange, not just the surface tile finish, which changed installation practice for commercial wet areas and multi-unit dwellings.
That distinction matters more than homeowners realise. A floor can look like it falls correctly once tiled, but if the membrane underneath doesn't direct water properly, moisture can sit below the finished surface where you can't see it.
The bathroom doesn't pass because it looks neat. It passes because the concealed work meets the standard.
Why builders usually follow the standard closely
A good builder wants a clear compliance path. AS 3740 provides that path. It tells the trades how to handle junctions, penetrations, shower areas, drainage, and substrate conditions in a way that aligns with the code.
For a homeowner, that means asking a direct question is perfectly reasonable:
- Which compliance pathway are you using
- How are you documenting the waterproofing work
- Who is carrying out the membrane installation
- What inspection happens before tiling
If a contractor answers vaguely, that's a warning sign. Waterproofing shouldn't rely on memory, habit, or “she'll be right” judgment. It should rely on documented method, correct sequencing, and proper sign-off.
Key Technical Rules for Your Bathroom Renovation
This is the part homeowners should understand well enough to ask smart questions.
The technical rules aren't there to make a bathroom harder to build. They exist because water behaves predictably. It sprays, runs downhill, sits in low spots, and wicks into joints. The rules respond to those behaviours.
Under NCC 2022 Part 10.2 wet area waterproofing provisions, shower walls must be waterproofed to a minimum height of 1800 mm above the finished floor substrate. The code also requires wall and floor junction protection extending at least 40 mm on either side of the joint, and where there's a timber-based floor, the entire floor of the wet area must be fully waterproofed.
Minimum waterproofing requirements at a glance
| Area | Minimum Requirement |
|---|---|
| Shower walls | Waterproof to 1800 mm above finished floor substrate |
| Wall and floor junctions | Protect junctions with coverage extending at least 40 mm on either side |
| Timber-based wet area floors | Entire floor must be fully waterproofed |
| Shower floor | Full waterproofing to the shower area, including relevant transitions and junctions |
If you want a more visual explanation of how these details come together beneath the tiles, this guide to bathroom waterproofing requirements and process is useful background.
The 1800 mm shower wall rule
This one catches people by surprise because older bathrooms were often treated more lightly. Current rules are stricter for good reason. Shower spray doesn't stop neatly at shoulder height, and water vapour and splash don't respect guesswork.
In plain terms, the wet zone in the shower must be treated as a real wet zone. If the membrane stops too low, water can migrate into the wall lining and framing above the protected area.
Junctions and penetrations are where failures often start
Corners, wall and floor junctions, pipe penetrations, mixer points, and shower fittings are all stress points. Those areas move slightly over time. Buildings settle. Materials expand and contract. If those locations aren't treated properly, the membrane can fail at the exact points where water pressure and movement combine.
That's why the junction protection requirement matters. It gives vulnerable transitions a properly treated zone instead of a thin line of hope.
On site check: Before tiles go on, look for continuous membrane coverage at corners, around outlets, and where surfaces change direction. Those details matter more than the tile pattern ever will.
Why the floor fall matters
A waterproof bathroom still needs to drain. If water sits on the floor because the fall is wrong, the bathroom is under stress every time it's used.
According to guidance on AS 3740:2021 wet area falls and drainage, shower recess walls in Category 1 areas must be waterproofed to 1800 mm above the finished floor level, or to the height of the shower head outlet if greater. The same guidance notes that the shower floor, including any hob or step-down, must be fully waterproofed, and that internal and external corners within this zone must be reinforced with fabric embedded in the first membrane coat, extending at least 40 mm on each side of the junction.
That reinforcement matters because corners crack first if the installer treats them like flat surfaces.
Timber and concrete are not treated the same way
Substrate changes the approach. Timber-based floors move more with moisture and load. That's why the code requires full wet-area waterproofing on those floors. Concrete and compressed fibre-cement conditions are different, so the compliance path can differ too.
For homeowners, the lesson is simple. The bathroom build-up must suit what the bathroom is built on. A method that works over one substrate may be wrong over another.
Your Renovation Team and Their Responsibilities
A lot of bathroom disputes happen because everyone assumes someone else is handling waterproofing compliance.
That assumption is expensive.
In a properly run renovation, each person has a clear job. The builder manages the project and carries overall responsibility for compliant construction. The waterproofing contractor performs the specialist membrane work. The independent inspector or surveyor checks what needs to be checked before the job gets covered.
The builder owns the result
If you're engaging a company to run the full bathroom renovation, the builder is the person coordinating the sequence, selecting qualified trades, and making sure work meets the required standard. In Victoria, that responsibility sits heavily with the registered practitioner in charge of the build.
That's why working with a registered builder for bathroom renovations in Victoria matters. If you're dealing with a team that handles design, demolition, waterproofing coordination, tiling, and sign-off, there should be one accountable point of control.
For larger renovation work, homeowners often hear the term registered builders unlimited. What matters to you isn't the label by itself. It's that the person managing the project understands the legal and technical obligations and doesn't outsource responsibility in a vague way.
The waterproofer does specialist work and must certify it
Waterproofing isn't the place for rough estimates or casual patch-ups. It's specialist work that has to be installed to the substrate, the layout, and the standard.
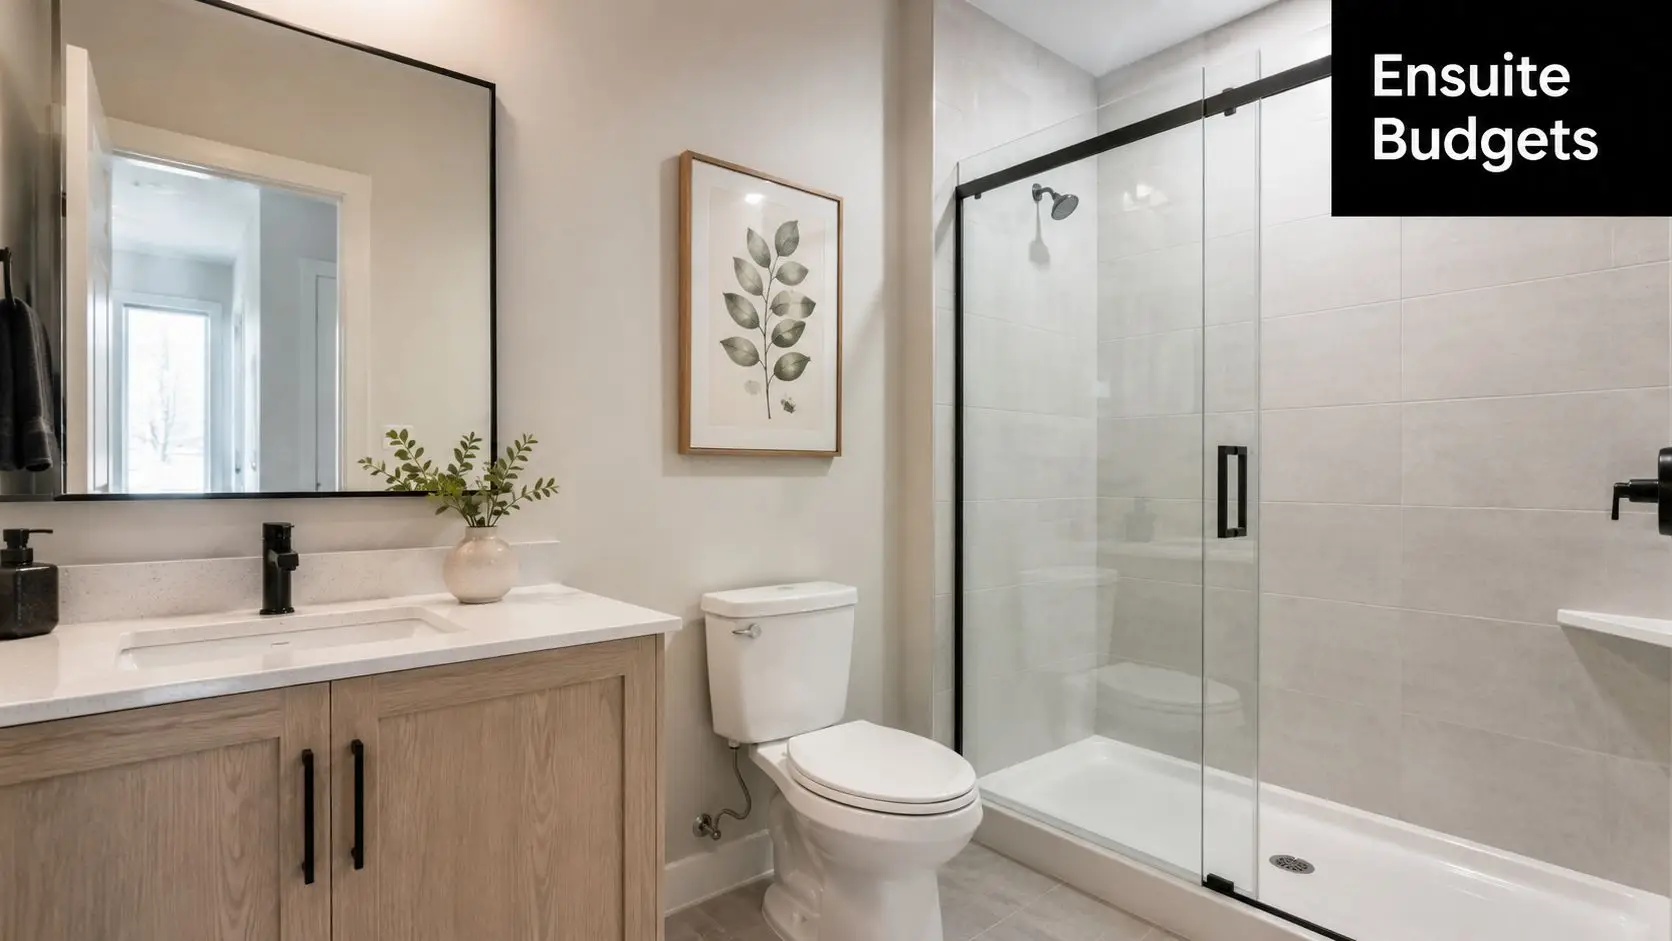
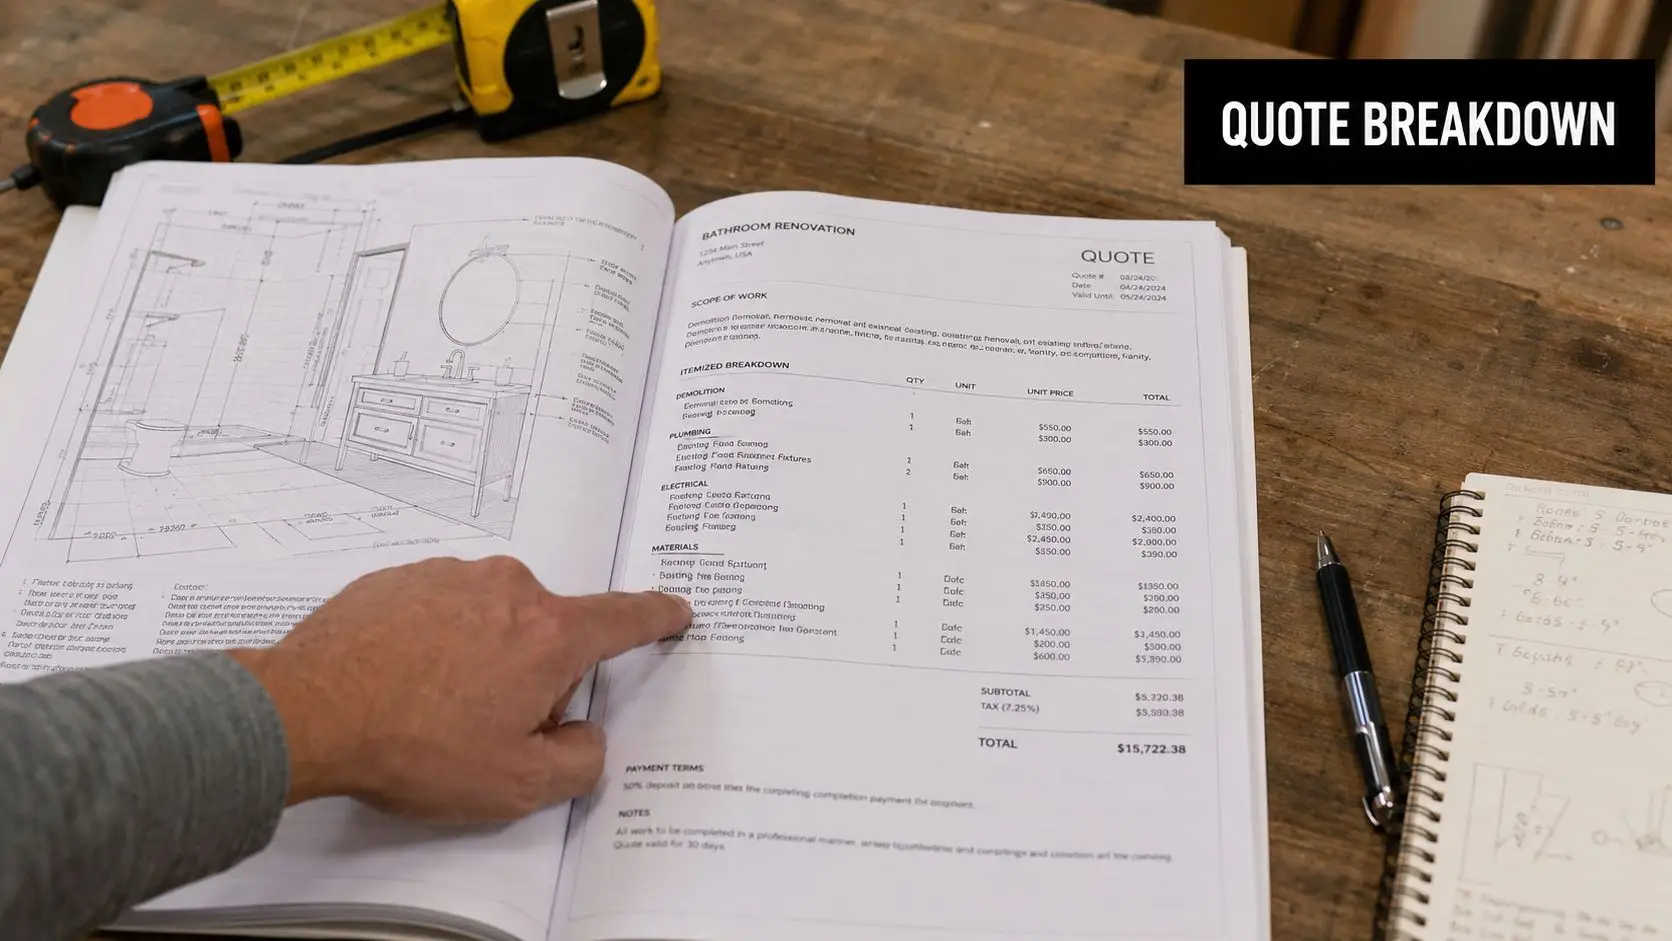
In Victoria, professional bathroom waterproofing requirements include an independent inspection before tiling and the issuance of a formal Installation Certificate by a licensed waterproofer. The same source states that proper installation costs around $2,000–$3,500, while rectification costs for failed work can reach $15,000–$30,000.
That cost gap explains why cheap waterproofing quotes are often false economy.
The inspector checks before the work disappears
Once tiles go on, most of the critical work is hidden. That makes pre-tiling inspection one of the most important control points in the whole project.
A sensible homeowner should know:
- When inspection happens: It must happen before tiling covers the membrane.
- What's being checked: Coverage, detailing, continuity, and readiness for the next stage.
- What document follows: A certificate or formal record that the waterproofing has been completed correctly.
If the team wants to tile immediately and deal with paperwork later, stop the job and ask questions.
How to Verify Correct Waterproofing Installation
You don't need to be a builder to verify the basics. You just need to know what to look for before the tiles hide everything.
This is the stage where homeowners should slow the job down, walk the room, and ask direct questions. A decent renovation team won't be bothered by that. They'll expect it.
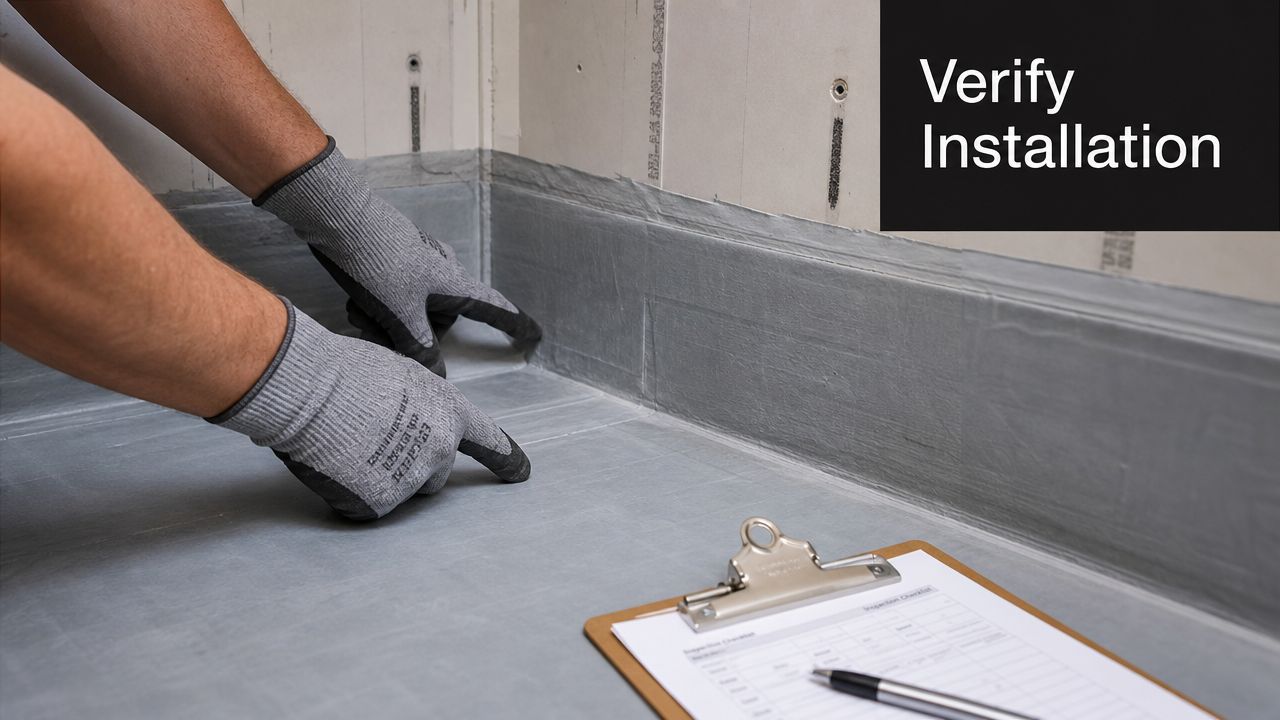
The pre-tiling checklist
Before any tile adhesive goes down, check these points:
- Full visible coverage: The membrane should be continuous in the areas being treated, with no missed patches or thin-looking edges.
- Corners and junctions: Look closely where walls meet floors and where walls meet other walls.
- Penetrations sealed: Tap outlets, mixers, shower fittings, and pipe penetrations should be properly integrated into the membrane system.
- Drain detail finished correctly: The membrane should terminate correctly at the waste detail, not loosely around it.
- No rushed sequencing: Waterproofing needs proper curing before the next trade covers it.
Take photos at this stage. They're useful records if questions ever come up later.
Flood testing and DFT testing
According to guidance on AS 3740 acceptance testing and Victorian compliance, AS 3740 requires post-installation acceptance testing via either a controlled water flood test for a minimum duration of 24 hours or a non-destructive dry film thickness (DFT) test to verify membrane integrity before tile installation. The same guidance states that in Victoria, compliance is a legal obligation under the NCC 2022, and non-compliance can void building insurance.
That's not a minor procedural step. It's the proof stage.
A flood test is straightforward in principle. The waste is controlled, water is held to the required level, and the area is monitored over the required period. If the system can't hold water properly before tiles are laid, it certainly won't improve after the room is finished.
Documents you should ask for
Ask for these before handover:
- The Installation Certificate from the licensed waterproofer.
- Evidence of inspection before tiling, where required.
- Product details for the membrane system used.
- Photos of the membrane before it was covered.
- Confirmation of testing, whether flood test or DFT test was used.
“Can I see the waterproofing certificate before tiling starts?” is one of the best questions a homeowner can ask.
If that question creates discomfort on site, you've learned something important.
Common Pitfalls and Designer Bathroom Solutions
The trouble with stylish bathrooms is that people often assume a clean look means a simple build. It usually means the opposite.
Many modern bathrooms and designer bathrooms hide a lot of technical work. Flush floor finishes, open shower zones, niches, frameless glass, and minimalist detailing all reduce the margin for error. The nicer the bathroom looks, the more disciplined the concealed work has to be.
Hobless showers are not flat showers
This is the biggest point of confusion in current bathroom design.
A level-entry shower can appear continuous, but it still has to control water. As explained in this discussion of NCC 2022 hobless shower requirements, the NCC 2022 Housing Provisions now mandate a minimum 25 mm step-down from the shower floor to the external wet area, replacing the 15 mm figure many older guides still repeat from AS 3740:2010.
That means a compliant hobless shower usually relies on hidden structure and careful set-down within the floor system. It doesn't mean “make the whole floor flat and hope the screen handles it”.
Patching a membrane is not a proper fix
Another common mistake is assuming a damaged membrane can just be touched up wherever someone nicked it or missed a section.
Current industry guidance reflected in the verified material is that membranes must be installed as a continuous unit, and patching is not permitted. That's a practical issue as much as a compliance issue. Once continuity is compromised, the whole system becomes harder to trust.
Design choices that need early planning
If you're collecting new bathroom ideas, these features need careful early coordination:
- Open or frameless showers: They need excellent drainage planning and correct waterproofing extent.
- Wall niches: Every recess creates extra corners, edges, and sealing points.
- Linear drains: They can work well, but only when the falls and membrane detailing are planned properly.
- Large-format tiles: They look great, but they don't fix poor falls underneath.
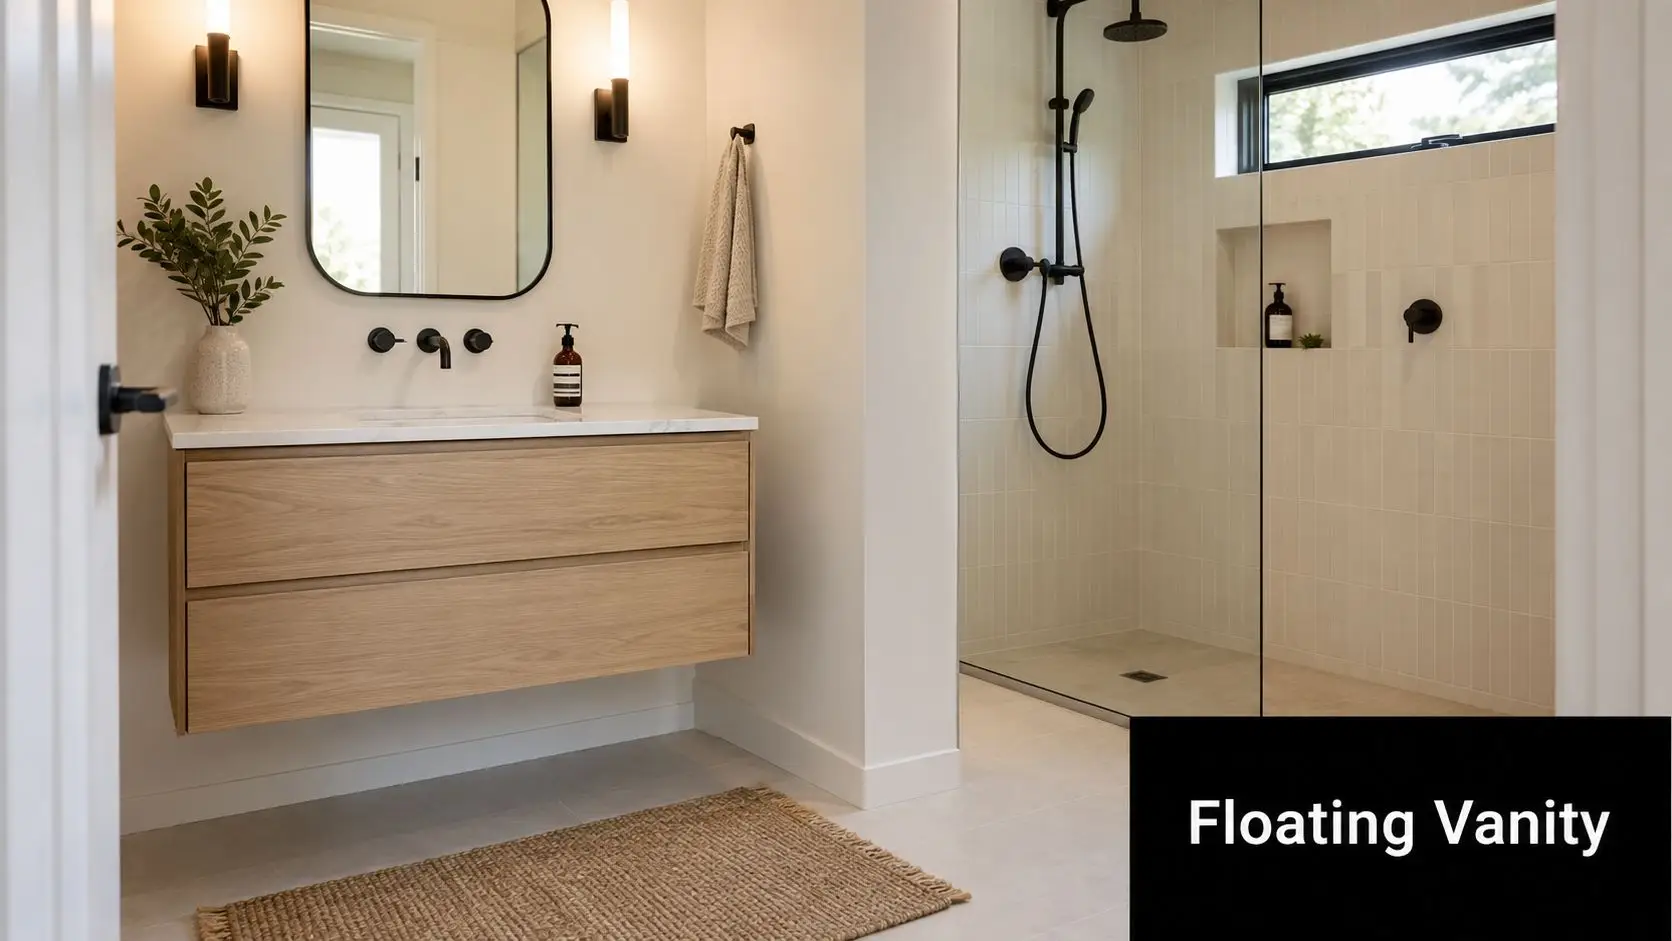
- Floating vanities near wet zones: The wall protection and penetration detailing still need to be right.
A good builder won't tell you these features are impossible. They'll tell you what the design needs so it performs properly.
Partnering with SitePro for a Compliant Renovation
Waterproofing standards in Australia aren't hard because the rules are unclear. They're hard because bathrooms combine water, movement, multiple trades, and concealed work in a small space. That's why the safest renovation projects are the ones run with strong process from the start.
SitePro Bathrooms handles bathroom renovations as an end-to-end service, from planning and layout through to build coordination and finishes. That matters because compliance doesn't happen in isolation. It depends on the design, the substrate, the sequencing, the licensed trade work, the inspection timing, and the final documentation all lining up.

For homeowners in Highett and across greater Victoria, that means less guesswork. If you're planning a family bathroom, an ensuite upgrade, or one of the more ambitious modern bathrooms people save for later, the value is having one experienced team manage the details that can't be left loose. That includes working with registered trades, coordinating waterproofing correctly, and making sure certification is part of the process rather than an afterthought.
The result should be simple. A bathroom that looks right, drains properly, meets the rules, and stays that way.
If you want a renovation team that understands both compliance and finish quality, SitePro Bathrooms is a practical choice for homeowners who don't want to chase trades, decode standards, or risk hidden waterproofing failures after handover.