Luxury Bathroom Renovation Victoria: 2026 Design Guide
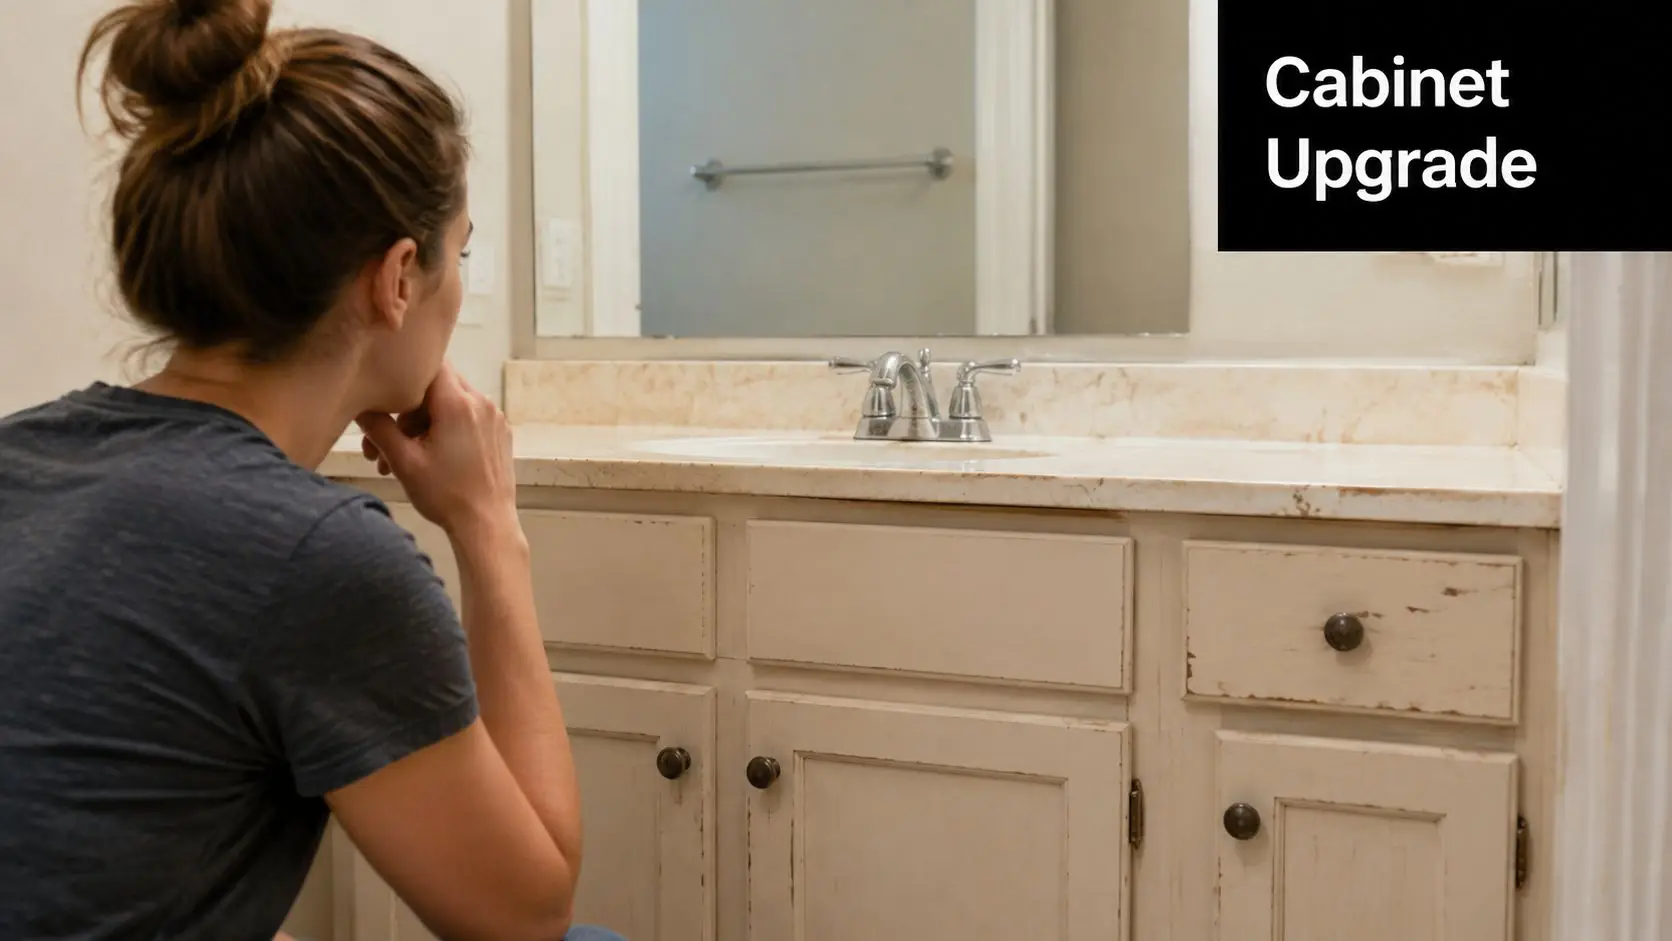
You're probably at the point where a basic update no longer feels enough. The old bathroom still works, but it doesn't feel calm, generous, or aligned with the rest of the home. You want something that feels refined every morning, not just “new”.
That's where a luxury bathroom renovation becomes a different category of project. It isn't only about swapping tiles and tapware. It's about layout, proportion, storage, lighting, waterproofing, comfort, and the way every finish works together. In Victoria, that also means planning carefully around local trade costs, compliance, and the considerations of renovating older housing stock.
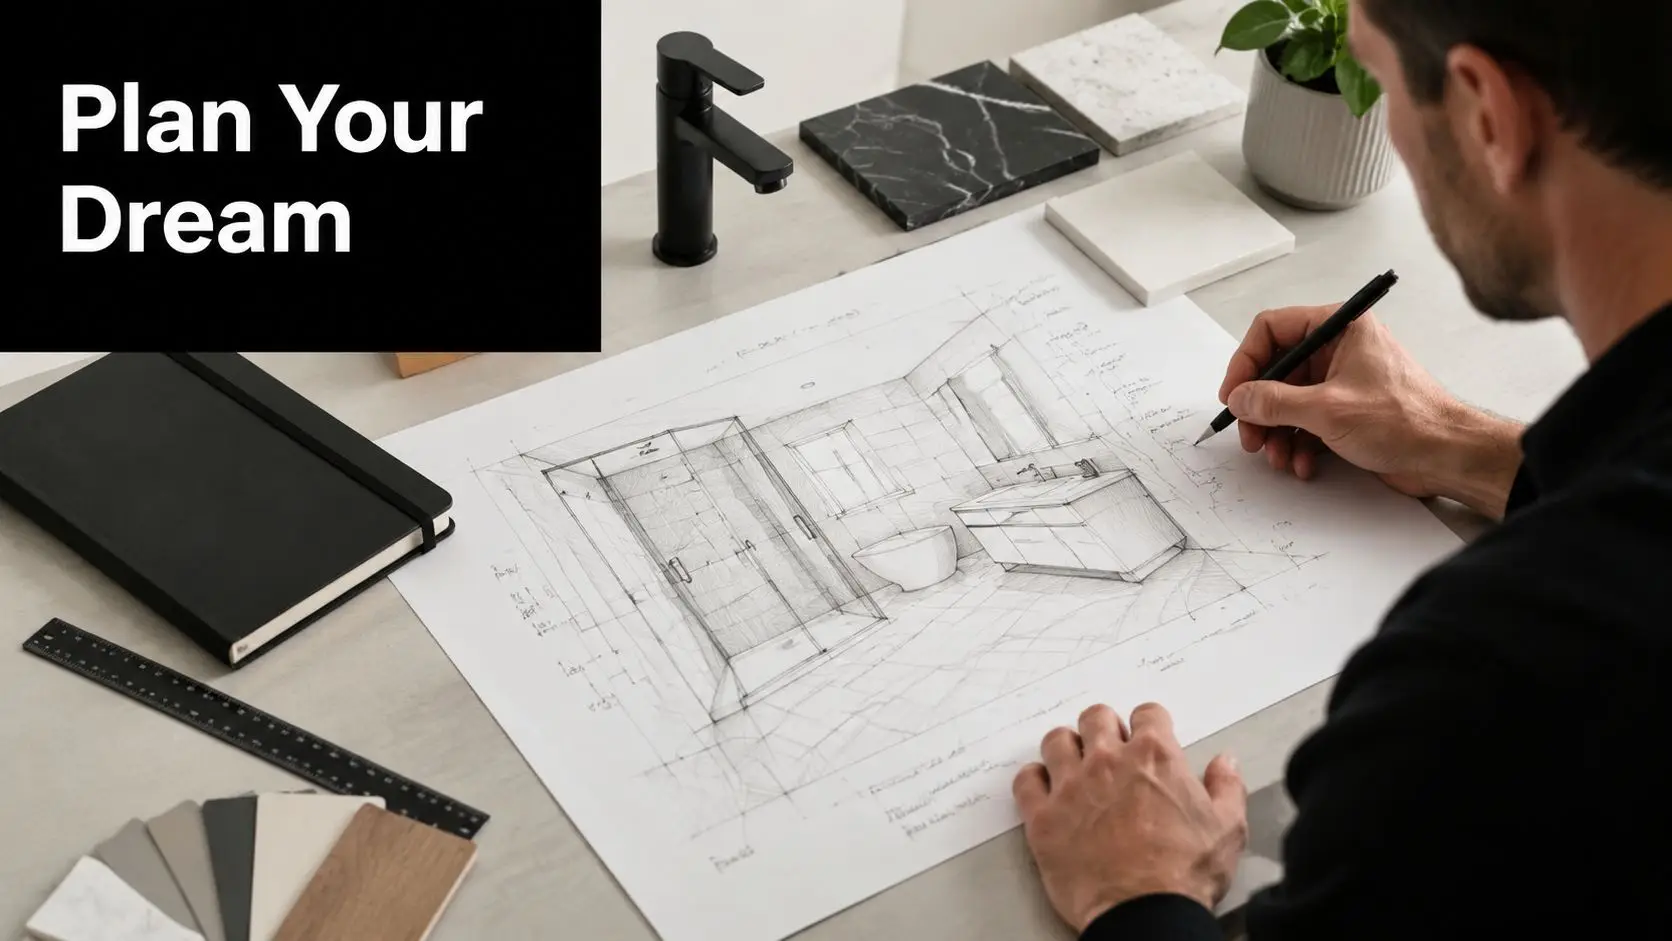
Embarking on Your Luxury Bathroom Renovation
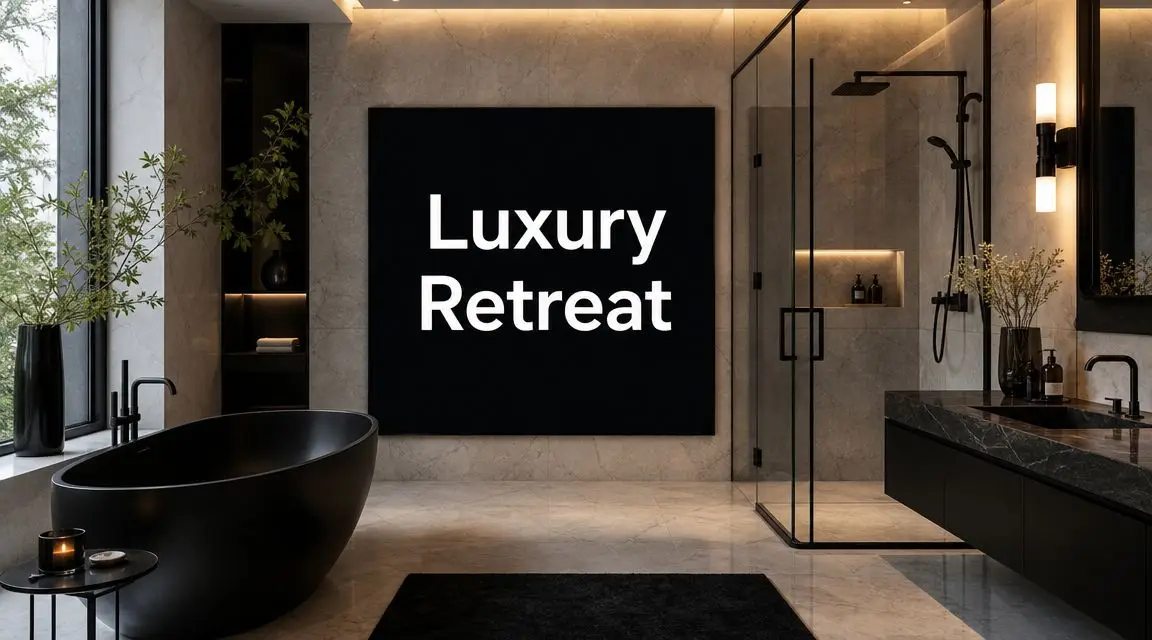
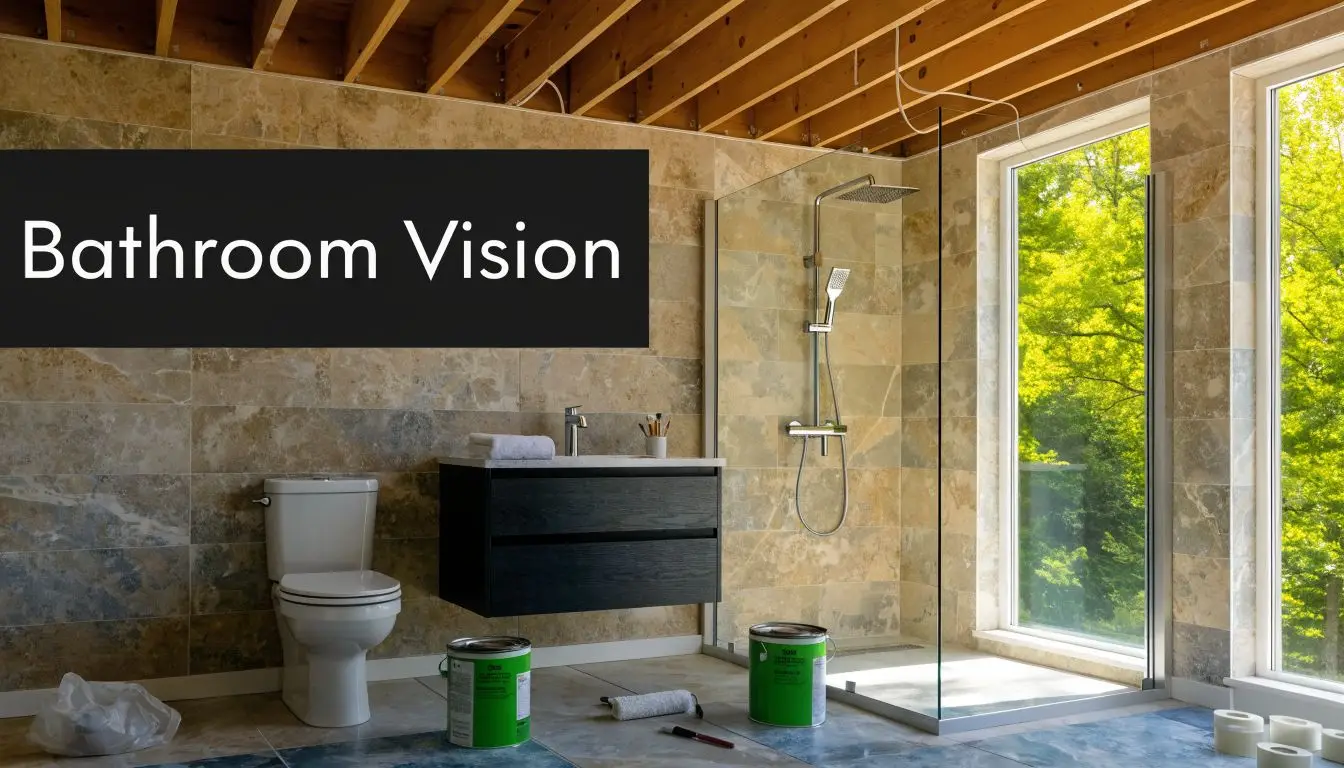
A standard bathroom update solves wear and tear. A luxury renovation solves how the room feels and functions. It turns a hard-working room into a private retreat, but it only works when design and construction are treated as one decision, not two separate jobs.
In Australia, luxury bathroom renovations are generally considered to start at $35,000 and up, with high-end projects often falling between $50,000 and $75,000, compared with an average national bathroom renovation cost of $26,000 according to this 2025 bathroom renovation cost breakdown. That gap tells you something important. Luxury isn't just a nicer vanity. It's a project where layout changes, higher-grade finishes, specialist trades, and tighter detailing all start to matter.
For first-time renovators, the biggest mistake is assuming luxury means adding more of everything. It doesn't. The best bathroom renovations are edited. They're organised around how you live. That might mean a larger walk-in shower instead of squeezing in a bath you'll rarely use. It might mean custom joinery that hides the clutter, or lighting that works at 6 am and still feels warm at night.
A strong project usually balances four things:
- Design quality: the room feels cohesive, not pieced together
- Budget control: selections match the investment level
- Buildability: what looks good on paper can be built properly on site
- Long-term value: the result suits both your lifestyle and your property
If you're still shaping your vision, looking at bathroom renovation before and after examples helps clarify what changes make the biggest difference. Pay attention to layout and storage as much as finishes.
A luxury bathroom should feel easier to use, not just more expensive to look at.
That's the lens worth keeping from the start. The smartest projects in Victoria combine modern bathrooms, designer bathrooms, and practical project planning so the final space feels polished, durable, and worth the investment.
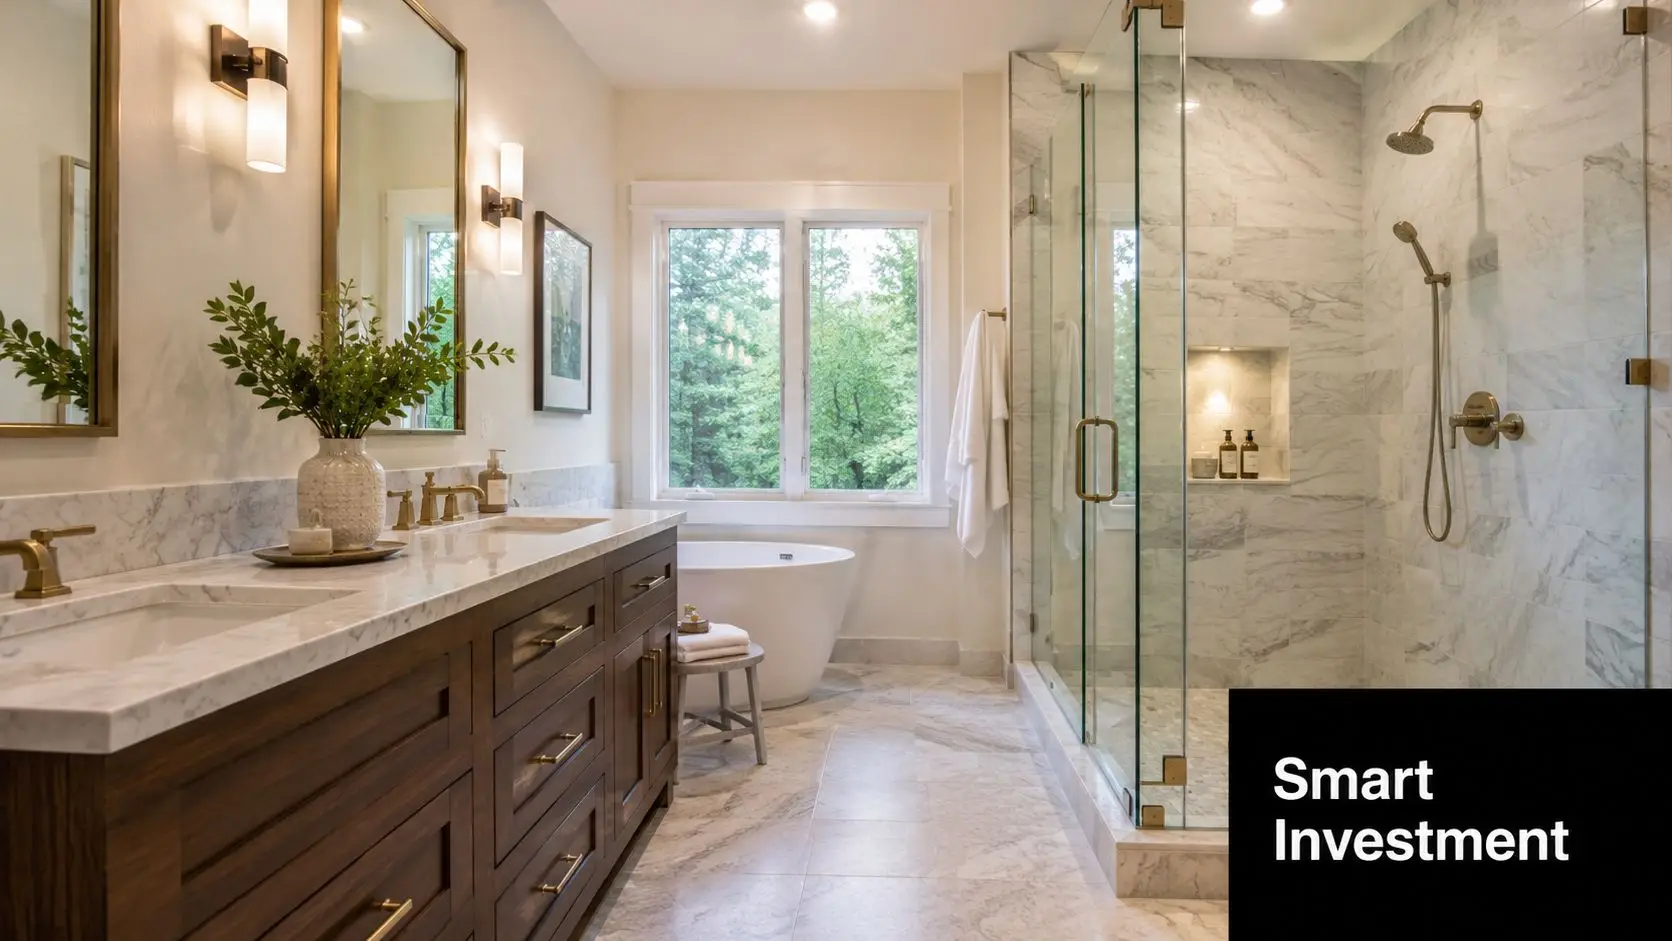
What Truly Defines a Designer Bathroom
A high budget alone doesn't create a designer bathroom. Plenty of expensive bathrooms still feel awkward, cluttered, or dated within a few years. The difference comes from restraint, planning, and how the room performs day to day.
Luxury starts with decisions, not price tags
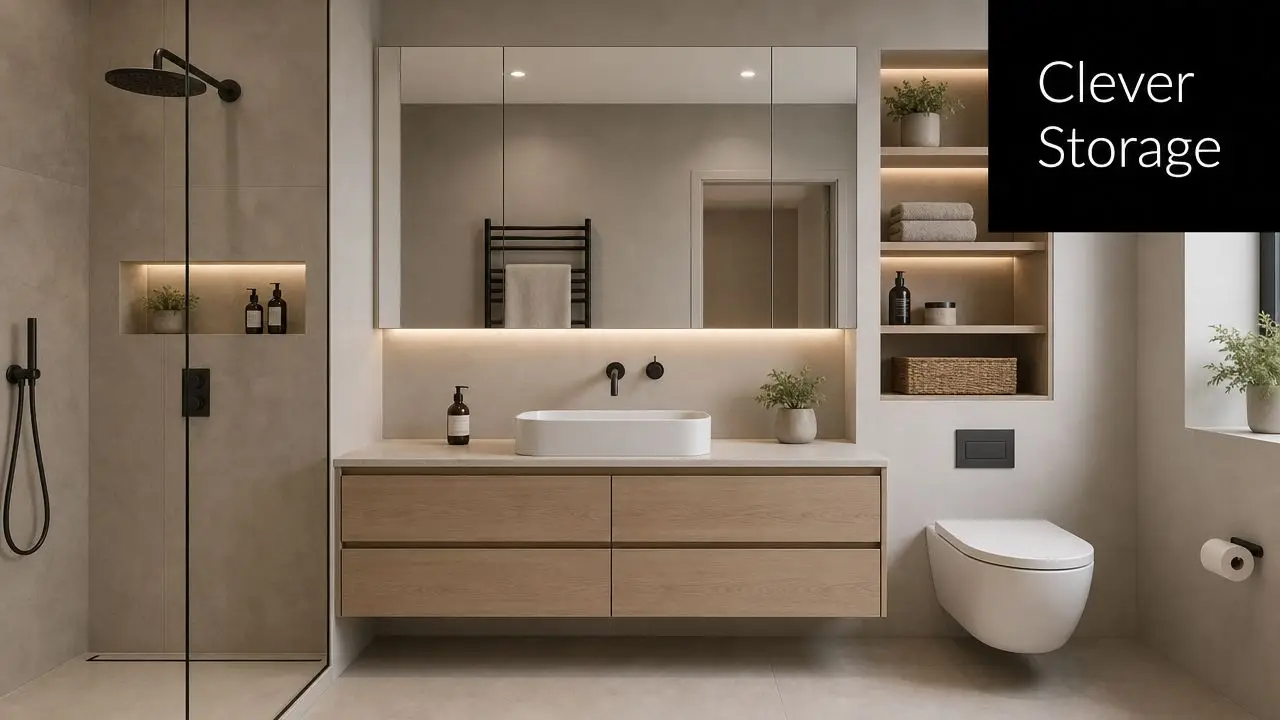
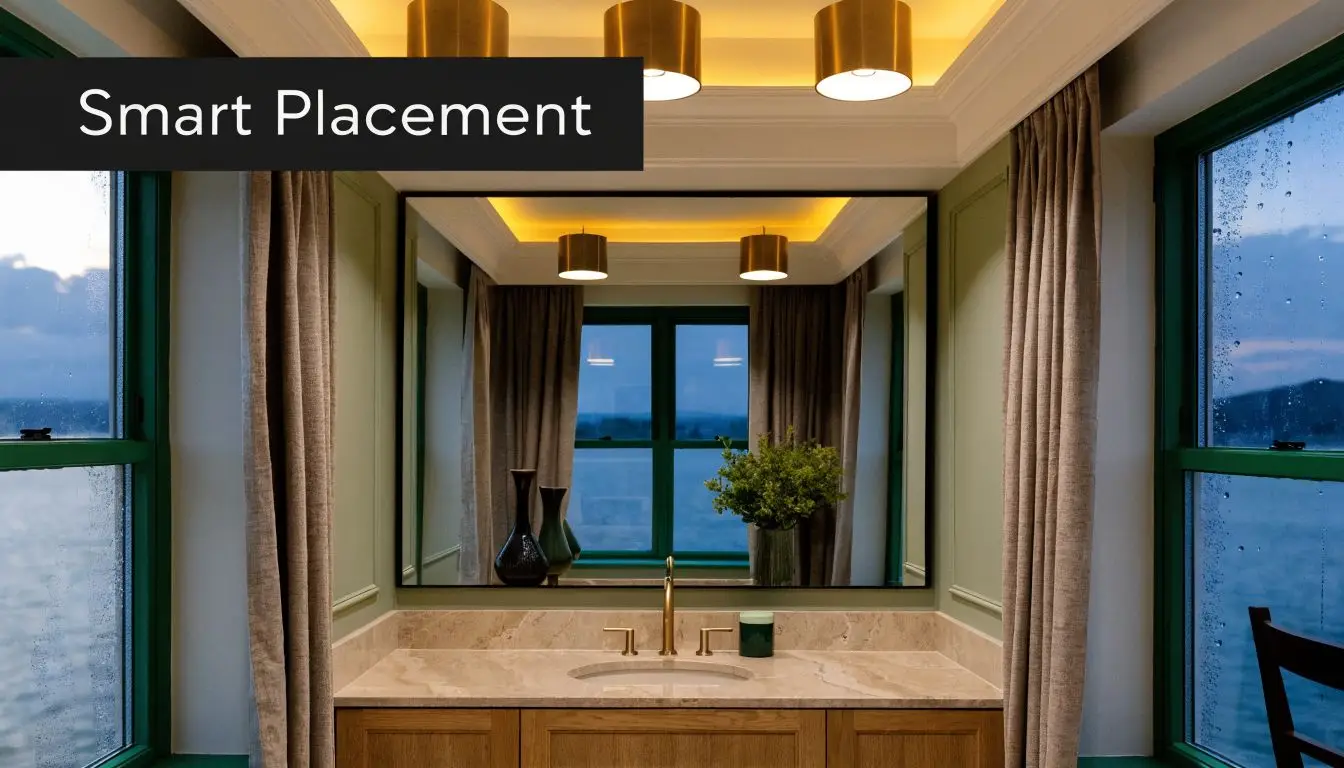
The strongest designer bathrooms usually have a clear hierarchy. One material leads. One focal point anchors the room. Storage is integrated instead of added as an afterthought. Lighting is layered rather than relying on a single ceiling fitting.
That's why some of the best new bathroom ideas aren't about adding features. They're about removing the wrong ones. A recent Australian design perspective argues that the most underrated luxury detail is knowing what to omit, and current 2025 to 2026 trends favour uncluttered elements over excessive ornamentation under the idea of “luxury meets everyday functionality” in this design trend reference.
That principle matters in practice. If every wall has a feature tile, every surface has a different finish, and every fitting tries to be a statement piece, the room loses calm. Cleaning also becomes harder. So does coordinating the build.
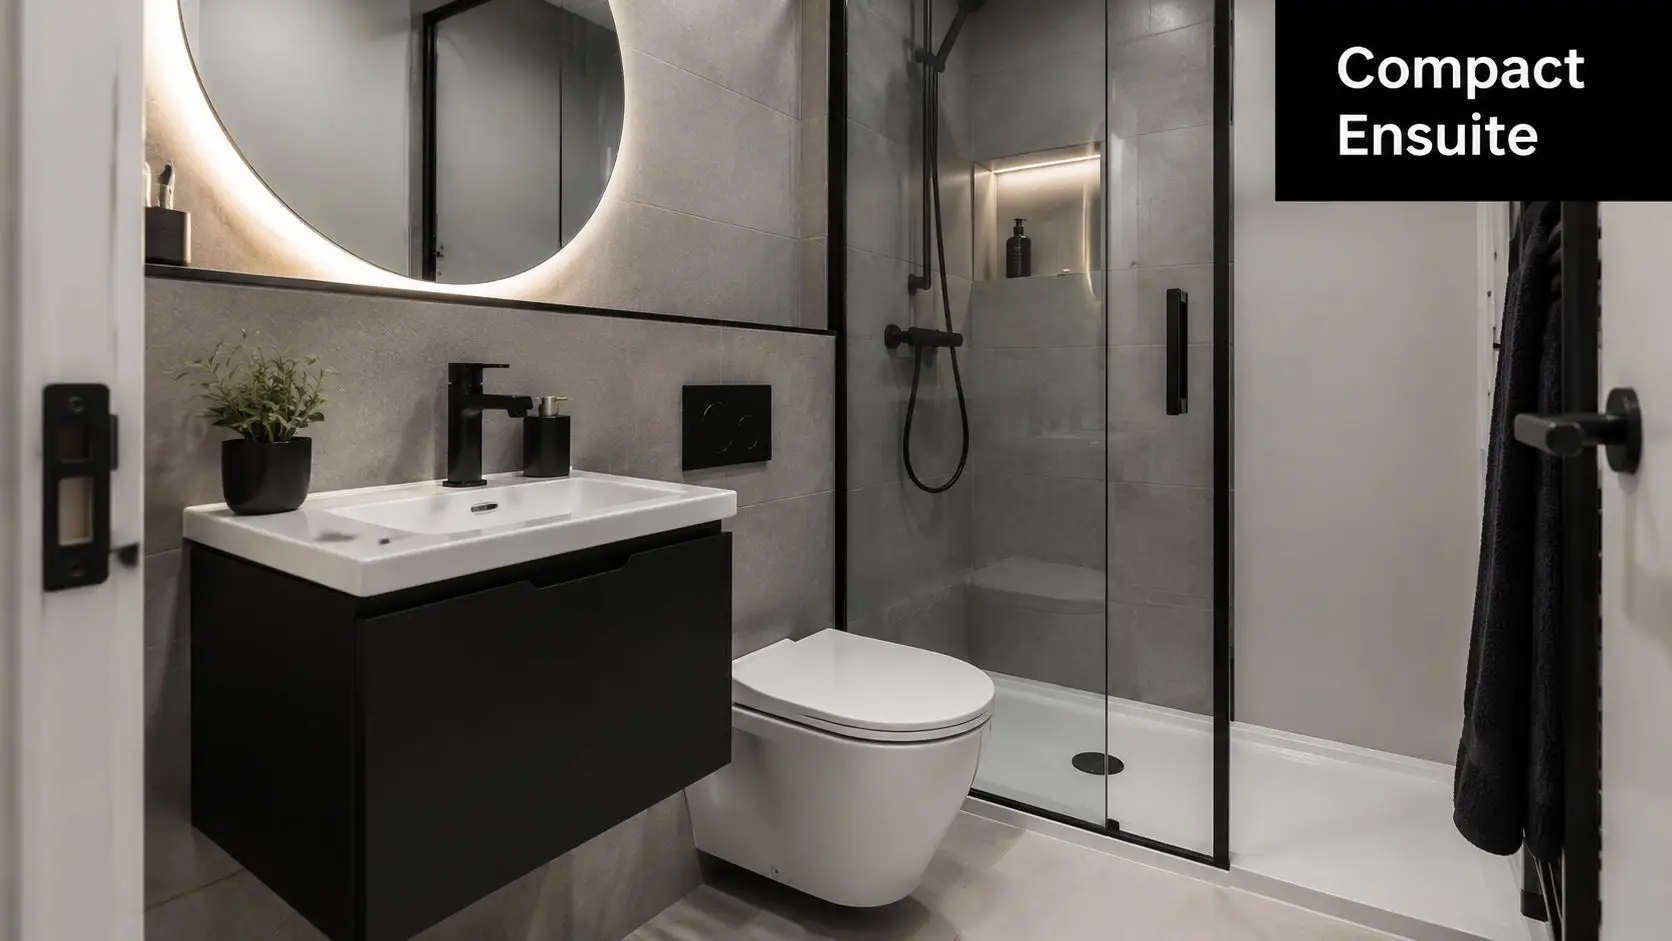
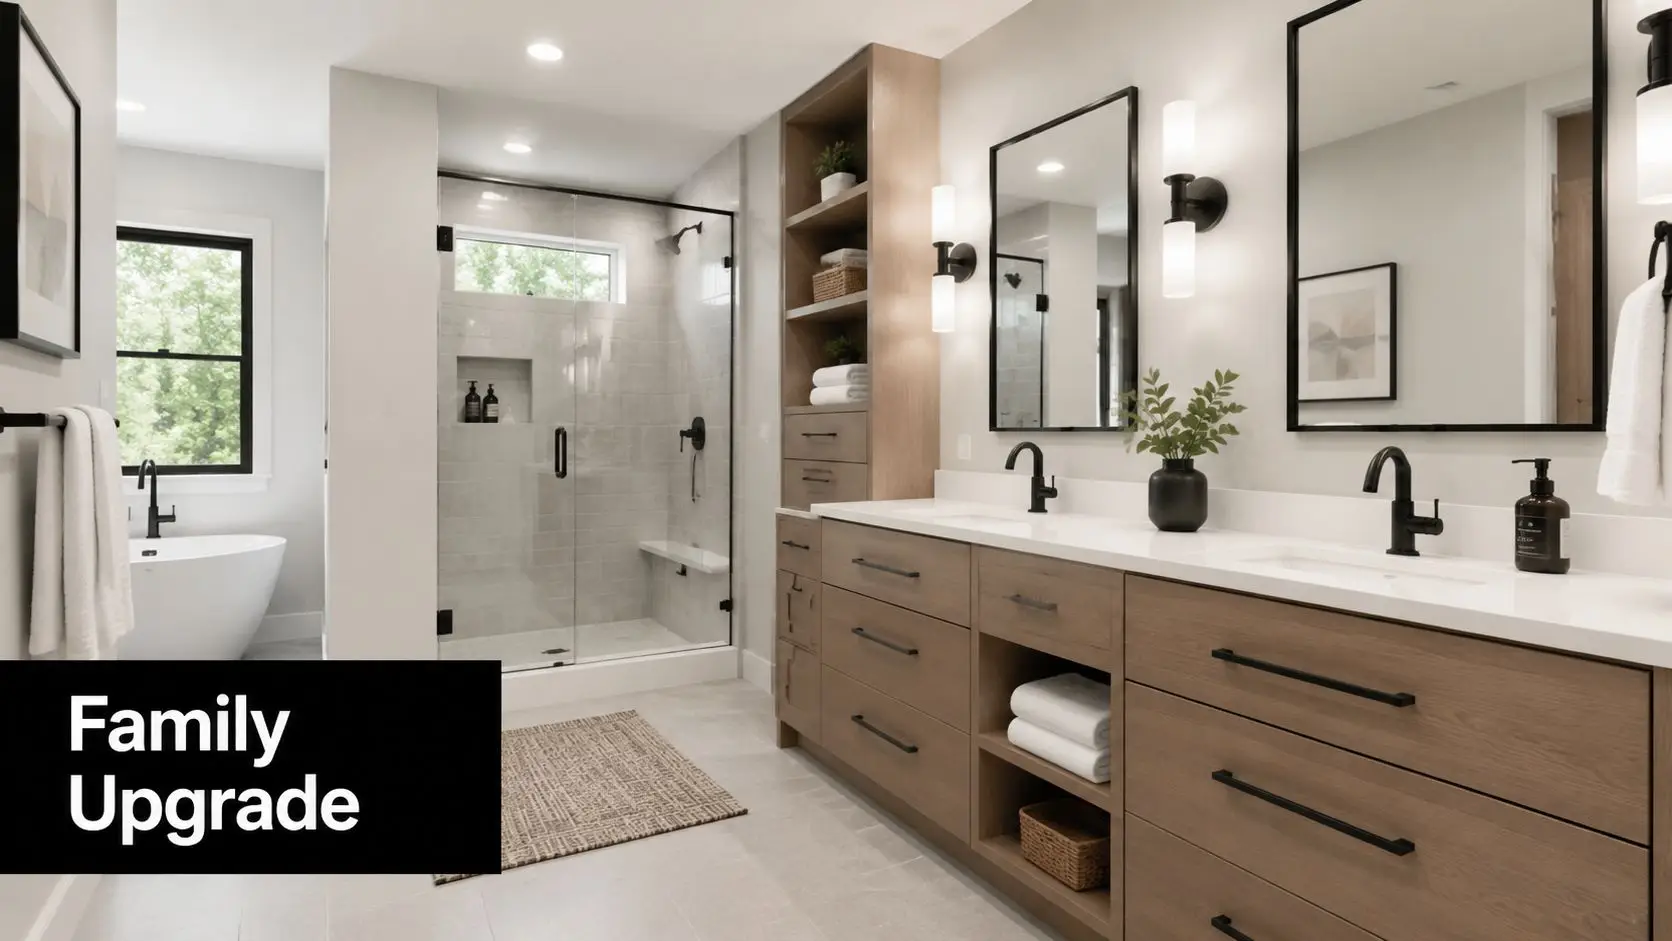
What works in real homes
In Melbourne homes, especially period properties and family homes, the best luxury bathrooms usually share a few traits:
- Custom joinery that earns its space: a vanity should solve storage, circulation, and visual balance at the same time
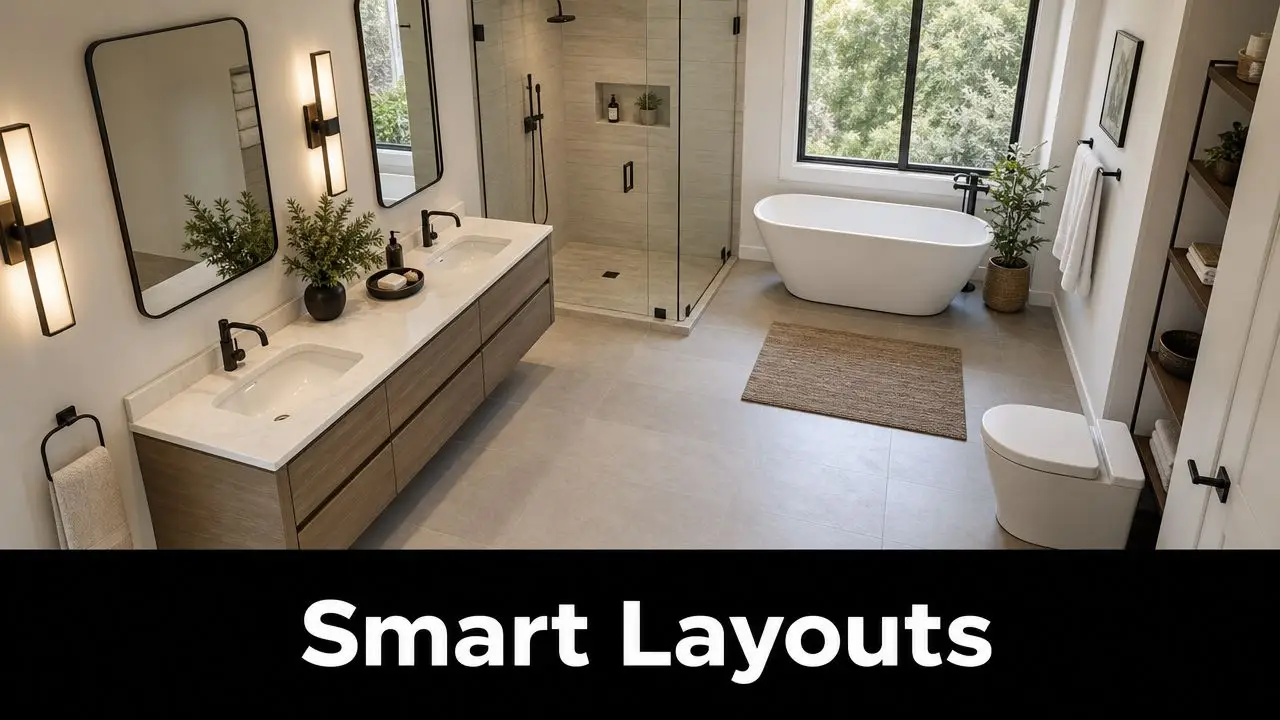
- A layout with natural flow: enough room to open drawers, step out of the shower, and move comfortably
- Lighting with purpose: task lighting at the mirror, ambient lighting for mood, and enough general light to keep shadows under control
- A restrained palette: fewer materials, better quality, stronger visual consistency
Design test: If a feature doesn't improve comfort, storage, maintenance, or atmosphere, it probably doesn't belong.
The difference between styled and resolved
A styled bathroom photographs well. A resolved bathroom works every day. That means the basin height feels right, the mirror suits the vanity width, the shower niche lands neatly in the tile setout, and towel placement makes sense when you step out wet.
That's what people usually mean when they say they want designer bathrooms. They want spaces where nothing feels accidental.
The room should still feel current in years to come. That's why the best luxury approach isn't chasing every trend. It's selecting durable ideas with enough personality to feel distinct, but enough discipline to age well.
High-End Design Principles and Material Choices
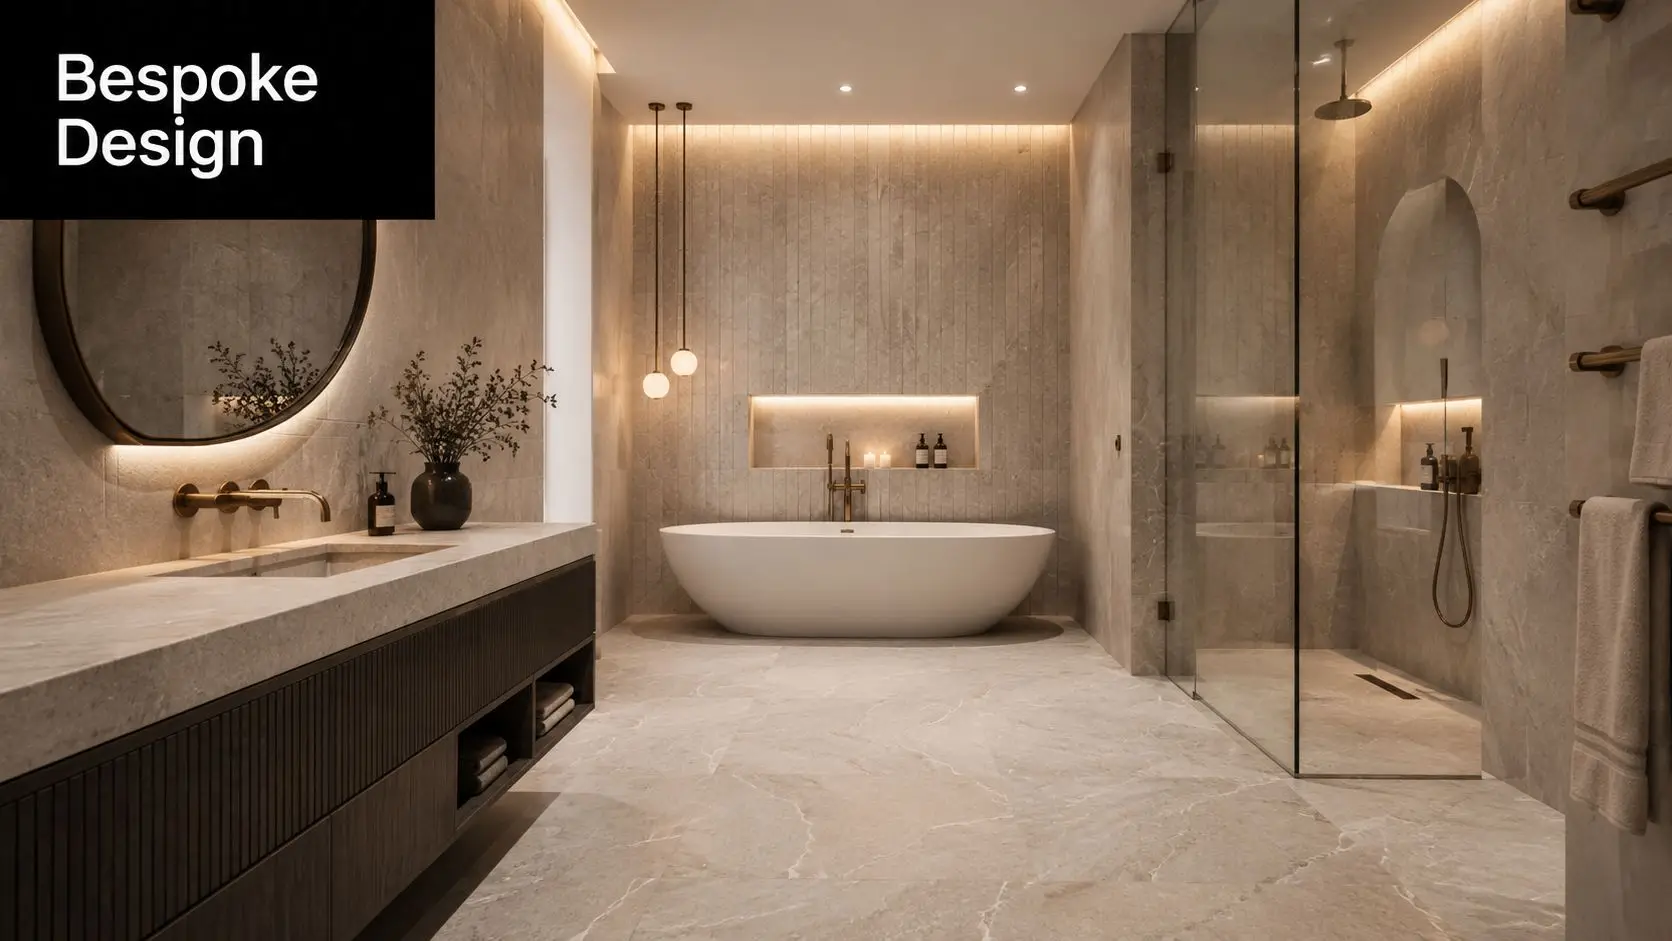
Good luxury design gets tangible when selections begin. The room transitions from mood board to buildable reality. Materials, fixtures, and detailing determine whether the space feels crisp and refined, or merely expensive and overworked.
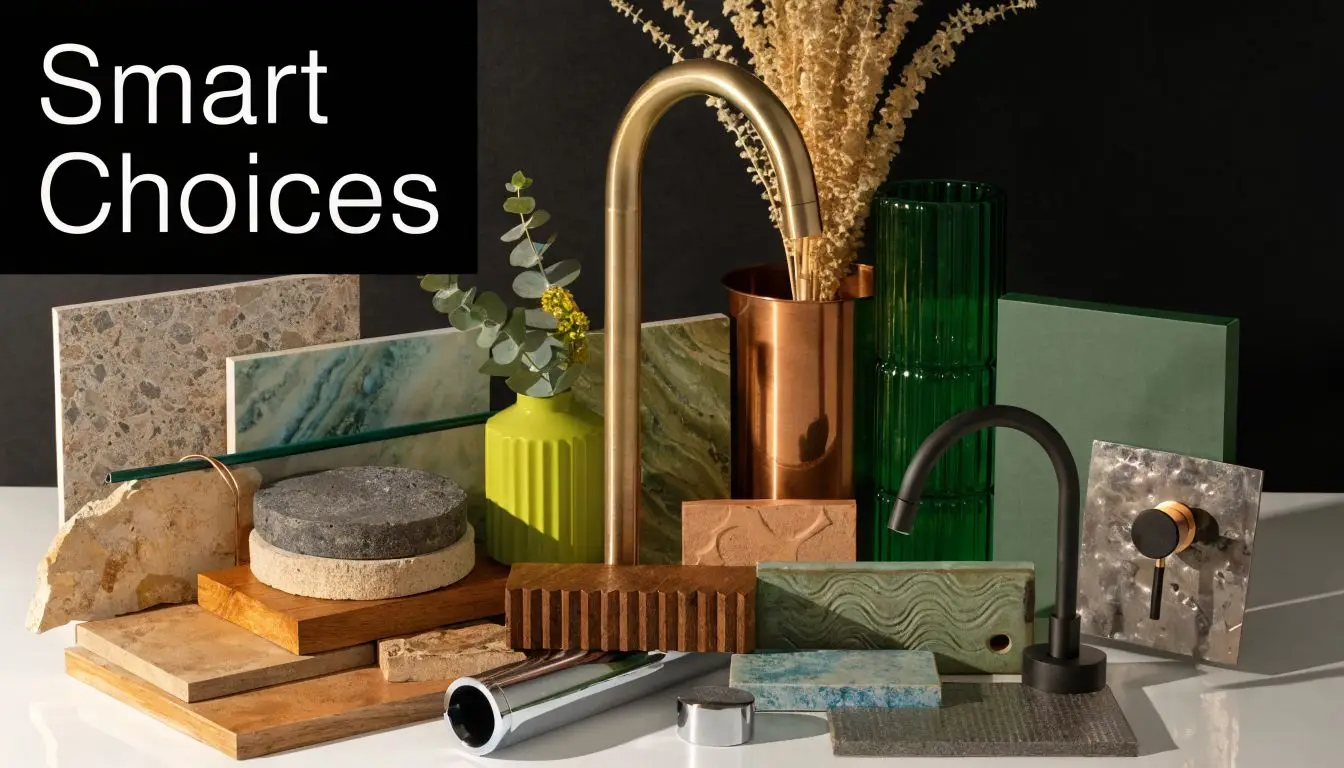
Start with surfaces that suit the room
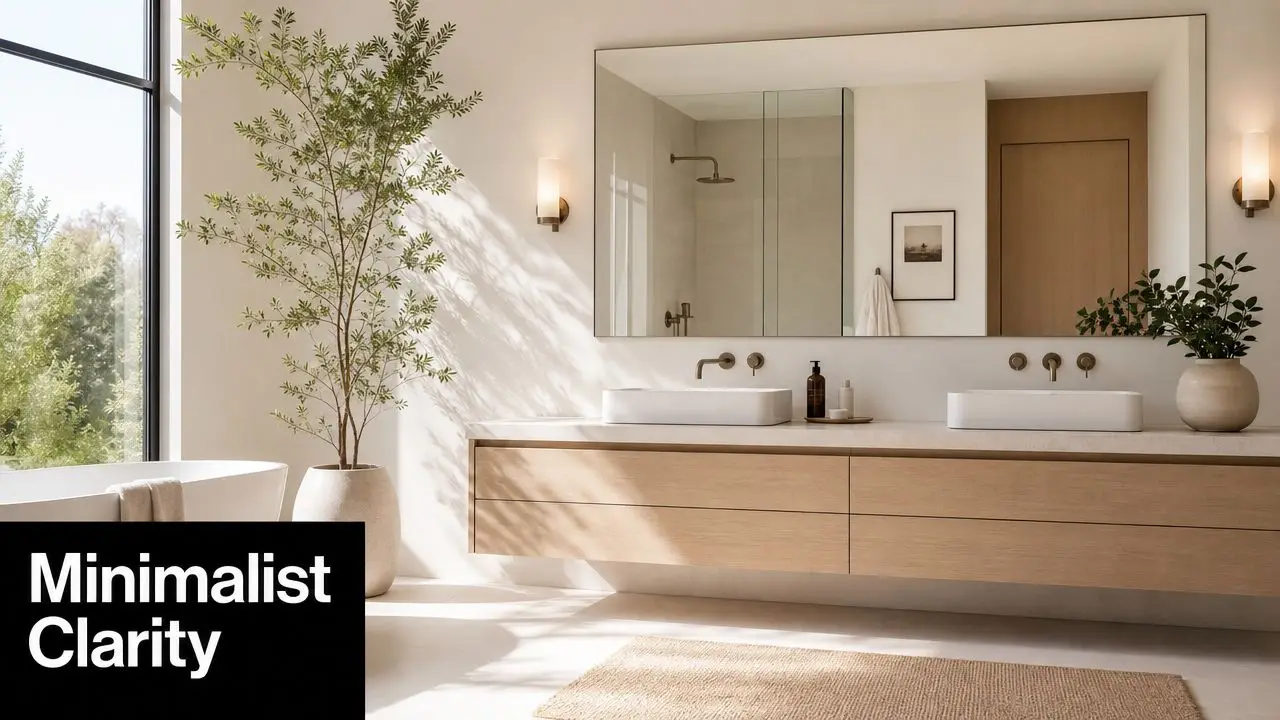
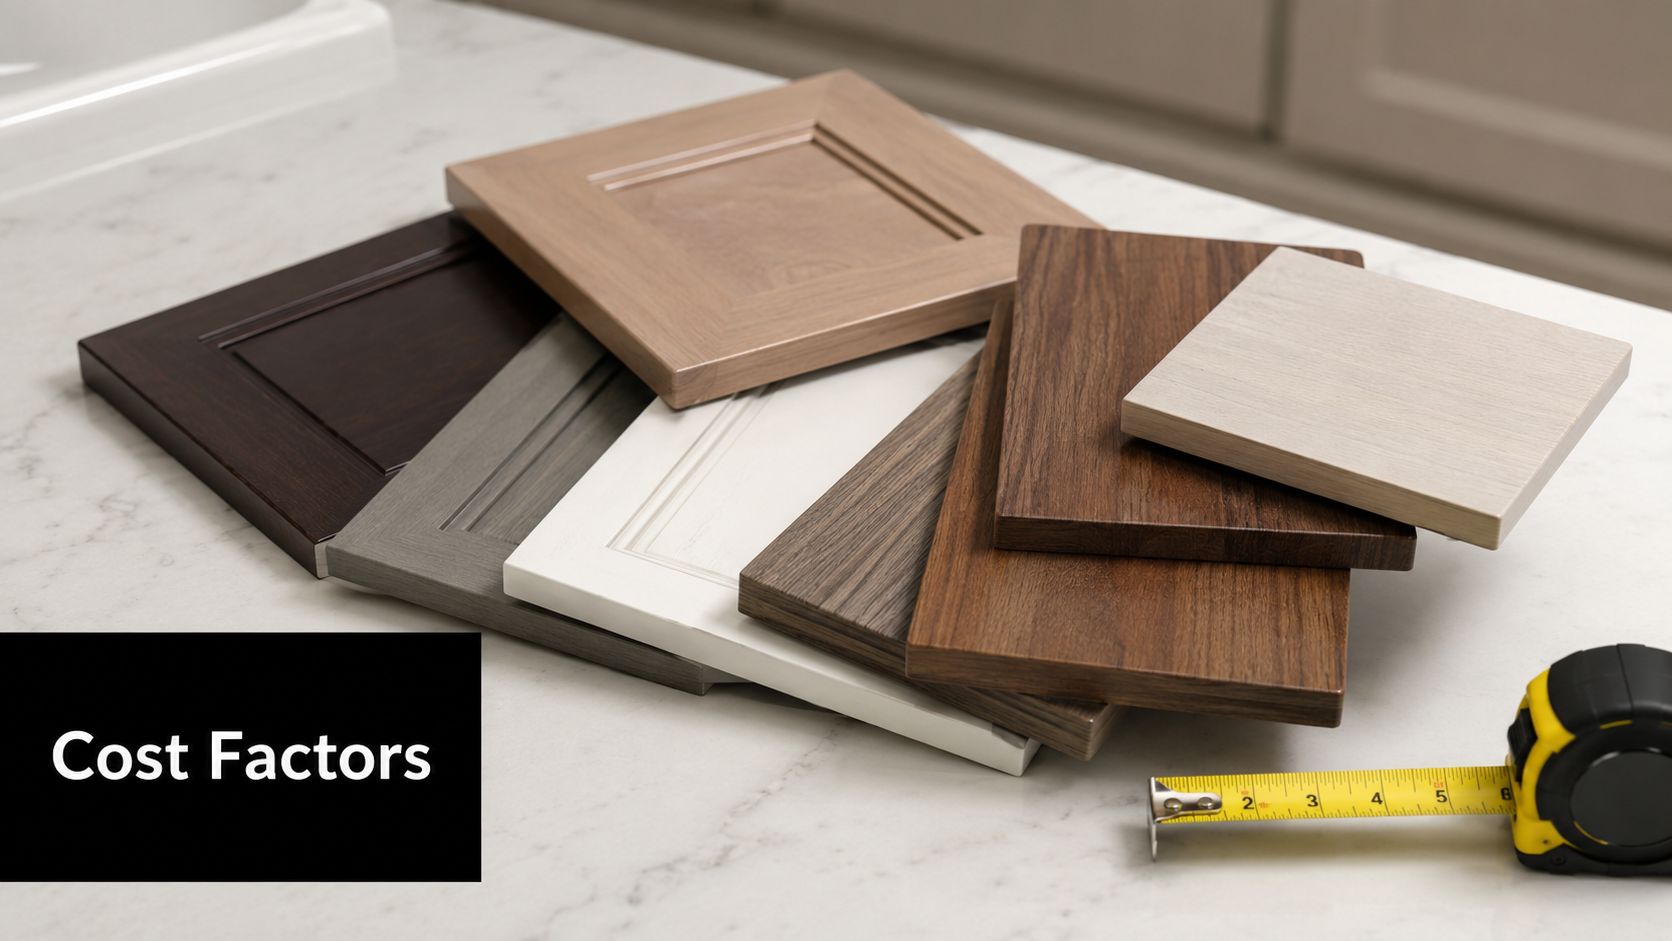
Wall and floor finishes set the tone first. In many modern bathrooms, large-format porcelain gives a cleaner visual field because there are fewer grout lines and less visual interruption. It suits contemporary spaces, and it's often the easier option when you want a calm, architectural look.
Natural stone brings warmth, movement, and depth. It can look exceptional, but it asks more of the budget, more of the installer, and more of the owner in ongoing care. The right choice depends on the project. If you want a highly refined look with lower visual noise, porcelain often wins. If you want character and material variation to carry the design, stone can justify itself.
For homeowners exploring tile scale and layout, large-format bathroom tiles are worth considering early because tile size affects niches, setouts, drain placement, and the overall visual rhythm of the room.
Fixtures should do more than look good
Luxury tapware and fittings need to deliver tactility, finish consistency, and ease of use. The finish should connect across the room. If you choose warm metallics, carry that through the shower, vanity, accessories, and any door hardware that's visible in the space. If you choose matte black, make sure the rest of the room is simple enough to support it.
A frameless shower screen helps keep sightlines open. Wall-hung vanities lighten the room visually. Recessed storage usually feels more expensive than freestanding add-ons because it keeps the architecture clean.
Here's a practical way to think about selection priorities:
- Choose the dominant finish first: tile, stone, or wall treatment should lead
- Match tapware to the room's tone: brushed finishes often feel softer than highly reflective ones
- Let one focal point carry the room: a freestanding bath, a sculptural vanity, or a statement wall is usually enough
- Protect maintenance time: every groove, edge, and extra surface adds cleaning
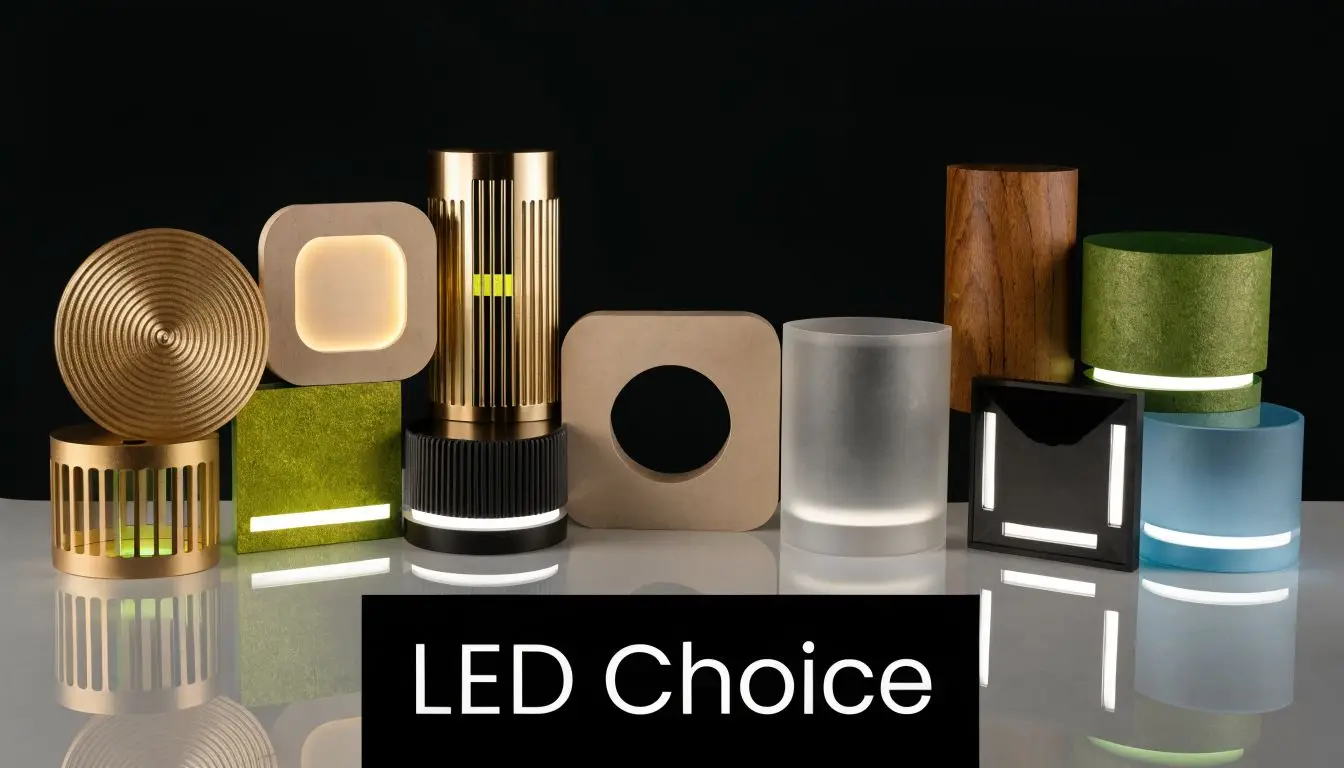
Smart features and sustainable upgrades
Current Australian bathroom design also leans toward sustainable performance and integrated technology. Modern and designer bathroom trends in Australia now prioritise sustainability, including dual-flush toilets and solar-powered water heating, alongside luxury technology such as voice-activated shower controls, heated flooring, and anti-fog smart mirrors, as noted in this bathroom trends article.
Not every project needs all of those features. The smarter move is picking the upgrades you will use. Heated flooring can make a lot of sense in a primary bathroom. Smart mirrors can be useful if lighting and demisting are genuine needs. Voice control is impressive, but only if it suits the household rather than becoming a novelty.
The best technology in a bathroom is the kind you stop noticing because it works so smoothly.
Accessible design can still feel premium
This is one of the most overlooked areas in luxury bathroom planning. A bathroom can be easier to use long-term without looking clinical. Wider circulation, thoughtful shower access, anti-slip tile selection, and support fittings in premium finishes can all sit comfortably inside a high-end design language.
Accessible planning is especially useful for homeowners who want to age in place, support older family members, or future-proof a forever home. The key is integrating those elements at the design stage so they look intentional. Grab rails, handheld showers, and clear access work best when they're part of the original design story, not retrofitted later.
That's often the dividing line between a bathroom that looks polished for a year and one that keeps working beautifully for much longer.
Budgeting Your Luxury Renovation in Victoria
A luxury bathroom budget in Victoria often changes the moment real site conditions replace early wish lists. In Melbourne especially, labour rates, access constraints, older housing stock, apartment rules, and premium specifications can push a project well beyond a generic national estimate.
Recent Australian cost guidance places a luxury bathroom renovation around $30,000 to $50,000 or more, with many projects landing near $40,000. The same analysis notes that Melbourne and other high-cost Victorian metro areas often need extra allowance above that baseline, along with a contingency for hidden work, approvals, and site-related surprises, according to this 2025 bathroom renovation cost analysis.
That gap matters. A homeowner might price a bathroom from interstate examples, then find the Victorian version costs more once waterproofing standards, trade availability, and finish expectations are priced properly.
Where the money goes
The final number is rarely about one expensive tapware set or one slab of stone. Cost builds through layers. Demolition, plumbing adjustments, electrical upgrades, substrate repairs, waterproofing, screeding, tiling, glazing, joinery, ventilation, and fitting off all have to work together.
That same cost analysis found that materials typically make up 25 to 35 per cent of the budget and labour 30 to 40 per cent. In older Melbourne homes, labour can climb further if we uncover water damage, uneven framing, asbestos risks, or out-of-date services.
| Category | Estimated Cost | Percentage of Budget |
|---|---|---|
| Materials | $11,250 to $15,750 | 25 to 35% |
| Labour | $13,500 to $18,000 | 30 to 40% |
| Contingency | $4,500 to $6,750 | 10 to 15% |
| Remaining project costs | Balance of budget | Remaining share |
The decisions that move the budget most
Layout changes usually have the biggest effect on price. Moving a toilet pan, shifting a shower waste, recessing storage into walls, or enlarging an opening can improve the room dramatically, but each choice carries plumbing, carpentry, waterproofing, and finishing costs. I usually tell clients to spend on layout only where it solves a daily frustration or improves resale appeal.
The smartest luxury spending tends to fall into four areas:
- Layout and circulation: enough room to move comfortably, especially if you want accessible use later
- Waterproofing, preparation, and ventilation: the work you do not see, but the work that protects everything you do see
- Custom joinery: storage designed for the household, not a showroom photo
- Lighting: task lighting, ambient lighting, and mirror lighting planned together
Accessible design belongs in the budget conversation too. In Victoria, it is far cheaper to allow for step-free shower entry, wider clearances, reinforced walls for future support rails, and safer tile choices during design than to retrofit those features after handover. Done well, they read as refined design decisions, not aged-care add-ons.
Where luxury projects go wrong
The most common budgeting mistake is overspending on visible finishes and underfunding the hidden work. Stone, feature lighting, and imported fittings draw attention. Failing to allow for floor correction, proper falls, waterproofing details, exhaust ducting, and precise set-out causes significant damage.
Another mistake is chasing every luxury feature at once. A larger vanity, better storage, and a generous shower often improve the room more than piling in extras that look impressive on a product list but add little in daily use.
Budget rule: Keep a protected portion of the budget for structure, preparation, waterproofing, and ventilation. A bathroom does not feel luxurious for long if those parts have been cut back.
For a first project, ask for an all-in scope before you compare prices. That means demolition, rough-in work, waterproofing, fixtures, finishes, joinery, labour, contingency, and any approvals or compliance requirements that apply in Victoria. Working with a registered builder who can manage bathroom renovation compliance and trade coordination usually makes those budget discussions far clearer.
The Renovation Process With a Registered Builder
A smooth renovation doesn't happen because the room is small. Bathrooms are compact, but they're dense. Waterproofing, plumbing, electrical, tiling, joinery, glazing, and ventilation all need to align in a tight footprint. That's why process matters so much.
From brief to buildable design
The project starts well before demolition. A proper consultation should test the brief against the room's realities. What do you need the bathroom to solve? Is storage the problem? Is the shower cramped? Is the room too dark? The answers shape the layout more than any tile sample does.
Detailed design work helps catch problems early. Vanity depth, mirror width, niche position, door swing, lighting placement, and tile setout all benefit from being resolved before trades arrive on site.
When homeowners ask why it matters to work with a registered builder for a bathroom renovation, the answer is simple. Coordination, compliance, accountability, and sequencing all become clearer under one properly managed process. For larger and more complex projects, registered builders unlimited give homeowners confidence that the renovation is being handled with the right level of oversight.
The stages that can't be rushed
Once demolition begins, the room often reveals its real condition. Older homes can hide damaged framing, uneven substrates, or outdated services. This is exactly why planning and contingency matter.
A typical sequence looks like this:
Demolition and strip-out
Old fixtures, linings, and finishes come out. The room is taken back so defects can be identified.Rough-in works
Plumbing and electrical services are relocated or upgraded to suit the new layout.Substrate preparation
Floors and walls are levelled and prepared to receive waterproofing and finishes.Waterproofing
This is one of the most critical technical stages in the entire build.
According to Australian bathroom waterproofing requirements explained here, shower areas must be waterproofed to 1800mm on all walls, while bath surrounds require waterproofing to 150mm above the rim, and licensed professionals must carry out this work to prevent structural damage.
Waterproofing isn't a detail. It's the line between a premium renovation and a future defect claim.
Fit-off and final detailing
After waterproofing cures and tiling is complete, the room moves into fit-off, when tapware, screens, basins, vanities, lighting, mirrors, and accessories go in. It's also where poor planning becomes obvious. If the rough-in was rushed or the setout wasn't resolved, fit-off won't hide it.
The final result should feel effortless. Fixtures should align cleanly, joins should be consistent, storage should work, and the room should feel as good to use as it looks in photos.
Maximising Your Home's Value and ROI
A luxury bathroom renovation should improve daily life first. If it doesn't make the home more comfortable, functional, and appealing, the financial case weakens. The stronger projects do both.
In Australia, experts recommend spending no more than 5 to 10 per cent of a home's value on a renovation to avoid overcapitalisation. With the average Australian home valued at $1,045,400 in 2025, that places a broadly safe upper limit between $50,000 and $100,000, although many successful projects sit below that range, according to this guide to renovation spend and overcapitalisation.
Value comes from alignment
The bathroom needs to match the home. In a well-located Victorian property, a poorly finished bathroom can drag the whole house down. But an oversized, over-specified renovation can also miss the mark if the home and suburb won't support that level of spend.
The sweet spot usually comes from alignment between four things:
- Property value: the renovation sits comfortably within the home's market position
- Buyer expectations: if resale matters, the room should appeal broadly
- Household use: a family bathroom and a private ensuite don't need the same priorities
- Quality of execution: the finish level must justify the budget
Lifestyle return matters too
Financial return isn't the only return. A well-designed bathroom gets used every day. Better lighting, easier storage, stronger ventilation, a more generous shower, and a layout that suits your routine all create value that doesn't show up neatly in a spreadsheet.
A bathroom can pay you back in two ways. Through resale appeal, and through the way it improves the home every single day.
That's why the best projects aren't designed as resale theatre. They're designed as durable upgrades with broad appeal. If you get the planning, specification, and workmanship right, the value conversation usually takes care of itself.
Your Pre-Renovation Preparation Checklist
A luxury bathroom usually starts to go off track before demolition begins. The common problem is not ambition. It is a brief that sounds polished but leaves too many practical questions unanswered.
Come to the first design meeting with a clear view of how you want the room to look, function, and wear over time. That gives your builder something solid to price and helps avoid expensive changes once waterproofing, plumbing rough-in, and tile set-out are underway. In Victoria, that early clarity also matters if your plans involve structural work, layout changes, or accessibility requirements that may affect approvals and buildability.
The homework worth doing first
Build a visual reference folder
Save images that show more than style. Include vanity proportions, mirror shapes, lighting, tile scale, niche details, and shower screens. The goal is to spot patterns in what you like, not to copy a showroom bathroom that may not suit your room size or budget.Separate daily needs from luxury extras
Write down what the bathroom must do well, then list the upgrades you would like if the numbers allow. Underfloor heating, full-height stone, custom joinery, and premium brassware can all be worthwhile, but they do not deliver the same value in every home.Audit the bathroom you already have
Be specific. Poor ventilation, weak lighting at the mirror, nowhere to put appliances, awkward shower entry, or grout lines that are hard to keep clean should all shape the new brief. Good design solves those frustrations first.
Clarify how the room needs to work
Usage drives good decisions. A main family bathroom in a Melbourne home usually needs durable surfaces, better storage, and easier cleaning. A private ensuite can justify a more refined layout, layered lighting, and stronger feature materials because the traffic is lower and the experience is different.
If this is a long-term home, future access should be part of the planning now. Hobless showers, wider entries, reinforced walls for grab rails, and sensible circulation can be integrated without making the room feel clinical. Done properly, accessible design reads as considered and high-end.
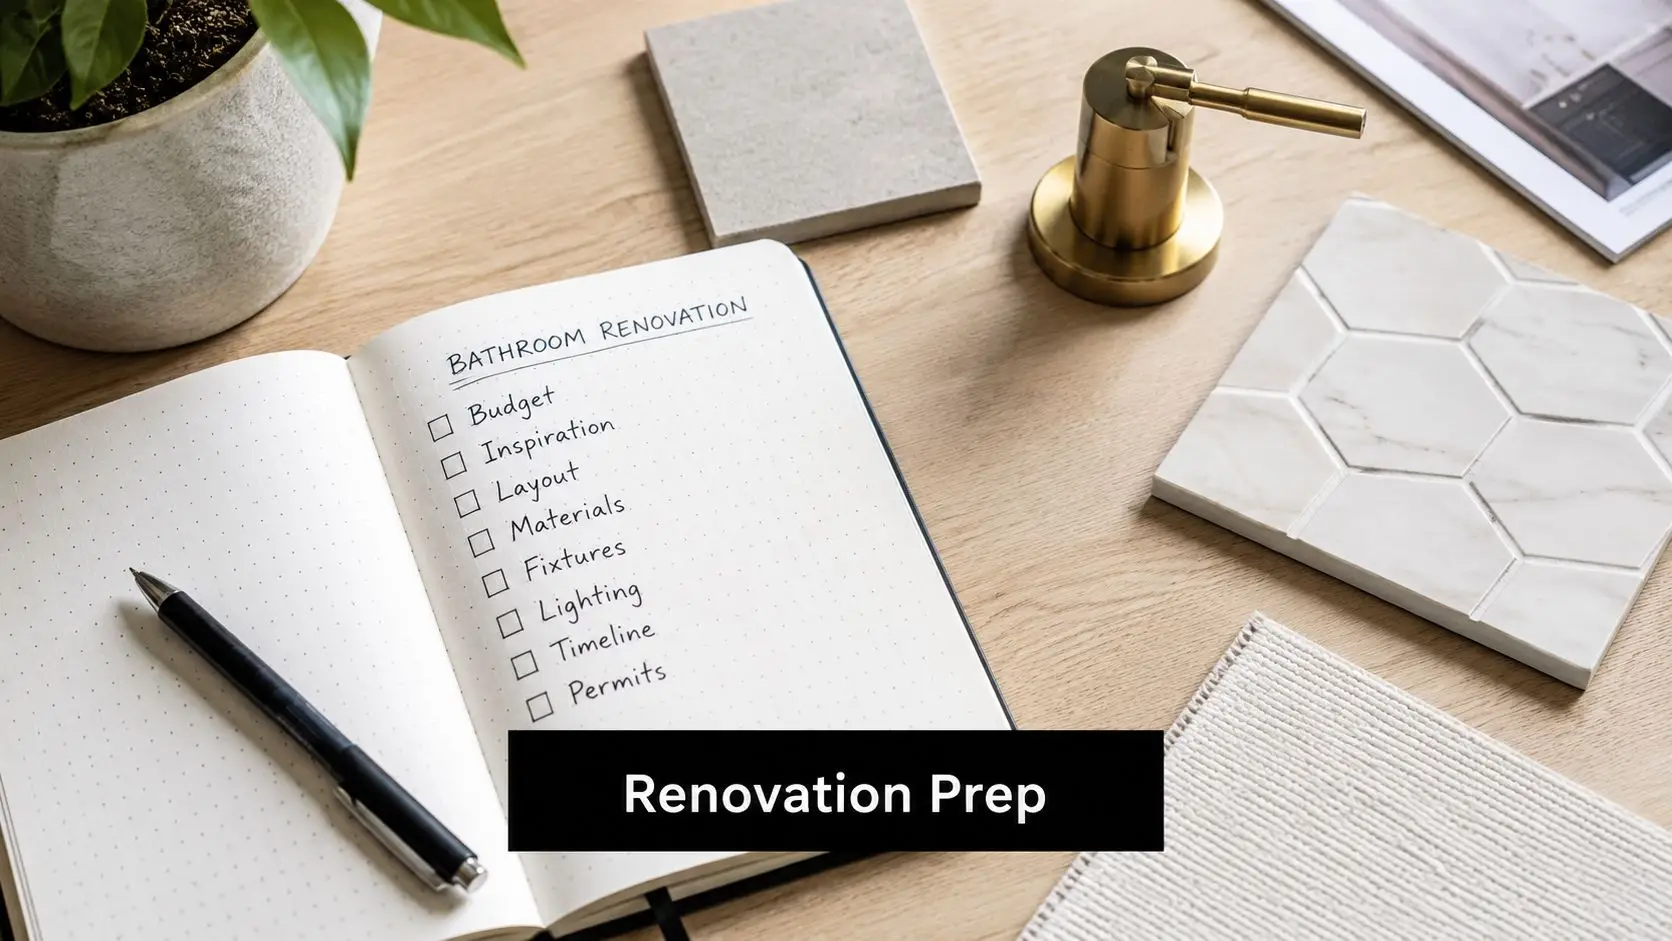
Set the right budget frame
Set an all-in budget range before you ask for pricing. Include fixtures, finishes, waterproofing, labour, joinery, electrical work, and a contingency for what may be uncovered after strip-out. Older Victorian homes often hide uneven walls, dated plumbing, or substrate issues, and those findings affect cost quickly.
This is also the point to be honest about trade-offs. If the budget is fixed, you may need to choose between changing the layout and upgrading the finish level. In many projects, keeping plumbing close to its existing position frees up money for better tile selections, custom storage, or improved lighting, which homeowners notice every day.
A strong luxury renovation starts with a disciplined brief and realistic expectations. Working with an end-to-end team that can guide design, 3D planning, and construction, like the specialists at SitePro Bathrooms, can help keep the project aligned from the first concept through to completion.