Frameless Shower Screen Guide: Costs, Pros & Design Ideas
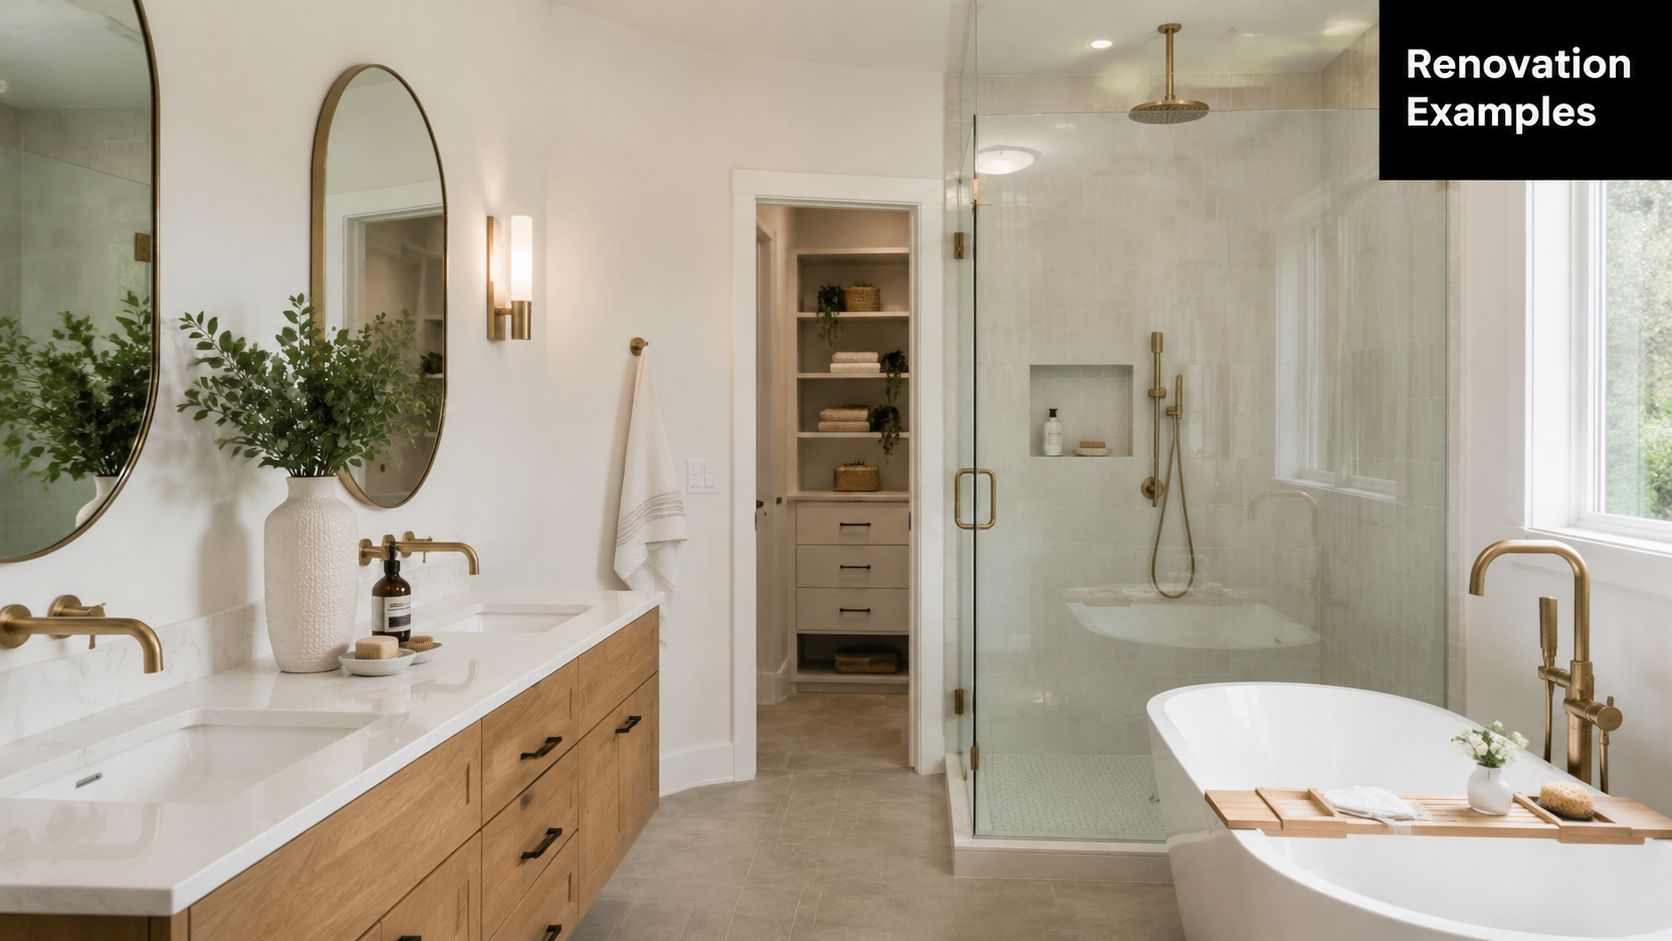
You're probably in the same spot as most Highett homeowners when a bathroom renovation starts to feel real. You've saved a stack of new bathroom ideas, looked at modern bathrooms online, and noticed one detail keeps showing up in the rooms you like. The shower feels open, light and uncluttered because the screen almost disappears.
That's the appeal of a frameless shower screen. It doesn't just stop spray. It changes how the whole room reads. In smaller bathrooms, that visual openness matters. In larger designer bathrooms, it's often the feature that ties the room together.
A lot of people come into bathroom renovations thinking tiles or tapware will set the tone. Sometimes they do. But the shower screen sits at eye level, cuts across the biggest wet area in the room, and has a huge effect on whether the space feels refined or busy. If you get that choice wrong, the room can feel heavier than it needs to.
The Centrepiece of Modern Bathroom Design
Most homeowners don't start by saying, “I want a frameless shower screen.” They start by saying they want the bathroom to feel bigger, cleaner and more current. Then they show photos of rooms with uninterrupted glass, large-format tiles and minimal hardware.
That reaction makes sense. Frameless glass panels are identified as the most popular choice for modern bathroom designs in Australia because their sleek, minimal appearance creates a spacious and elegant environment, closely matching what people look for in new bathroom ideas and designer bathroom trends.
In practical terms, that popularity comes down to what the eye sees first. A fully framed screen introduces lines, corners and metal edges. A frameless setup leaves the tilework and room proportions more visible, which is why it suits modern bathrooms so well. It feels lighter without needing a flashy design.
Why homeowners keep coming back to frameless
A frameless screen usually works best when the rest of the renovation is trying to do the same thing:
- Open up the room: Less visual clutter helps the bathroom feel less boxed in.
- Show off the finishes: If you've invested in quality tiles or a niche detail, glass lets them stay visible.
- Create a cleaner style: Frameless suits both restrained family bathrooms and high-end designer bathrooms.
A good frameless screen doesn't fight the room. It lets the layout, tile selection and lighting do their job.
There's also a renovation reality worth mentioning. If the bathroom shell is basically sound, replacing the screen alone can be a smart budget move. One Australian renovation source notes that replacing only the shower screen can act as a cost-effective anchor for a budget bathroom renovation. That's often true when the room feels dated but doesn't need a full rebuild.
Frameless vs Framed The Clear Winner
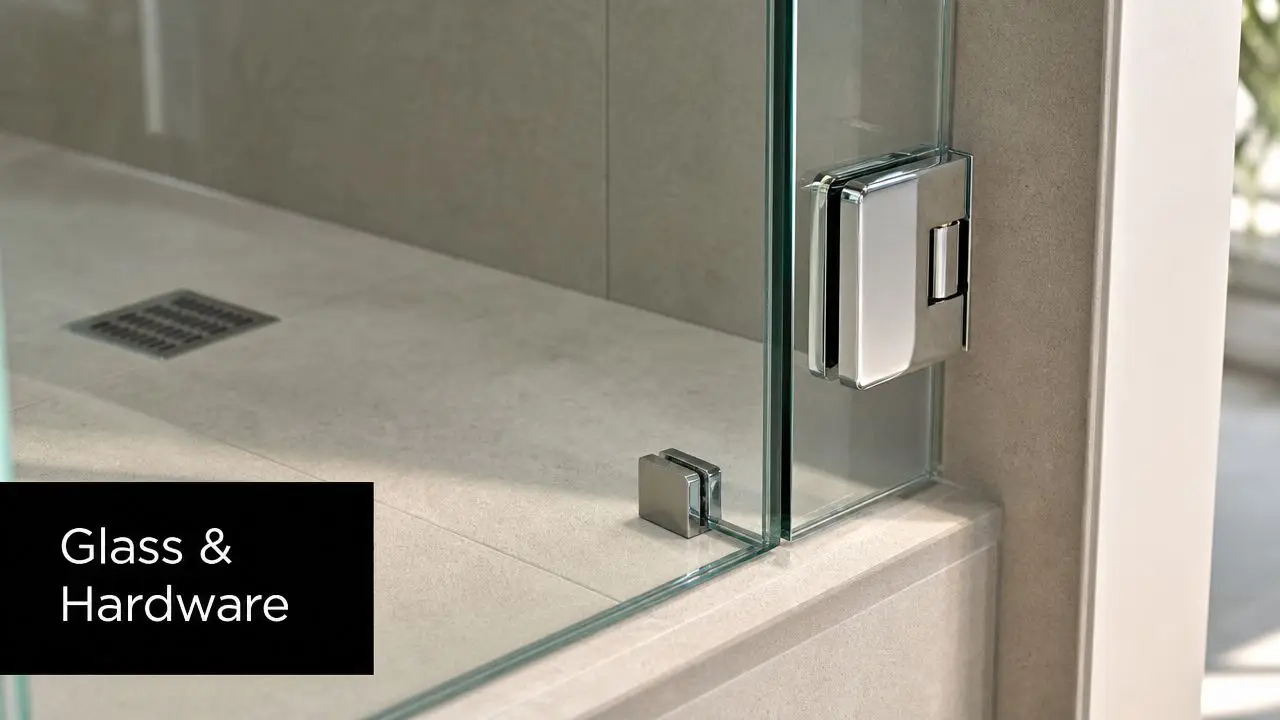
The term gets used loosely, so it helps to define it properly. A frameless shower screen uses toughened glass with minimal visible structure. You'll still have hardware such as hinges, brackets or channels where needed, but you won't have a full metal frame wrapping every edge.
That's different from semi-frameless and framed screens. Semi-frameless options reduce the visible aluminium but still rely on perimeter framing in parts of the screen. Fully framed screens use metal edging around the panels and door.
Where frameless clearly wins
The biggest advantages are visual and practical. Frameless shower screens provide a clean, sleek modern look that makes the bathroom feel significantly larger compared to framed options, and they're easier to clean due to the absence of metal frames that trap dirt and grime, as outlined in this Australian overview of shower screen types.
That last point matters more than people expect. In framed units, soap residue, moisture and grime tend to build up around the lower frame and corners. Frameless screens still need cleaning, but there are fewer edges doing the dirty work of collecting buildup.
Where framed and semi-frameless still make sense
Frameless isn't perfect for every room.
In tighter bathrooms, especially awkward ensuites, some layouts need more water control than a frameless design naturally provides. Semi-frameless and framed screens can be more forgiving where the room is compact, the shower opening is narrow, or the floor fall isn't ideal. They also usually suit owners who prioritise containment over openness.
Cost also affects the decision. If the renovation budget is under pressure, framed and semi-frameless options can be easier to fit into the overall spend. That doesn't make them poor choices. It just means the trade-off is visible.
Shower Screen Comparison Frameless vs Semi-Frameless vs Framed
| Feature | Frameless | Semi-Frameless | Framed |
|---|---|---|---|
| Look | Minimal, open, best suited to modern bathrooms | Cleaner than framed, but still has visible structure | More traditional, more visually busy |
| Cleaning | Easier to wipe down, fewer grime traps | Moderate | More frame edges to clean |
| Water control | Good when designed well, but can allow minor splash | Better containment than frameless in some layouts | Strong containment in many standard setups |
| Budget fit | Usually the premium option | Mid-range choice | Often the more budget-conscious option |
| Best use | Contemporary renovations, feature bathrooms, open visual style | Practical compromise | Utility-focused bathrooms, compact or highly contained shower areas |
Practical rule: Choose frameless when you want the screen to disappear. Choose framed when water containment and budget matter more than the visual finish.
The trade-off most people should know upfront
Frameless screens can allow a small amount of water to escape if the shower design, floor fall or panel placement isn't right. That isn't automatically a defect. It's part of the design reality of using minimal barriers.
What works well is a layout that respects spray direction, door swing, floor waste position and the actual way the bathroom is used. What doesn't work is forcing a frameless look into a cramped layout that needed stronger containment from the start.
Understanding Glass and Hardware Essentials
A frameless screen only feels premium if the materials are right. Cheap hardware, poor fixing points or the wrong glass specification will show up quickly in daily use. The screen might still look good on day one, but that's not the benchmark. The benchmark is how it performs after years of steam, cleaning, opening and closing.
The glass specification that matters
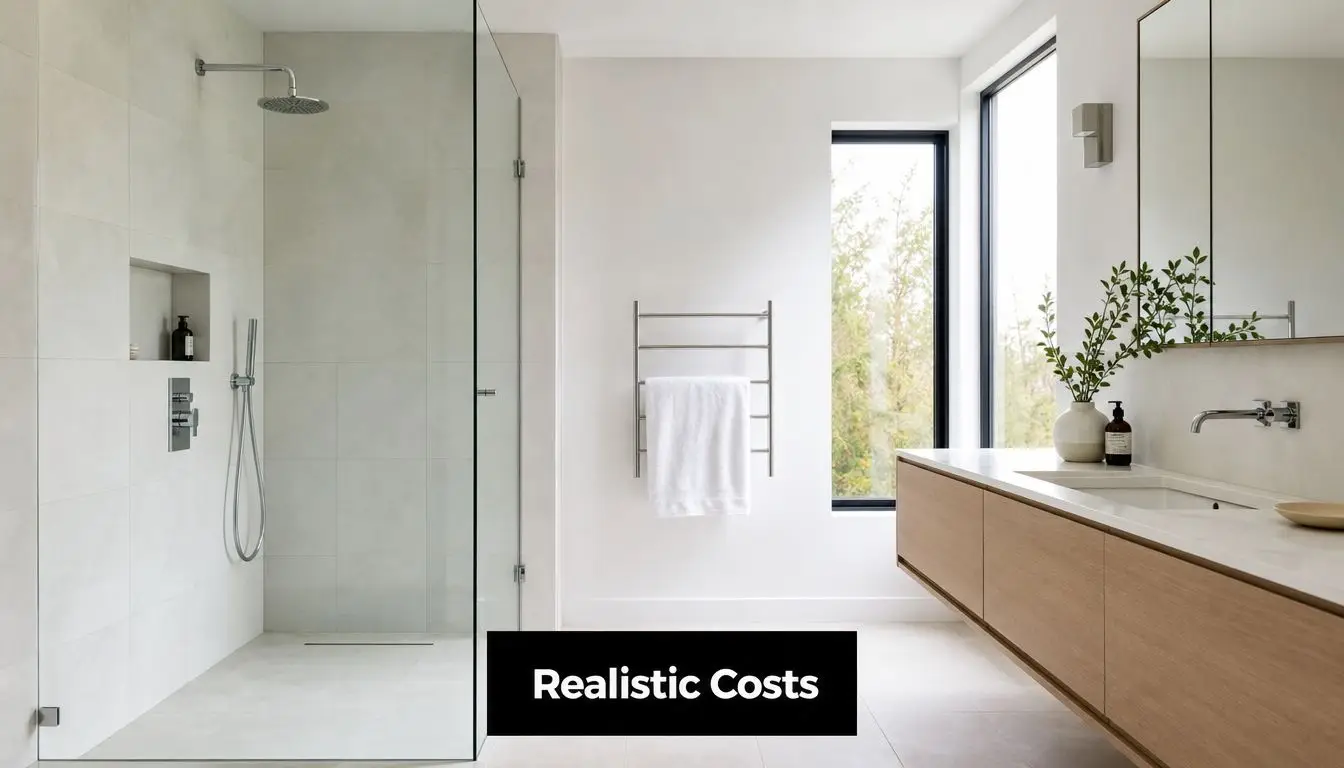
In Australia, the essential first step is safety compliance. Frameless shower screens must be constructed using Grade A toughened safety glass that complies with AS 1288, with industry best practice specifying 10mm for enhanced structural integrity and safety, according to this Australian guide on frameless shower screen safety and construction.
That's the level most homeowners in Victoria should expect for a true frameless installation. If a quote is vague about the glass, ask direct questions. You want to know what thickness is being supplied, whether it's toughened safety glass, and whether the installer is treating compliance as a standard requirement rather than an add-on.
Hardware isn't decoration
The hinges, handles, brackets and channels do more than finish the look. They carry the load, manage movement and keep the glass operating smoothly.
When reviewing hardware, focus on:
- Hinges: They need to feel solid and operate cleanly without sagging.
- Handles: The grip should be comfortable, especially in family bathrooms where wet hands are a daily reality.
- Brackets and support pieces: These should look minimal but still feel strong.
- Finish selection: Chrome, matte black and brushed tones all work, but the finish should suit the tapware and hold up to bathroom cleaning routines.
What quality looks like on site
A good frameless screen feels deliberate. The glass edges are clean. The hardware lines up. The door swing is consistent. The silicone work is neat, not oversized and messy.
If the hardware looks like an afterthought, the installation usually was one.
Homeowners often spend a lot of time choosing tiles and very little time checking the specification of the screen. That's backwards. In a frameless setup, the glass and hardware are a major structural and visual component of the room.
Sizing and Layouts for Your Bathroom
You see this all the time in older Highett bathrooms. The plan looks clean on paper, the tile lines are sharp, then the actual room tells a different story once the screen is set out. A wall is slightly out, the floor falls harder than expected, or the vanity leaves less clearance than it seemed to during design. Frameless glass gives very little room to hide those issues, so sizing has to come from the actual bathroom, not a generic standard.
Standard sizes and what they mean in practice
There are common size ranges for frameless screens in Australian bathrooms, but I treat them as a starting point only. In Victorian renovation work, the better question is whether the layout suits the waterproofed area, the shower head position, and the way the room will be used.
That matters because frameless glass has tighter visual tolerances than framed systems. If the walls are out of plumb or the opening has been set a little tight, the screen can still be made, but the result may need larger margins, altered hardware positions, or a door size that feels meaner than the homeowner expected.
For Victorian bathrooms, compliance also sits in the background of every sizing decision. The screen layout has to work with the waterproofing requirements under AS 3740 and the safety glazing requirements under AS 1288. In practical terms, that affects where glass can be fixed, how the wet area is contained, and whether the finished arrangement makes sense for the room you have.
Layouts that usually work well
A few frameless layouts consistently perform well:
- Single fixed panel: Works best in a shower with enough depth and a shower outlet positioned away from the opening.
- Corner screen with door: A sensible option where better water control matters but the room still needs to feel open.
- Inline panel and door: Often suits rectangular bathrooms and gives a balanced look without making the shower entry awkward.
- Nib wall combination: One of the better choices in older homes where you want more splash control and a stronger fixing point. If you are weighing up that option, this guide to a nib wall in shower design covers the layout well.
The right choice depends on more than appearance. Door swing, towel rail position, toilet clearance, and how close the opening sits to the main traffic path all matter. A screen can look minimal and still be annoying to live with if those details were skipped.
The layouts I treat carefully
Compact square showers need caution. A 900 x 900 enclosure can be made, but in a true frameless setup it often leaves too little margin for comfortable entry and reliable splash control, especially if the shower head is aimed toward the door side or the room has strong floor fall issues. In those cases, a more contained screen style or a different layout usually performs better over time.
Older properties are where this becomes obvious fastest. You might have a stud wall that is not quite straight, existing plumbing that limits outlet position, or a recess that looks symmetrical until you put a laser on it. The cleanest frameless design is the one that respects those limits early, before the glass is ordered.
In many Victorian renovations, the smartest layout is the one that keeps water inside the shower and still looks quiet in the room. Minimal glass alone does not guarantee that.
What to Expect During Installation
Most problems with frameless screens don't start with the glass. They start earlier, during set-out, waterproofing, wall preparation or assumptions about the floor. Homeowners often see installation as the day the glass arrives. In reality, the quality of the outcome is decided well before that.
The site check comes first
Before the screen is fitted, the installer needs to assess whether the walls are plumb enough, whether the floor falls correctly to waste, and whether the chosen layout is realistic for the room. This matters even more in older Highett properties where substrates can be out of square and floor levels can drift across the room.
That early check is where experience shows. A good installer won't just measure the opening. They'll look at where the water is likely to travel, how the door will swing, and whether the fixing points are sound.
Waterproofing is not the part to rush
For bathroom renovations in Victoria, waterproofing and shower screen installation sit inside a broader compliance framework. Australian Standard AS 3740 outlines the majority of requirements for bathroom waterproofing and shower screen installations, including critical thresholds for floor waste placement and waterproofing integrity that must be met by registered builders, as discussed in this Australian renovation discussion referencing AS 3740 requirements.
If you want a plain-language overview before work starts, this article on bathroom waterproofing requirements is a useful reference point.
Why older homes need more care
Generic advice often falls short, as installation conditions vary significantly. In newer builds with straight walls and compliant floor falls, a frameless install is more straightforward. In older properties, especially pre-2000 bathrooms, you can run into uneven substrates, awkward waste locations and existing floors that don't guide water well.
There's also a real guidance gap here. There isn't clear, current AU-specific data explaining how to maintain 10mm toughened frameless screens in high-moisture Victorian bathrooms without affecting compliance, especially in retrofit situations where the room isn't being fully rebuilt. That leaves a lot of the outcome resting on design judgement and installer skill.
The fitting stage
When the room is properly prepared, the final fit should be precise rather than rushed. Expect the process to include:
- Careful placement: Glass panels are set to the measured tolerances of the room, not forced into them.
- Hardware alignment: Hinges and brackets need to sit true so the door doesn't drop or bind.
- Sealing: Silicone should be applied where needed for containment, without trying to hide bad workmanship.
- Final testing: The installer should check the swing, gaps and general operation before sign-off.
Good frameless installation looks calm. There's no forcing, packing or improvising at the end.
If you're dealing with registered builders unlimited in a broader renovation sense, then their coordination is especially important. The tiler, waterproofer and screen installer all affect the final result.
Realistic Costs for a Frameless Screen in 2026
The cost question is usually asked too late. By the time many homeowners price the shower screen, they've already committed most of the renovation budget to demolition, waterproofing, tiling and fixtures. Then they discover the screen isn't a minor line item.
The 2026 price range to budget for
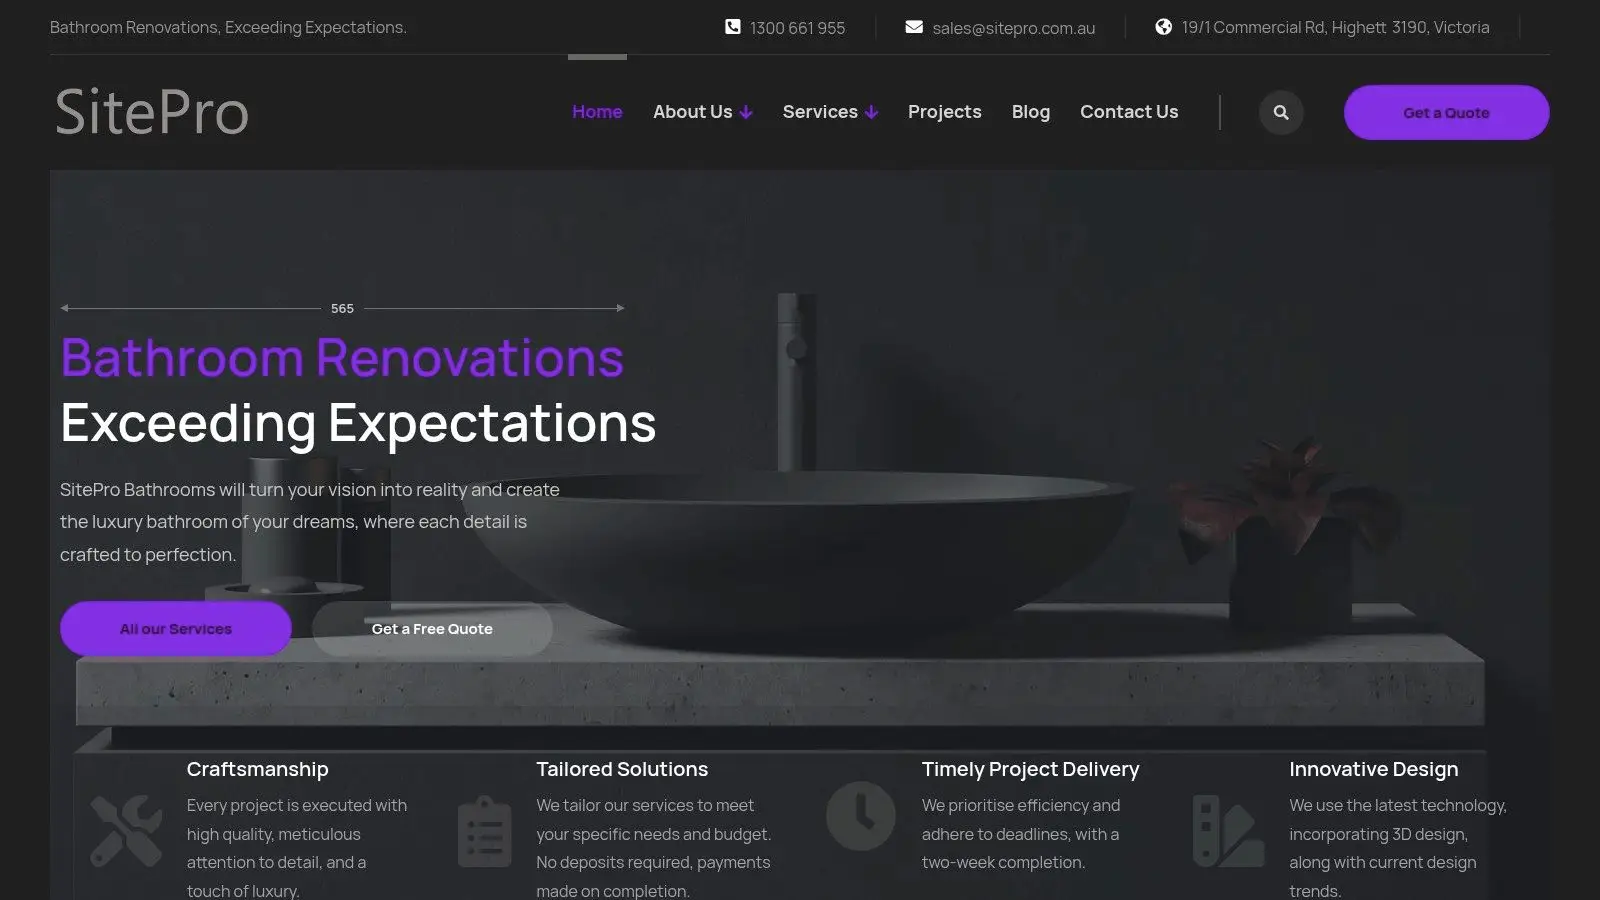
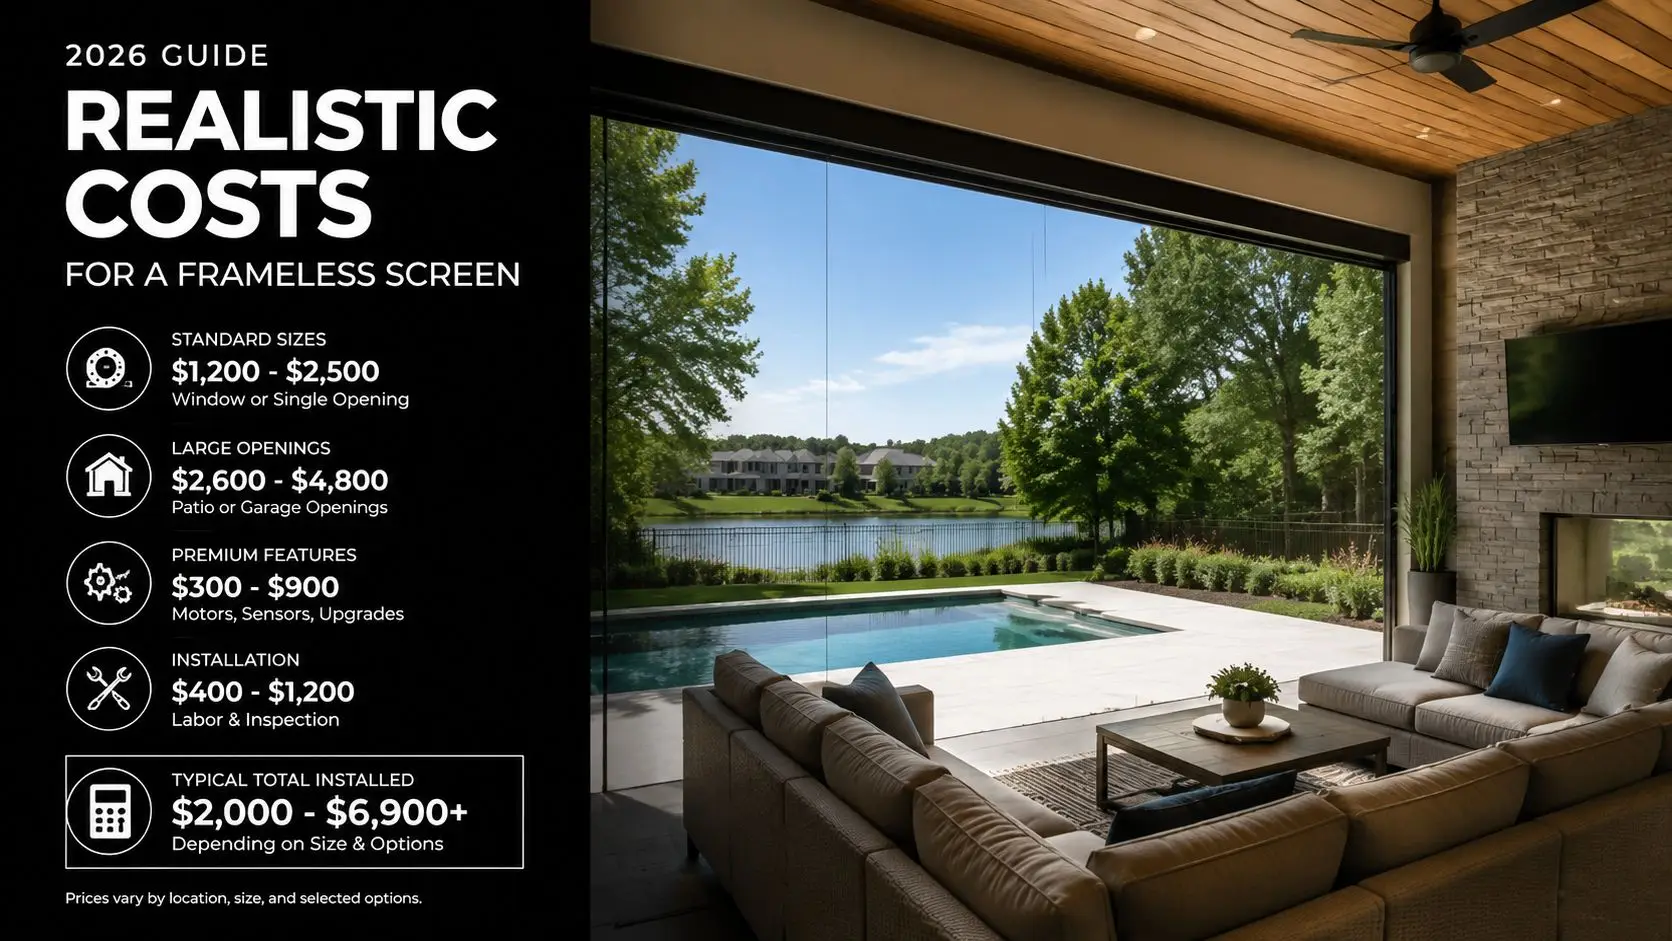
For the Australian market, frameless glass shower screens typically cost between $360 and $690 for the panel alone, with installation fees ranging from $200 to $400, making the total investment about $560 to $1,090 depending on size and complexity, based on 2026 Australian pricing data for frameless shower screens.
That same pricing guide includes examples such as:
- $360 for a 2100mm x 900mm walk-in panel
- $410 for an 850mm x 2000mm two-panel screen
- $690 for a 1740mm x 1785mm x 2000mm three-panel sliding door unit
Those figures exclude delivery and separate installation where applicable, so it's worth checking exactly what your quote includes.
What pushes the quote up
Not every frameless screen lands neatly inside the lower end of the range. Final cost is usually driven by a few practical variables:
- Size and configuration: Larger or more complex layouts require more glass and more labour.
- Site conditions: Tight access, uneven surfaces or difficult fixing points can make installation more involved.
- Hardware choice: Premium finishes and heavier-duty components can lift the overall spend.
- Custom work: If the bathroom doesn't suit a near-standard panel size, the price will usually move upward.
The quote question to ask
Ask whether the price covers panel supply only, or supply and installation together. In Victoria, confusion often starts when homeowners compare one quote that excludes install with another that rolls labour into the total.
A cheap screen quote can become an expensive screen once the missing labour, delivery and site complications show up.
Budgeting properly means treating the screen as both a product and an installation service. That's especially true in bathroom renovations where the room itself may not be perfectly square or ready for a simple fit-off.
Choosing Your Installer and Keeping Your Screen Pristine
A frameless screen can look perfect on handover and still become a problem if the set-out was rushed, the walls were out of plumb, or the waterproofing and screen positions were never properly coordinated. I see this more often in older Victorian homes, where floors can fall away slightly and corners are rarely as square as they look once the tiles go on.
The installer matters as much as the glass.
Questions worth asking before you sign
A good quote should come with clear answers, not vague promises. Ask these questions before any glass is ordered:
- Are you properly registered and insured for renovation work in Victoria: That matters if the screen installation forms part of a larger bathroom project. If you want a clearer explanation, read why using a registered builder matters for your bathroom renovation.
- Will the screen be installed in line with AS 1288 and the surrounding wet area work in line with AS 3740: An installer should be able to explain this plainly.
- Who checks the walls, floor levels and tile set-out before final measure: In older homes, this step can save a lot of grief.
- What is covered under workmanship warranty, and what is covered separately on glass and hardware: Those are often two different things.
- Who is responsible for the handover between waterproofing, tiling and screen installation: A frameless screen relies on that sequence being right.
If the answers are unclear, expect trouble later. A poorly aligned panel, a door that drifts, or silicone applied to hide bad measuring usually points back to decisions made before installation day.
Keeping the screen looking good
Frameless glass is easy to maintain, but it does need regular attention. The biggest issue in Highett and across Melbourne is usually water spotting, not structural failure.
- Wipe the glass down after use: A squeegee or microfibre cloth does more good than occasional heavy cleaning.
- Use cleaners made for bathroom glass and hardware finishes: Strong acidic products can mark metal finishes and shorten the life of seals.
- Check silicone, brackets and hinges every so often: Small movement or early mould staining is easier to deal with before it spreads.
- Pay attention to splash-out: Persistent water outside the shower often means the layout, fall, or panel position was never quite right.
Open and near-open frameless designs need extra care in older properties. Some retrofit bathrooms have limited fall to the waste, tight room dimensions, or existing structural limits that affect how well a barrier-free shower performs. Compliance questions can also get murky once you move away from a straightforward enclosed screen, so project-specific advice matters.
A well-installed frameless screen does more than look clean. It keeps water where it should be, suits the lines of a modern bathroom, and still looks right years later if the glass, hardware and layout were chosen properly from the start.