Steam Shower Room Design: Your Victoria Guide 2026
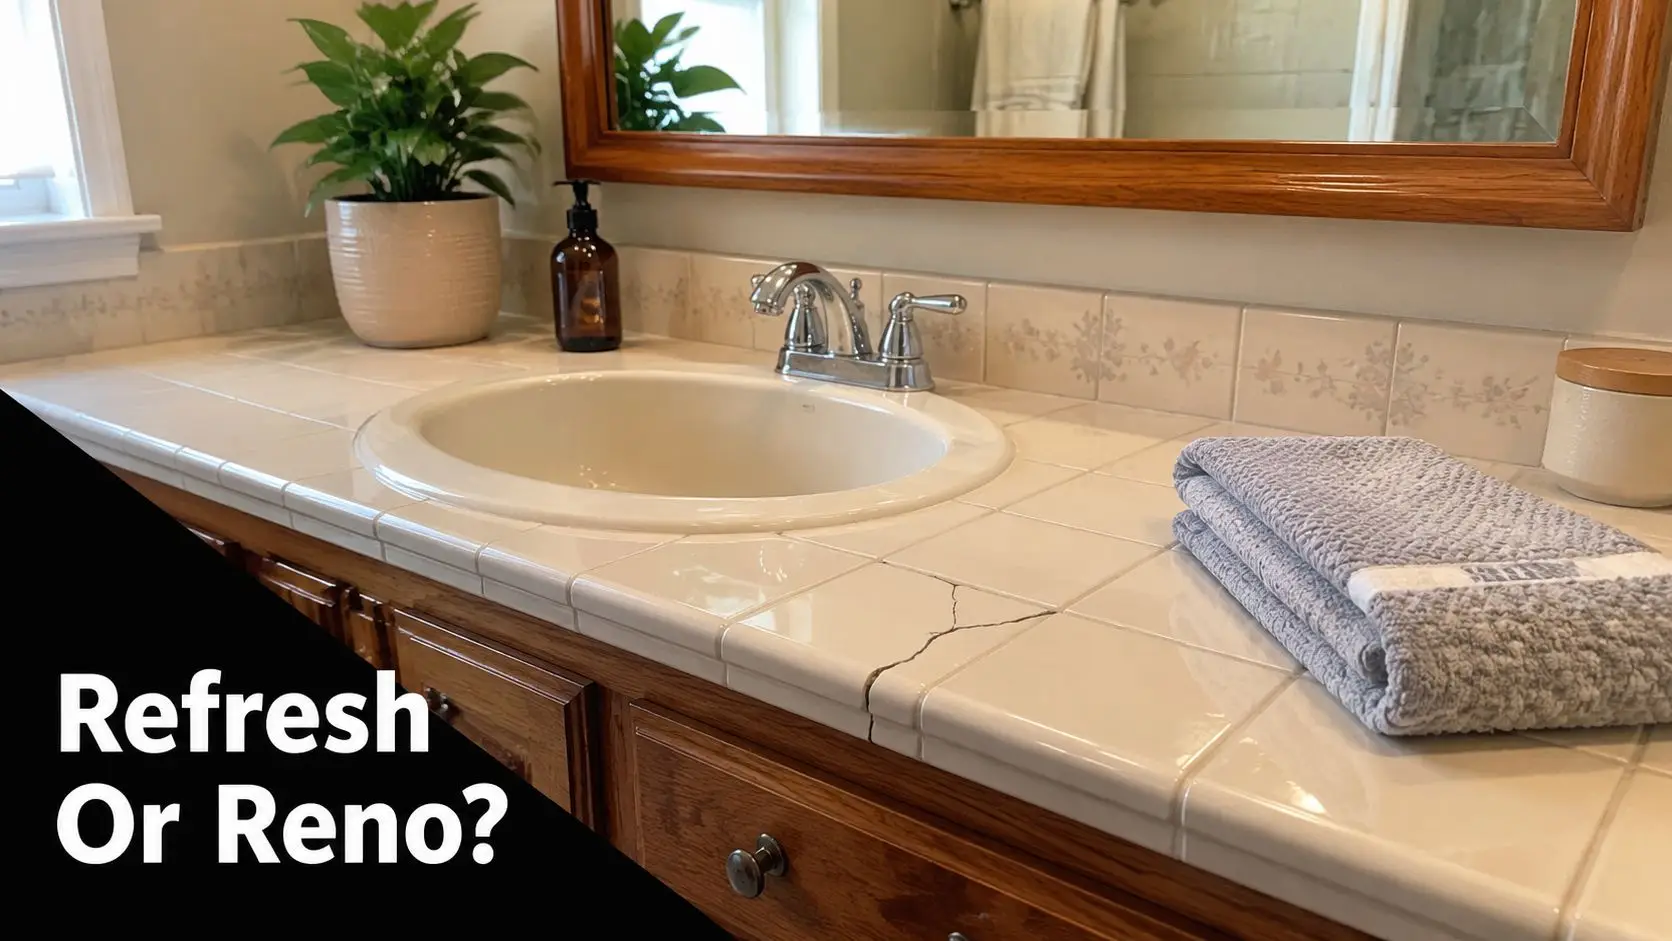
You've probably stood in a tired ensuite, looked at stained grout, a cramped shower base, and a fan that never quite clears the moisture, then thought a better bathroom would change the whole start and end of your day. A steam shower room design does that in a very direct way, because it turns a routine wash into a controlled, enclosed wellness space that works inside an ordinary Victorian home, not just in a hotel spa. In Australia, that kind of upgrade sits inside a real renovation pattern, with the ABS reporting that 5.8% of households completed a kitchen or bathroom upgrade in the 2021–22 financial year, so projects like this aren't fringe luxuries, they're part of a common household investment pattern ABS renovation context.
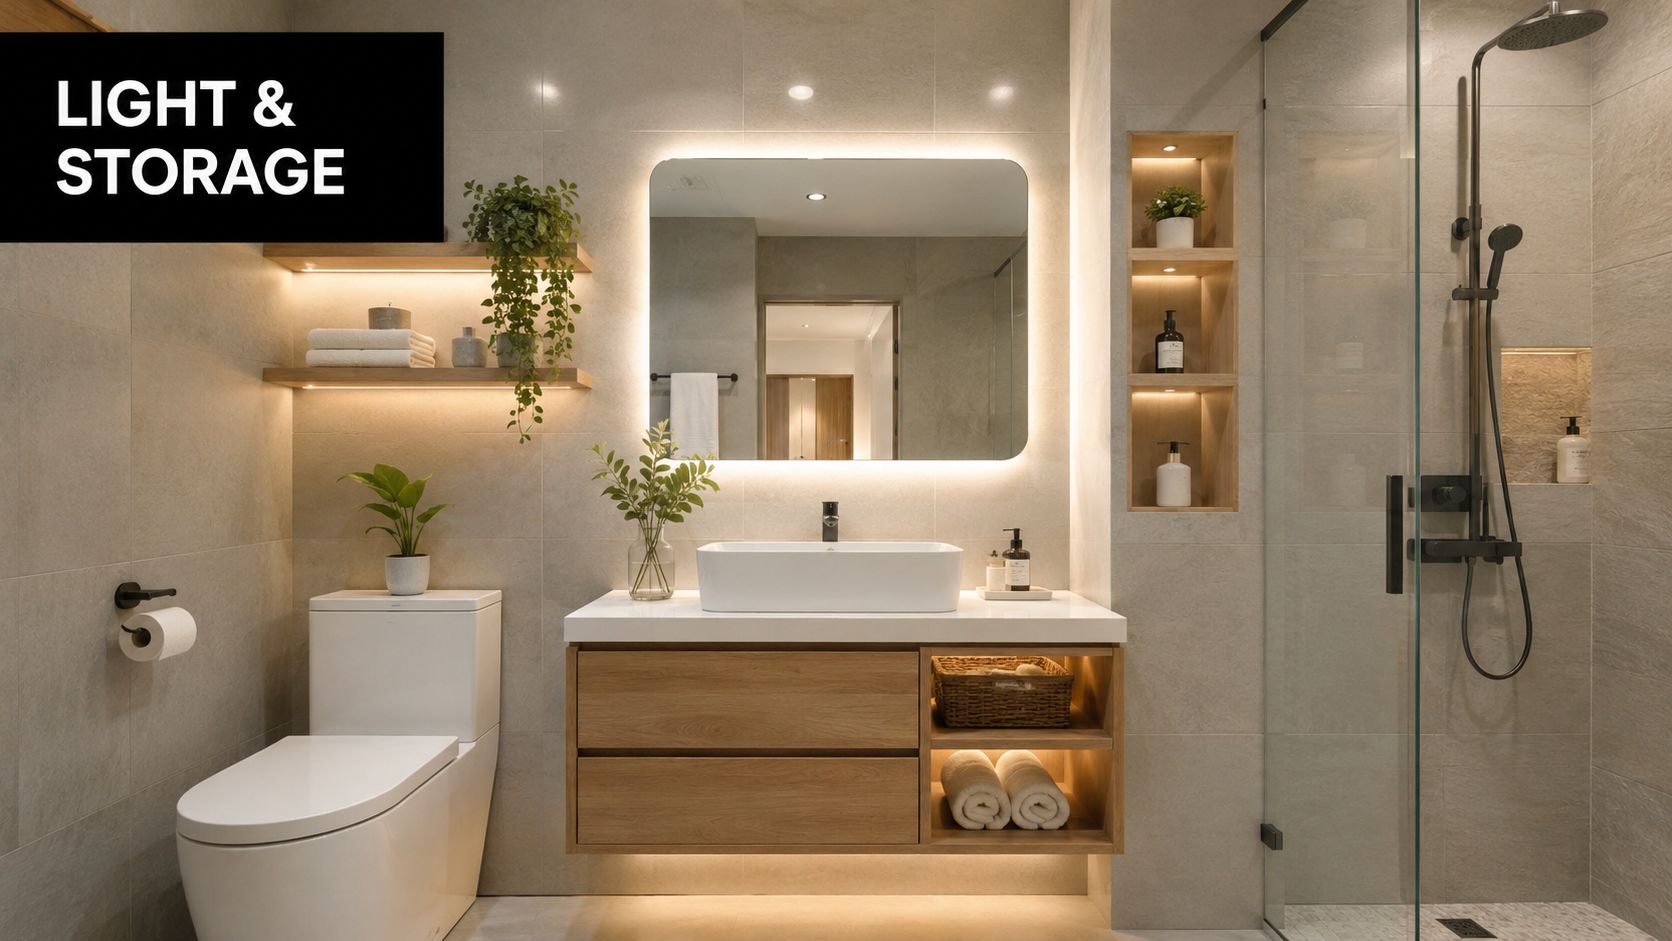
A regular shower is like a raincoat, it sheds water and gets out of the way. A steam shower is more like a sealed terrarium, it has to hold heat, manage condensation, and keep vapour from escaping into the rest of the house. The room's integration with waterproofing, ventilation, lighting, drainage, and structural finishes has to be planned from the start, because nice tiles and a glass panel alone will not hold up once steam and moisture are part of daily use.
In Melbourne renovations, that planning also has to fit the Victorian building context. Existing homes in Highett and nearby suburbs often bring awkward framing, ageing plumbing, limited fall for drainage, and tired surfaces that hide what is happening behind the walls. A proper steam shower needs to be checked against NCC expectations, and the builder must be registered where the work calls for it, so the design has to suit both the house and the rules before anyone starts setting out tile lines or ordering fittings.
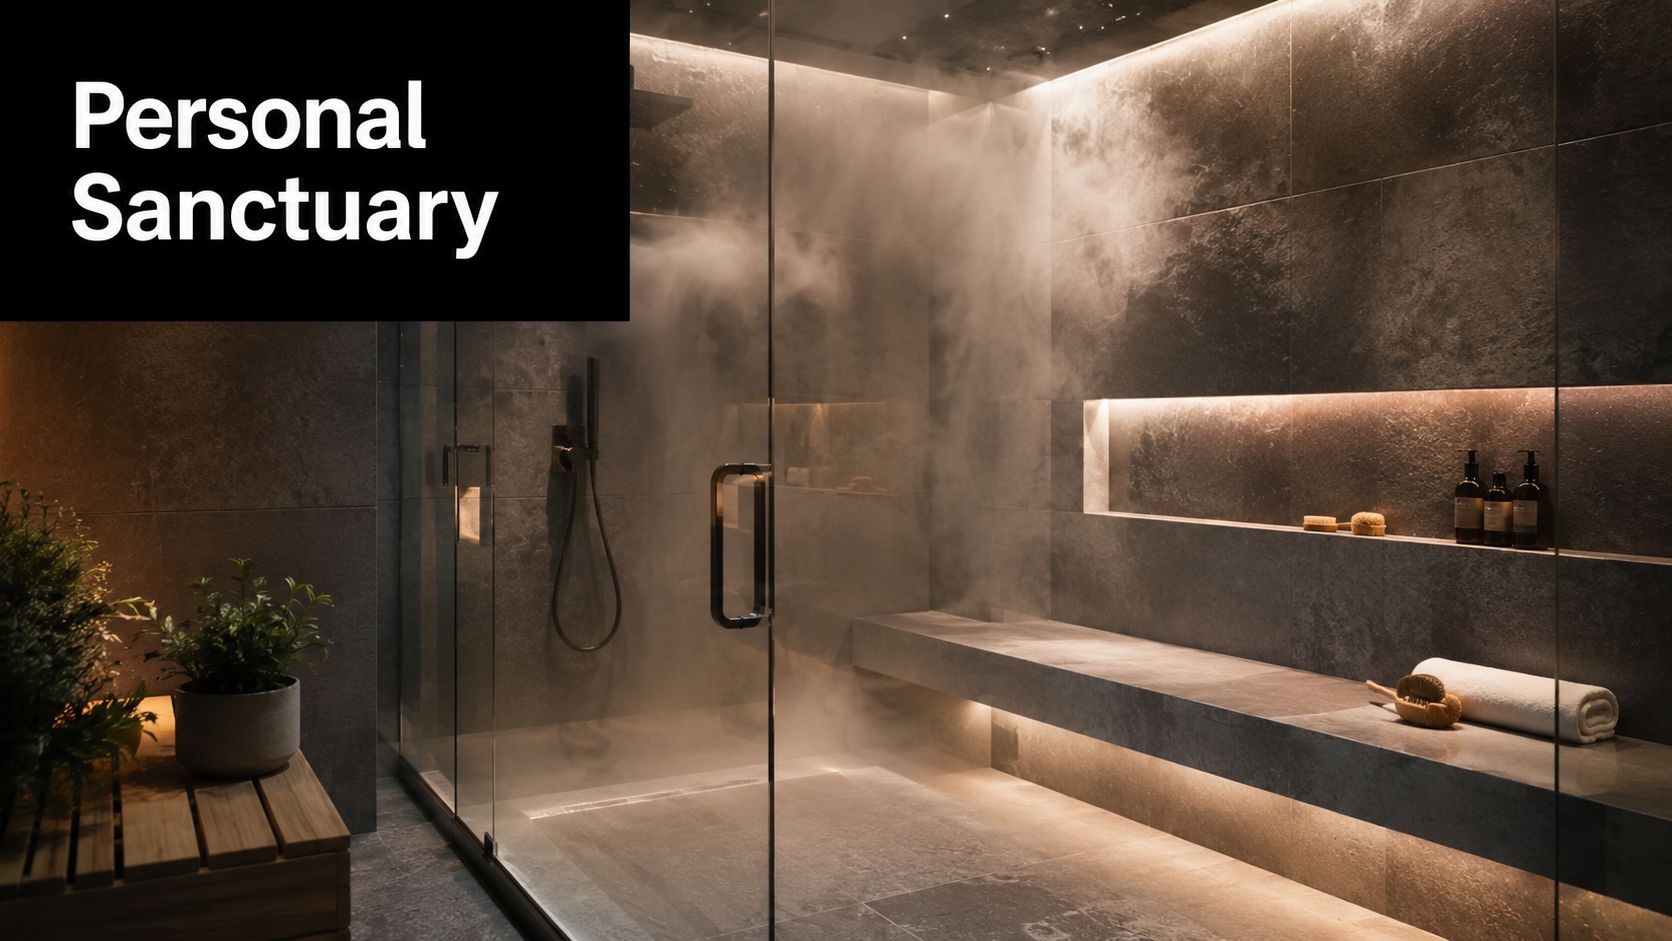
From Bathroom Upgrade to Personal Sanctuary
A steam shower earns its place in a home when the room does more than look polished. It gives you a quiet, enclosed space where heat and humidity wrap around the body, which many homeowners want after a long commute, a late gym session, or a day spent hunched over a desk. The design goal isn't just comfort, it's a room that feels restorative every time you step in.
That's why I treat steam shower room design as part wellness upgrade, part building project. The benefit only shows up when the enclosure is tight, the moisture is controlled, and the room feels intentional rather than improvised. If the room leaks vapour into surrounding cabinetry or into a ceiling cavity, the luxury disappears fast.
Practical rule: if the room can't contain steam reliably, it's not a steam shower, it's just a shower with expensive finishes.
Why this sits inside real bathroom renovations
In Victoria, steam showers are usually built during broader bathroom renovations, not as isolated add-ons. That matters because the room has to work with waterproofing, ventilation, lighting, drainage, and structural finishes at the same time. The ABS data above shows why this is a mainstream renovation category, not a niche indulgence, and that changes how owners should budget and plan ABS renovation context.
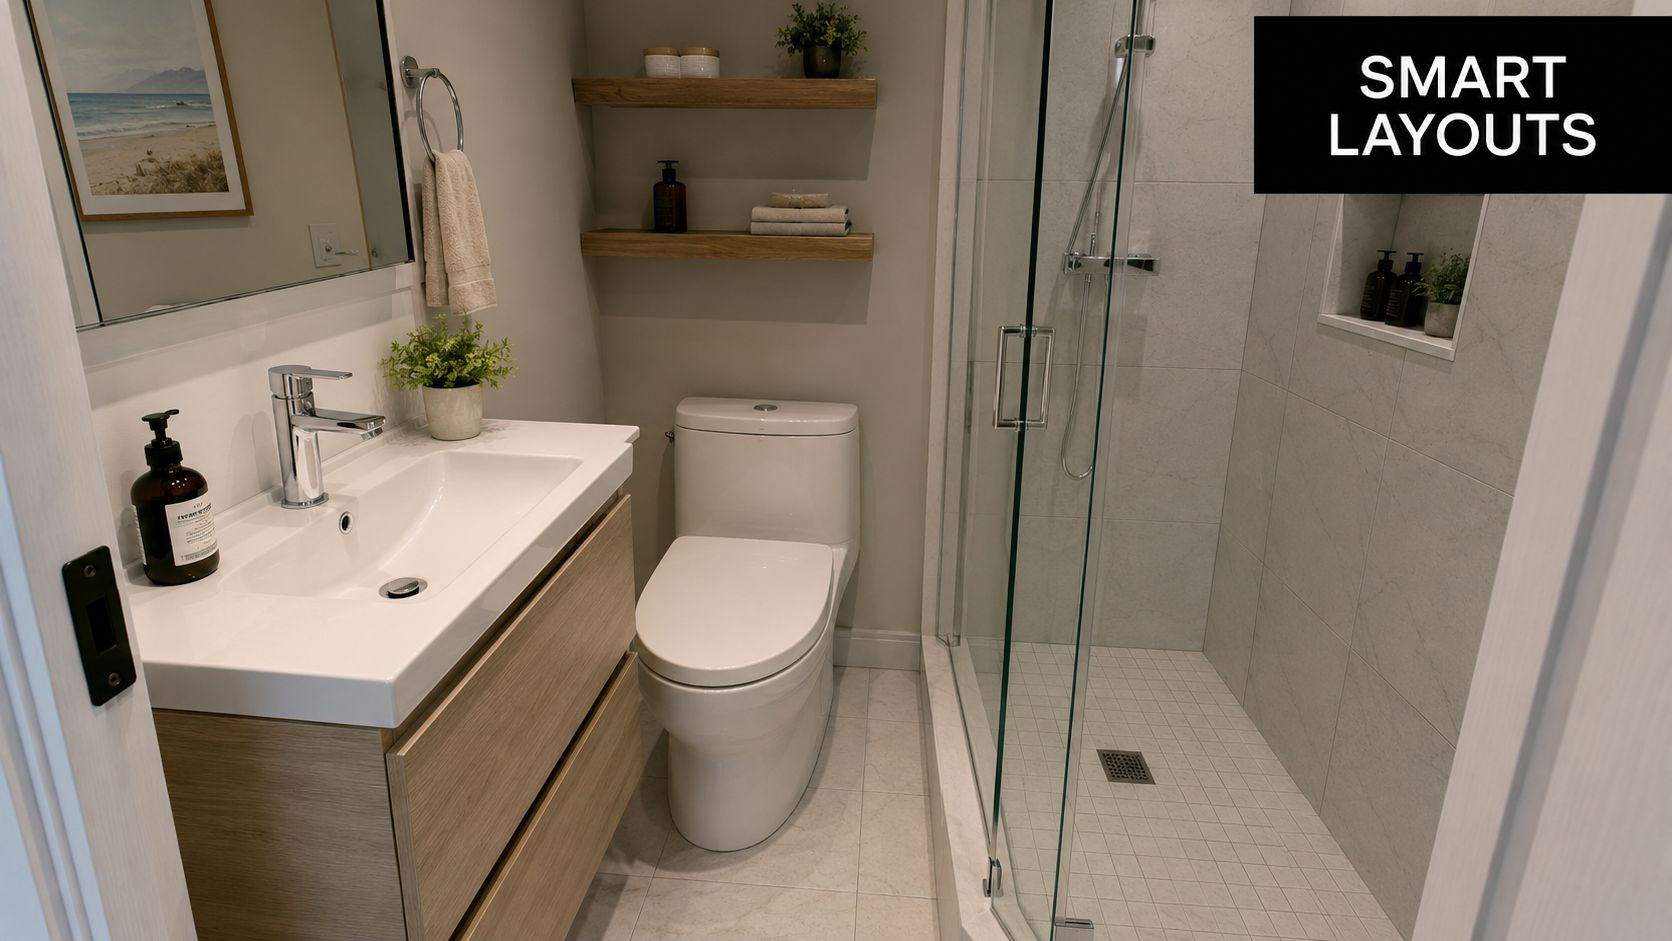
For Highett and the surrounding Melbourne suburbs, the most successful projects tend to be compact, efficient, and carefully detailed. That suits existing homes, especially where the bathroom footprint is limited and the retrofit has to respect the house rather than fight it. It also explains why new bathroom ideas often focus on smaller but higher-spec layouts instead of oversized spa rooms.
The Foundations of Steam Shower Design
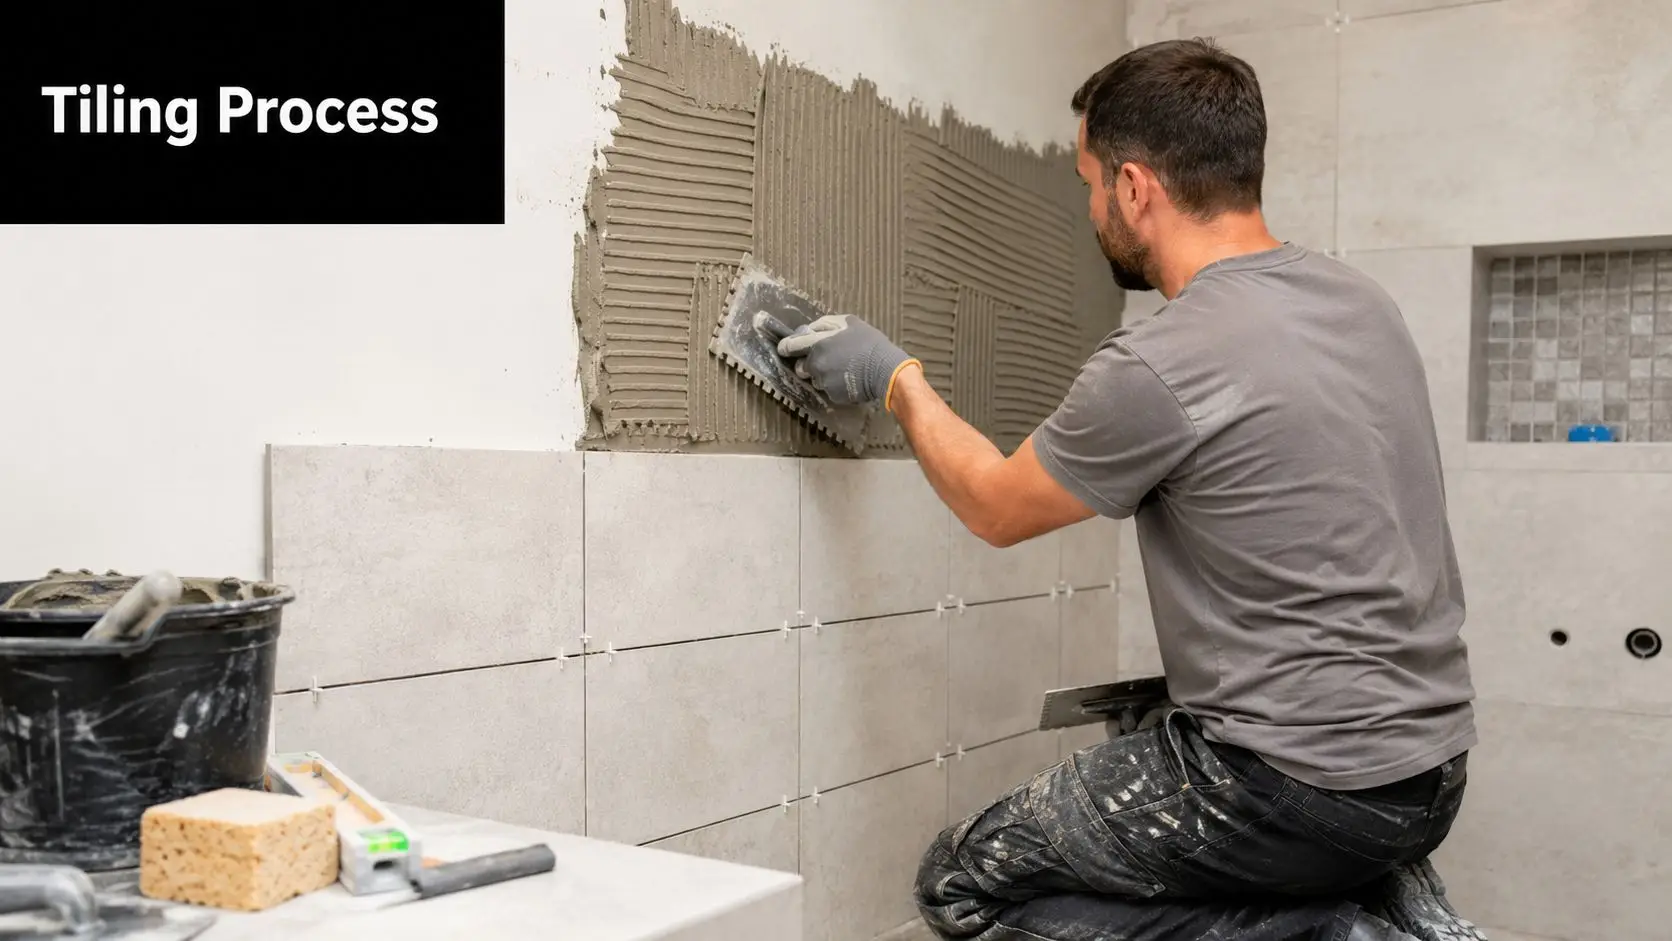
A steam shower starts with the room shell, not the fittings. A conventional shower only has to move water downwards and out, but a steam shower has to hold hot vapour inside the enclosure without letting it drift into nearby walls, ceilings, or cabinetry. Standard shower waterproofing is not enough for that job, because steam loads the whole assembly in a different way.
The room must be enclosed as one continuous system. Tiling by itself will not do it. Every edge, joint, and penetration has to work together, otherwise moisture finds the weakest point and settles where it should not. Ceiling height, ceiling slope, door sealing, and generator location all sit in the core geometry of the space.
Geometry that keeps the room usable
A practical layout keeps the ceiling no higher than 8 feet, around 2.4 metres, and uses a slope of at least 3/4 inch per foot, about 6 centimetres per metre, so condensate runs away from the bather instead of dripping back on them Steam room geometry. The generator should sit within 10 feet of the steam head on a dedicated 240V circuit Steam room geometry. That shortens the steam line and helps the system respond properly.
The ceiling shape does real work here. If the pitch is ignored, condensation collects overhead and drips where comfort should be highest. If the generator sits too far away, the steam output becomes slower and less consistent, which is a poor outcome in a retrofit where pipe runs and service access are already tight.
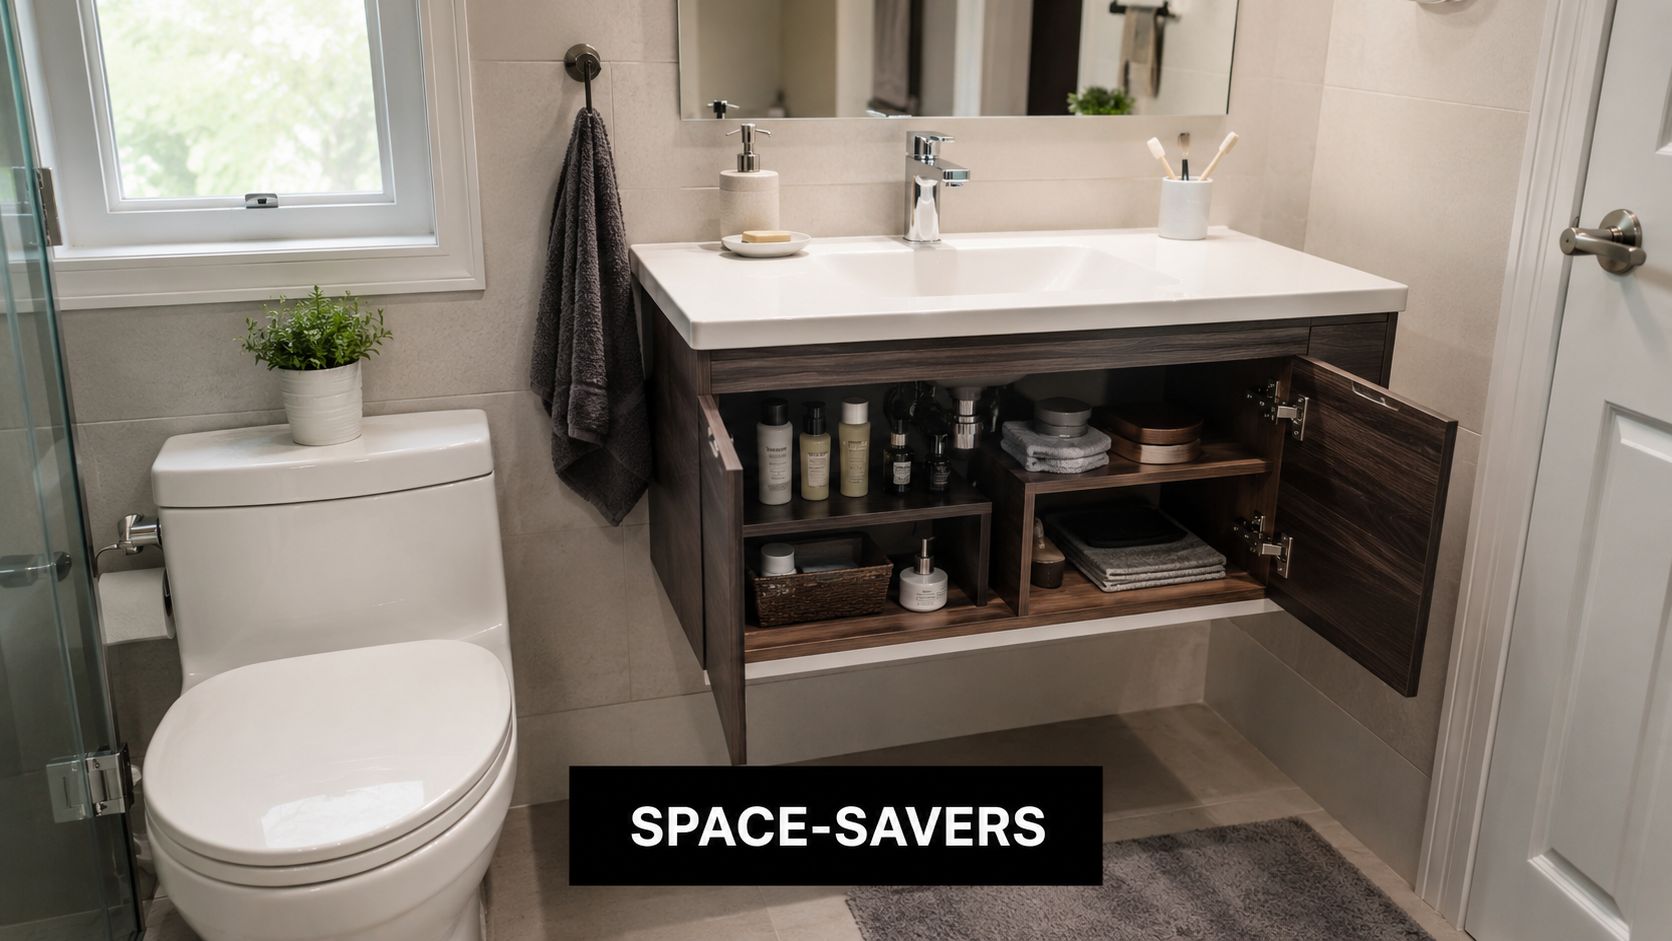
A builder also has to treat the room like a serviceable appliance, not just a finished bathroom. The steam unit should stay accessible in a dry, ventilated position, because maintenance gets difficult fast if it is buried behind permanent joinery or boxed into a wet cavity. Many retrofit ideas fail at this point, because they look tidy on paper but create painful access problems later.
In Victoria, that planning has to sit alongside the rest of the bathroom work. NCC expectations, Victorian builder registration rules, waterproofing, and the limits of an existing Melbourne house all shape what is realistic. A good steam shower design respects the building first, then the finishes.
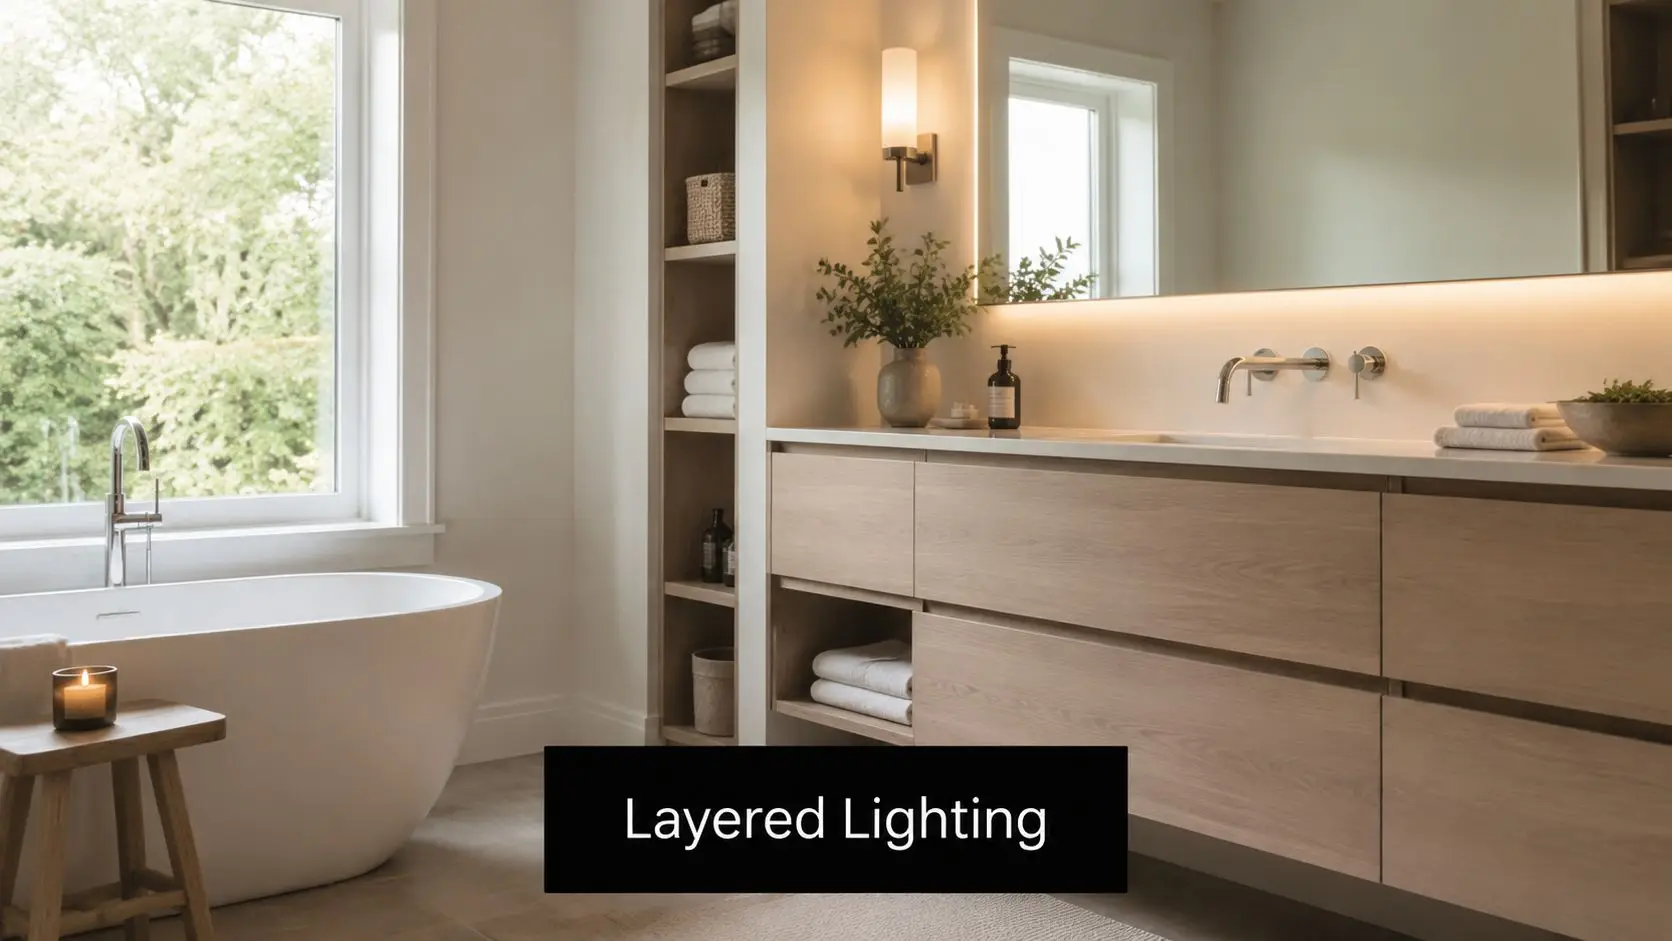
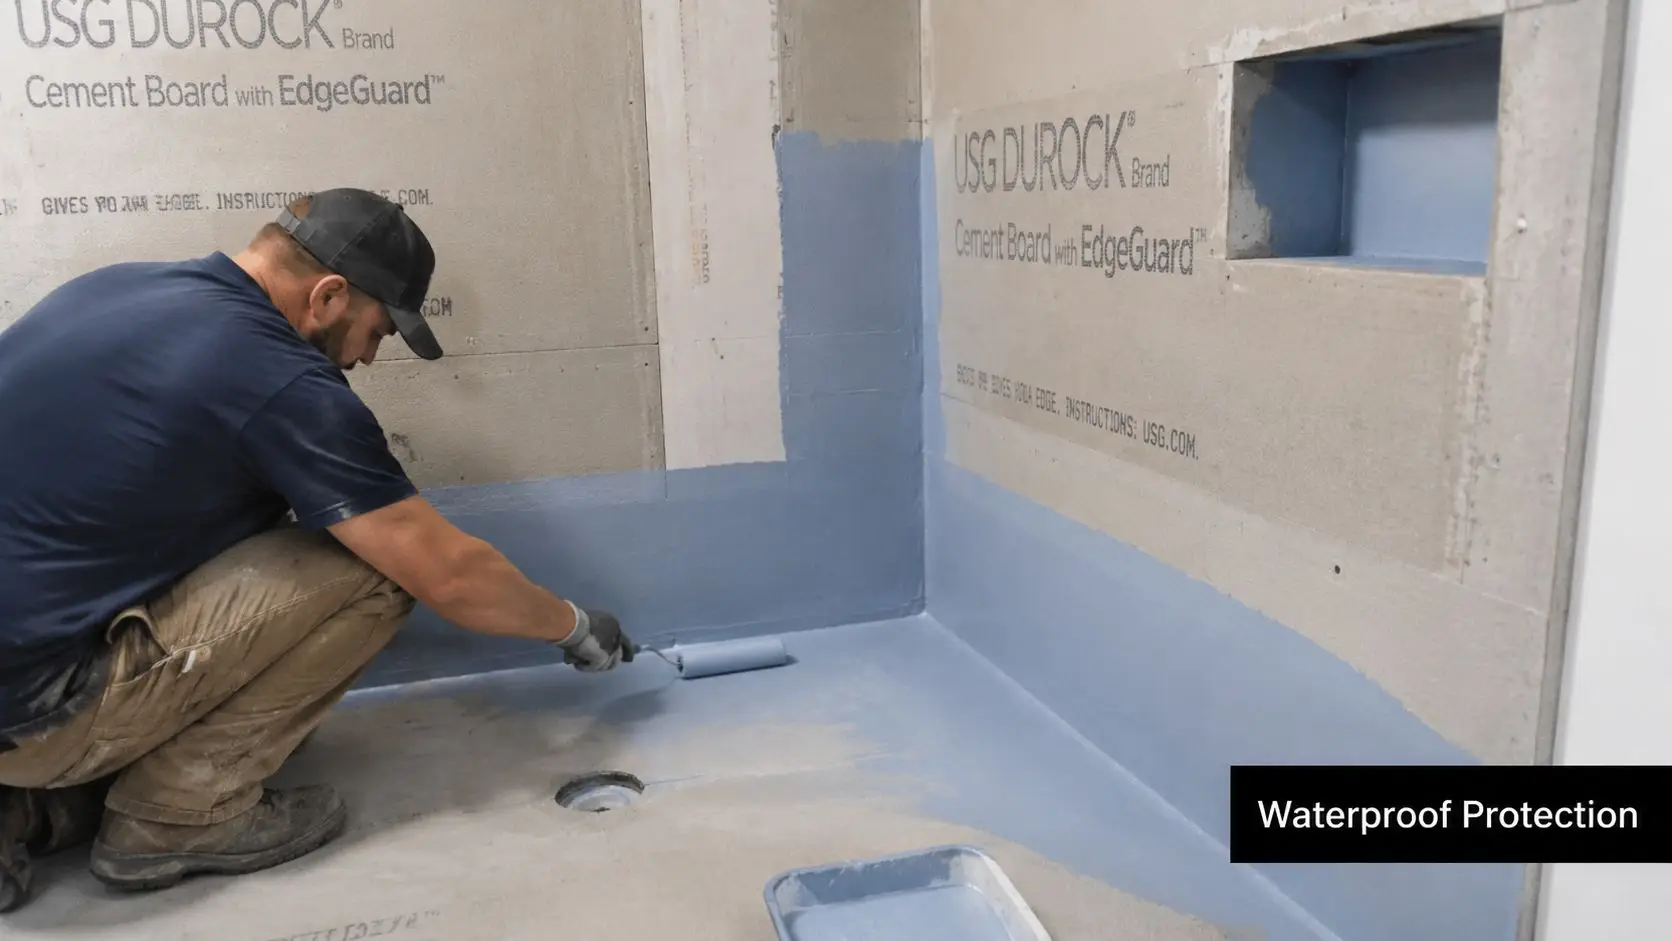
Mastering Waterproofing and Vapour Control
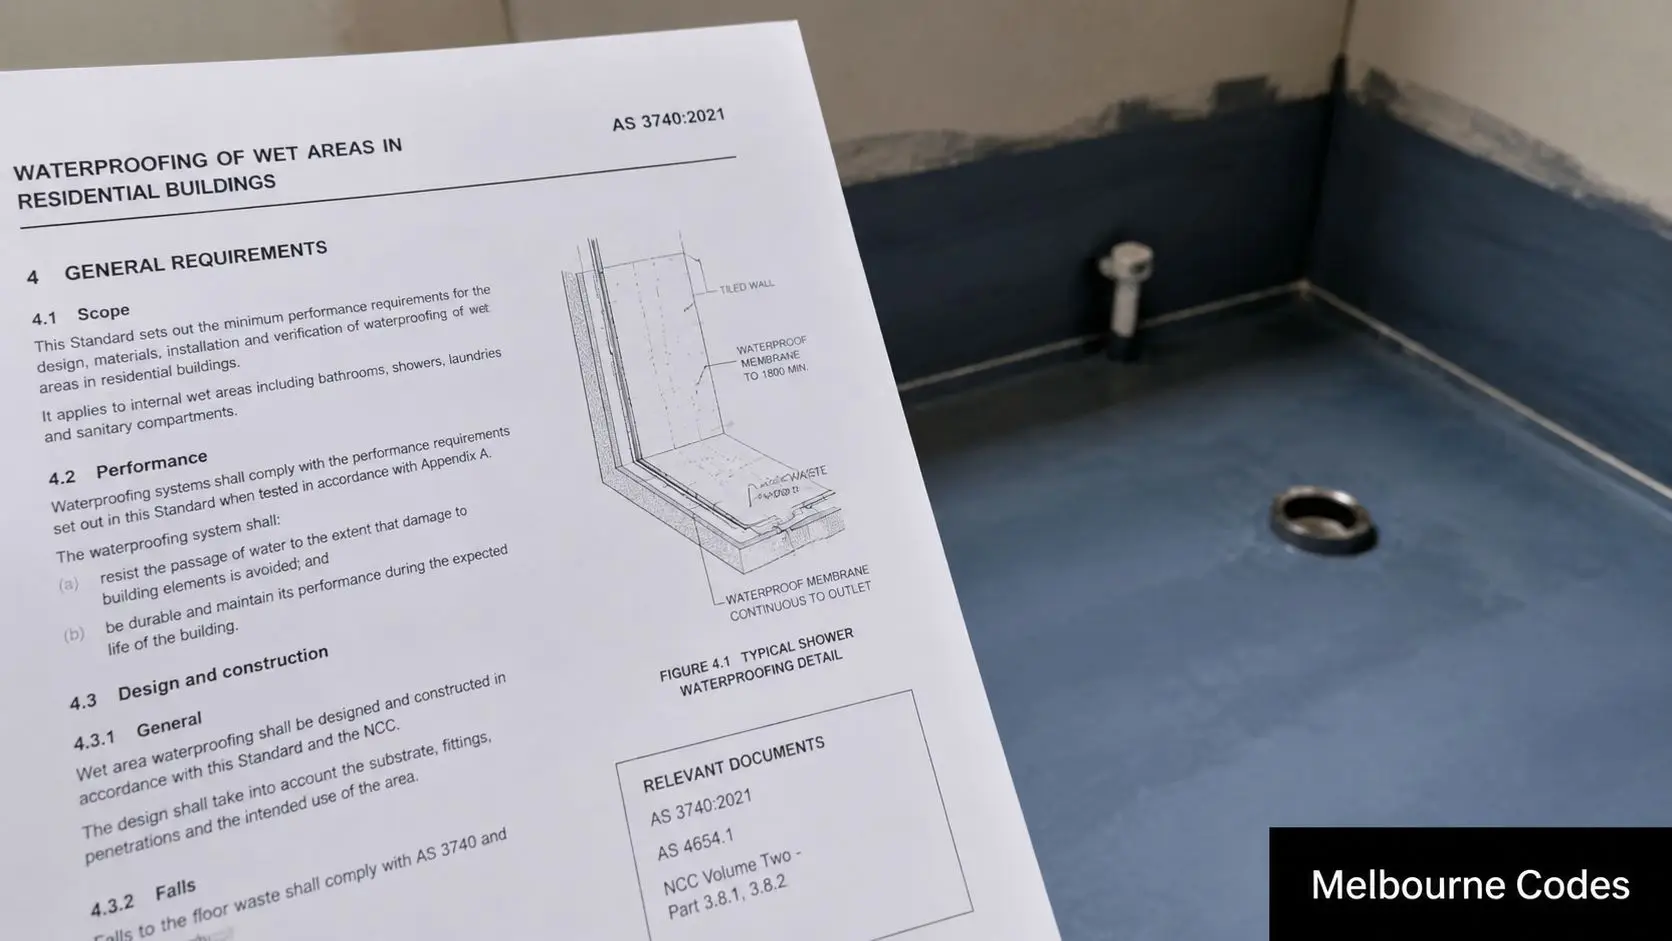
Steam shower waterproofing is stricter than normal shower waterproofing because the enemy isn't only liquid water, it's vapour migration. A membrane that handles spray fine can still fail when heat and humidity push moisture into adjacent framing, linings, and insulation. That's how mould, softened substrates, and tired finishes start to appear around what looked like a high-end bathroom.
The critical benchmark here is vapour management. A continuous, bonded waterproof membrane should have a water vapour permeance of 0.5 perms or less to resist moisture migration into nearby building materials CTDA steam shower membrane guidance. In plain terms, the membrane can't be patched together loosely, because any weak transition becomes the path moisture follows.
What gets sealed before the tile goes down
The substrate, membrane, penetrations, and tiling system need to be decided together. Once tiles are on the wall, you're locked into the assembly beneath them, so this is the stage where design choices have the biggest long-term impact. Lights, controls, plumbing points, niches, and any venting details all need proper treatment before finishing starts.
A simple sizing approach helps keep the generator choice realistic. Measure the enclosure volume, then account for the materials inside it, because denser or more absorbent finishes change how hard the generator has to work. Smooth, non-porous interiors are easier on the system, while heavier or more heat-absorbing surfaces demand more from it.
For a homeowner, the controls are the user interface of the whole experience. That means the panel should be easy to reach, easy to read, and simple enough that the room feels intuitive, not technical. If you want to understand the practical side of waterproofing in a standard renovation context, the bathroom waterproofing guide is a useful companion to the steam-specific approach.
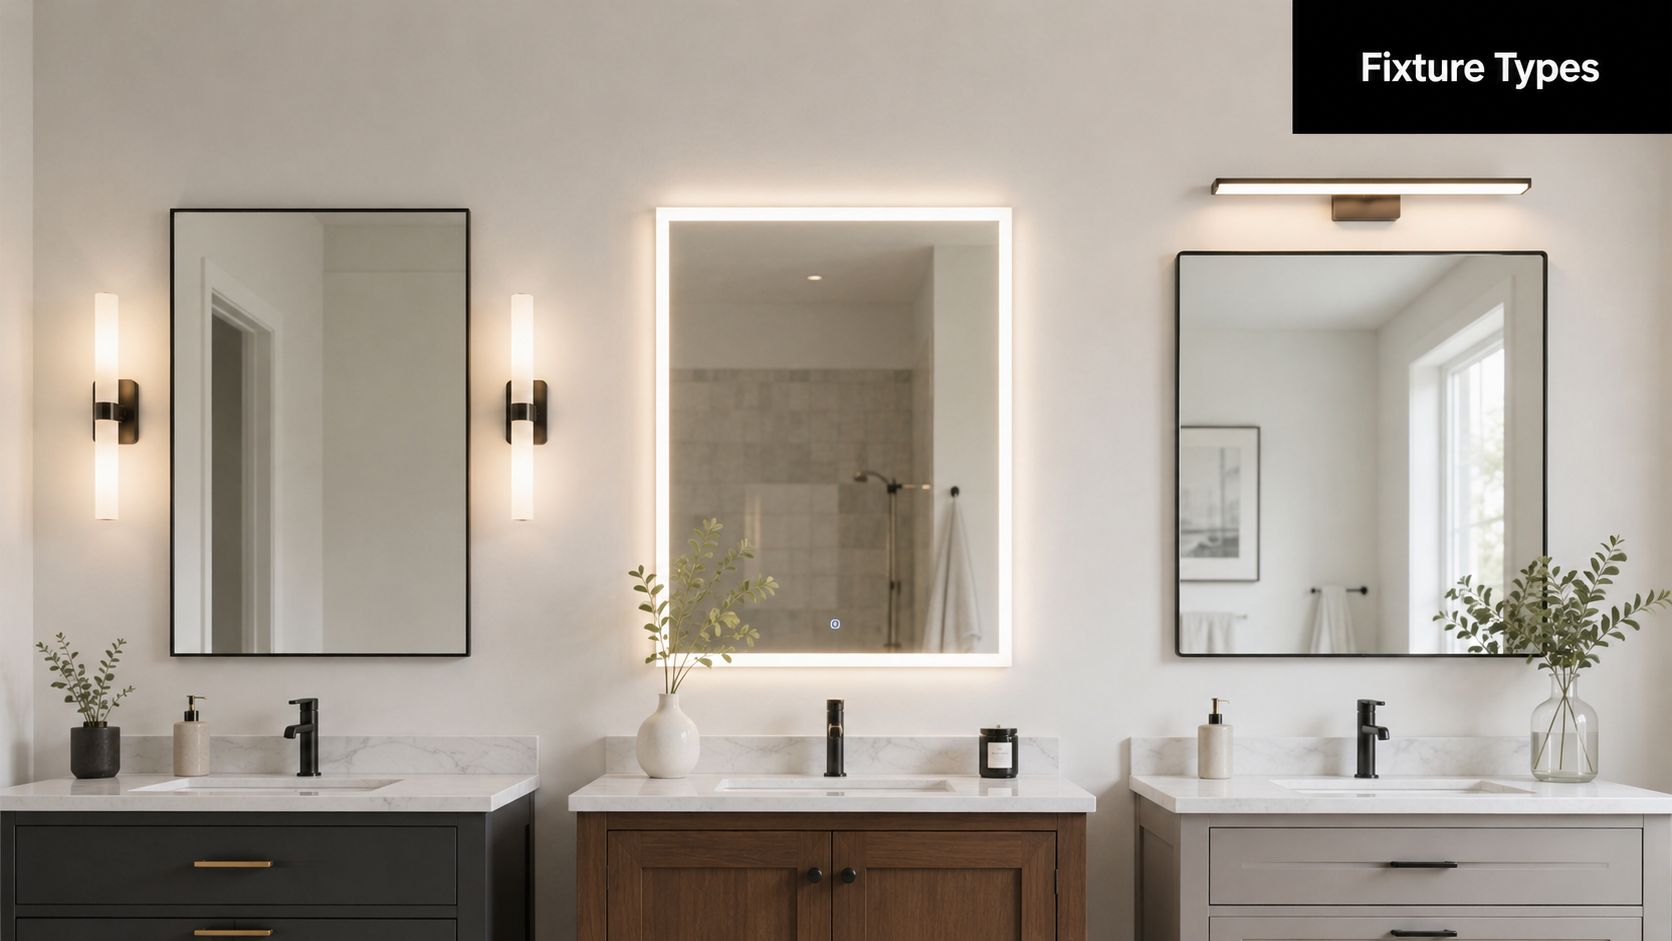
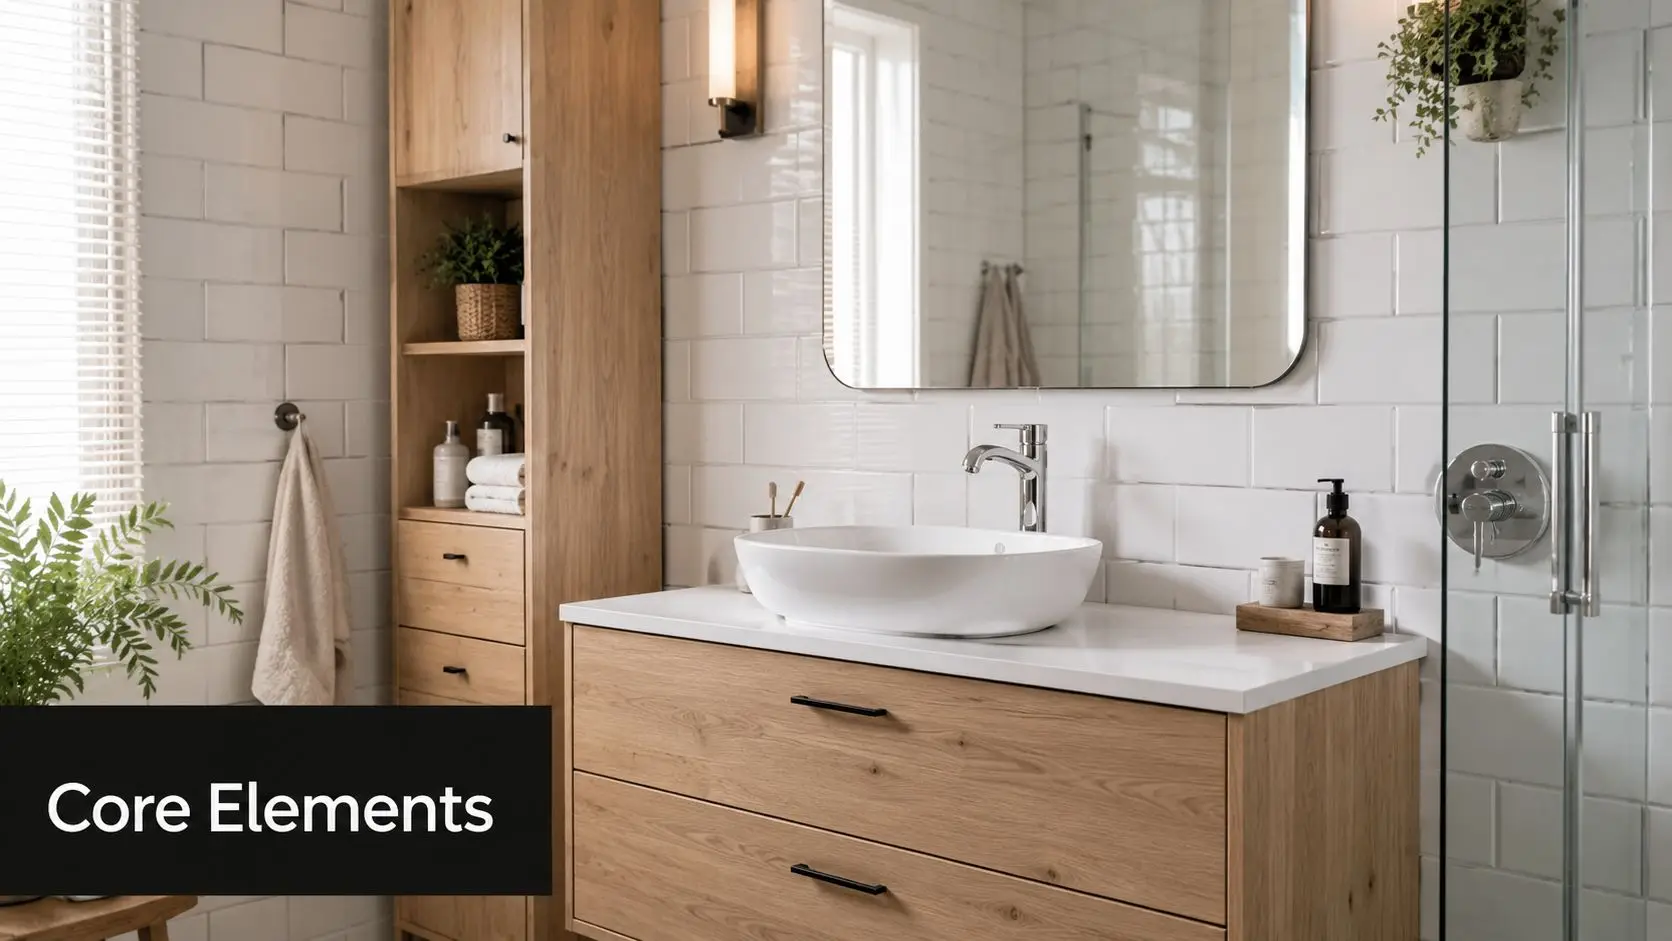
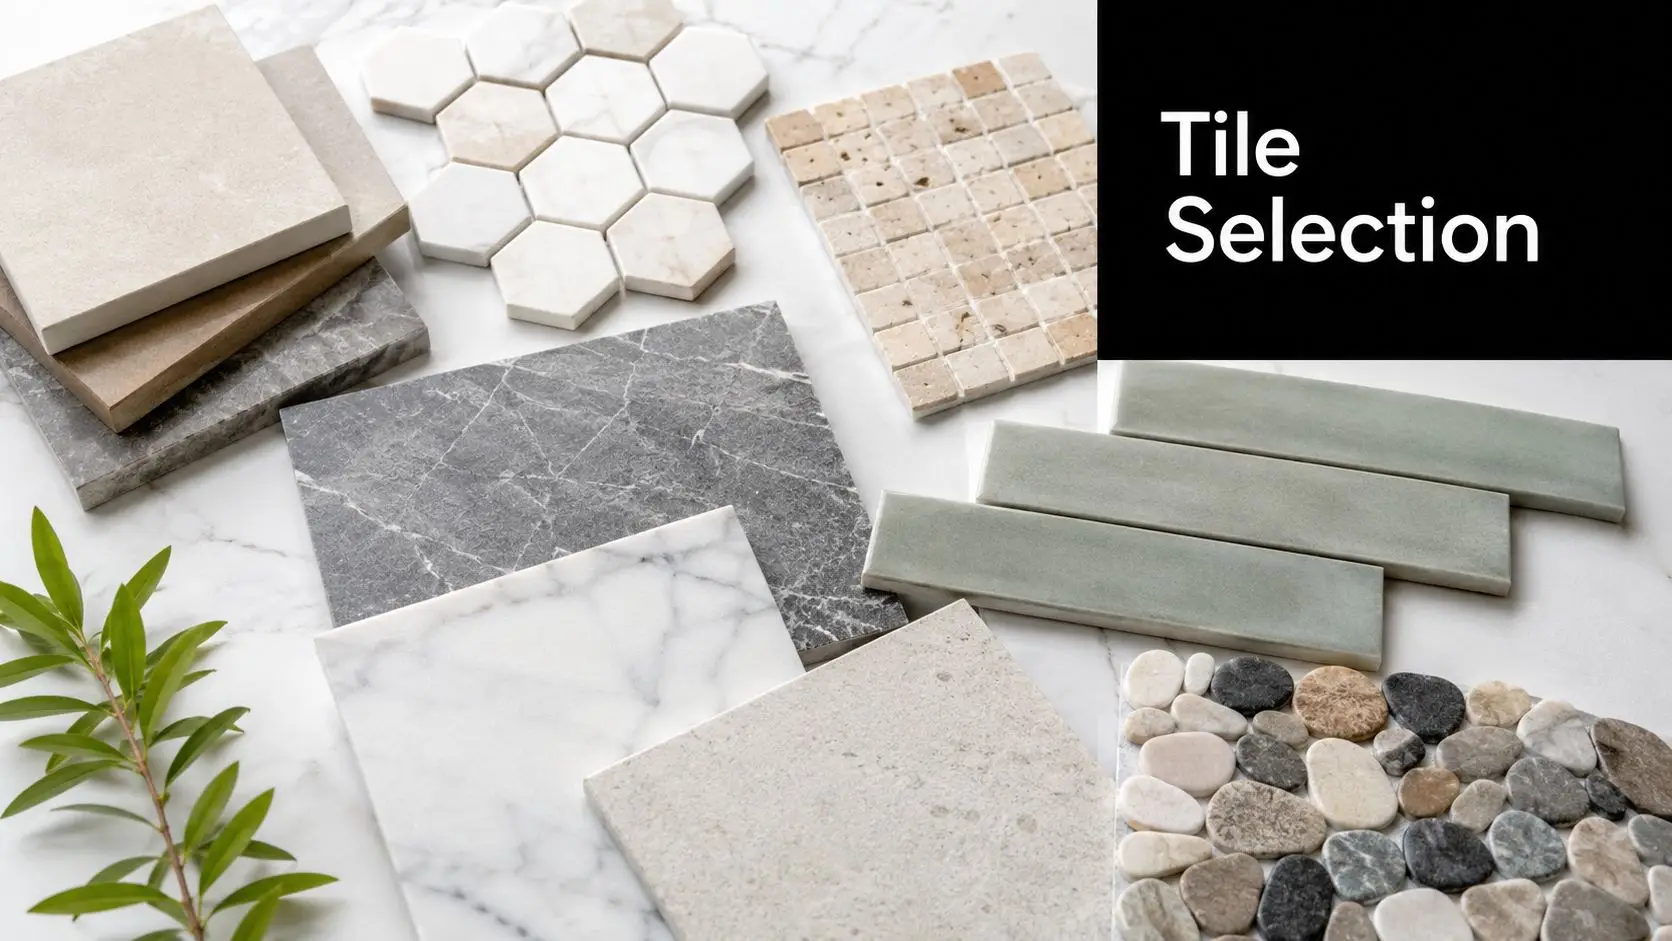
Choosing Materials for Modern and Designer Bathrooms
Material choice shapes both the look and the performance of a steam enclosure. In modern bathrooms and designer bathrooms, the best finishes are the ones that can handle repeated heat, condensation, and cleaning without losing their character. That's why the surface palette has to be selected for the environment, not just for the mood board.
Porcelain and ceramic are the safest starting points because they're non-porous and practical. Natural stone can still work, but it needs careful judgement, because it brings beauty and thermal mass along with more maintenance sensitivity. In a steam room, that trade-off matters more than it does in a standard bathroom.
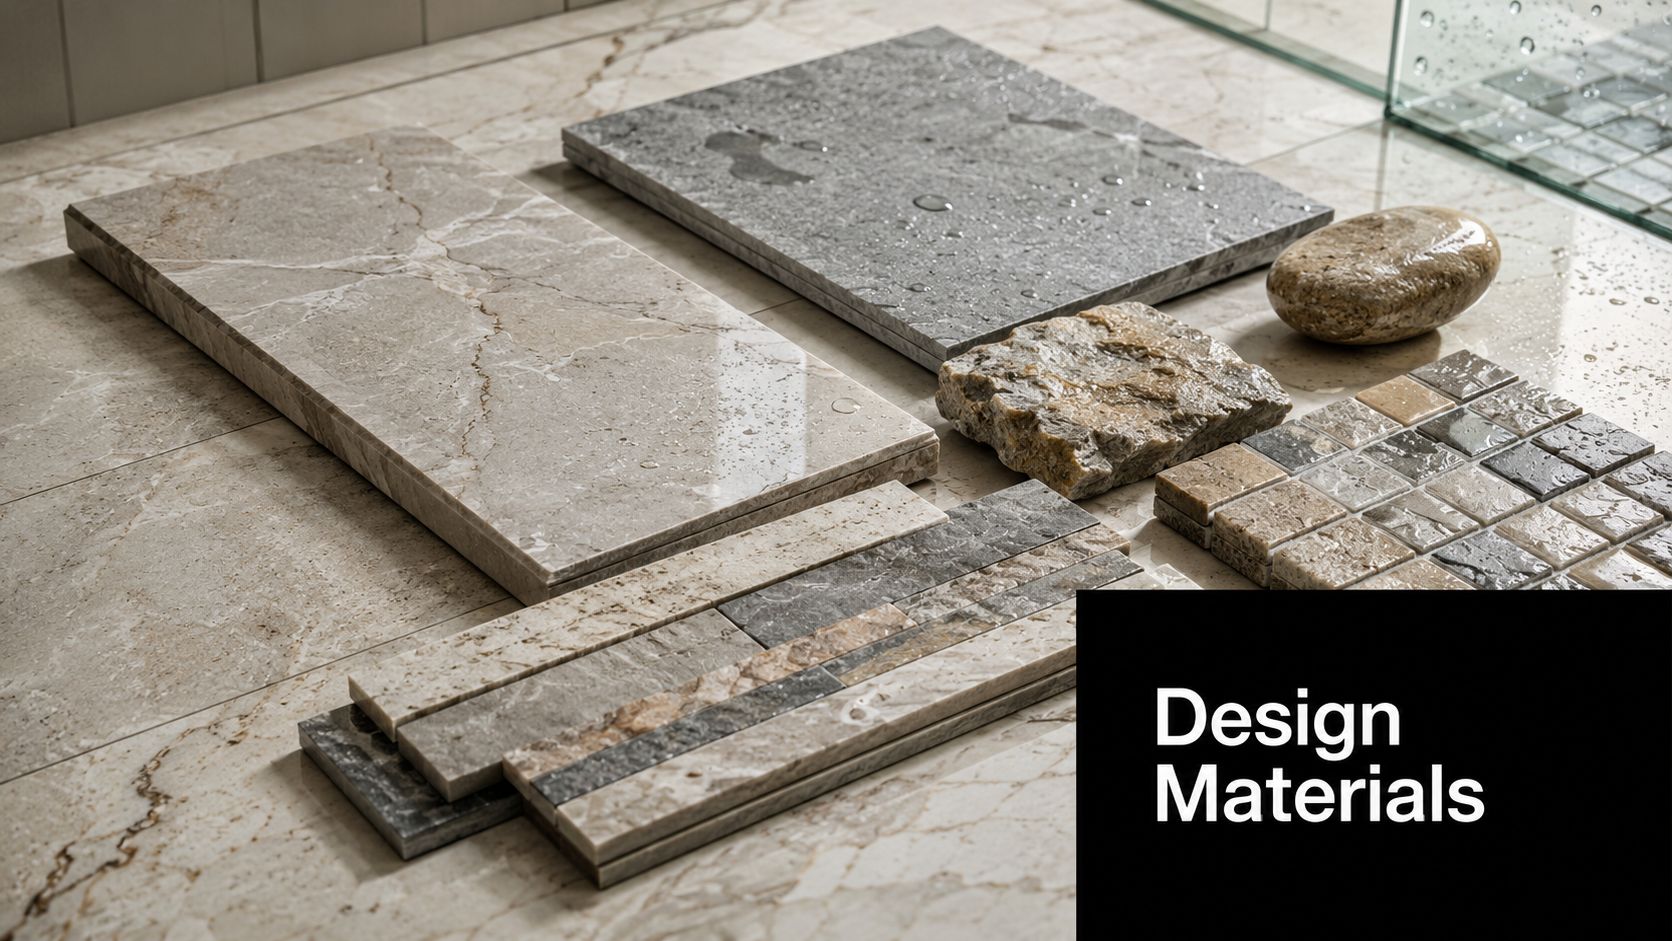
Surfaces that look good and last
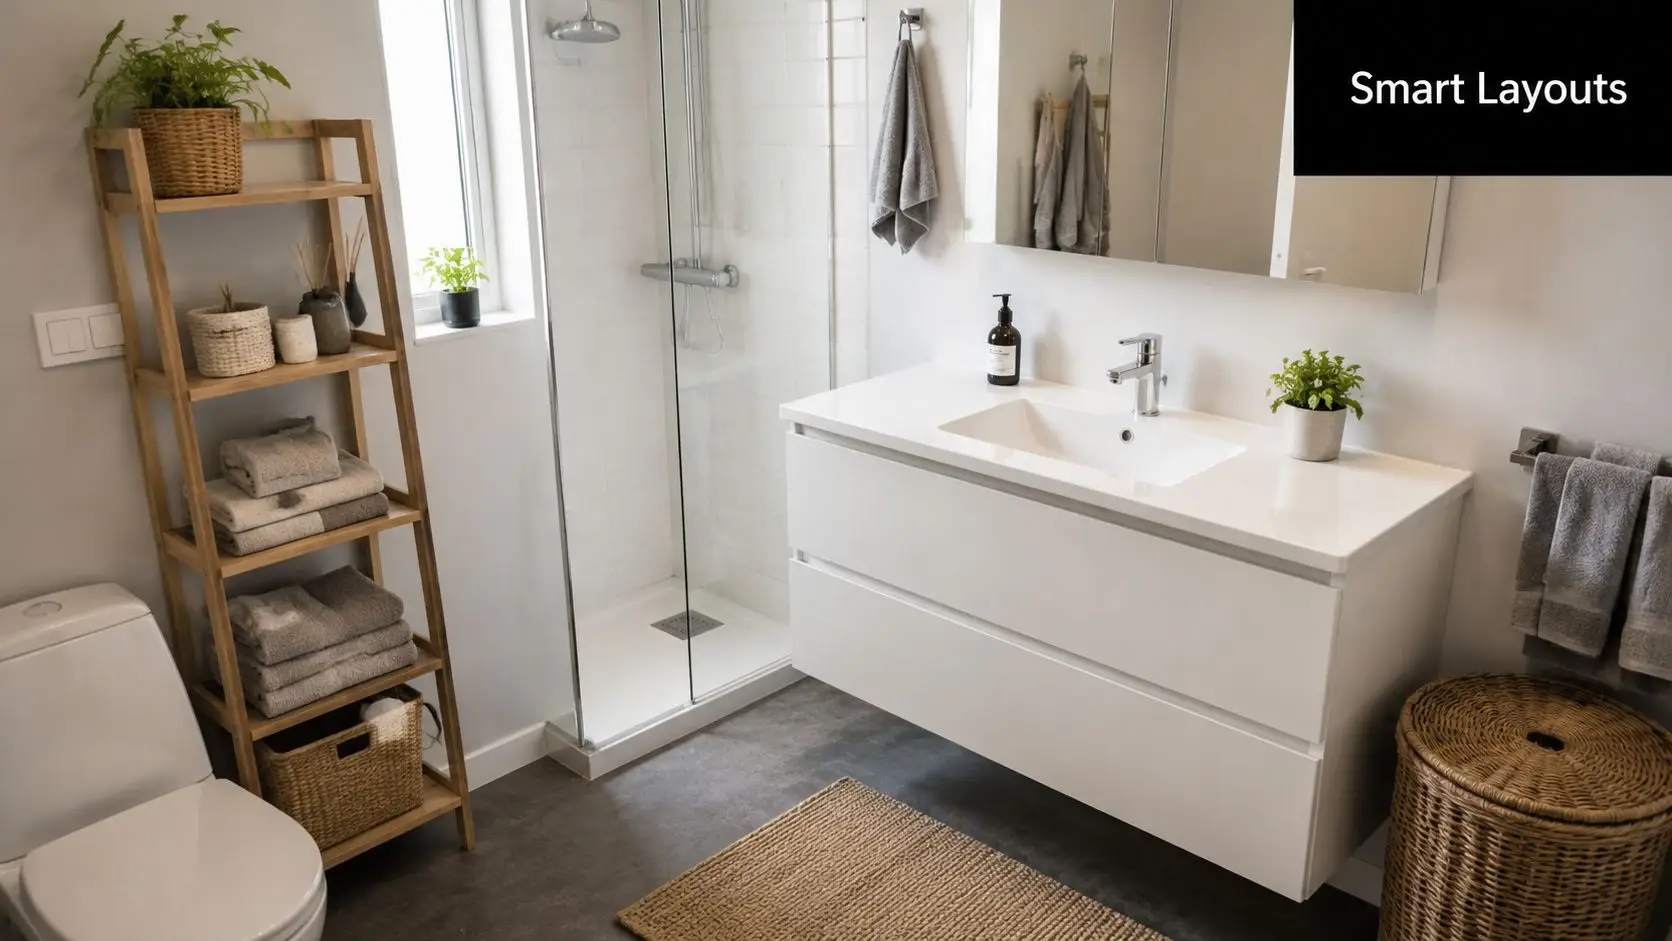
A tiled steam room works best when the tile format supports drainage, cleaning, and visual calm. Smaller-scale tiles often help on floors because they add more grout lines and therefore more grip, while large-format wall tiles can keep the enclosure feeling quiet and contemporary. The right mix gives the room a finished, deliberate look without making maintenance a chore.
Glass should be fully sealed and purpose-fitted, because any weak gasket or poor edge detail undermines the vapour barrier. Seating needs the same thinking. An integrated bench, corner seat, or floating perch should feel comfortable without interrupting circulation in the room, especially in compact Melbourne bathrooms where every centimetre counts.
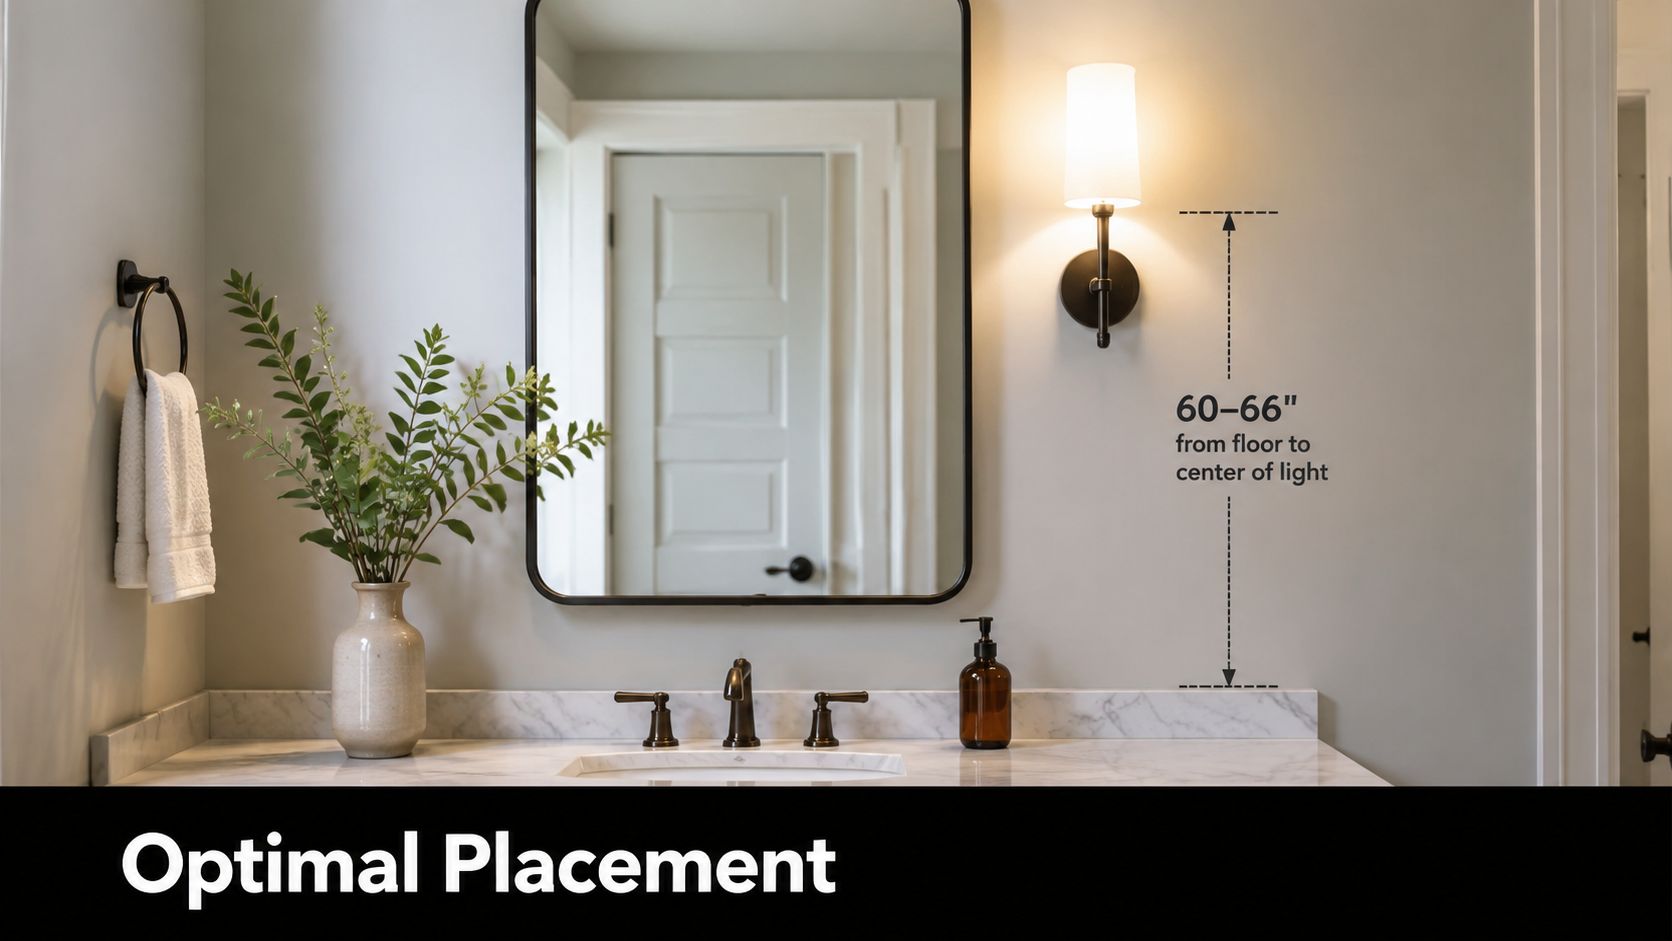
Planning the footprint
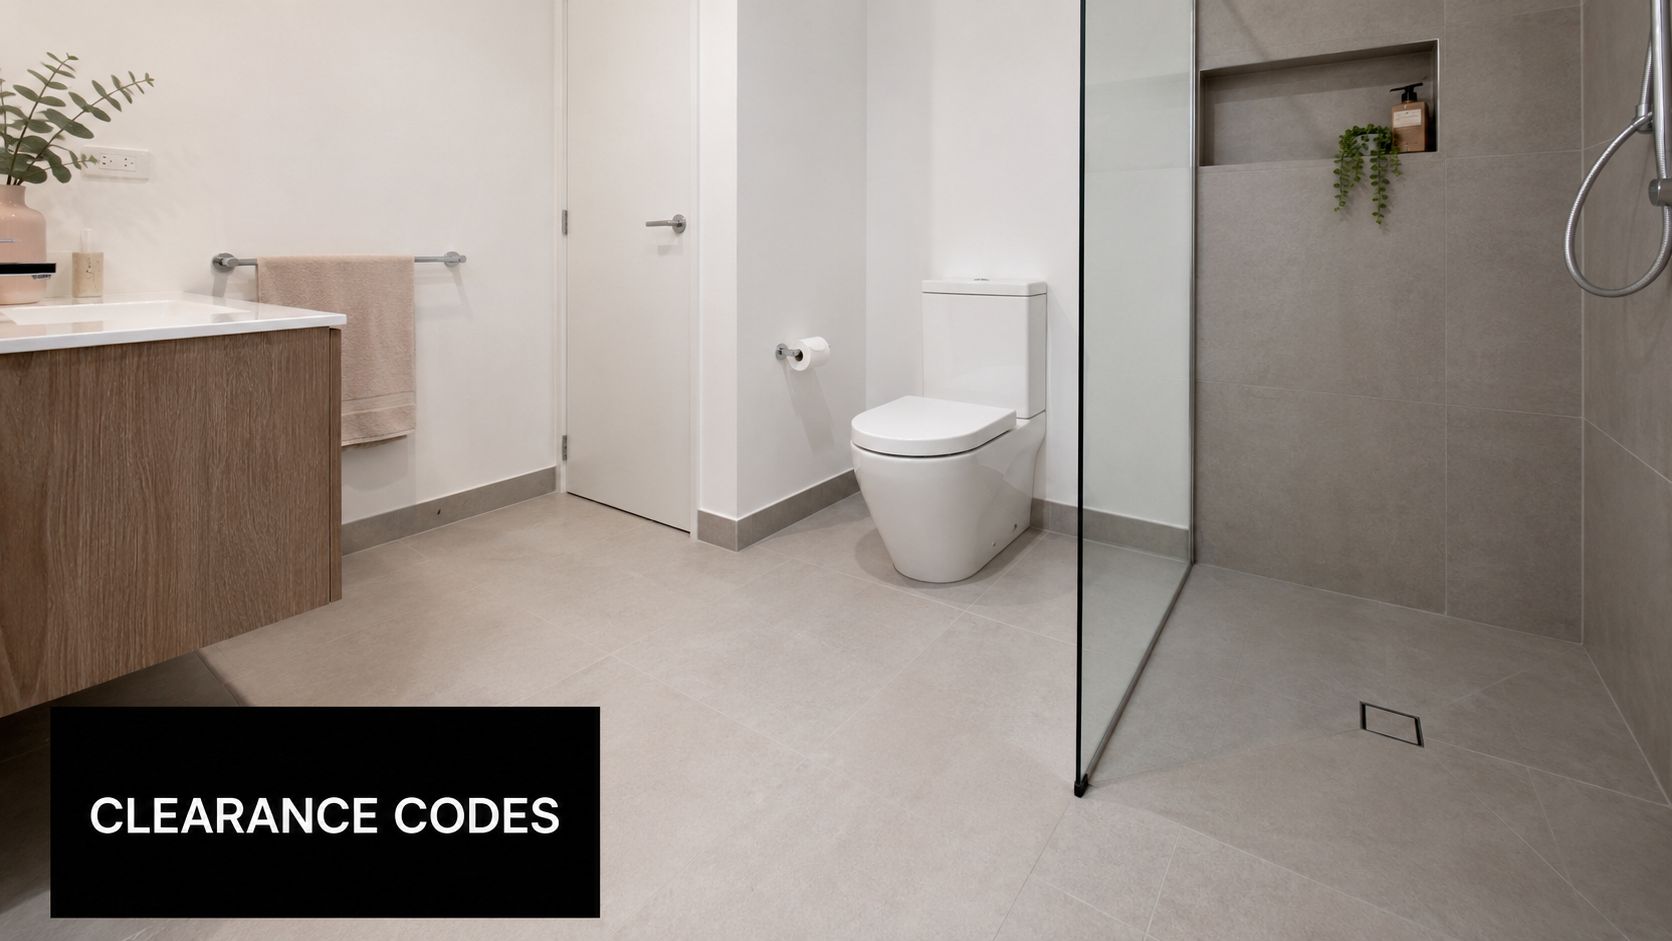
The Australian Government's Livable Housing Design Standard recommends a minimum clear floor space of 900 mm x 900 mm for at least one shower Livable Housing benchmark. That gives a practical starting point for a steam enclosure that still allows usable movement, door swing, and day-to-day access. It's not just about fitting in, it's about making the room easy to live with.
Practical rule: choose finishes that support steam first, then refine the palette for style. Reversing that order usually leads to compromise.
If you're refining tile decisions for a wider renovation, the bathroom tile selection guide can help frame the look and maintenance side of the process.
Selecting Your Steam Generator and Controls
The generator does the heavy lifting in a steam shower room, and the wrong unit shows up quickly in daily use. If it is undersized, the room feels slow to heat and patchy in operation. If it is too large for the enclosure, the setup can cost more than necessary and be harder to tune properly.
Sizing starts with the enclosure volume, then moves to the room's materials and ceiling height. A room with more exposed surface area, denser linings, or a taller ceiling needs more energy to warm through and keep steam stable. In a Melbourne retrofit, that calculation has to be grounded in the existing bathroom, not in an idealised layout that only works on paper.
Budgeting the system properly
Estimated costs below are for the Melbourne area and can shift with site access, specification, and retrofit complexity.
| Typical Steam Shower Renovation Cost Breakdown (Victoria) | Estimated Cost Range (AUD) |
|---|---|
| Steam generator and controls | $2,000 – $5,500 |
| Waterproofing and membranes | $1,500 – $4,000 |
| Framing and enclosure preparation | $1,000 – $3,500 |
| Plumbing and drainage changes | $1,200 – $4,500 |
| Electrical work and dedicated circuit | $900 – $3,000 |
| Tiling and finishes | $4,000 – $12,000 |
| Glass, sealing, and hardware | $2,500 – $8,000 |
| Design and construction coordination | $1,500 – $6,000 |
The generator sits inside a much larger budget, and that is where many owners misjudge the job. A steam shower only works properly when the waterproofing, membranes, plumbing, electrical work, tiling, and enclosure details all line up. In a Victorian renovation, those costs are not separate extras, they are part of the system that keeps the room working long term.
Controls that make the room easy to use
A simple controller suits a dedicated steam shower with a clear routine. Digital controls make more sense where the bathroom has multiple uses and the owner wants more control over temperature, timing, or start-up behaviour. The goal is not to add features for their own sake, it is to make the room straightforward to use every day.
Placement matters just as much as the control type. The generator should sit in a dry, ventilated, serviceable location, and the steam outlet needs to be positioned with the enclosure layout in mind. The electrical supply should be planned early so the build does not stall once the services are being rough-in. Good steam room geometry keeps those details working together, especially in compact retrofit bathrooms where access and serviceability are tight.
A well-chosen control setup also reduces friction after handover. If the owner can reach the panel easily, understand the settings without a manual, and service access stays practical for the builder or electrician, the room is far easier to live with. That is the difference between a steam shower that looks impressive and one that stays reliable in an ordinary Melbourne home.
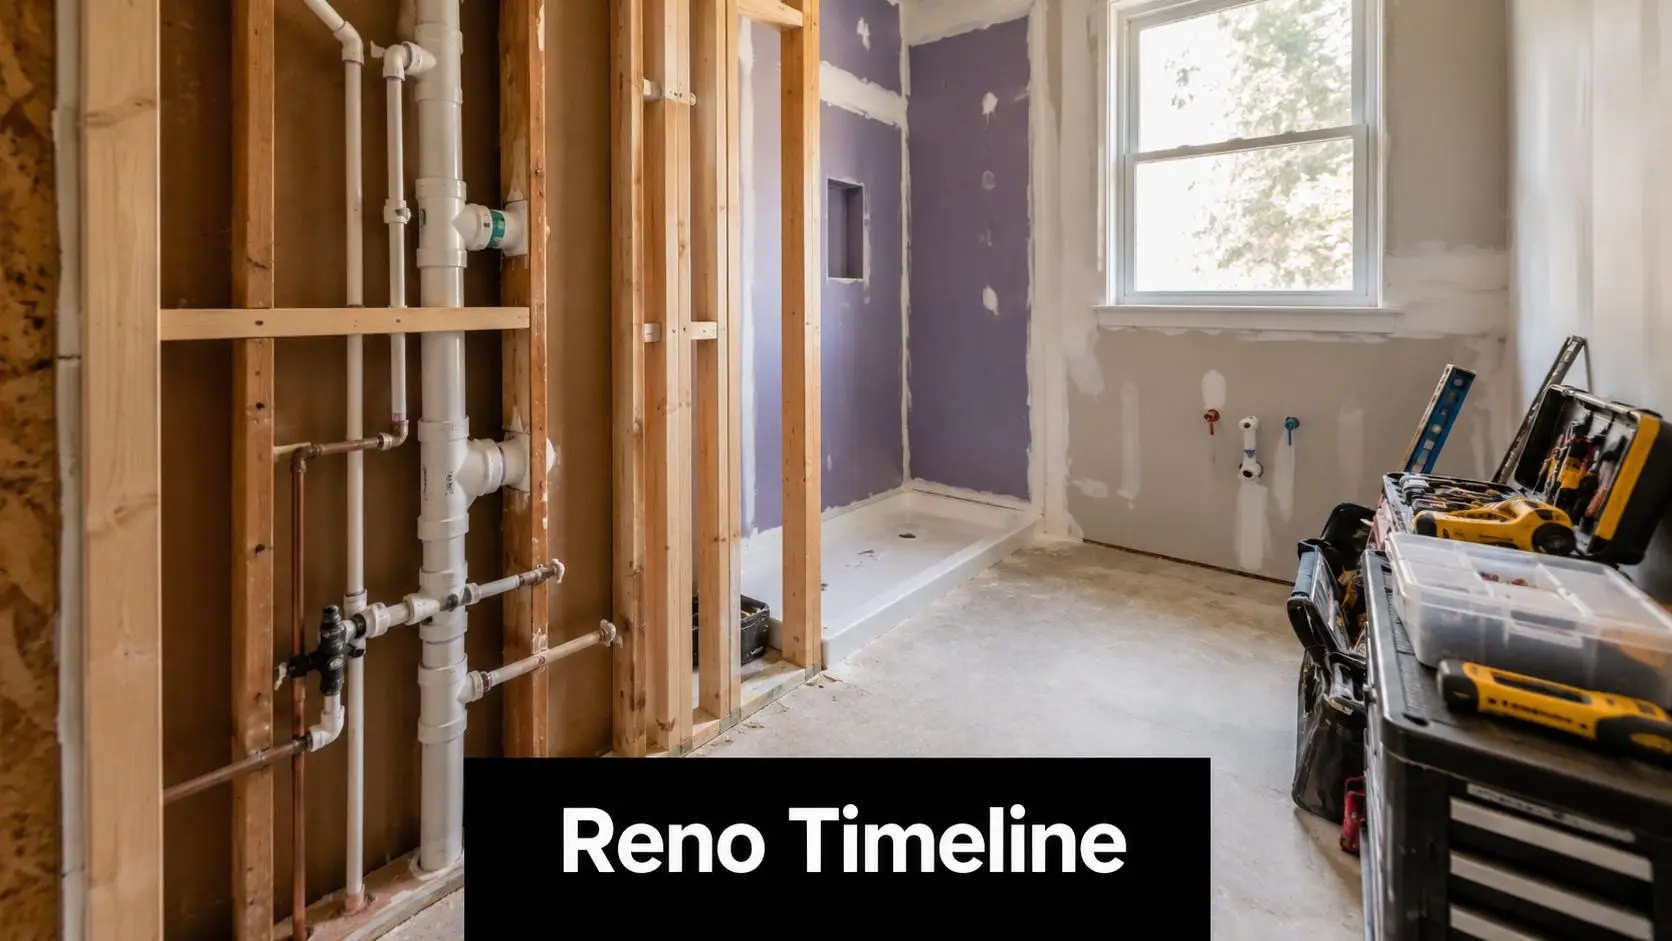
Estimating Costs and Project Timelines in Victoria
A steam shower should be budgeted as a small specialist system inside a larger bathroom build, not as a single fixture. That's the right way to think about it in Victoria, because the cost sits across waterproofing, electrical, plumbing, tiling, and enclosure work. When those trades aren't coordinated, the project usually runs longer and creates more rework.
The strongest case for professional installation is simple. Steam enclosures demand exact waterproofing, sealed penetrations, compliant electrical work, and a properly integrated generator, and those are all easier to get right when one team manages the sequence. In real bathroom renovations, the big savings come from getting the details right the first time.
What the project usually needs
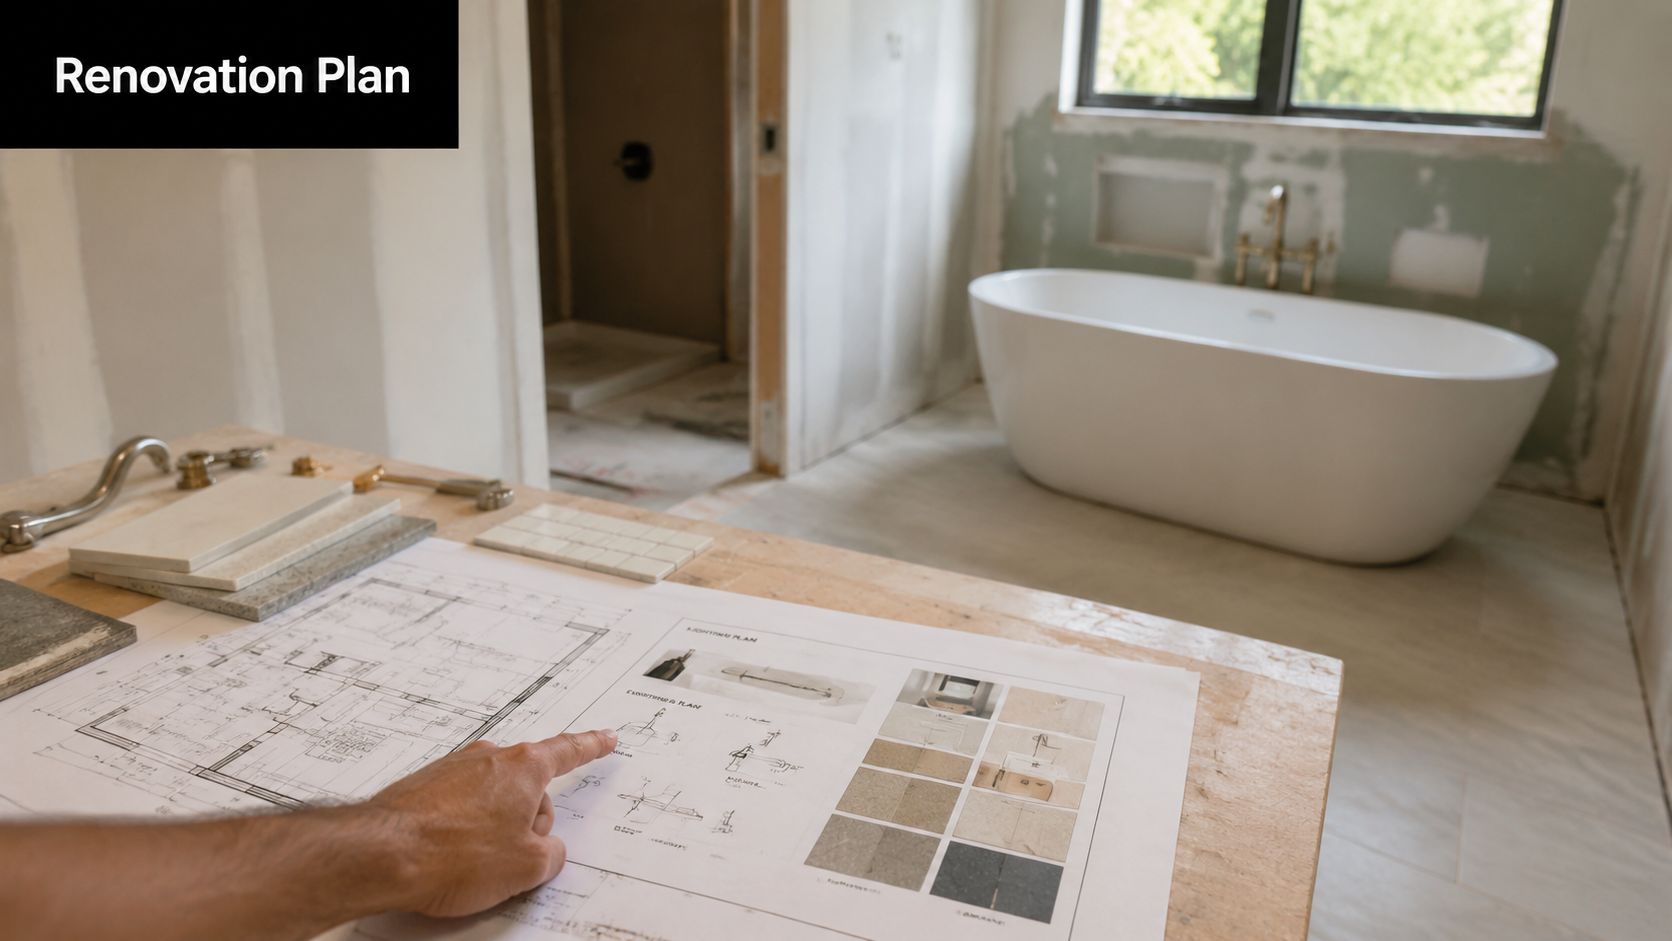
A typical Melbourne steam shower job starts with an on-site consultation, then moves into measured planning, detailed 3D design, approvals or trade coordination, demolition, waterproofing, services rough-in, tiling, installation, and final handover. That sequence matters because the room can't be tiled until the membrane and penetrations are already correct. Once the order of work slips, delays tend to multiply.
Good steam shower projects are built like systems, not like shopping lists. The parts only work when the sequence is right.
Why the Victorian context changes the risk
In Victoria, registered builders unlimited are required for most significant renovations, and any domestic building work valued at over AUD 10,000 must be carried out by a registered builder Victorian building requirement. That threshold is relevant because extensive bathroom renovations and steam shower installs usually sit above minor repair territory. If the work changes walls, waterproofing, drainage, or service penetrations, it belongs in regulated renovation ground.
For homeowners wanting a coordinated process, a firm such as SitePro Bathrooms can manage concept development, 3D design, construction, and finishing as one workflow. That matters in a steam project because the design isn't just visual, it has to support the trades that will physically build the enclosure.
Engaging a Specialist for Your Highett Renovation
A steam shower is too integrated to be treated like a simple fixture swap. The enclosure, membrane, drainage, electrical supply, and glass all need to work together, and Victorian rules mean the job belongs with a qualified renovation team once the scope becomes substantial. That's especially true when you're turning an older Highett bathroom into something that feels cleaner, warmer, and easier to use.

The paperwork, trade coordination, and building sequence matter as much as the aesthetic decisions. If you want a renovation team that handles the whole path from planning to handover, why using a registered builder matters is worth reading before you start. That's where the compliance side meets the practical side of getting the room finished properly.
A specialist also helps you visualise the result before anything is demolished. That's useful in compact Melbourne bathrooms, where a few millimetres in the wrong place can affect door swing, seating, and movement. With steam showers, the best ideas are the ones that survive the build.
If you're planning a steam shower in Highett or anywhere in Victoria, start with a site visit, a realistic layout, and a builder who understands wet-area compliance as well as finish quality. Speak with a local renovation specialist, ask for a 3D design, and make sure the waterproofing, electrical, and plumbing plan is locked before the first tile comes off the wall.