Kitchen Renovation Checklist: 8 Steps from Plan to Finish
You've ordered the cabinets, chosen a benchtop and booked the installer. Then someone asks where the sink will sit, whether the switchboard can handle the new induction cooktop, and whether council approval is needed. The cabinetry order suddenly depends on decisions you thought were already finished.
That's how kitchen renovations develop avoidable delays. The work itself isn't always the problem. The sequence is. A reliable kitchen renovation checklist starts with the layout, approvals and services, then moves through materials, appliances, cabinetry, installation and handover. Bathroom renovations often share the same trades, waterproofing decisions and approval risks, so planning both rooms on one timeline can prevent duplicated disruption.
The milestones below are written for homeowners in Highett and greater Victoria. They'll help you identify what must be confirmed before demolition, what can wait until later, and where a kitchen decision may affect new bathroom ideas, modern bathrooms or designer bathrooms elsewhere in the home.
1. Plan the layout and workflow
A kitchen layout should reflect how people cook, clean and move. Start by mapping the sink, cooktop and refrigerator as connected work zones rather than isolated fixtures. This traditional relationship remains useful, but it shouldn't override traffic flow, landing space or the way several people use the room.
A compact galley kitchen can work well when the main preparation route stays clear. An L-shaped layout gives the cook a defined work area while keeping conversation open to the dining room. Larger rooms may suit an island, but only if appliance doors, drawers and walkways remain usable. A peninsula can create a useful transition between kitchen and living areas without consuming the same floor area as a full island.
Test the room before ordering
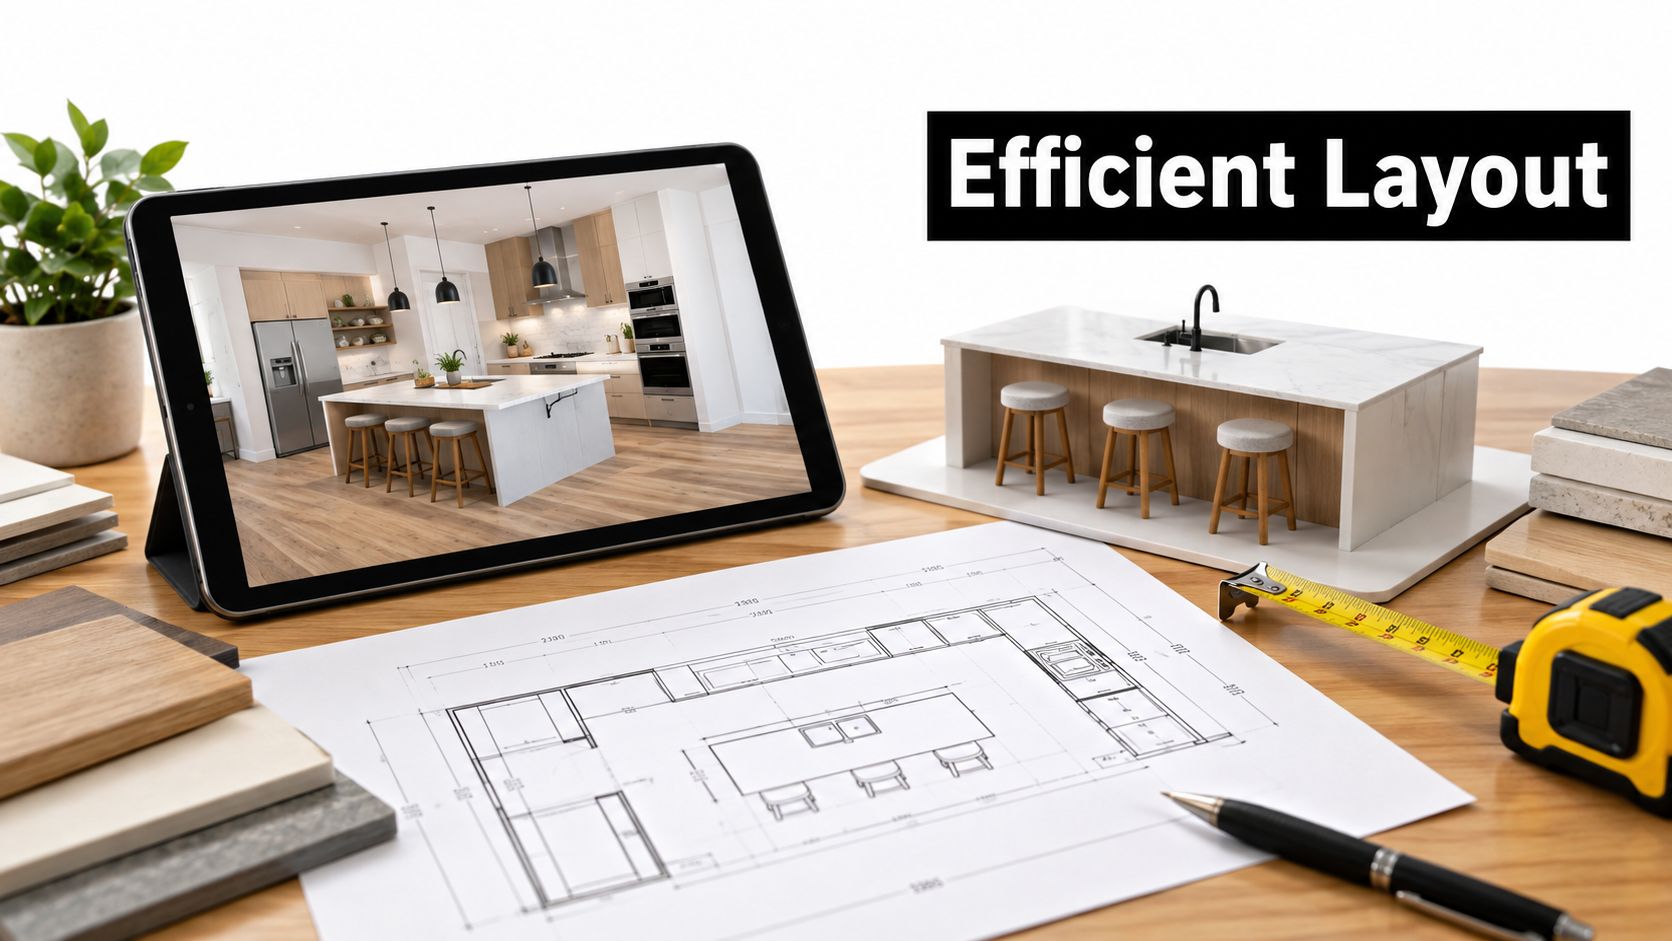
Use a 3D design visualisation to test opening angles, walkway movement and sightlines from adjoining rooms. Put the dishwasher beside the sink, check where the waste and recycling bins will sit, and make sure the refrigerator door won't block the main route.
Record these details on the plan:
- Work zones: Mark preparation, cooking, cleaning, storage and serving areas.
- Clearances: Test appliance doors, cabinet drawers and entry doors at the same time.
- Bench space: Reserve practical landing areas beside the cooktop, sink and refrigerator.
- Bathroom coordination: Note whether shared walls contain plumbing that may also serve bathroom renovations.
Don't finalise a beautiful elevation until the practical route works. A kitchen that looks balanced in a drawing can feel cramped once a family, groceries and open appliance doors occupy it.
2. Choose materials for durability
Choose materials according to how the kitchen will be used. Benchtops, splashbacks, cabinets and floors must withstand heat, moisture, food spills and repeated cleaning. If the kitchen and bathroom renovations share trades or a finish palette, select products with maintenance requirements that suit both rooms. That choice can reduce conflicting specifications later.
Engineered quartz offers a consistent benchtop appearance and is generally straightforward to specify. Laminate can help control the allowance, while natural stone requires suitable sealing and regular care. Porcelain flooring can provide a timber-like appearance in a zone exposed to spills without using timber itself. A related palette may also suit bathroom walls or floors, provided the products meet each room's moisture requirements.
Check samples in the actual room
Showroom lighting can hide how a finish will interact with the splashback, cabinet colour and existing floor. Take samples home and inspect them in morning, afternoon and artificial light. Check edges, joins and transition points as well as the centre of each sample. For shared kitchen and bathroom work, confirm that tiles, stone and metal finishes remain available across both rooms.
Give particular attention to components that receive constant use:
- Cabinet hardware: Soft-close hinges and drawer runners are frequent failure points. Specify hardware from a manufacturer with a documented warranty and local spare-parts availability.
- Wet-area products: Use materials rated for the expected moisture exposure, especially where kitchen work connects physically or visually with bathroom renovations.
- Surface maintenance: Ask how stains and scratches should be treated, and how grout and sealants will be cleaned or renewed.
- Finish consistency: Confirm that replacement panels, tiles and hardware can be obtained if repairs become necessary.
Practical rule: Select the finish you can maintain during an ordinary week, rather than one that looks best only on installation day.
Durability also depends on detailing. Confirm the sealant type, cleaning regime and care instructions in writing before the benchtop template is booked. That information should cover both the kitchen surfaces and any bathroom materials ordered alongside them.
3. Build the budget and quote schedule
Set the budget before choosing finishes or requesting final quotes. Divide it into cabinetry, labour, appliances, plumbing, electrical work, flooring, waste removal, finishes and professional fees. Mark each allowance as fixed or adjustable, especially where opening walls could reveal defects.
For kitchen and bathroom work on one timeline, keep both rooms in the same financial plan. Separate allowances show whether kitchen changes are using funds intended for bathroom waterproofing, ventilation or fixtures. A practical kitchen renovation budget guide can help organise the spending categories.
Request itemised written quotes. Each quote should state quantities, demolition, preparation, installation, disposal, delivery and variation charges. Check the scope line by line. A lower total may exclude electrical work, rangehood ducting, floor preparation or final certification, all of which can change the overall cost.
Before accepting a quote, record priorities in order. Put layout, service capacity, cabinetry construction, benchtop performance and lighting ahead of decorative hardware, feature tiles and accessories. These choices affect the trades and materials shared with a bathroom renovation, while accessories can usually change without reopening walls.
Use a written scope with five controls:
- Included work: Define demolition, preparation, installation and cleanup.
- Excluded work: List painting, structural engineering, permit fees, disposal and temporary services not covered.
- Variation control: Require written approval before a change affects the price or programme.
- Payment milestones: Link payments to completed work and documented progress.
- Contingency decisions: Name who may authorise urgent work when concealed damage appears.
Allow for surprises without treating the contingency as spare spending. Agree how it can be used before construction begins, so concealed damage does not force rushed choices or divert money from bathroom work. Payment records, approved variations and updated allowances should stay together throughout the project.
4. Confirm permits, registration and compliance
Approval questions belong near the start of the checklist. The Australian Government's renovation guidance explains that many projects may need local-government approval before construction, while changes to plumbing, drainage, gas or electrical services generally require approval and inspection by the relevant authority.
In Victoria, the work must also satisfy building regulations, local council laws, structural requirements and health, safety and amenity standards. A planning permit may be required before a building permit. A building permit is written approval from a registered building surveyor confirming that the plans and specifications comply with building regulations.
Make responsibility visible
Record the property address, planning or heritage constraints, wall removals, structural openings, service relocations, surveyor details and inspection milestones. For apartments and townhouses, add owners-corporation consent to the same approval register. Shared walls, risers, exhaust discharge, fire separation and building insurance can affect a seemingly minor kitchen change.
Use the Victorian building permit requirements resource as a planning reference, then obtain project-specific advice from the relevant council or registered building surveyor.
The contractor's credentials need more than a marketing description. A registered builder unlimited, formally a practitioner with Domestic Builder, Unlimited registration, can personally carry out, manage or arrange subcontractors for all domestic building work. A limited registration restricts the work to specified classes. Verify the practitioner's current Building and Plumbing Commission registration and confirm that it covers the proposed scope before work begins.
The same check matters for bathroom renovations. Structural bathroom changes, waterproofing coordination, plumbing and demolition can affect the kitchen programme when the same team is involved. Registration, permits, contracts and inspection records should be documented before demolition starts.
5. Select appliances and plan efficiency
Lock in appliance choices before cabinetry goes into manufacture. Record each model's width, depth, height, ventilation needs, door swing, power demand and installation clearances. A refrigerator may fit its opening yet block a wall, drawer or walkway when the door opens. Check these dimensions against bathroom fixtures and shared service routes if both rooms are being renovated together.
Cooking technology affects the project's electrical, gas and ventilation work. Induction supports precise cooking and may suit future electrification, but it can require switchboard capacity and compatible cookware. Gas may suit the household's established cooking method, while still requiring safe gas work and suitable extraction. Compare the available services, cooking habits and bathroom works before fixing the final trade sequence.
Prioritise measurable efficiency
The 2023 renovation survey of 473 homeowners found that 95% included at least one sustainable feature. LED lighting was selected by 71%, energy-efficient appliances by 63%, and water-efficient fixtures by 49%. The findings are summarised in Houzz Australia's renovation findings.
Use those figures to set the decision order. Compare energy demand, water use, dimensions and service requirements first. Then assess connected controls. Among homeowners replacing appliances, 13% used Wi-Fi connectivity, 13% used smartphone or tablet controls, and 12% selected colour touchscreen displays. These features may help with monitoring, but they also create privacy, network, warranty and replacement considerations.
Efficiency is useful when you can measure it, service it and afford to operate it.
The survey found that 75% selected sustainable options for long-term cost-effectiveness, while 60% cited environmental considerations. Apply the same test to bathroom products, hot-water demand and extraction equipment. A lower running cost matters only when the purchase price, installation requirements and future servicing suit the household.
6. Design cabinetry around storage
A cabinet plan should begin with what the household stores, not with a standard run of doors. List pots, pantry goods, small appliances, rubbish bins, serving items and cleaning supplies. Measure bulky equipment before assigning shelves or drawers. This inventory also helps coordinate a bathroom renovation, where towels, toiletries, cleaning products and spare paper need dedicated locations before vanity cabinetry is ordered.
Use the storage type that suits each item. Deep drawers give clearer access to cookware than cupboards with fixed shelves. Pull-out pantry units can make narrow gaps useful. Corner mechanisms recover awkward space, but their capacity and hardware must justify the extra cost. Open shelving provides display space while exposing contents to dust and visual clutter. For more configurations, review these kitchen cabinet storage ideas.
Approve the working details before ordering
Cabinet doors and drawers are handled every day, so movement and hardware affect long-term use. Check soft-close hinges and runners for noise, alignment and adjustment. Request samples of the door finish, internal carcass and hardware. A front-panel sample alone does not show how the finished cabinet will perform.
Use this approval check before the kitchen and bathroom cabinet orders are released:
- Appliance spaces: Confirm exact model dimensions, clearances and ventilation gaps.
- Waste storage: Position bins near preparation and cleanup areas while keeping plumbing access clear.
- Service access: Allow room for isolation valves, traps, power points and future maintenance.
- Bathroom alignment: Match cabinet colours, handles and benchtop choices where one supplier is building both rooms.
- Final drawings: Approve elevations, internal layouts, fillers, panels, kickboards and handle positions in writing.
Keep the kitchen and bathroom decisions on one finish schedule when the same trades or supplier are involved. This reduces mismatched colours and avoids a late change affecting both rooms.
Order cabinetry only after walls, openings, service routes and appliance specifications have been checked. Replacing one panel is disruptive. Rebuilding a service route can delay both renovation timelines.
7. Plan electrical capacity and lighting
Before demolition, list every fixed appliance, power point, light fitting and likely future device. Older electrical installations may not support the combined demand of an induction cooktop, wall oven, dishwasher and other kitchen loads. Ask the electrician to assess the switchboard and identify which appliances require dedicated circuits before cabinetry or wall finishes are ordered.
Lighting should be planned in layers. Ambient lighting illuminates the room. Task lighting covers preparation and cooking surfaces. Accent lighting highlights cabinetry, shelving or an island. Under-cabinet lighting is often the practical choice for benchtops because ceiling fittings can cast shadows where food is prepared.
Draw lights over the finished plan
Wait until cabinet positions and appliance locations are fixed, then complete the lighting plan before the walls close. Mark each circuit, switch location, dimming method and fitting position on the drawings. Specify colour temperature by zone in writing, such as 3000K over preparation areas and 2700K near dining spaces. This prevents the electrician and installer from making different assumptions.
Specify the complete system rather than writing “LED” alone. Check beam spread, glare from glossy splashbacks and reflections in glass-front cabinets. Confirm that switches remain reachable after tall cabinets, splashbacks and appliances are installed.
Put the light source where your hands work, not where the ceiling plan happens to have space.
Coordinate this electrical schedule with the bathroom renovation when the same electrician is handling circuits, exhaust fans or a switchboard upgrade. Bathroom fittings also require careful placement around wet areas. Completing both rooms on one plan can reduce ceiling patching, avoid conflicting cable routes and give the electrician a single inspection sequence. Record any changes during rough-in so the final drawings match the installation.
8. Coordinate plumbing and water efficiency
A sink move can trigger work across the floor, walls and cabinets. Keep the sink, dishwasher and waste connection near existing services when the layout allows. Moving them may still improve workflow, but confirm the route with the plumber, cabinet designer and building surveyor before ordering materials. Use the same decision point for bathroom work, since both rooms may share plumbing trades, approvals and inspection timing.
Show hot and cold water lines, drainage, the dishwasher connection, isolation valves and access panels on the services plan. Ask how the drainage will be vented and where pipes will run. Photograph and label the rough-in before walls or cabinets conceal it, then retain inspection and compliance documents.
Treat water as a specification
Compare the actual flow rate in litres per minute on each fixture datasheet, rather than relying on a marketing label. A pull-down spray tap can make washing and rinsing easier. A boiling-water tap may suit households that value convenience and want to reduce kettle use. Weigh that convenience against cabinet space, power requirements and maintenance access.
Choose fittings that match the sink, benchtop thickness and cabinet clearance. Check that the mixer reach will not hit the splashback or extend beyond a shallow basin. Position the dishwasher beside the sink where possible, and keep isolation valves reachable beneath the cabinet.
Bathroom plumbing should be scheduled alongside this work when walls, drainage or fixtures are changing. Tight layouts need accessible traps, leak detection and serviceable connections, so confirm the rough-in and photograph its labelled locations before linings and cabinetry cover them.
9. Control ventilation and indoor air quality
Ventilation removes steam, cooking odours and airborne grease. In an open-plan kitchen, the rangehood has to deal with air that can move into living and dining areas, so its position, duct route and discharge point matter as much as its appearance.
External ducting generally removes contaminants more effectively than recirculation, but it may require council, owners-corporation or building approval. A recirculating hood can suit an apartment where external discharge isn't possible, although filters need regular replacement and the system won't remove moisture in the same way. Decide this before cabinetry, bulkheads or ceiling finishes are fixed.
Coordinate the duct path
Ask the installer to show the duct route on the plan. Shorter, straighter runs usually make airflow easier to manage and can reduce noise. Check the hood width against the cooktop, the height above the cooking surface and the location of nearby windows or doors. Don't assume an island rangehood can be installed wherever the island looks best.
Ventilation is also a shared issue with bathroom renovations. Bathroom exhaust fans, kitchen ducting and open-plan air movement can compete if the home has limited external discharge points. Include fan locations, grilles, dampers and controls in the services schedule. For apartments, obtain written confirmation before penetrating common property or changing an existing discharge arrangement.
New bathroom ideas should be tested against the same principle. A concealed fan may support the look of a designer bathroom, but it still needs access for cleaning and replacement. Modern bathrooms benefit from discreet ventilation only when the system remains serviceable.
10. Select flooring and schedule installation
Set the flooring decision after checking the subfloor, adjoining levels and finished heights under cabinetry and appliances. Kitchen floors must handle spills, foot traffic, dropped cookware and frequent cleaning. Porcelain, ceramic, timber, hybrid products, luxury vinyl plank and polished concrete each balance comfort, maintenance and water resistance differently.
Large-format porcelain creates fewer grout lines and can continue visually into nearby rooms. Timber-look tile suits homeowners who want the appearance of timber with a different material. Luxury vinyl plank feels warmer underfoot, but it needs a well-prepared substrate. An uneven or damp base will undermine any flooring choice.
Confirm the junctions
Mark every transition before ordering materials. Include the hallway, laundry, bathroom threshold and existing cabinetry. A kitchen and bathroom renovation completed together should share a flooring schedule, but the same product may not suit every wet area. Coordinate tile batches, grout colour, floor falls and waterproofing transitions with the relevant trades.
Use this pre-installation check:
- Subfloor condition: Arrange levelling, moisture treatment or structural repairs before delivery.
- Appliance clearance: Confirm finished height beneath dishwashers, ovens and refrigerators.
- Slip performance: Select a surface suited to the room's moisture and traffic.
- Grout maintenance: Record sealing and cleaning requirements for tiled areas.
- Protection: Cover the finished floor while cabinets, stone and appliances enter the room.
Schedule installation around the wider sequence. Resolve plumbing, electrical and waterproofing work first, then install flooring at the stage that protects it while preserving appliance access. Bathroom work may require different falls and waterproofing details, so confirm those interfaces before the installer starts.
A finished appearance can hide an unresolved moisture or service problem. Cutting into the most visible part of the floor later costs time and may disrupt both renovation areas.
10-Point Kitchen Renovation Checklist Comparison
| Item | Implementation complexity | Resource requirements | Expected outcomes | Ideal use cases | Key advantages |
|---|---|---|---|---|---|
| Layout and Workflow Planning | Medium–high (may require structural/plumbing moves) | Designer time, 3D visualization, possible plumbing/electrical relocation | Improved usability, reduced movement, higher resale value | Full renovations, open-plan conversions, multi-user kitchens | Optimizes workflow, enhances safety and daily functionality |
| Material Selection and Durability | Low–medium (selection varies by material) | Higher upfront material cost, specialist installers, samples | Longer lifespan, lower replacement frequency, consistent aesthetics | High-traffic kitchens, long-term investments, resale-focused projects | Durability, visual appeal, reduced long-term maintenance costs |
| Budget Planning and Cost Breakdown | Low–medium (requires detailed scoping) | Time for quotes, contingency funds, possible professional estimator | Fewer overruns, prioritized spending, smoother project flow | All renovations, phased projects, constrained budgets | Controls costs, enables prioritization and better negotiations |
| Permits, Compliance, and Building Codes | High (administrative and technical requirements) | Permit fees, registered builders/engineers, inspections | Legal compliance, insurance validity, safer construction | Structural changes, major plumbing/electrical work, resale prep | Reduces legal/financial risk, ensures standards and safety |
| Appliance Selection and Energy Efficiency | Medium (may need electrical/plumbing upgrades) | Higher appliance cost, possible electrical work, service availability checks | Lower operating costs, improved performance, smart features | Energy-conscious households, modern/smart kitchens | Energy savings, reliability, enhanced convenience and safety |
| Cabinetry Design and Storage Solutions | Medium–high (custom work increases complexity) | Major budget share, carpentry, longer lead times, hardware | Maximized storage, organized workflows, increased property value | Small kitchens, storage-focused renovations, bespoke designs | Optimizes storage, reduces clutter, improves usability and aesthetics |
| Electrical Planning and Kitchen Lighting | High (panel upgrades, rewiring possible) | Licensed electrician, LED fixtures, smart controls, wiring materials | Safe circuits, layered lighting, energy efficiency | High-appliance kitchens, modern/JIT lighting designs, open-plan spaces | Safety, energy savings, better task illumination and ambiance |
| Plumbing Relocation and Water Efficiency | High (costly and disruptive) | Licensed plumber, inspections, possible structural work, fittings | Improved workflow, reduced water use, accessible maintenance | Layout changes requiring sink/dishwasher moves, water-conservation projects | Better workflow, significant water savings, reduced leak risk |
| Ventilation and Air Quality Management | Medium–high (ducting or complex installs) | Rangehoods, ductwork or filters, installation labor, controls | Reduced odors/moisture, improved indoor air quality, mold prevention | Open-plan kitchens, heavy cooking households, island cooktops | Controls odors and moisture, protects finishes, improves air quality |
| Flooring Selection and Installation | Medium (subfloor prep and waterproofing needed) | Material costs, specialist installers, waterproofing, underlay | Durable, slip-resistant surfaces, long-term appearance retention | High-traffic kitchens, moisture-prone areas, aesthetic upgrades | Durability, safety, easier maintenance and longevity |
Turn this checklist into a working timeline
Use the milestones in order, but keep the documents connected. Start with the existing plan and measurements. Add the preferred layout, appliance specifications, cabinet drawings, material samples, service locations and approval responsibilities. Then use that single project record for the kitchen and any bathroom renovations happening alongside it.
The first pre-construction gate is legal and technical. Confirm whether planning approval, a building permit, plumbing or electrical inspections, owners-corporation consent, heritage review or other advice applies. In Victoria, homeowners are responsible for determining whether permits are required, ensuring any required building permit is issued before work starts, and obtaining the final inspection certificate or occupancy permit where applicable. Consumer Affairs Victoria sets out these responsibilities in its guidance on planning and managing a building project.
The second gate is commercial. Gather itemised written quotes and compare the included scope. Check the builder's current registration class, insurance and experience with the actual work. If structural work forms part of the project, registration and permit requirements can apply regardless of project value. For a renovation above the relevant contract threshold, obtain professional advice about Victorian domestic building contract and insurance obligations before signing.
The third gate is ordering. Don't release cabinetry until the layout, appliance dimensions, sink position, electrical capacity, plumbing route and ventilation approach have been checked. Order materials only after you understand delivery, storage, damage inspection and replacement lead times. If the same team is handling the kitchen and bathroom, schedule rough-ins, waterproofing inspections, cabinetry, tiling and final connections so one trade doesn't undo another's work.
The fourth gate is handover. Test every appliance, power point, light, tap, drawer, door, waste connection and exhaust control. Check that access panels remain usable. Collect warranties, product care instructions, permits, inspection records, certificates and approved variation documents. If a defect appears, record it with photographs and agree on a completion date before final sign-off.
For homeowners in Highett and across Victoria, SitePro Bathrooms provides 3D design and coordinated kitchen and bathroom renovation services. A site visit can turn this checklist into measured drawings, a practical scope and an itemised quote. Contact SitePro Bathrooms to discuss your kitchen, bathroom or combined renovation before ordering finishes.