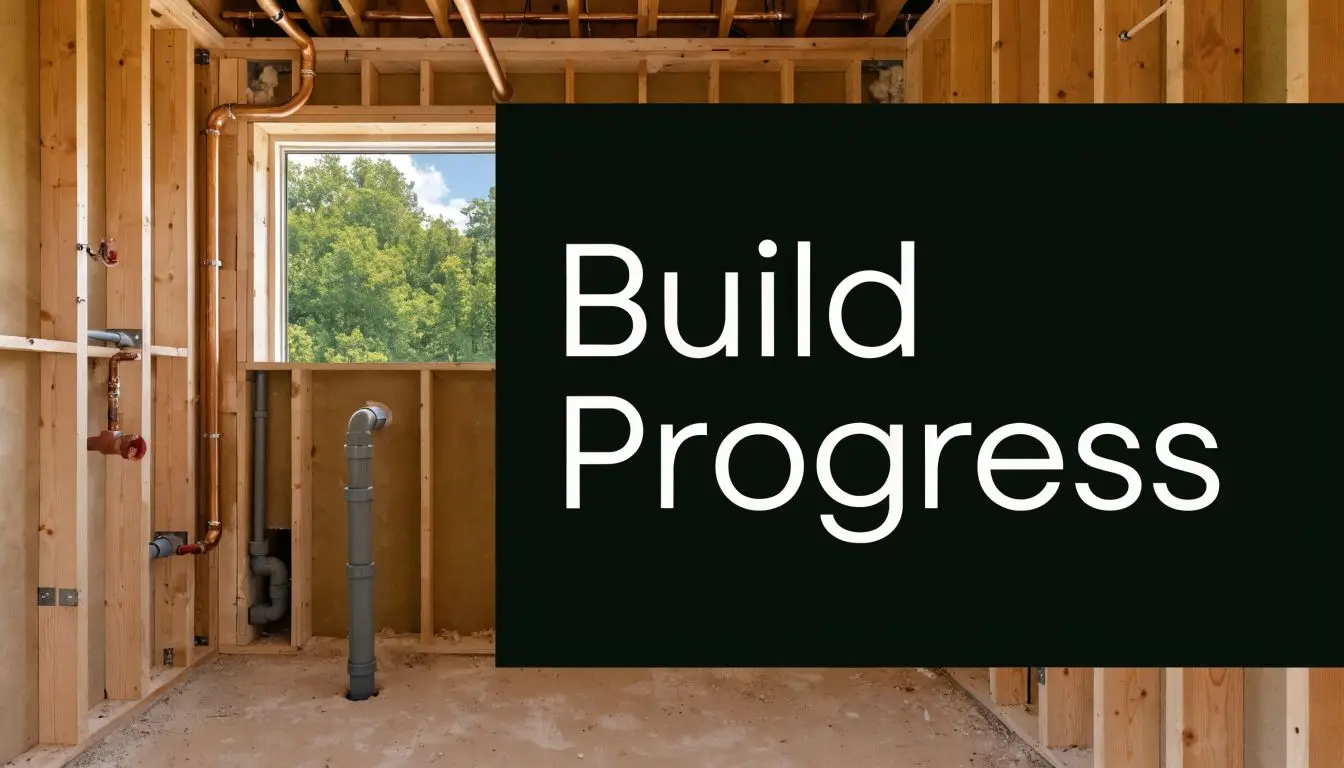
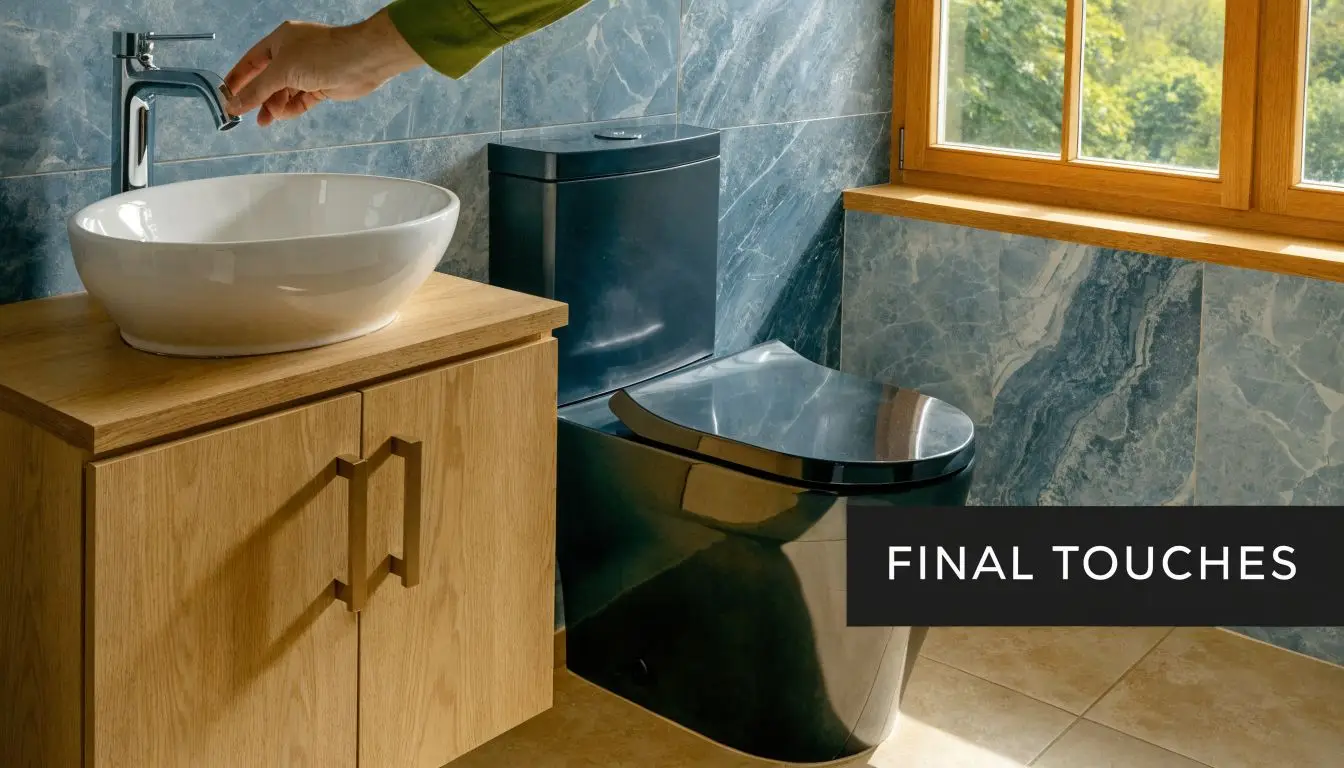
Highett Homeowners: Your Bath and Kitchen Renovation Guide
You're probably standing in one of two places right now.
Either you're in a kitchen that no longer works for the way your household lives, with awkward storage, dated finishes, poor lighting and appliances that feel bolted on rather than planned in. Or you're in a bathroom that looks tired, feels cramped, and has started raising the kind of questions no homeowner enjoys asking, especially around waterproofing, drainage, ventilation and whether that old layout is worth keeping.
That's normal in Highett. A lot of homes across this pocket of Melbourne sit in the middle ground. They're not untouched originals, but they're not fully modern either. They often need more than a cosmetic update. A good bath and kitchen renovation usually means making smarter decisions about layout, services, compliance, storage, and how the space will perform day after day, not just how it will look in photos.
The homeowners who get the best result usually don't start with tile colours. They start by getting clear on scope, budget, technical constraints, and who's responsible for what. That's even more important in Victoria, where apartment and strata rules, trade sequencing, and builder registration all affect how smoothly the project runs.
Your Renovation Journey Starts Here
A first major renovation can feel bigger than it should. You look at the room every day, so it seems familiar, but once work begins, every decision suddenly affects another one. Move a vanity and you may need new plumbing positions. Shift a cooktop and you may change cabinetry, electrical, ventilation and splashback dimensions at the same time.
That's why I tell Highett homeowners to stop thinking about renovation as one giant event. It works better when you break it into a chain of linked decisions. Scope first. Design second. Selections third. Construction only after those pieces are properly aligned.
This isn't a niche category or a small household upgrade. Bathroom and kitchen work sits inside a very large, mature renovation market. The global bathroom remodelling market was valued at USD 200.2 billion in 2025 and is projected to reach USD 315.9 billion by 2035, according to the 2025 bathroom remodelling market figures published here. That scale matters because it reflects something practical. These rooms are expensive to build, technically dense, and worth planning properly.
Why these rooms matter more than others
Bathrooms and kitchens absorb more services, more materials, and more coordination than most other rooms in a home. They also carry more downside when they go wrong.
A bedroom with a poor paint choice is frustrating. A bathroom with poor falls or weak waterproofing can become a demolition job. A kitchen with unresolved service conflicts can delay cabinetry, appliances and handover.
Practical rule: The earlier you resolve layout, services and approvals, the fewer expensive surprises you'll face once trades are on site.
What a strong renovation feels like
A good renovation doesn't feel rushed. It feels organised.
You know what's staying and what's changing. You know whether you're aiming for modern bathrooms, designer bathrooms, or a simpler functional upgrade. You know whether the kitchen needs reconfiguration or just better storage and finishes. Most of all, you know why you're spending the money.
That clarity is what turns a stressful project into a manageable one.
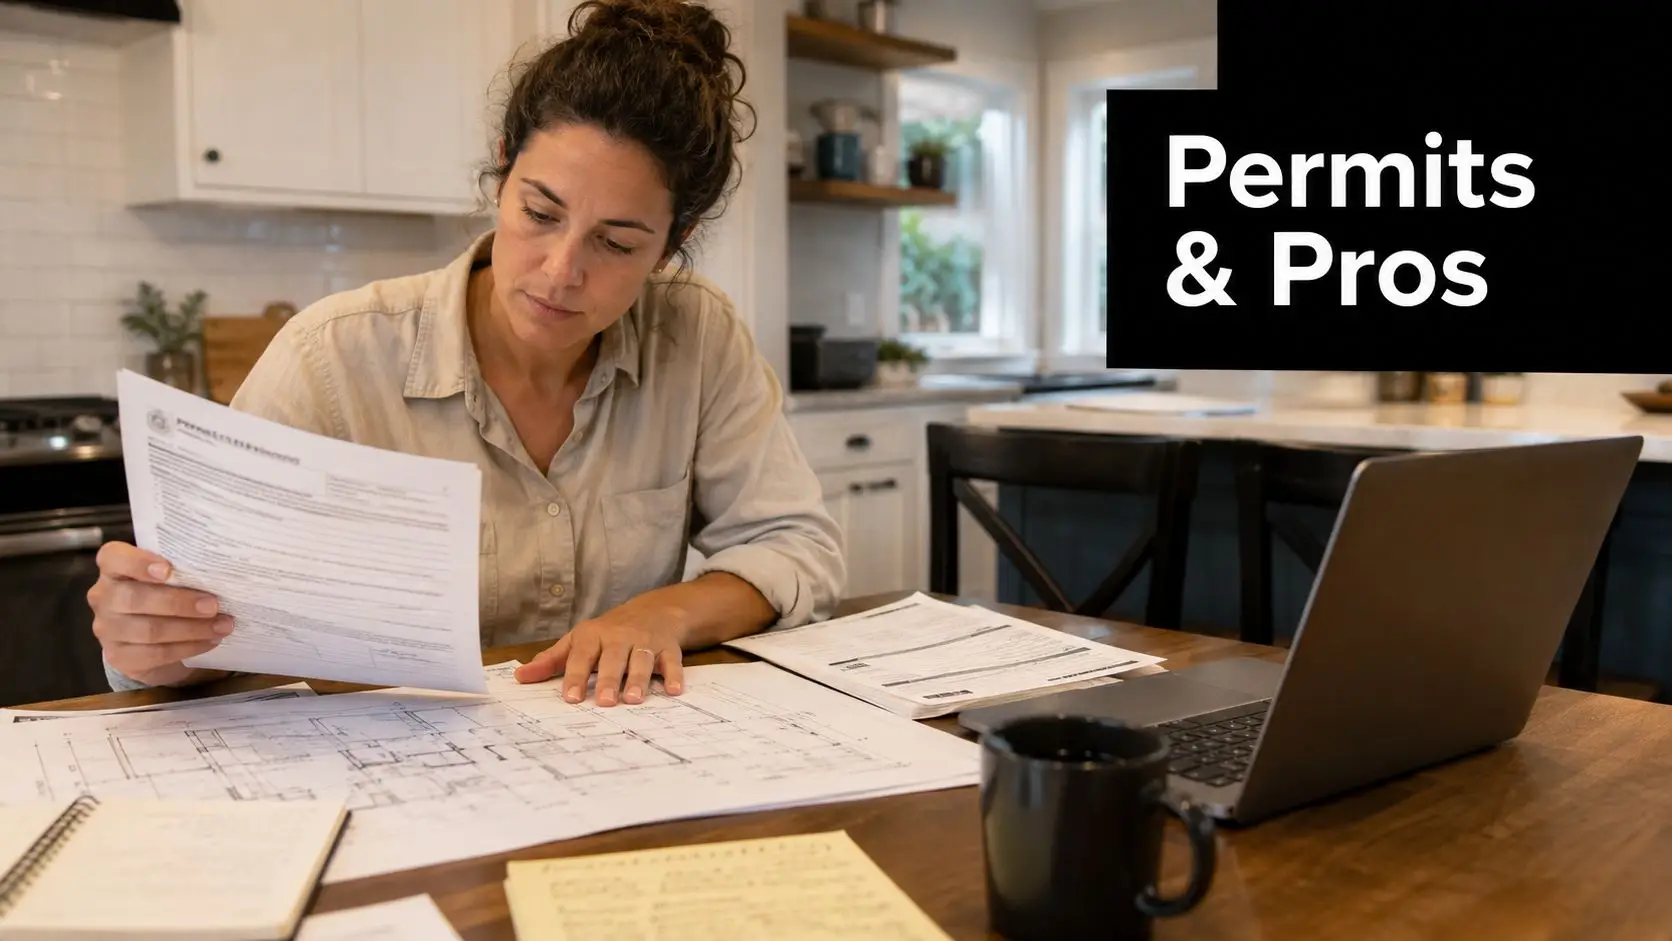
Phase 1 Planning Your Renovation and Defining Scope
Most problems in a bath and kitchen renovation start before demolition. They start when the brief is vague.
Homeowners often arrive with saved images, a few new bathroom ideas, and a broad sense that the current room isn't working. That's a useful starting point, but it isn't yet a scope. Scope means defining what must change, what can stay, and what future decisions need to be made now rather than later.

Start with the reason, not the finishes
A renovation brief is stronger when it answers a few hard questions directly:
- Daily function: Is the room difficult to use, short on storage, badly lit, or awkward for more than one person?
- Property stage: Are you renovating for long-term living, to prepare for sale, or to improve a rental property?
- Performance issues: Are you seeing signs of moisture trouble, poor ventilation, damaged joinery, or service problems?
- Lifestyle fit: Does the layout suit how you cook, clean, bathe, store items and move through the room?
A family home in Highett often needs durability and routine-friendly planning. An investor may prioritise durable finishes and easier maintenance. A downsizer might value step-free access, simpler cleaning and stronger lighting more than statement materials.
Audit the room like a builder would
Before choosing tapware or door profiles, walk the room and assess it practically.
Check where doors clash. Look at how much bench space you regularly use. Notice whether drawers would outperform cupboards. In bathrooms, look at shower position, natural ventilation, towel placement, and whether the room feels tight because it is small or because the layout wastes space.
This stage is also where hidden constraints usually reveal themselves. Older homes may have uneven walls, non-standard framing, legacy plumbing positions, or electrical limitations. Apartments may involve access issues, waste stack constraints, noise restrictions and approval processes.
A beautiful plan that ignores existing services is still a bad plan.
Plan for electrification while the room is open
One decision many homeowners overlook is whether this renovation is the right time to update how the home runs, not just how it looks.
In Victoria, policy shifts are pushing household electrification forward, and that makes a renovation the right moment to assess switching from gas to electric appliances such as induction cooking or more efficient hot water systems, as discussed in this overview of Victorian gas reduction and electrification considerations. Once walls, floors and cabinetry are open, it's far easier to review power supply, appliance choice and switchboard implications than it is after the room is complete.
That doesn't mean every project should convert immediately. It does mean every project should ask the question.
Define what success looks like
For bathrooms, success may mean a better shower, stronger storage, cleaner lines and a room that's easier to maintain. For kitchens, it may mean a more efficient working layout, proper appliance integration and improved family flow.
Write the brief in plain language. For example:
- Bathroom priority: larger shower, more vanity storage, warmer lighting, easier cleaning
- Kitchen priority: better prep zone, wider drawers, integrated appliances, stronger ventilation
- Non-negotiables: no layout change, or full layout change if the current one has inherent flaws
- Nice-to-haves: feature tiling, recessed niches, custom joinery details, upgraded hardware
That document keeps the project grounded when choices multiply later.
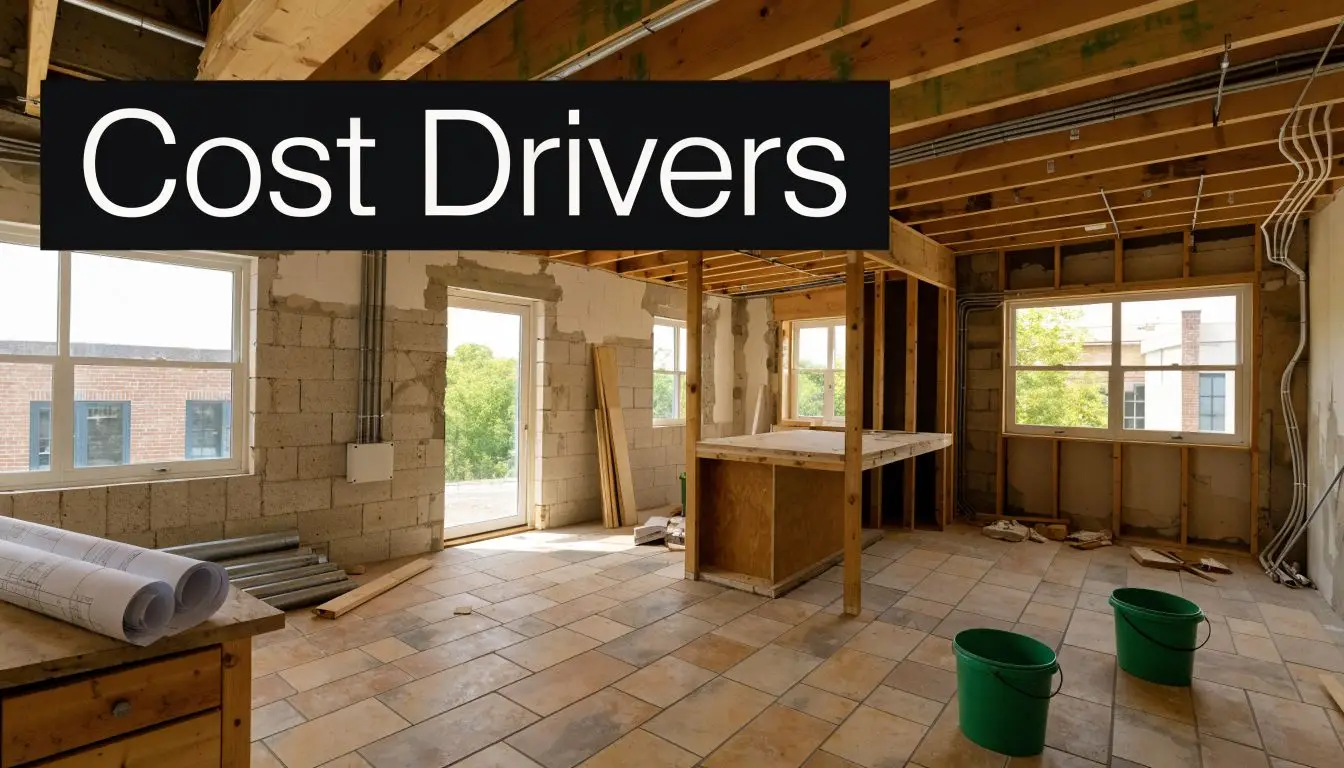
Budgeting and Costs for Your Victorian Renovation
The budget question gets asked early because it should. Renovations go off track when homeowners commit to design ideas without understanding how quickly money gets absorbed by labour, services, joinery, waterproofing, finishes and site conditions.
The most useful way to think about budget isn't as one headline number. It's as a set of cost groups that shift depending on complexity. A simple refresh and a full reconfiguration might look similar on a mood board, but they are very different jobs on site.
Use benchmarks as a starting point, not a promise
As a planning benchmark, the median spend for a primary bathroom renovation in Australia is around AUD 15,000, while a kitchen renovation has a median spend of about AUD 24,000, based on these Australian renovation benchmark figures. Those figures are useful because they give homeowners a realistic entry point for thinking about scope.
They are not fixed prices for your home.
A Highett bathroom with layout retention, straightforward tiling and standard fixtures sits in a different category from a bathroom that needs drainage correction, substrate repair, custom joinery and premium fittings. The same goes for kitchens. Once you move plumbing, alter electrical locations, add custom cabinetry or solve structural issues, the budget changes with it.
Where the money usually goes
Most renovation budgets spread across a familiar set of categories. The exact split varies, but the categories don't.
| Cost Category | Typical Allocation (%) |
|---|---|
| Demolition and site preparation | 5 to 10 |
| Plumbing and drainage works | 10 to 20 |
| Electrical and lighting | 8 to 15 |
| Waterproofing and substrate preparation | 5 to 12 |
| Cabinetry and joinery | 15 to 30 |
| Benchtops or vanity tops | 5 to 12 |
| Tiling and surface finishes | 10 to 20 |
| Fixtures, fittings and appliances | 10 to 20 |
| Painting, fit-off and finishing | 3 to 8 |
| Project management and coordination | 5 to 15 |
This table is illustrative. It helps you understand budget shape, not lock in a quote.
The biggest cost drivers in real projects
The jobs that push budget hardest in Victoria are rarely the decorative ones alone. They're usually tied to complexity.
- Layout changes: Moving plumbing points, waste lines, gas points or major electrical locations often expands labour and coordination.
- Custom joinery: Bespoke cabinetry improves fit and function, but it also increases design time, fabrication detail and lead time.
- Existing condition issues: Once demolition begins, rotten substrates, out-of-level surfaces, non-compliant previous work or concealed damage can appear.
- Access constraints: Apartments, narrow access, parking limitations and strata work rules can affect labour planning and delivery.
- Finish level: Large-format tiling, detailed niches, feature lighting and premium fixtures all increase installation care.
A lot of homeowners underestimate how much hidden work sits behind a clean finished room. The visible surfaces matter, but they rest on preparation, coordination and compliance.
Keep a contingency, or expect stress
For kitchen projects in particular, practical renovation guidance recommends allowing a 10 to 20% contingency for latent conditions or scope changes, as outlined in this kitchen and bath planning guidance. That range exists for a reason. Once walls and floors are opened, some decisions can't be made from drawings alone.
If you budget to the last dollar, every surprise becomes a crisis. If you build in room, you can solve problems properly instead of patching over them.
Budget discipline works best before selections are finalised. The expensive version of almost every mistake is changing your mind after orders are placed or installation has begun.
Price the project in layers
I prefer homeowners to think in three layers rather than one total:
Base build cost
Demolition, rough-ins, waterproofing, substrate work, standard trade labour, installation.Selection cost
Tiles, fixtures, cabinetry finishes, benchtops, appliances, lighting, mirrors, accessories.Risk allowance
Contingency for what the room reveals once work begins, or for changes you may choose as design evolves.
That approach gives you better control. It also helps you decide where to spend. Some households choose to put more into cabinetry and less into feature tiles. Others prioritise better plumbing fixtures or stronger appliance integration.
If you want a rough early planning tool before obtaining a formal quote, a bathroom renovation cost calculator for initial budgeting can help frame the discussion. It won't replace site inspection or detailed scope, but it can stop the common mistake of designing a project far beyond the intended spend.
What works and what doesn't
What works is matching the brief to the budget. If the room needs full technical correction, spend there first. If the layout already performs well, preserve it and invest in better finish quality.
What doesn't work is trying to disguise a major rebuild as a cosmetic update. Those projects often cost more in the long run because the underlying issues were never properly addressed.
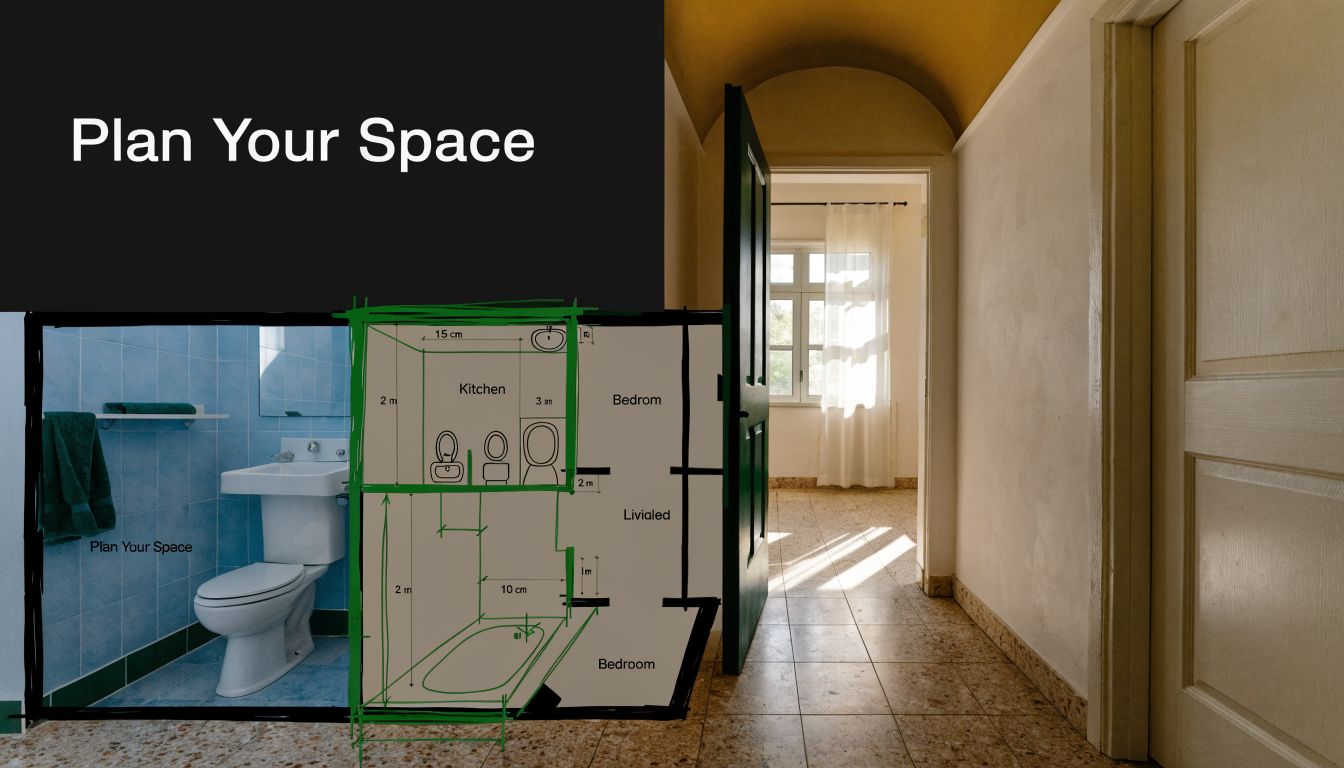
Designing Your Dream Space Layouts Materials and 3D Visualisation
Design gets more enjoyable once the practical groundwork is done. This is the point where new bathroom ideas stop being saved images and start becoming a room that fits your home, your routines and the way the space is built.
The strongest designer bathrooms and kitchens don't come from adding more features. They come from resolving the right details in the right order. First the layout. Then the service positions. Then the materials. Then the visual refinement.
A clear visual planning process helps with that.
When the layout starts solving the room
A bathroom often changes dramatically from one smart move. That may be shifting the shower to free the vanity wall, recessing storage into a better position, or changing the door swing so the room opens cleanly. In kitchens, the breakthrough usually comes when circulation improves and appliances stop competing with prep space.
Good modern bathrooms aren't just minimal-looking. They're easier to use because the room has been zoned properly. Wet areas contain water better. Dry zones feel calmer. Storage lands where people naturally reach for it.
In a kitchen, the equivalent is service coordination and sequence of use. Prep, wash-up, cooking and storage should support each other rather than collide.
Materials should match the way you live
Some material choices look excellent on a board and become annoying in everyday use. Others seem modest at selection stage and turn out to be the best decision in the room.
A practical material review usually includes:
- Joinery finishes: Will fingerprints show easily, and can the finish handle regular cleaning?
- Benchtop surfaces: Does the household need impact resistance, stain resistance, or a lower-maintenance surface?
- Tiles: Are you choosing a format and finish that suits both the room size and the cleaning reality?
- Hardware and fixtures: Will the selected pieces feel solid and age well with repeated use?
- Lighting: Does the plan include task light, ambient light and mirror lighting where needed?
The best material is rarely the one that shouts the loudest. It's the one that still feels right after years of use.
Why 3D design prevents expensive regret
Effective planning allows for the avoidance of many costly mistakes. A 2D plan is necessary, but for most homeowners it isn't enough. They can't easily judge depth, alignment, sightlines, bulk, colour balance or whether a niche, vanity, island or overhead cabinet will feel right in the room.
That's why 3D design matters. It lets you test the room before construction starts.
You can assess whether the vanity is too dominant, whether a nib wall makes sense, whether the shower screen feels intrusive, whether the splashback should run higher, or whether the kitchen island is making circulation tighter than expected. Those are exactly the sorts of issues that are cheap to fix on a screen and expensive to fix after framing, tiling or joinery production.
If you want to explore how that visual planning process works before build stage, a free 3D bathroom planner for layout visualisation is a useful starting point.
A simple example of design decisions that pay off
Consider a common Highett bathroom scenario. The existing room has a small shower, a bulky vanity, and wall tiles chosen more for trend than light reflection. On paper, the homeowner initially wants a larger vanity, feature wall tile, a recessed niche and a freestanding bath.
Once the room is tested properly in 3D, a few things become obvious. The bath crowds circulation. The larger vanity visually closes the room. The niche lands awkwardly against grout lines. The feature tile darkens the wet zone. A revised scheme with a better-proportioned vanity, lighter wall finish, integrated storage and a cleaner shower layout performs better and often looks more expensive because it feels resolved.
That's what good design does. It removes wrong choices early.
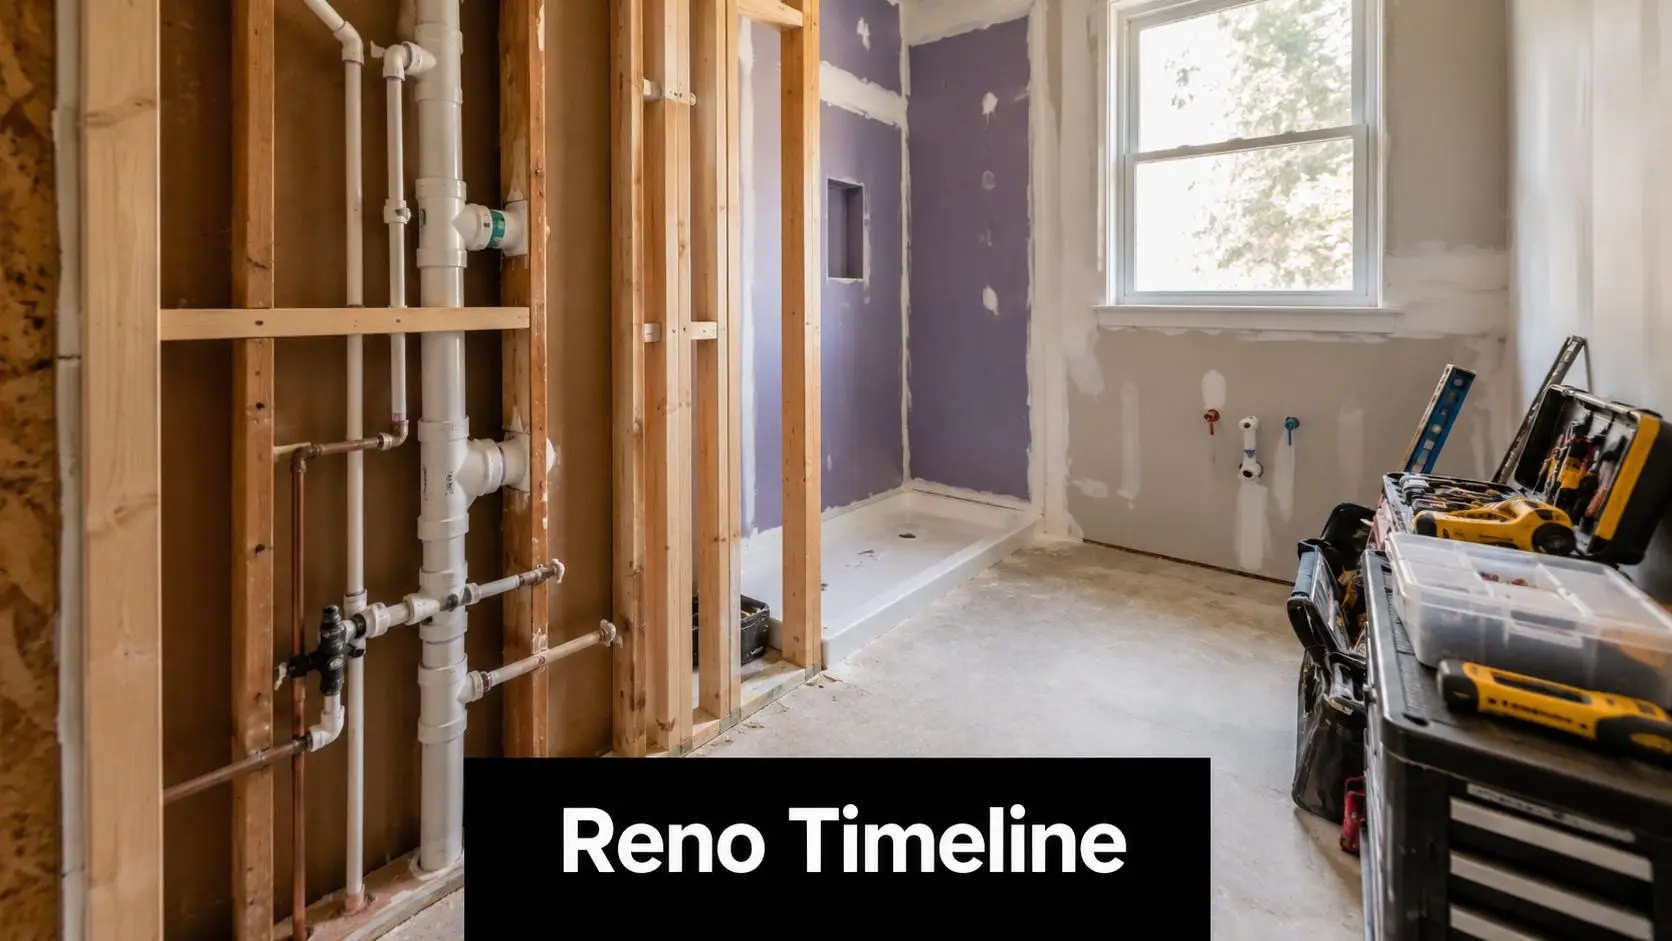
Staging the Project Timelines and Managing Expectations
A renovation runs smoothly when each trade arrives to complete work that the previous trade has properly prepared. That sounds simple, but it's where many projects drift into frustration. The problem usually isn't that work takes effort. It's that people expect visible progress every day, when some of the most important stages are hidden inside walls, floors and substrate preparation.
The sequence matters because the room is layered
Bathrooms and kitchens are built in layers, and each layer depends on the one beneath it. If rough-ins are wrong, cabinetry won't land properly. If substrate isn't right, waterproofing and tiles won't perform. If cabinetry is installed before services are confirmed, rework becomes painful and expensive.
A typical project usually moves through a sequence like this:
Site preparation and protection
Access planning, dust control, floor protection, delivery coordination and isolation of work areas.Demolition and strip-out
Removal of fixtures, finishes, joinery and selected wall or floor elements.Structural or framing adjustments
Only where required, including openings, support changes or corrections to existing construction.Rough-in stage
Plumbing, drainage, electrical, ventilation and appliance service positions are set.Substrate preparation
Wall and floor surfaces are corrected and prepared for waterproofing, tiling or cabinetry.Waterproofing and enclosed technical works
Especially critical in bathrooms before finishes are installed.Tiling, plastering, cabinetry and fixed installations
The visible shape of the room starts to return here.Benchtops, fit-off and finishing
Fixtures, tapware, appliances, screens, mirrors, paint and final connections.Final clean and handover
Defects are checked, adjustments are made and the space is prepared for use.
What homeowners often underestimate
The slowest-looking days can be the most important days. A room may appear unchanged while trades are correcting falls, setting service points, checking levels, waiting on custom fabrication or allowing materials to cure.
That isn't inactivity. It's part of building the room properly.
Kitchen projects need especially careful coordination before the decorative items arrive. Cabinetry, appliances, plumbing, electrical and ventilation have to be aligned before benchtops and splashbacks are ordered. Once those fixed elements are in production or installed, changes become disruptive.
How to make the timeline less stressful
A homeowner can't remove disruption completely, but they can reduce uncertainty.
- Finalise selections early: Late fixture or tile decisions often create avoidable pauses.
- Freeze the layout before rough-ins: Mid-stream layout changes usually affect several trades at once.
- Allow for lead times: Custom joinery, stone and specialised finishes need planning room.
- Plan household logistics: Temporary cooking, bathroom access, deliveries and parking should be considered before work starts.
Renovation stress usually comes from uncertainty, not from the existence of work itself.
The best timeline is not the fastest-looking one. It's the one that keeps the sequence intact.
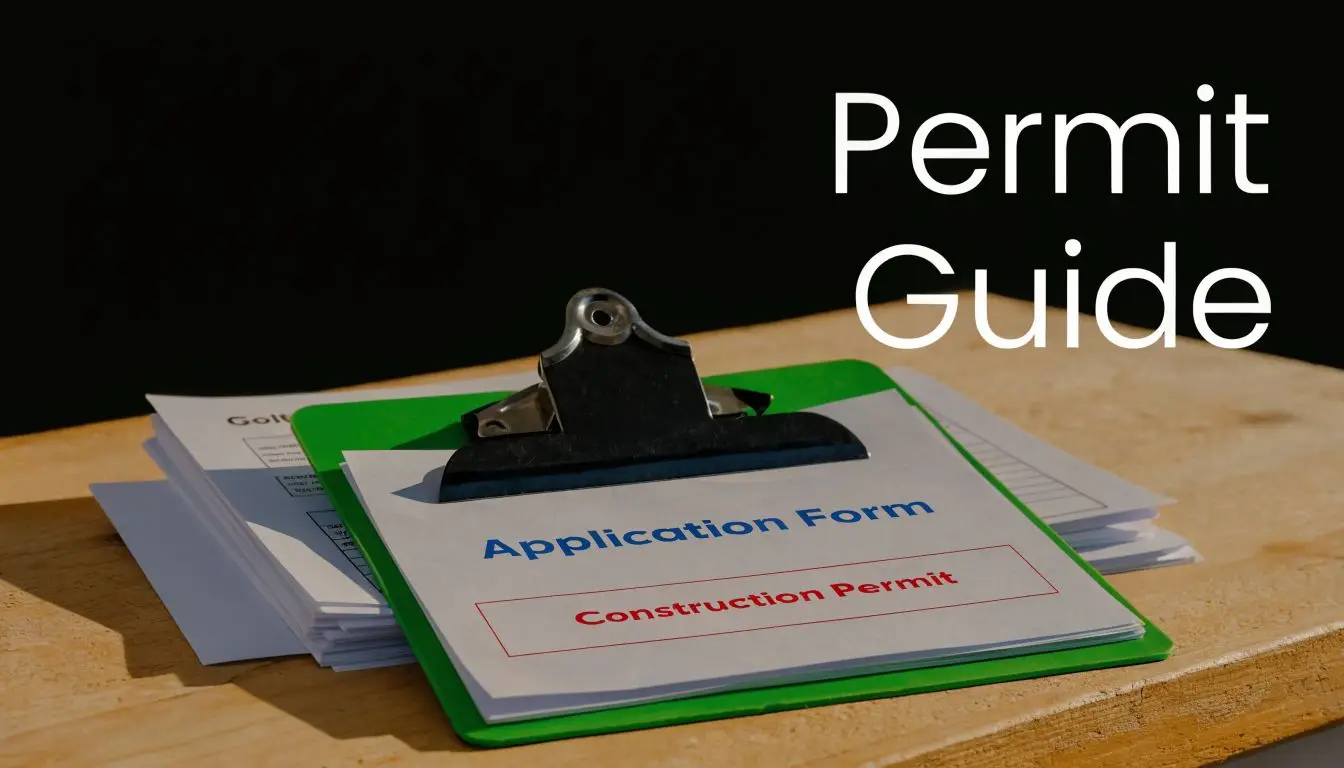
Choosing Your Team Selecting a Registered Builder in Victoria
The builder you choose will shape almost everything that follows. Good design can be undermined by poor supervision, weak sequencing and inconsistent trade quality. A modest design can perform beautifully when the builder is organised, technically sound and realistic from the start.
That's why, in Victoria, registration matters. For kitchen and bathroom work, you want someone who understands renovation conditions, not just new build logic. Existing homes are less forgiving. Walls aren't always straight. Services aren't always where the old drawings suggest. Apartments add another layer of rules and access planning.

Why a specialist matters
A bath and kitchen renovation compresses a lot of work into a small footprint. The room may be compact, but the coordination is not. You need someone who can manage waterproofing, drainage, joinery tolerances, appliance integration, tiling logic, ventilation and final fit-off in the correct order.
That's where a renovation specialist has an edge over a generalist.
The phrase registered builder unlimited matters to many homeowners because it signals a formal level of builder registration in Victoria. Still, it should spark further questions. Registration is part of the screening process, not the whole process. You still need to assess whether the builder is structured, experienced in occupied homes, and clear about who manages each stage.
For a practical explanation of why this matters, see why using a registered builder matters for your bathroom renovation.
Questions worth asking before signing anything
Some questions sound basic, but they reveal a lot very quickly.
- Who manages the project day to day: Will you deal with the quoting person, a site supervisor, or rotating trades?
- How are trade stages sequenced: Ask how they handle rough-ins, waterproofing, cabinetry and fit-off coordination.
- How are variations managed: You want a clear process before any changes occur.
- What information is required before construction starts: A serious builder should want selections, drawings and scope clarity.
- How is communication handled: Regular updates matter, especially if you're living in the home during works.
- What experience do they have with similar properties: Highett houses, townhouses and apartment projects each present different constraints.
Signs of a builder who will make life easier
You're not only looking for technical competence. You're looking for steadiness.
A good builder usually does a few things consistently. They ask detailed questions early. They identify risks without dramatics. They don't promise that everything will be easy. They explain the order of operations clearly. And they're comfortable discussing approvals, responsibilities and site limitations before the contract is signed.
The right builder doesn't just tell you what you want to hear. They tell you what the room needs.
What to avoid
Be careful with anyone who prices quickly from limited information, shrugs off technical issues, or treats waterproofing and service coordination like minor details. Also be wary of vague answers around approvals, scheduling or who exactly will be on site.
The cheapest number on paper can become the most expensive job in practice if the scope is weak or the supervision is poor.
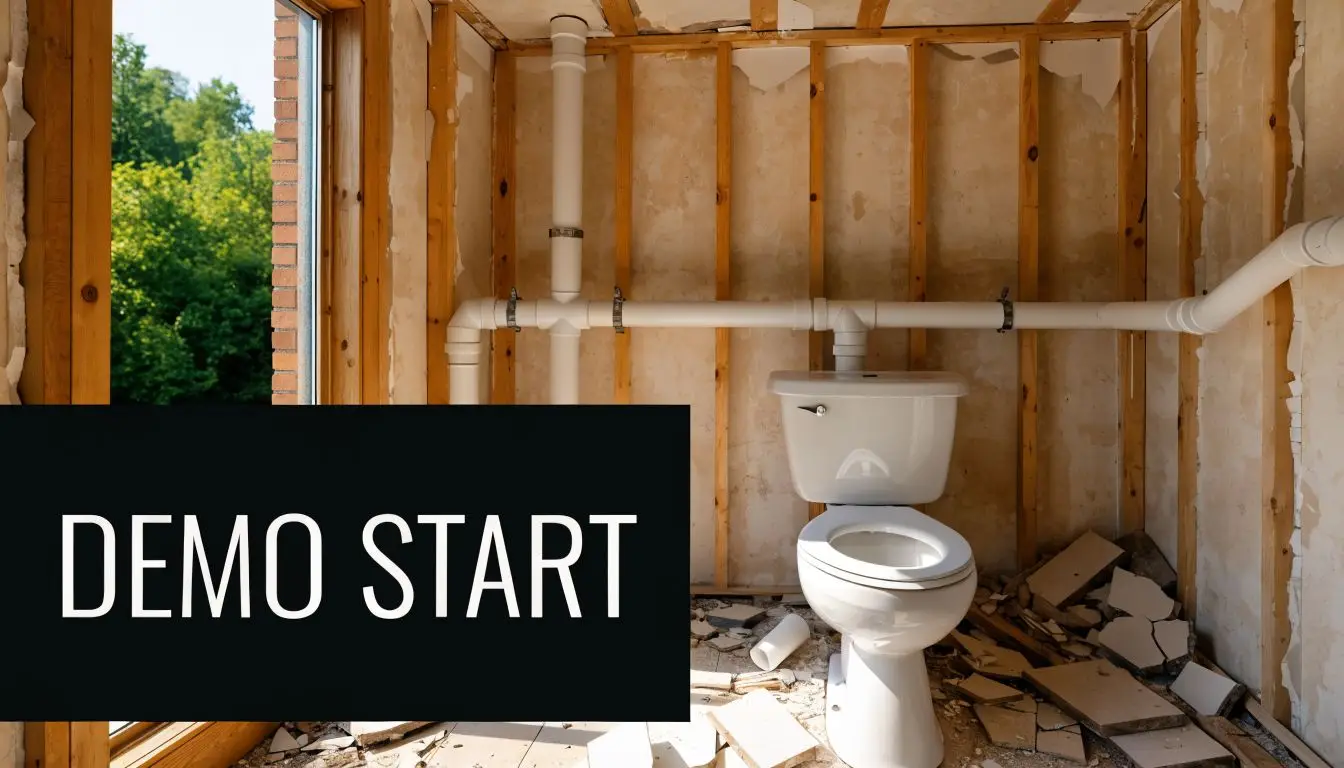
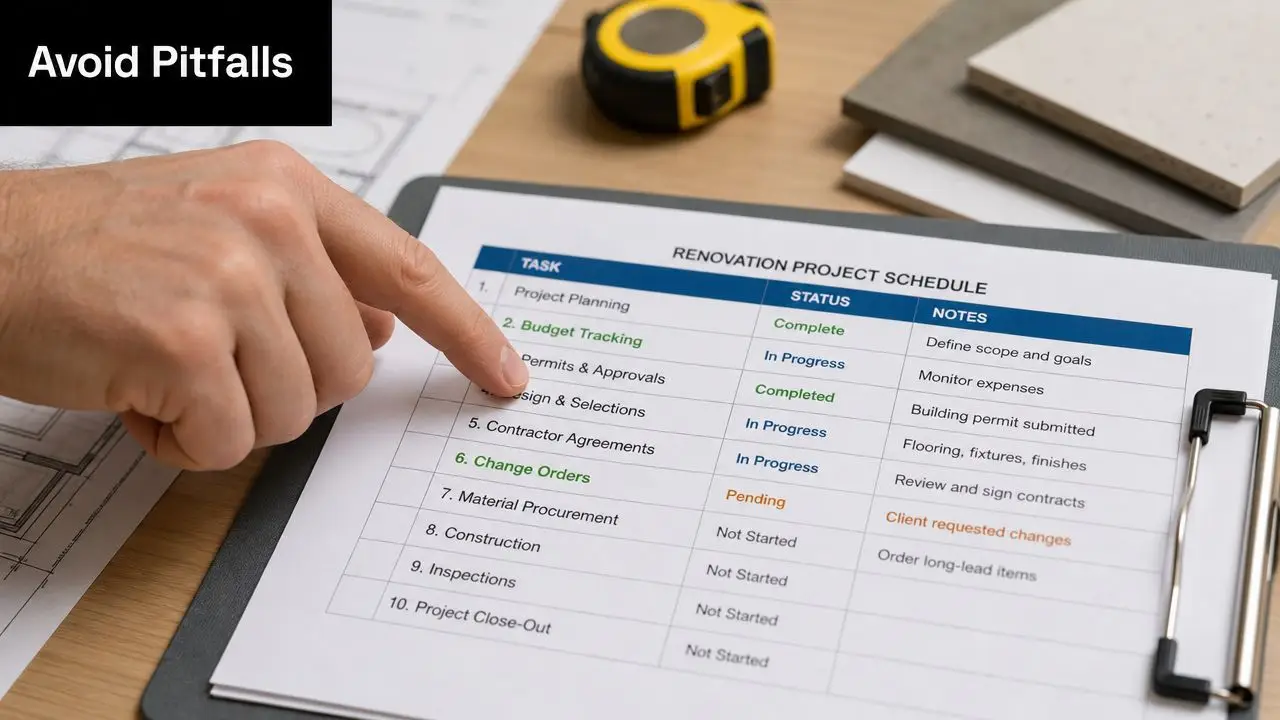
Avoiding Common Pitfalls and Highett Specific Considerations
The most expensive renovation mistakes are often the ones homeowners assume will sort themselves out on site. They won't.
Bathrooms and kitchens are unforgiving rooms because so much of the critical work disappears behind finishes. By the time a problem becomes visible, the rectification path is usually disruptive and costly.
Bathroom failures usually start with hidden technical work
In bathroom renovations, waterproofing and drainage detailing are the highest-risk controls. Shower bases should fall at about 1:100 to 1:80 towards the waste, according to this bathroom remodelling guidance covering slope and drainage detail. That sounds minor until you see what happens when falls are wrong. Water sits in corners, loads the membrane, stresses grout lines and creates failure points that can't be properly corrected without removing finishes.
That's why sequence matters so much in bathrooms. Substrate preparation comes first. Then membrane installation and penetration sealing. Then tiling. Not the other way around.
Kitchen mistakes are usually coordination mistakes
A kitchen can look well designed and still fail in daily use if services weren't coordinated early enough. Appliance locations, cabinetry internals, power points, lighting, plumbing, ventilation and splashback dimensions all need to be resolved before production begins.
Common trouble points include:
- Late appliance changes: Cabinet dimensions and service points may no longer match.
- Unplanned power needs: Lighting and appliance use can outgrow the original electrical plan.
- Poor ventilation planning: A kitchen that looks clean on day one may age poorly if steam and grease handling are weak.
- Overdesigned layouts: More features don't always improve function.
Strata and apartment work in Victoria needs special care
This is one area too many renovation guides ignore. For apartment renovations in Victoria, compliance with body corporate rules is a major factor. Questions around who pays for shared-services damage, when committee approval is needed, and how to sequence noise-sensitive works without breaching by-laws are critical, as outlined in this guide to apartment renovation body corporate considerations.
In Highett and surrounding areas, that matters more than many owners expect. A straightforward bathroom renovation in a freestanding house can become a much more procedural job in a strata building. Access windows, lift protection, delivery rules, waste removal, working hours and waterproofing sign-off all need to be considered early.
If you're renovating in an apartment, treat approvals and access planning as part of the build, not paperwork to deal with later.
The biggest practical mistake of all
Changing your mind after work is underway.
Some changes are unavoidable. Many are not. Once layout, services and materials are committed, late design revisions have a ripple effect through labour, cost and timing. That's why proper planning, clear drawings and 3D review are so valuable. They don't remove every decision. They move the critical ones forward to the point where they're still cheap to make.
A successful bath and kitchen renovation in Highett doesn't come from luck. It comes from choosing the right scope, solving the technical risks early, and working with a team that understands both the design and the build reality in Victoria.
If you're ready to turn ideas into a buildable plan, SitePro Bathrooms in Highett can help with concept development, 3D design, construction and handover for bathrooms and kitchens across Victoria.