If you're standing in a bathroom with tired tiles, weak lighting, swollen cabinetry and a layout that feels older than the house listing photos, you're not alone. Most Victorian homeowners start in the same place. They want a cleaner, sharper, more functional room, but the quotes for full bathroom renovations can feel miles away from the budget they have.
The good news is that learning how to renovate a bathroom on a budget isn't about cutting every corner. It's about choosing the right corners to leave alone. The biggest savings usually come from smart planning, selective upgrades, and knowing when a cheap decision will cost more later.
A budget bathroom can still look polished. It can still feel like one of those modern bathrooms you save for inspiration. It just needs discipline from day one.
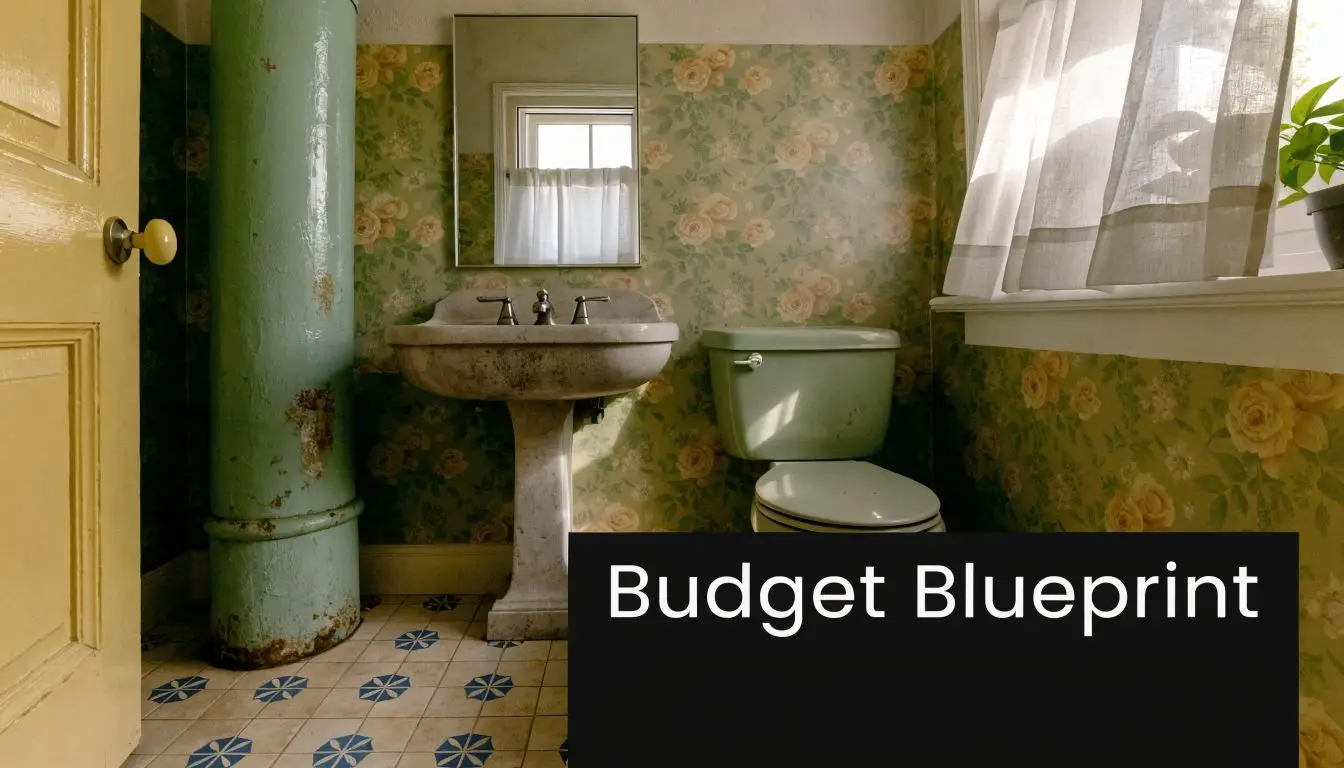
Your Budget Renovation Blueprint
That old bathroom usually tells you where the money will disappear. It might be the awkward shower base, the vanity with no storage, or the plumbing layout that tempts you to move everything around. Before buying a single fitting, define what success looks like for your space.
For some households, success means a hard-wearing family bathroom that cleans easily. For others, it means one of those designer bathrooms with better lighting, calmer colours and smarter storage, but without the full designer price tag. If you don't pin this down early, you'll keep changing direction mid-project. That's how budgets drift.
Start with the numbers that matter
In Australia, the average cost of a full bathroom renovation ranges from AUD 20,000 to AUD 35,000, while budget-conscious renovations can be achieved for AUD 8,000 to AUD 20,000 if you focus on high-impact choices and keep the plumbing layout in place. Retaining that layout can save up to AUD 5,000 to AUD 8,000 in relocation costs, according to this Australian budget renovation cost guide.
That one decision changes everything. If the toilet, shower and vanity stay broadly where they are, your spend goes into visible improvements instead of hidden pipework.
Run a renovation audit before you design
A proper budget plan starts with a blunt audit. Walk through the room and sort each element into one of three categories:
- Must replace. Failed waterproofing signs, damaged vanity carcasses, cracked pans, unstable fixtures, severe mould issues.
- Can refresh. Cabinet fronts, mirrors, handles, wall colour, grout appearance, lighting style.
- Leave alone. Sound plumbing positions, decent room proportions, serviceable windows, functional towel rails in secondary spaces.
Practical rule: If an item is sound, compliant, and not ruining the look of the room, keep it.
This is the point where many homeowners stop thinking in terms of a full rip-out and start seeing a staged, workable plan.
Set guardrails before ideas get expensive
Budget projects need fixed guardrails, not wish lists. Decide these items early:
- Your maximum spend
- Whether you're keeping the existing layout
- Which finishes need to look premium
- Which jobs require trades
- Whether the work will happen all at once or in stages
If you're still pricing up possibilities, this guide to small bathroom remodel cost helps frame what different levels of work usually involve.
New bathroom ideas are useful only when they fit the room, the building, and the money. The homeowners who stay on budget don't chase every idea. They choose a direction, protect the layout, and spend where the eye lands first.
Smart Savings on Materials and Fixtures
Budget bathrooms look expensive when the spending is deliberate. They don't look expensive when every item is the cheapest thing available. The difference is usually in where the money lands.
In Victoria, budget bathroom renovations can yield a 70-85% return on investment, and a common framework is the 40-30-20-10 rule: 40% for fixtures and vanity, 30% for surfaces, 20% for labour, and 10% for contingency, as outlined in this Victorian budget renovation guide.

Where to spend for maximum visual return
Most bathrooms have two or three focal points. Usually it's the vanity, the shower area, and the wall or floor finish. Put your cleaner-looking selections there.
A few practical examples:
- Vanity front and benchtop look matter more than an elaborate cabinet interior in a compact room.
- Tapware finish consistency matters more than chasing unusual shapes.
- Lighting and mirror scale can lift the whole room faster than another decorative feature.
If you want the room to read as modern, keep the visual language simple. Straight lines, quiet finishes, and fewer materials usually beat a long list of “features”.
Where to save without the room looking cheap
Budget jobs are won in this phase.
- Keep the cabinet carcass if it's solid. Refinish doors or replace fronts rather than rebuilding the whole vanity.
- Choose simple tile profiles. Fancy laying patterns and fiddly edges often add labour pressure.
- Use a restrained palette. Too many feature moments make a small bathroom feel cluttered.
- Standard sizes help. Custom dimensions can look excellent, but they rarely support a tight budget.
Expensive-looking bathrooms are often simpler than people expect. Fewer finish changes usually mean cleaner lines and fewer labour headaches.
Surfaces are one area where homeowners often overspend trying to recreate showroom drama. In a real bathroom, durable and easy-to-maintain usually beats visually busy.
A practical way to apply the 40-30-20-10 split
Use the framework as a discipline tool, not a rigid formula. If your vanity and fixtures are the hero elements, keep the rest calm and efficient.
| Spend area | What it usually covers | Budget mindset |
|---|---|---|
| Fixtures and vanity | Vanity, toilet, tapware, shower fittings, mirror | Make this look deliberate |
| Surfaces | Wall finish, flooring, tile, paint | Keep it cohesive, not flashy |
| Labour | Install, fit-off, prep, compliance tasks | Don't squeeze this too hard |
| Contingency | Unknowns behind walls and under floors | Protect the project |
One more rule matters here. Buy for the whole room, not one item at a time. A vanity that looked perfect in isolation can force dearer tile choices, different plumbing connections, or awkward spacing around the toilet.
If you're weighing finishes, this article on how to choose bathroom tiles is a useful starting point for balancing look, maintenance and budget.
The best budget bathrooms don't try to look luxurious in every detail. They aim for one clear result: a room that feels organised, current and easy to live with.
Deciding Between DIY and Professional Trades
A Melbourne bathroom reno often goes off budget the same way. The owner takes on one licensed job to save a few thousand dollars, the waterproofing or plumbing gets delayed, and the room sits half-finished while trades reshuffle their schedules. The original saving disappears in rework, call-out fees, and extra time without a working bathroom.
DIY still has a place. It just needs to stay in the safe, low-risk parts of the job.

Good DIY jobs
Owners can save real money on preparation and finishing work, especially in straightforward cosmetic updates.
These tasks are usually suitable if you're organised, have the right tools, and know your limits:
- Strip-out support work. Removing mirrors, accessories, shelves, and other non-service items after the area is made safe.
- Painting. Walls, ceilings, trims, and some cabinetry if the substrate is sound and the coating system suits a wet area.
- Flat-pack assembly. Putting together vanities or storage units before installation.
- Accessory installation. Hooks, towel rails, freestanding storage, and styling items where no concealed plumbing or wiring is involved.
- Site prep and clean-up. Protecting floors, managing rubbish, and keeping access clear for trades.
The best DIY tasks are easy to inspect, easy to redo, and unlikely to cause hidden damage.
Jobs that should stay with trades
In Victoria, bathrooms are not the room to guess your way through. Waterproofing, plumbing, electrical, and many fit-off tasks need licensed people, and for good reason. If these parts fail, the damage usually sits behind tiles, under floors, or inside walls until the repair bill gets ugly.
Body corporate rules can add another layer. In apartments and some townhouses, works that affect waterproofing, services, penetrations, or waste lines may need approval before the job starts. Owners who skip that step can end up paying to open finished work for inspection or reverse unauthorised changes.
Use this test before deciding a task is DIY-friendly:
| Task | DIY suitable | Trade required |
|---|---|---|
| Remove old accessories | Yes | No |
| Paint walls and ceiling | Yes | No |
| Move plumbing points | No | Yes |
| Electrical changes | No | Yes |
| Waterproofing | No | Yes |
| Install and certify key wet-area work | No | Yes |
If a mistake can cause leaks, electrical risk, failed compliance checks, or damage to another lot, hand it to a trade.
Where homeowners get caught out
The expensive part is rarely the first mistake. It's the chain reaction after it.
A tap set out a few millimetres wrong can force tile cuts to shift. A vanity installed before final service checks can come back off the wall. An unlicensed waterproofing shortcut can hold up the whole fit-off because no reliable trade wants to inherit the risk.
I see the same trade-off on budget projects all the time. Save on labour where the work is visible, simple, and separate from compliance. Pay for licensed work where sequencing, certification, and long-term performance matter.
When a builder or project manager makes sense
Some bathrooms need more than booking a plumber, tiler, and electrician one by one. If the renovation includes layout changes, apartment approvals, older Melbourne housing stock, or tight access, coordination becomes part of the budget equation.
A registered builder can be the right choice when structural work or broader building scope is involved. A renovation project manager also adds value on budget-conscious jobs by handling trade sequencing, product lead times, and site decisions before they turn into variation costs. Add 3D design early and you can solve spacing problems on screen instead of on site, which is much cheaper.
That approach is not about making the project bigger. It's about keeping a modest bathroom renovation controlled, compliant, and finished properly the first time.
High-Impact Quick Wins and Phased Renovations
Not every bathroom needs a full demolition to improve fast. Some rooms are structurally fine but visually dated. Others need bigger work, just not all in one hit. That's where quick wins and phased renovations make sense.
Quick wins that change the room fast
Cosmetic changes work best when they target what your eye notices immediately. In most bathrooms, that means dated finishes, poor lighting and tired hardware.
Good quick wins include:
- Updating tapware and shower fittings when the existing setup allows like-for-like replacement
- Replacing mirrors with a better-proportioned option
- Changing cabinet handles and accessories so the room reads as one scheme
- Painting walls or cabinetry where the substrate is sound
- Refreshing grout appearance or replacing tired silicone where appropriate
- Improving lighting to make the room feel cleaner and brighter
These aren't glamorous decisions, but they do a lot of visual lifting. A bathroom feels newer when the room looks cleaner, lighter and more intentional.
How to phase a bathroom renovation properly
A staged approach only works if each stage leaves the room usable and doesn't undo the previous one. Random upgrades cost more because one new item often exposes three old ones.
A practical sequence is:
Stabilise the room first
Fix leaks, fan issues, damaged seals, storage problems and anything affecting daily use.Upgrade visible surfaces next
Paint, mirror, lighting, accessories and vanity refinishing can give the biggest immediate lift.Tackle fixtures and major wet-area work later
Keep this stage for when you've built enough budget to do it properly.
A phased renovation works when each phase solves a real problem. It fails when each phase is just a temporary patch.
This is also the right approach if you're collecting ideas for modern bathrooms but don't yet have the funds for a full reset. Do the work that improves function and visual calm first. Save the major plumbing and shower-area changes for the stage when you can complete them without compromise.
When to Engage a Specialist for Your Renovation
A budget bathroom renovation often stops being a budget renovation the moment the owner has to reschedule three trades, answer a body corporate manager, and reorder a vanity that does not fit the as-built room. I see that pattern a lot in Melbourne apartments. The job looks simple until approvals, access rules, and wet-area compliance start affecting every decision.

Apartment bathrooms change the budget equation
In Victoria, apartment and townhouse bathrooms usually come with extra layers of control. Body corporate or owners corporation approval may be required before demolition starts, especially if the work affects waterproofing, services, acoustic performance, waste pipes, or common property. Some buildings also restrict working hours, lift use, rubbish removal, parking, and where materials can be stored.
Those rules cost time if they are handled late. They also affect money. A cheap quote can unravel fast once the contractor has to work around booking windows, protection requirements for common areas, or extra documentation for management approval.
That is usually the point where a specialist earns their fee.
What a specialist actually changes
True value lies beyond simple trade coordination. It involves minimizing costly errors before they occur.
A specialist team can help by:
- confirming site constraints early, including access, services, wall positions and fixture clearances
- locking selections before demolition so plumbing and electrical rough-ins suit the final layout
- preparing drawings and scope clearly for owners corporation review where needed
- sequencing trades properly so waterproofing, tiling, glazing and fit-off do not clash
- assigning responsibility for compliance, defects and variations
That last point matters in Victoria. If several trades are booked separately and one step goes wrong, each contractor can blame the previous one. Homeowners end up stuck in the middle. Working with a team that understands why using a registered builder matters for your bathroom renovation gives you a clearer line of responsibility.
Why 3D planning is worth it on a tight budget
3D design is not just for high-end bathrooms. On a tighter budget, it can save more because there is less room for corrections once materials are ordered.
It helps test the details that usually cause rework. Vanity depth. Door swings. Mirror centring. Niche placement. Towel rail positions. Whether the room feels balanced once tile sizes and grout lines are set out.
I would rather adjust a layout on screen than after waterproofing is done.
One local example is SitePro Bathrooms, which handles bathroom planning, 3D design and construction coordination. That setup suits homeowners who want fewer handover points and fewer chances for miscommunication.
If your bathroom is in an apartment, if approvals are likely, or if you cannot manage trades and compliance around work and family life, bringing in a specialist is often the lower-risk budget decision.
Common Pitfalls and Your Sample Timeline
Most overspends happen before the room starts looking better. They come from hidden issues, poor sequencing and decisions that should've been settled earlier.
Two of the biggest traps are beneath the finishes. Failing to inspect the subfloor after demolition can reveal rot that inflates budgets by an average of 15%. Ignoring waterproofing requirements is another major problem, with 28% of budget renovations failing council inspection on that point and causing 4 to 6 week delays.
The mistakes that hurt most
Some problems are obvious in hindsight, but not during the rush of demolition and ordering.
- Skipping subfloor checks. Once fixtures and tiles are out, inspect properly. If you don't, hidden deterioration can force disruptive changes later.
- Treating waterproofing like a minor step. It isn't a paint job. It affects compliance, longevity and whether the bathroom can be handed over without drama.
- Buying finishes before confirming site conditions. A vanity, shower screen or tile selection can look perfect online and still be wrong for the actual room.
- Starting without a sequence. Bathroom work is unforgiving when trades overlap badly or arrive before the room is ready.
Waterproofing and substrate condition aren't “back-end details”. They're the project.
A realistic sample timeline
A budget renovation doesn't need to be chaotic. It does need a clean order of operations. Here's a simple planning guide you can use as a reference point.
| Budget Tier | Typical Scope of Works | Estimated Timeline |
|---|---|---|
| Cosmetic refresh | Paint, mirror, accessories, hardware, minor fixture updates, surface refresh where suitable | Short timeline, often planned as a light refresh |
| Mid-range budget update | Vanity replacement, fixture upgrades, partial surface work, licensed trade involvement, layout retained | Moderate timeline with allowance for ordering and trade coordination |
| Full budget-conscious renovation | Demolition, waterproofing, new fixtures and finishes, full fit-off while keeping core layout | Longer timeline, especially if approvals or hidden repairs arise |
Your pre-start checklist
Before work begins, make sure you can answer these clearly:
- What are you keeping no matter what
- What will be replaced if demolition exposes problems
- Who is handling waterproofing and service work
- Whether approvals are needed
- What your contingency is reserved for
A budget renovation succeeds when the unseen parts are handled as carefully as the visible ones. That's what gives you the finished room people notice, and the durability you notice years later.
If you're planning bathroom renovations in Highett or elsewhere in Victoria, start with the layout, the compliance requirements, and the items that deliver the biggest visual return. That's how you get fresh new bathroom ideas into a room that looks current, functions properly and stays inside budget.