LED Backlit Bathroom Mirrors: The Complete Guide to 2026
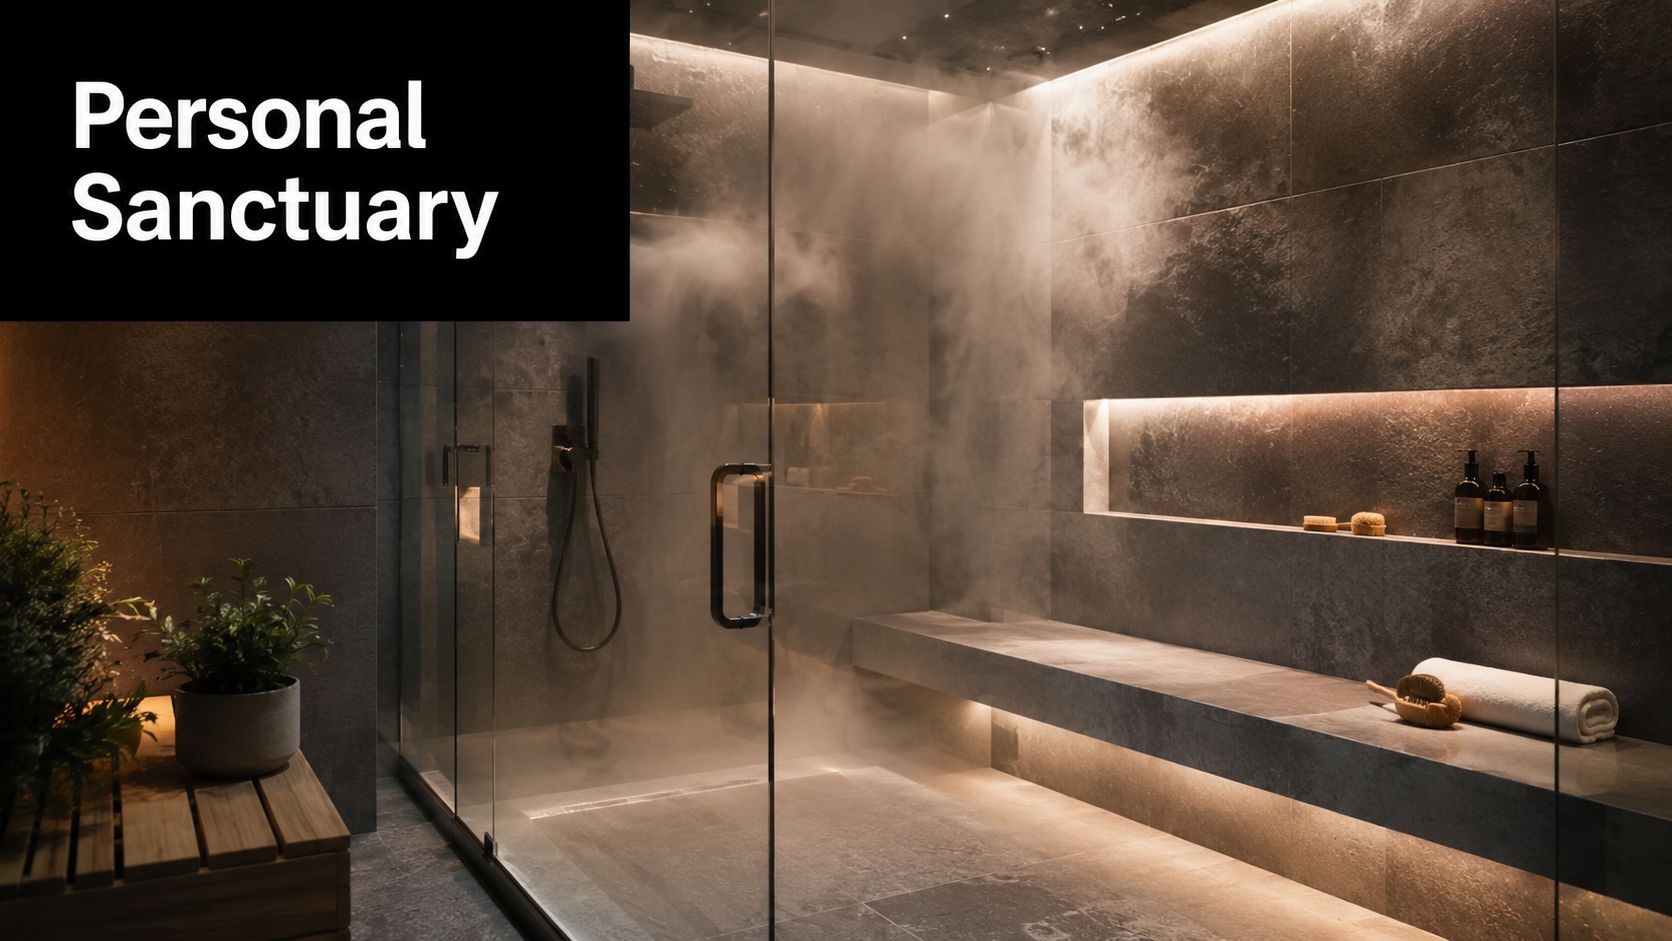
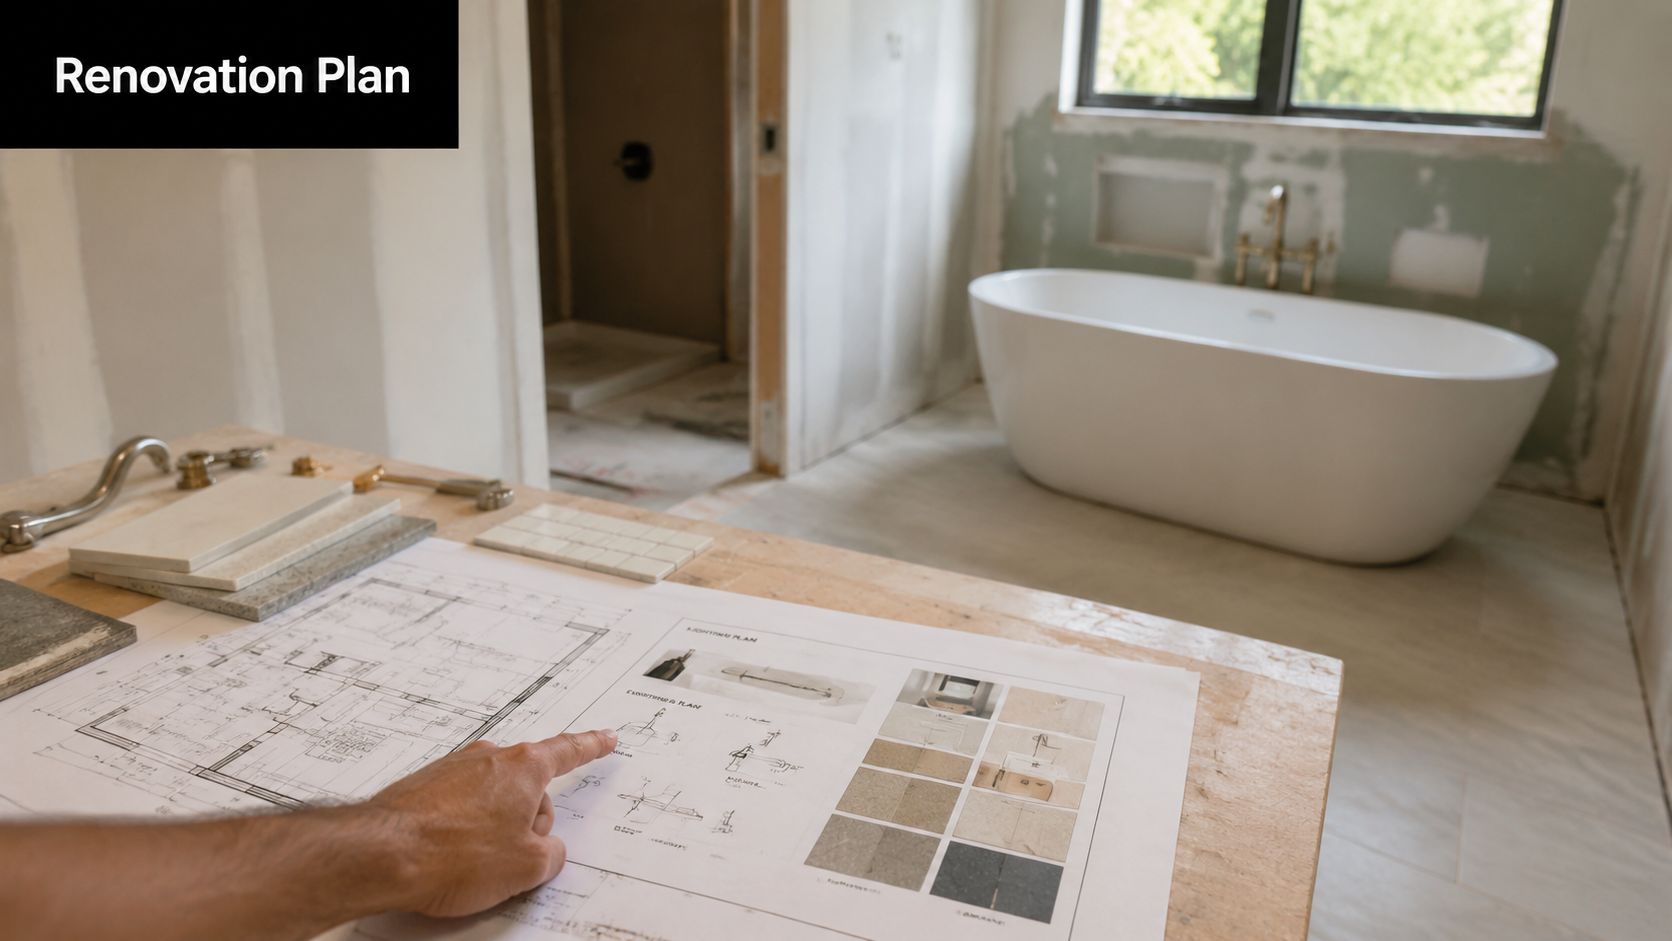
You're standing at the vanity before work, the overhead light is flattening your face, the mirror is fogging at the edges, and the whole room still feels half finished. That's the moment most homeowners realise a bathroom doesn't need more decoration, it needs better light, cleaner wiring, and fixtures that suit daily use.
LED backlit bathroom mirrors solve that problem better than old vanity lighting ever did. They bring a softer perimeter glow, reduce visual clutter, and fit the direction most modern bathrooms are already heading in, but the value is deeper than looks. In bathroom renovations, especially across Victoria, the right mirror has to be specified with compliance, servicing access, and long-term maintenance in mind, or it becomes a frustrating hidden fault instead of a durable upgrade.
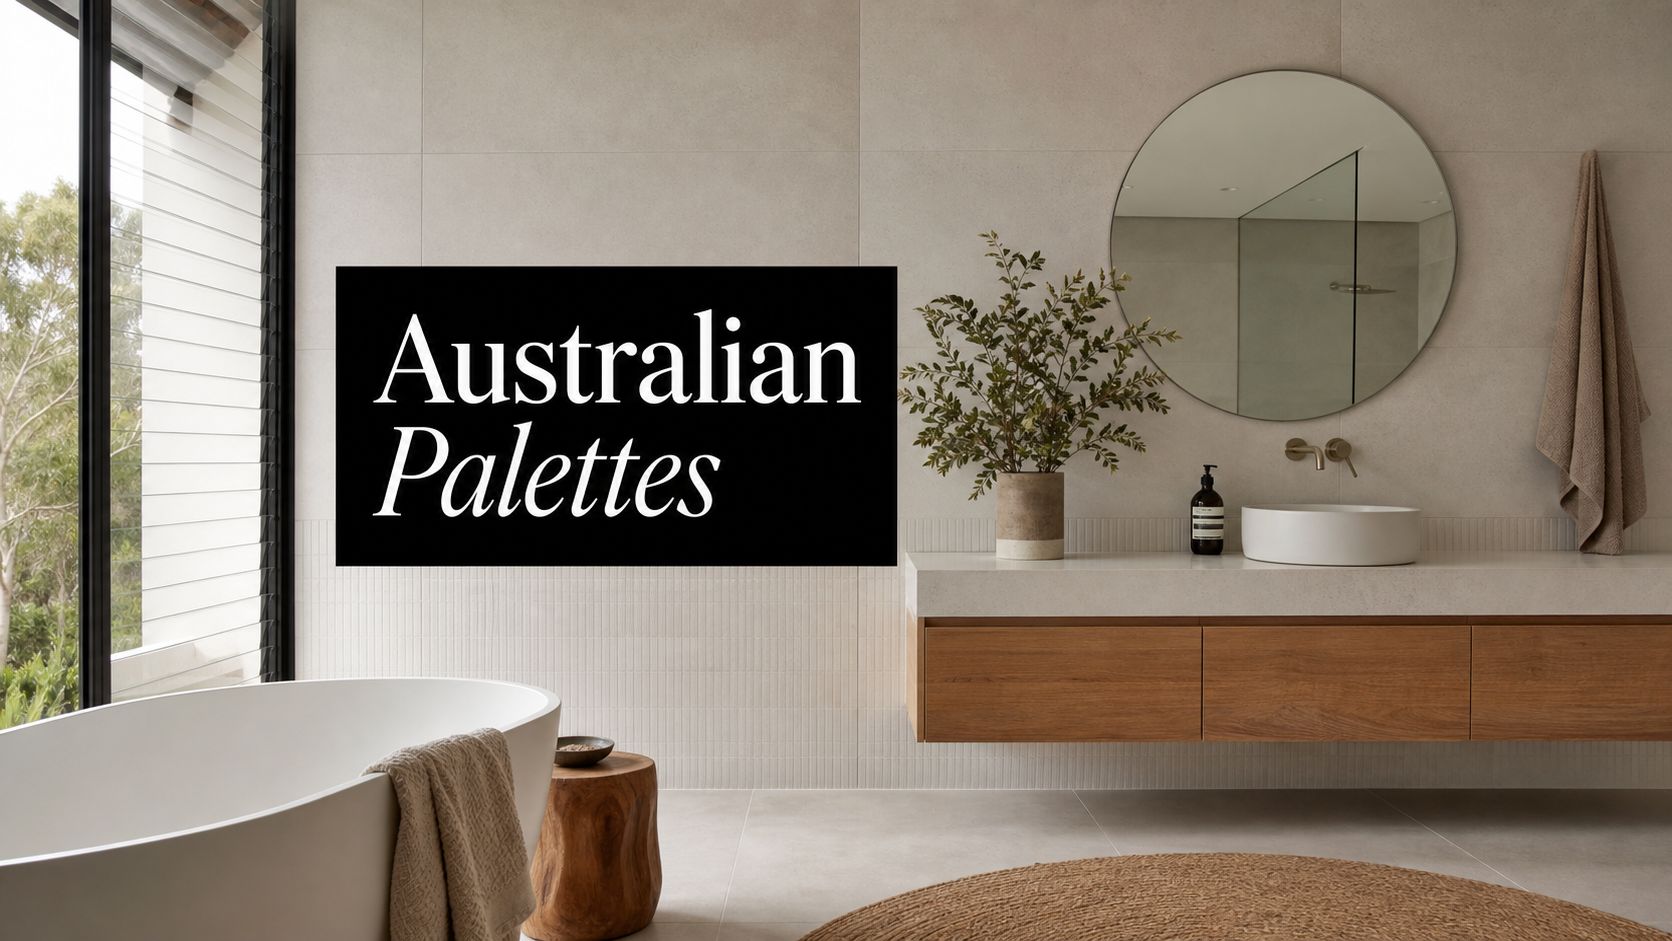
If you're planning new bathroom ideas for a compact ensuite, a family bathroom, or a polished powder room, start with the mirror rather than treating it as an afterthought. The right choice changes the entire room, and it has to work with the rest of the lighting plan, not against it. For broader styling context, see bathroom decor ideas for Australian homes.
Why LED Backlit Bathroom Mirrors Are Transforming Modern Bathrooms
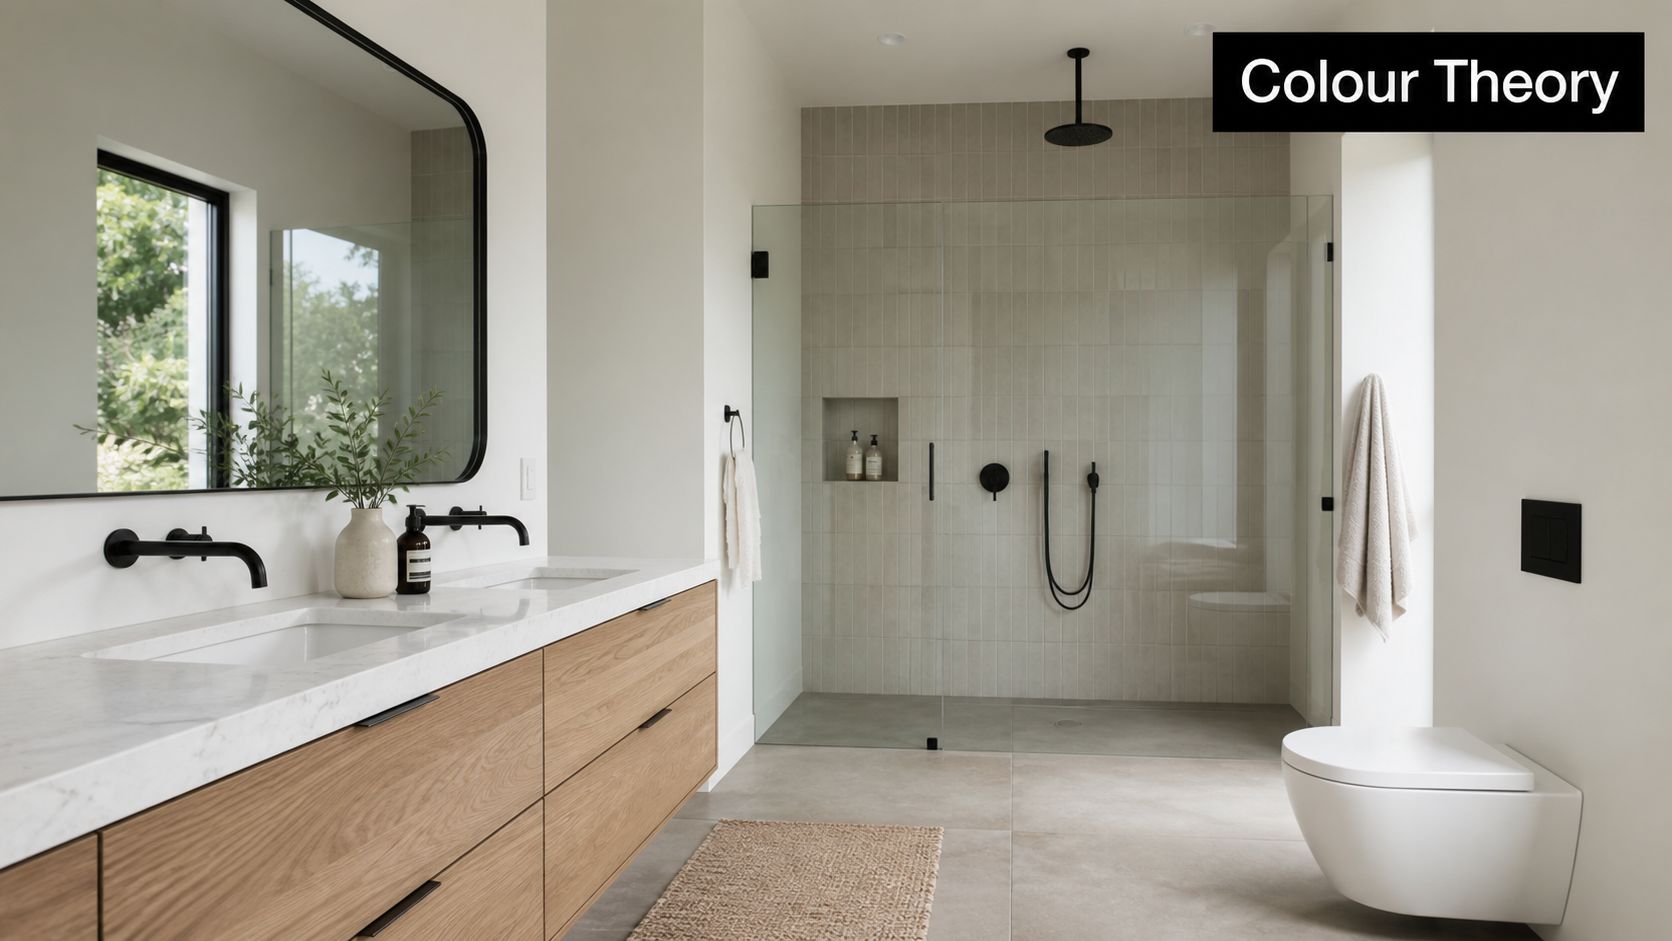
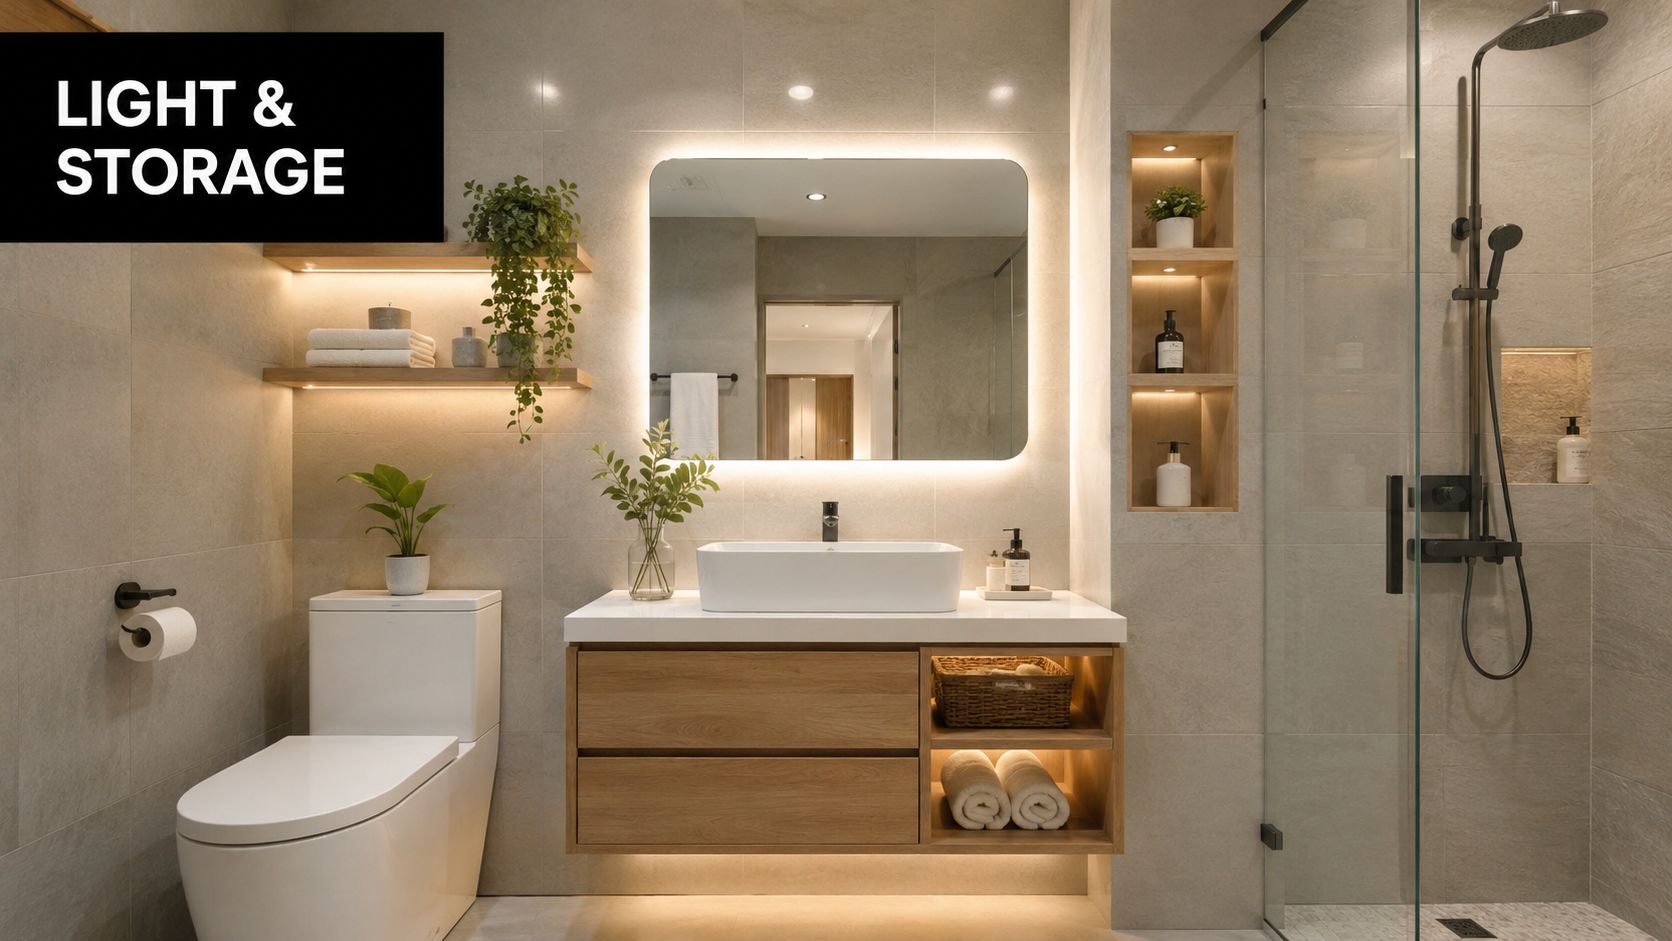
A bathroom with one weak ceiling fitting and a plain mirror feels dated fast. That is why so many renovators are moving toward LED backlit bathroom mirrors, especially when they want a cleaner finish without hanging extra fittings on the wall. The appeal is straightforward. A continuous halo of light makes the room feel calmer, more finished, and less clinical.
The product also makes sense from a practical renovation standpoint. LED lighting uses far less electricity than incandescent lighting for the same brightness, and many LED mirror products are rated for long service life, which can suit homes that need fixtures designed for daily use source. That kind of lifespan matters in designer bathrooms and family homes because no one wants a mirror that turns into a maintenance problem after the renovation dust settles.
What the glow does
Backlighting is not just decorative. It softens the hard edges of the vanity zone, lifts the wall visually, and creates a more expensive-looking finish without adding visual clutter. In a compact bathroom, that can make the room feel less boxed in.
Practical rule: choose backlighting for atmosphere, then add separate task lighting if the room needs serious grooming light.
The category has also matured. A projected LED mirrors market value of USD 17.5 billion by 2032 shows how far this product type has moved from novelty into mainstream bathroom specification source. That matters in Australia because a mature product category usually means better size ranges, more finish options, and easier sourcing during a renovation.
The lighting plan still has to be handled properly. If the mirror is part of a broader vanity scheme, the surrounding fittings need to work with it rather than fight it. See bathroom vanity lighting guidance before you lock in the mirror, and use bathroom decor ideas for Australian homes if you want the mirror to fit the room's overall style.
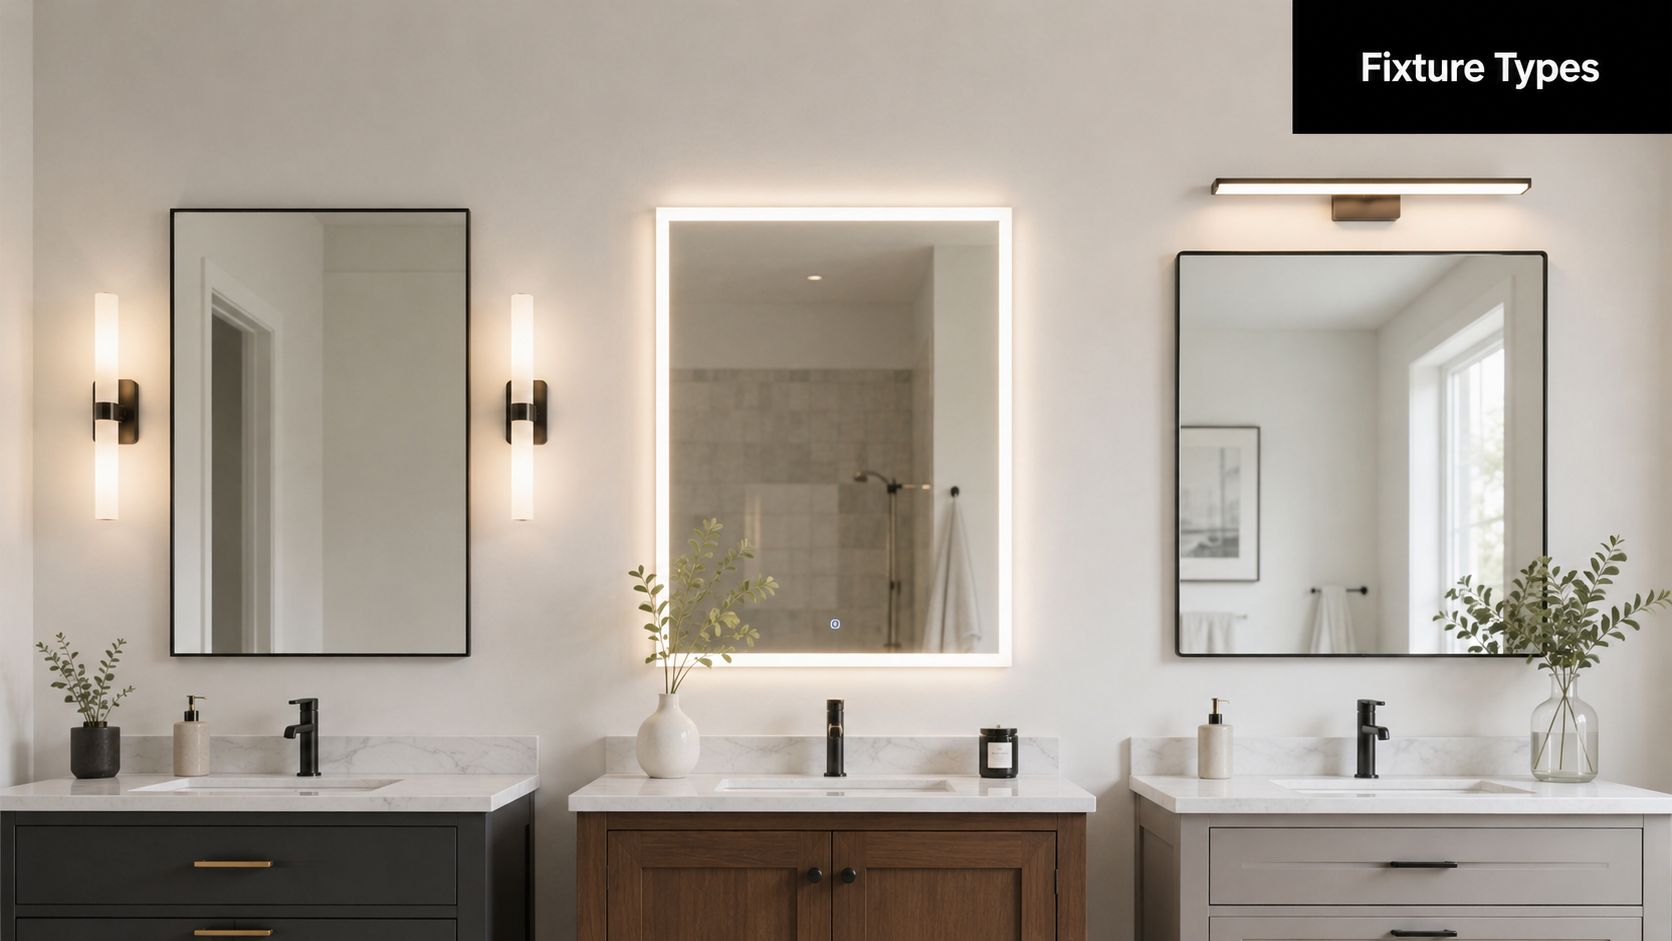
How Backlit Mirrors Differ from Front-Lit Alternatives
The biggest mistake homeowners make is buying a mirror for appearance and only later finding out it does not suit the room. A backlit LED mirror places LEDs behind the mirror glass so the light washes onto the wall and creates a halo effect. A front-lit mirror places LEDs on the face or edge so the light falls forward onto the user for grooming tasks source. That difference decides how the bathroom feels and how well it works.
Backlit mirrors are built for atmosphere first. Front-lit mirrors are built for clear face-level light first. Backlighting works like architectural cove lighting, while front-lighting behaves like direct task lighting aimed where you need it.
Use case decides the right mirror
In modern bathrooms, backlit mirrors work well when the goal is a calm, finished look. In designer bathrooms, they can become the focal point because the wall glow reads as deliberate rather than cluttered. For shaving, makeup, and other detail work, a front-lit mirror gives meaningful task illumination, while backlit mirrors provide minimal face-level task lighting source. The choice should follow the job the room has to do.
A mirror that looks elegant but leaves your face in shadow is the wrong choice for daily grooming.
For many Victorian homes, the practical answer is layered light. Use the mirror for ambience, then make sure the room has enough separate light for the tasks that matter. If the vanity wall is being redesigned at the same time, bathroom vanity lighting guidance is the right companion reference.
Key Specifications to Compare Before You Buy
The spec sheet tells you whether a mirror is worth the money. Skip the marketing language and check the details that affect comfort, safety, and maintenance.
Start with the performance basics
The most useful baseline is straightforward. LED bathroom mirrors should have IP44 protection, a demister, 2700K to 3000K colour temperature, and CRI 90 or above source. If you're fitting out a master ensuite, extras like a motion sensor and adjustable colour temperature are sensible upgrades, not gimmicks.
Here's a clean comparison framework.
| Specification | Recommended Threshold | Why It Matters | Best Suited For |
|---|---|---|---|
| IP rating | IP44 | Better moisture protection in bathroom conditions | Main bathrooms and ensuites |
| Demister | Built in | Keeps the mirror usable after hot showers | Steamy family bathrooms |
| Colour temperature | 2700K to 3000K | Warmer, more flattering light for daily use | Renovations prioritising comfort |
| CRI | 90 or above | More accurate skin-tone rendering | Grooming and makeup areas |
| Motion sensor | Optional upgrade | Convenient hands-free operation | Master ensuites |
| Adjustable colour temperature | Optional upgrade | Lets you shift the mood and function | Designer bathrooms |
Read the spec in plain English
CRI tells you how truthfully colours appear under the mirror light. If it's too low, skin tones look dull and makeup matching gets harder. Colour temperature controls how warm or cool the light feels, and the range above suits a bathroom that needs both comfort and clarity.
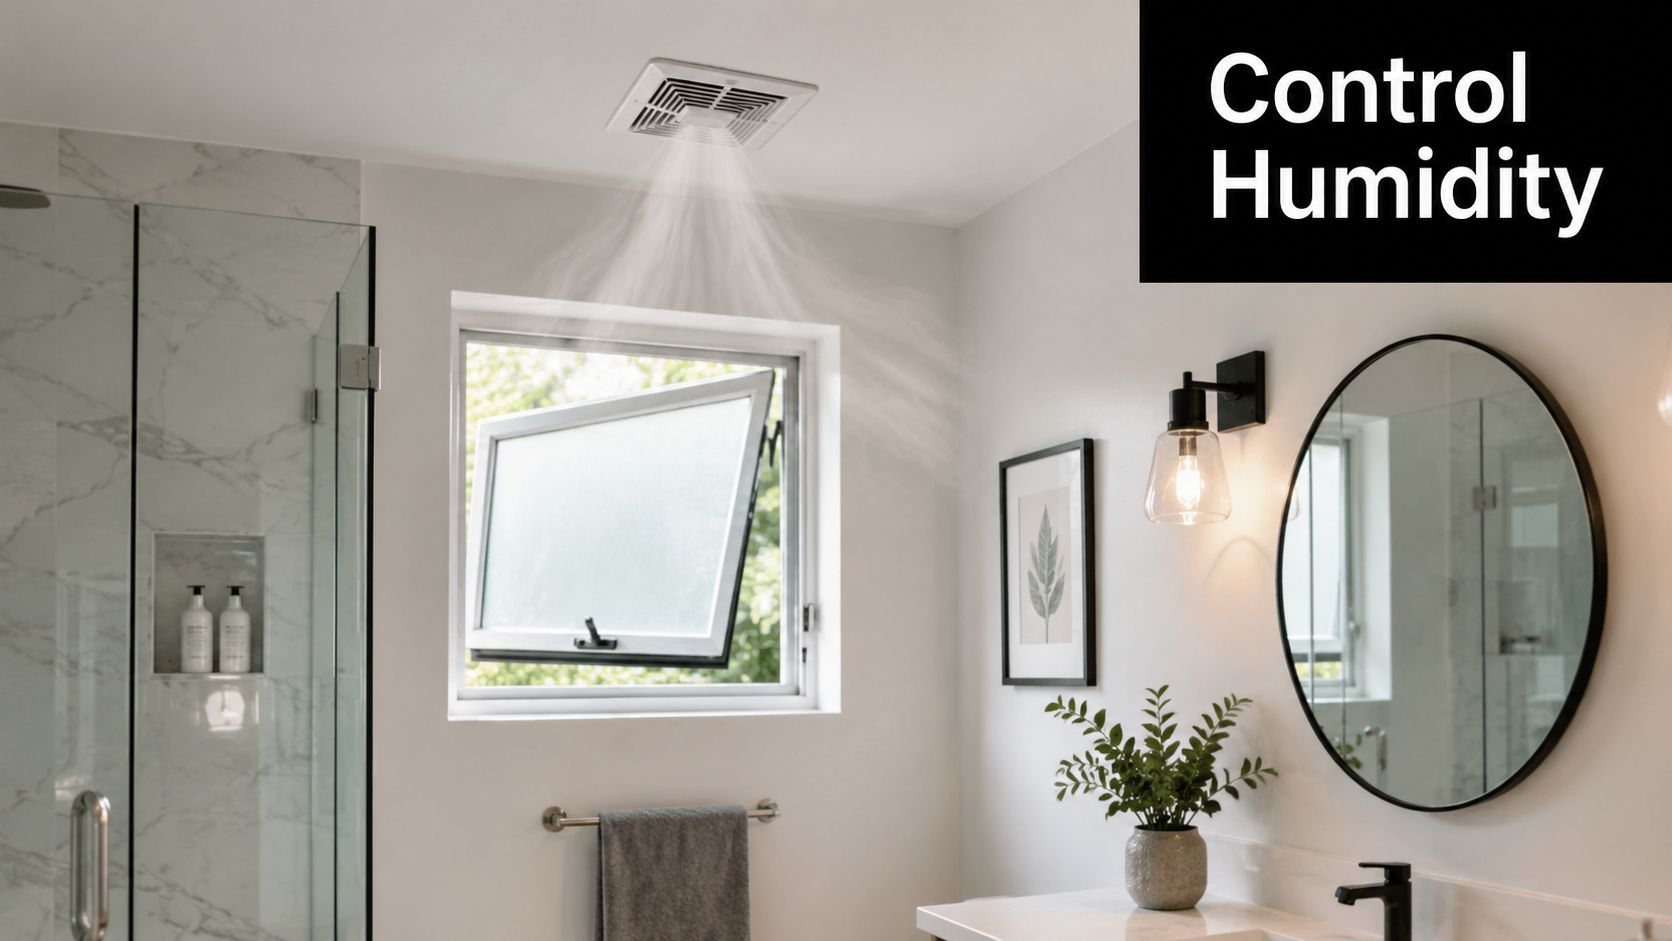
The demister is one of the most underrated features because it stops the post-shower fog routine. Don't treat it as a luxury add-on if the bathroom is used every morning. It's a usability feature.
If a mirror is going into a wet zone, treat moisture protection as a design requirement, not an upgrade.
For buyers comparing mirrors online, a tidy checklist usually works better than trying to decode photos. Ask yourself three things. Is it safe for the room? Will it help with grooming? Will it still be useful in five years?
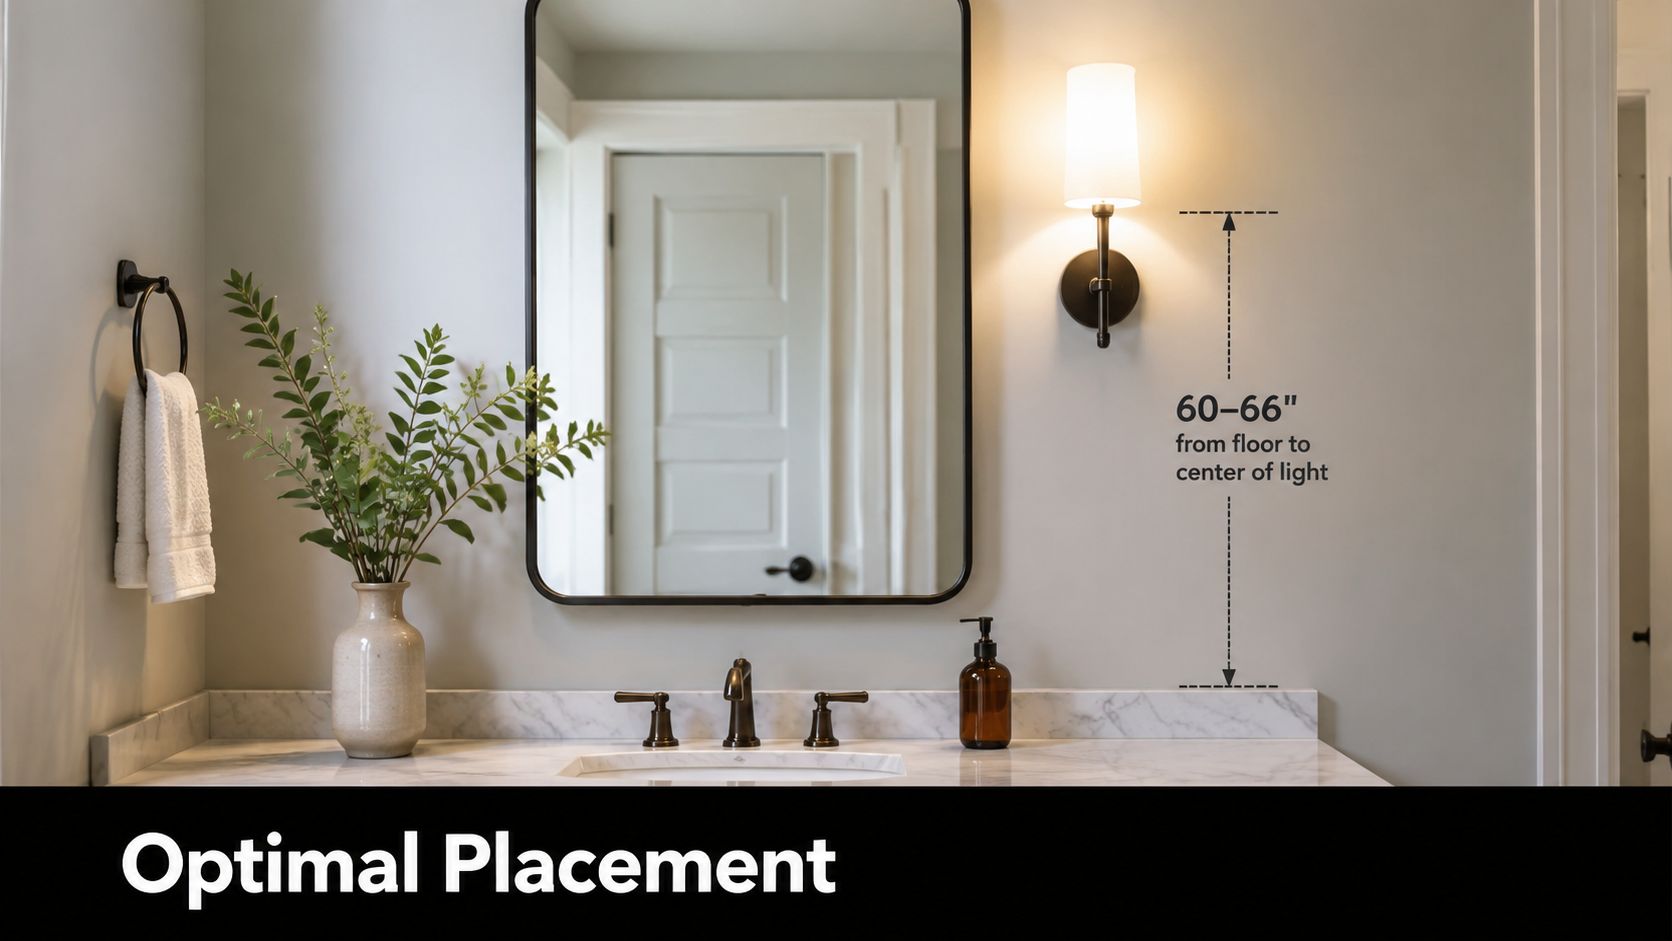
Sizing and Placement for Different Bathroom Types
The right mirror size depends on the vanity, the wall space, and how the room gets used. A mirror that's too narrow looks awkward. One that's too wide can crowd taps, splashbacks, or wall lights.
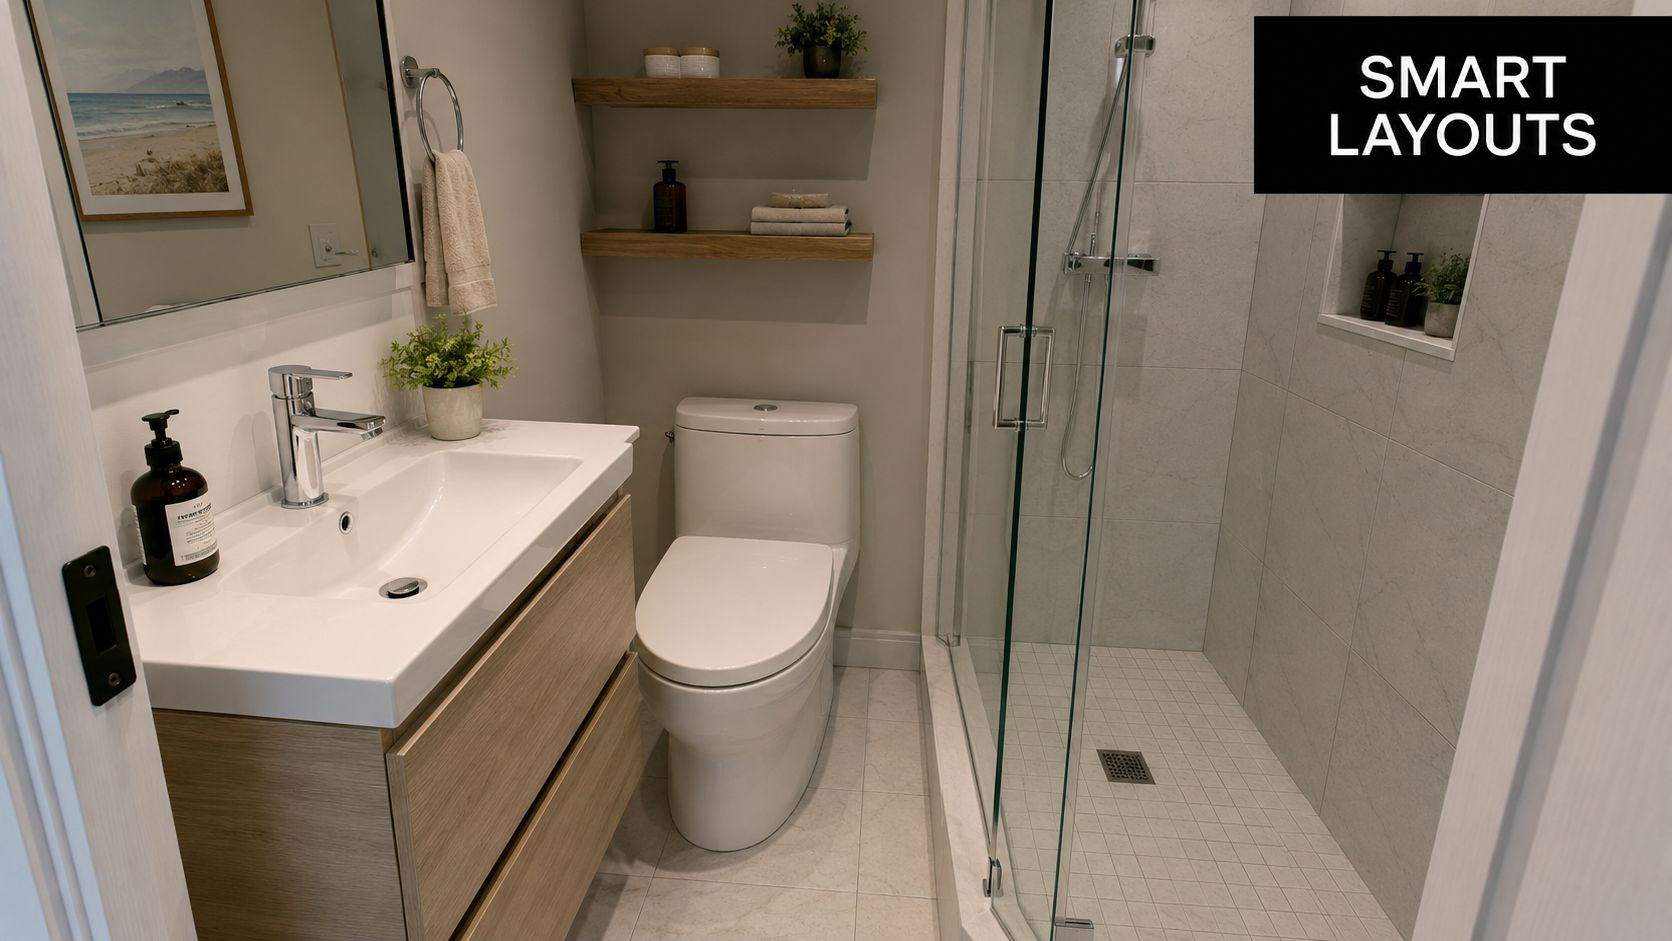
Compact ensuites need visual lightness
In a small ensuite, the mirror should feel integrated, not dominant. Leave a little breathing room on each side of the vanity so the composition doesn't feel squeezed, and check that the mirror doesn't clash with wall-mounted tapware or a medicine cabinet. A larger mirror can work well here because it reflects more light and makes the room feel less enclosed.
If the ensuite has limited daylight, don't rely on the mirror alone for grooming. Backlighting helps with ambience, but the room still needs enough light for shaving or makeup. That's where layout matters more than product style.
Family bathrooms need clear hierarchy
A family bathroom has different demands because multiple people use it in different ways. If you have a double vanity, two separate mirrors usually feel cleaner and more practical than one oversized sheet of glass, especially when children and adults share the space. It also gives each basin its own visual zone.
Powder rooms can go bolder
Powder rooms are where you can make a statement. Oversized mirrors, round shapes, or more sculptural forms work well because the room doesn't need to do the same heavy-duty grooming work as a main bathroom. That gives you more freedom to focus on impact.
For sizing, the rule is to proportion the mirror to the vanity rather than the wall. If the vanity is small, keep the mirror disciplined. If the room is spacious, the mirror can be more dramatic without feeling out of place.
Good placement beats expensive glass. A well-positioned mirror makes an average bathroom feel planned, while a poorly placed one makes even a costly renovation feel off.
If you're combining the mirror with a larger repaint, tile update, or cabinetry change, the overall room layout should be decided before ordering. In renovation work, that order saves money and avoids rework.
Electrical Compliance and Installation Realities in Australia
A backlit mirror looks simple once it is on the wall, but the electrical work behind it is where renovation mistakes show up. In Australia, an illuminated mirror is not just wall décor. Australian electrical safety for LED bathroom mirrors is governed by AS/NZS 3000 wiring rules and state electrical licensing requirements, so any mirror with integral lighting should be installed as a fixed electrical appliance by a licensed electrician rather than treated like a DIY wall accessory source. That is the standard you should insist on.
Bathroom zones change what is allowed and what is sensible, because shock risk rises in damp areas. IP ratings and RCD protection belong in the initial electrical plan, not as afterthoughts. If the mirror is going into a bathroom renovation, the wiring layout needs to be decided before tiles go up, not after. this bathroom downlight guide covers the same sort of rough-in planning that keeps bathroom lighting safe and practical.
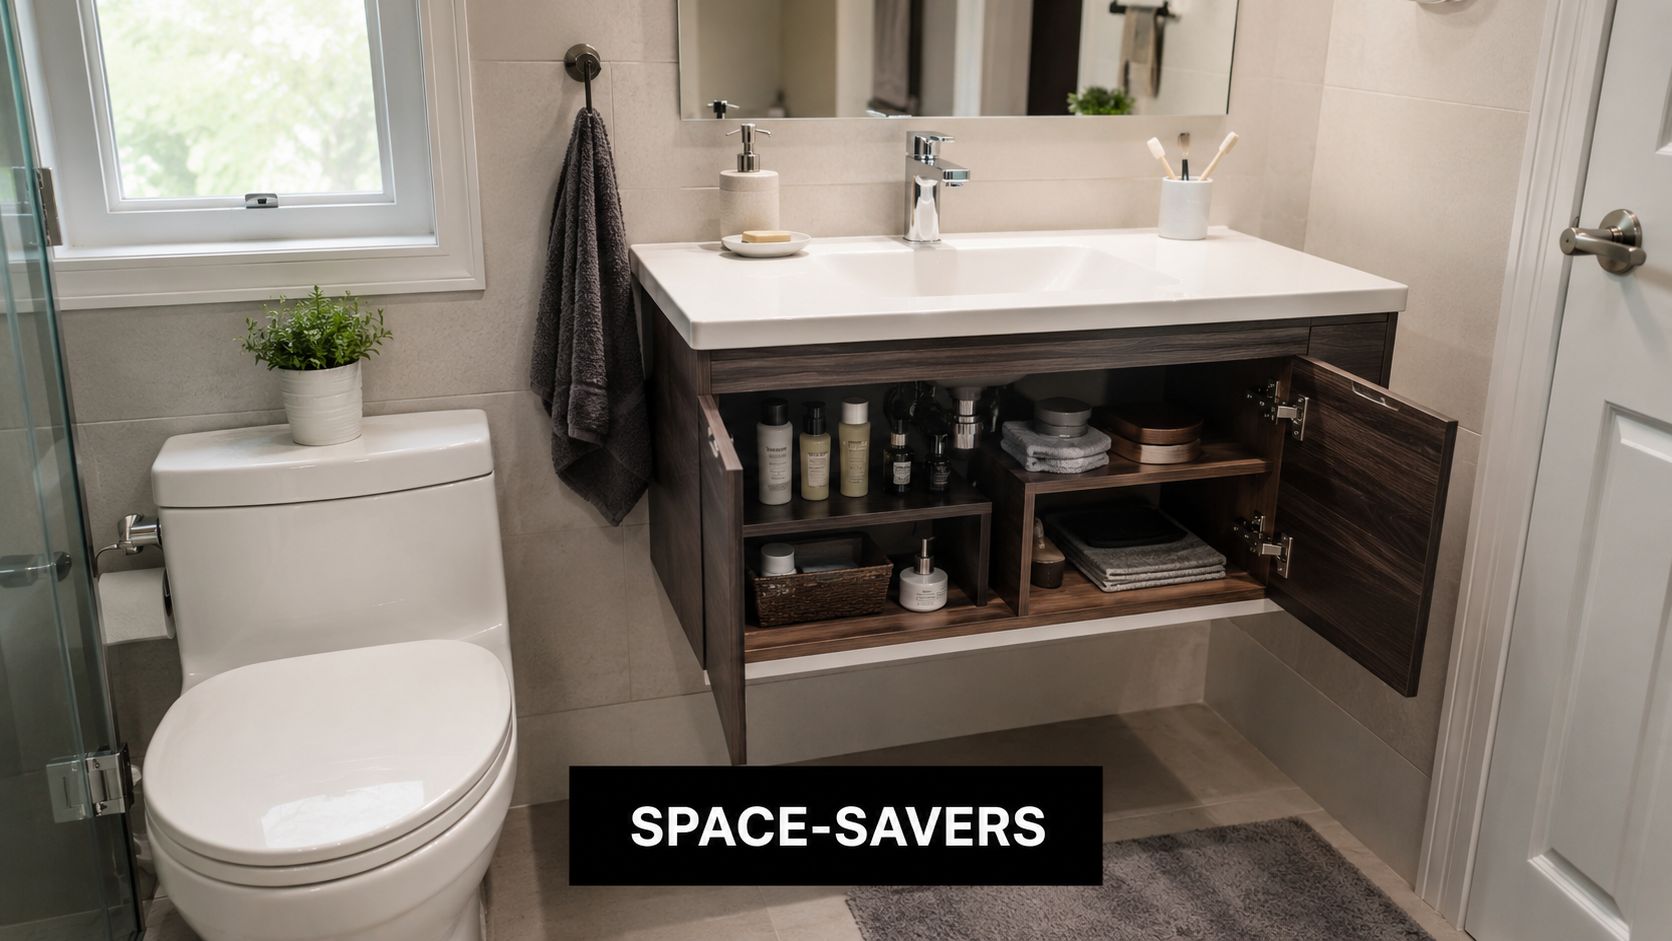
Driver access is the hidden failure point
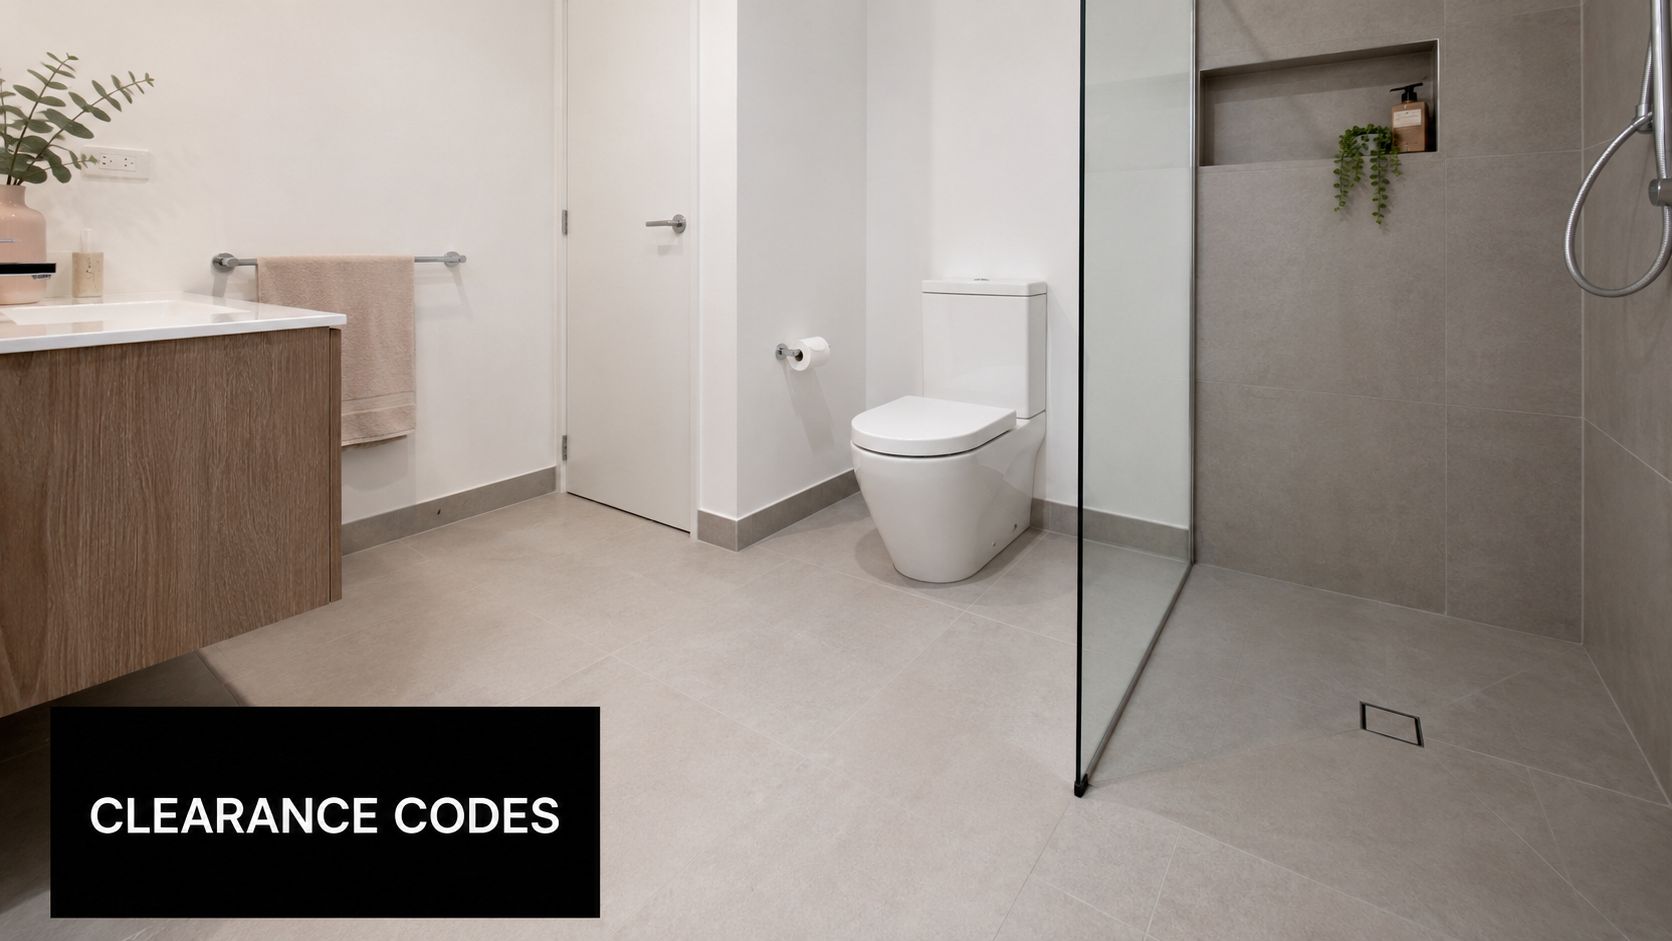
The part most buyers never think about is the driver and junction box. If you do not leave room behind the mirror, servicing becomes a mess later. A hidden driver that cannot be reached can turn a simple fault into a destructive repair.
That is why rough-in planning matters. Leave clearance for the electrical components, allow access where the electrician needs it, and do not assume the mirror will sit flush against any wall without consequences. In compact Victorian bathrooms, wall cavities are often tight, which makes poor planning more expensive than the mirror itself.
Builder registration also matters in Victoria
There is a separate compliance issue for the wider job around the mirror. Under the Victorian Building Regulations, a registered domestic builder with limited registration can carry out domestic building work up to a maximum value of $10,000, while a registered domestic builder with unlimited registration can carry out any domestic building work. That distinction matters once the project stops being a mirror swap and becomes a broader renovation.
If you are coordinating tiling, lighting, waterproofing, and cabinetry together, you need the right builder category and the right electrician working from the same plan. That is how you avoid holes being cut twice, waterproofing being disturbed, or the mirror ending up in the wrong place.
Plan the electrical access first, then order the mirror. That approach keeps maintenance straightforward and stops a cosmetic feature from becoming a costly fault later.
If you want the mirror supplied as part of a broader bathroom renovation, request a quote from SitePro Bathrooms before the rough-in is locked in.
Energy Efficiency and Long-Term Renovation Value
The value of an LED mirror in a renovation is not the purchase price, it is the total cost of ownership over a decade. A well-chosen mirror reduces ongoing electricity use, avoids frequent globe changes, and cuts down on the small maintenance jobs that become annoying in a finished bathroom. For homeowners renovating Victorian properties, that matters because every future access issue costs more once the wall is tiled and painted.
LED lighting uses far less electricity than older incandescent fittings, and the mirror itself can act as a durable fixed feature rather than a short-life decorative item. Independent guidance from Energy.gov explains why LED technology is efficient and long lasting, which is the reason these mirrors make financial sense in a renovation. You pay for a cleaner fit-out once, then avoid the repeat spending that comes with older lighting setups.
Don't oversell the mirror as the only light source
A backlit mirror improves appearance and task lighting, but it should not carry the bathroom on its own. In a dark or windowless room, relying on the mirror alone usually leaves the space feeling uneven, especially around the shower, vanity edges, and general circulation area. The correct approach is to treat it as one part of the lighting plan, not the entire plan.
That is where renovation value becomes practical. A mirror that looks sharp but leaves the room awkward to use is a poor upgrade, especially in a rental or resale context. Buyers and tenants respond to bathrooms that feel complete, easy to use, and properly lit, not just visually clever.
Long-term value also depends on what happens after the project is finished. If the driver is buried where nobody can reach it, or the fitting is installed in a way that makes future servicing difficult, the mirror becomes a maintenance problem instead of an asset. The right installation keeps access sensible, protects the wall finish, and gives you a fixture that still makes sense years after the renovation dust has gone.
How SitePro Bathrooms Delivers Your Complete Bathroom Transformation
The best mirror decision usually happens inside a full renovation plan, not as a standalone purchase. SitePro Bathrooms handles that kind of coordinated work in Highett and across Victoria, from concept development and 3D design through construction and finishing, so the mirror, lighting, cabinetry, and waterproofing are all resolved together. That approach suits homeowners who want their new bathroom ideas turned into a finished room without juggling trades and suppliers.
If you're planning bathroom renovations, the practical path is clear. Work with a team that can align the mirror choice with the wiring plan, confirm the placement before tiling, and keep the whole project compliant from start to finish. SitePro Bathrooms is one option for that kind of coordinated renovation, particularly where the project needs careful design, builder oversight, and a clean handover.
If you're ready to renovate a Victorian bathroom properly, start with a design consultation that treats the mirror, lighting, and electrical layout as one job. Review completed projects, check client feedback, and request a tailored quote so your bathroom upgrade is planned around real compliance, not guesswork.