

Kitchen Waterproofing Requirements for Australian
Most advice on kitchen waterproofing gets the starting point wrong. It either says to treat the room exactly like a bathroom, or to ignore waterproofing because kitchens are not classified the same way. In practice, both extremes miss the point. In Victoria, the key issue is understanding what the National Construction Code requires, then deciding where extra protection makes sense because of the way kitchens are built and used.
That distinction matters because kitchens fail at the joints, around penetrations, and at spill-prone edges, not because every square metre of floor needs the same treatment. A kitchen can be compliant without a full-room membrane, yet still be vulnerable to hidden leaks if the sink zone, dishwasher recess, or threshold detail is handled badly. For homeowners planning kitchen waterproofing requirements into a renovation, the question is never just, “Is it a wet area?” It's also, “Where will water go if something loosens, cracks, or overflows?”
Why the Code Treats Kitchens Differently
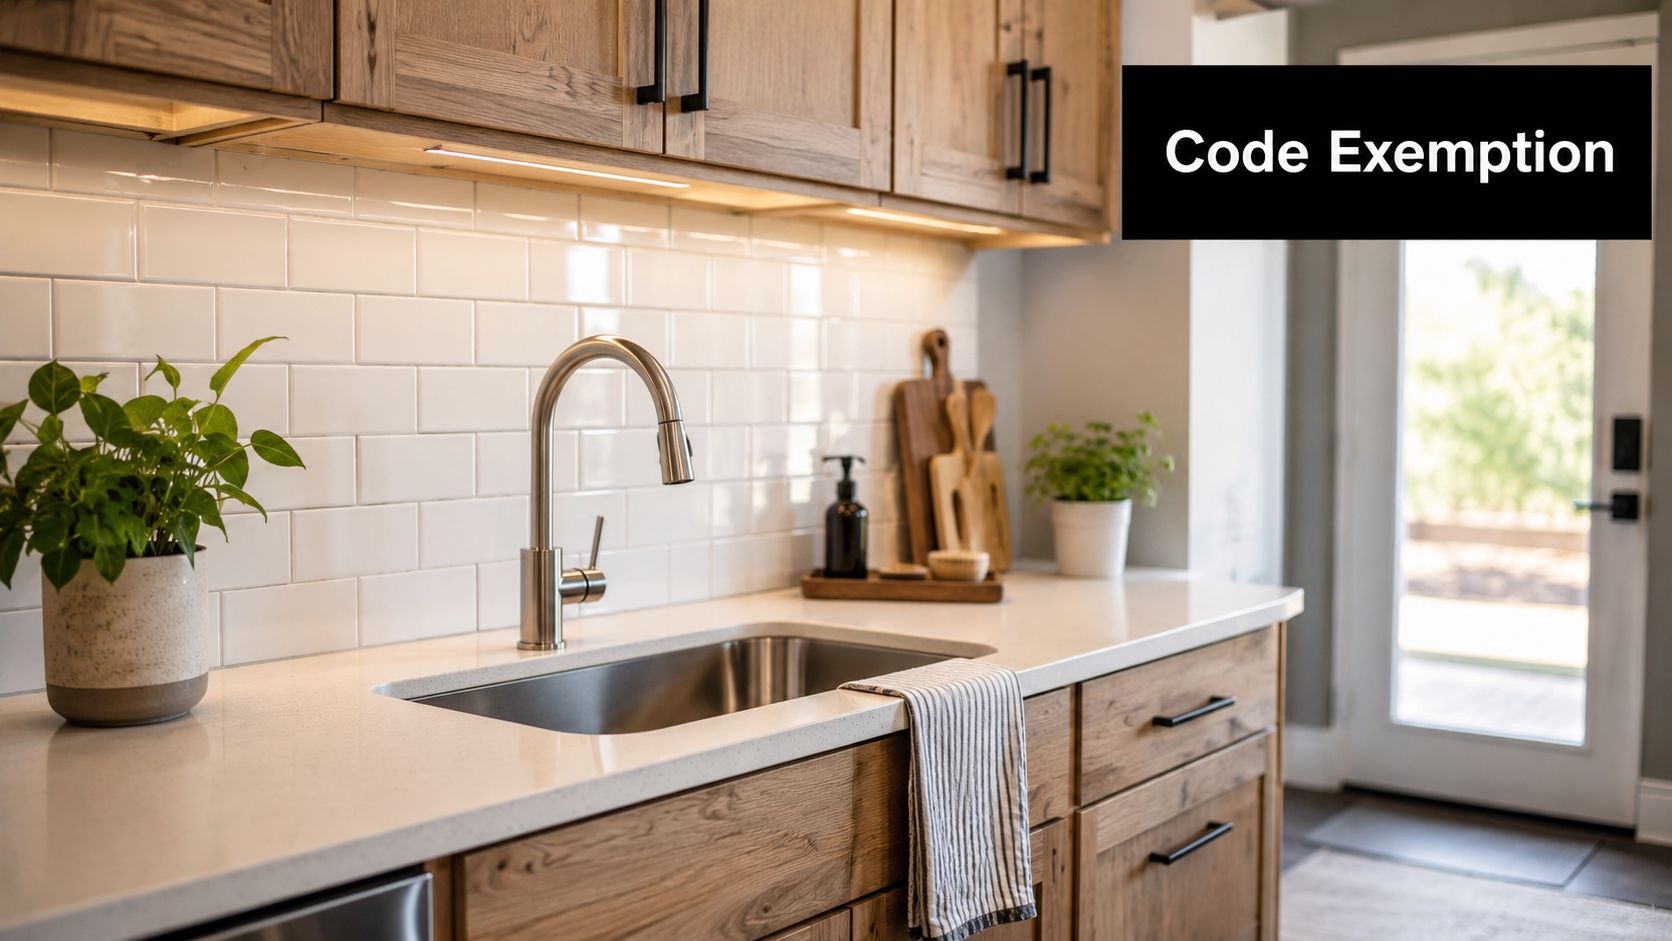
The first thing to get straight is that a kitchen is not automatically treated like a bathroom. The NCC excludes kitchens, bar areas and kitchenettes from the definition of a wet area, so there is no blanket legal requirement to waterproof the whole kitchen floor the way there is for designated wet areas. That point surprises a lot of homeowners, but it's the starting line for any sensible Victorian renovation, not the end of the conversation. The code distinction is set out clearly here.
What that exclusion means in real life
Once you understand the exclusion, the practical picture becomes clearer. A kitchen can meet code without a full-floor membrane, but the sink area, dishwasher zone, splashback junctions and other leak-prone details still need protection. If those parts are skipped, water doesn't disappear, it works its way into cabinetry edges, substrate joints and adjacent framing. That's where the expensive damage usually starts.
Practical rule: treat the room as risk-based, not all-or-nothing. Code minimums and durable renovation practice are not the same thing.
In a typical Highett renovation, for example, the owners might get a kitchen that ticks the permit box yet still ends up with swollen cabinet bases if the sink penetration and perimeter sealing are ignored. That kind of failure doesn't prove the code is wrong. It shows the job was designed to meet the minimum, not to survive everyday use.
How Victorian surveyors tend to read it
Victorian building surveyors generally care about whether the right details are shown, documented and installed where the risk is real. That means the compliance conversation focuses on junctions, transitions and penetrations, not just whether a membrane exists somewhere in the room. For homeowners, that's a useful mindset shift. You're not trying to waterproof “the kitchen” in the abstract. You're trying to protect the parts of the kitchen that can leak.
That distinction also helps when you're comparing bathroom renovations, new bathroom ideas, modern bathrooms and even designer bathrooms with a kitchen scope. Bathrooms usually trigger the wet-area mindset automatically. Kitchens don't. If your builder talks as if they're identical, ask them to show exactly which parts of the kitchen they intend to detail and why.
Australian Standards Every Kitchen Renovation Must Follow
Kitchen waterproofing sits under a hierarchy, and it helps to read it from the top down. The NCC sets the performance target. Standards and product evidence then show how that target is met in practice. If you only look at one document, you'll miss the part that tells you whether a membrane, primer or substrate detail is acceptable in housing.
The documents don't do the same job
The NCC wet-area provisions tell you what the finished result must achieve. For housing, waterproofing products must comply with AS/NZS 4858, and the relevant building surveyor must be given evidence of suitability before installation. That means paperwork matters, not just workmanship. A membrane that looks right on the wall but lacks the right product evidence is a compliance problem waiting to surface later.
For a homeowner, the simplest question to ask is this, what exact system is being installed, and what evidence will the surveyor see? That should include the membrane specification, the substrate prep method, and the installer's documented process. If a contractor can't answer that cleanly, the quote is incomplete.
What a good specification should show
A proper renovation file usually needs more than a product name. It should show:
- Product compliance: the membrane or waterproofing product complies with AS/NZS 4858.
- Suitability evidence: the building surveyor can review documentation before installation.
- Installation detail: substrate prep, junction treatment and penetrations are described clearly.
- Responsibility: the builder or applicator states who is carrying out the waterproofing work and certifying it.
A spec that looks “good enough” on paper often becomes a problem after the cabinets go in. By then, fixing a missed detail is slower, messier and more expensive than doing it properly at the start.
If you want a deeper technical overview of the standards pathway, the best next read is this guide to waterproofing standards in Australia. It's useful because it separates the code layer from the product layer, which is exactly how the job gets judged in practical application.
The practical takeaway is simple. Specification quality matters as much as application quality. In kitchens, sloppy documentation and sloppy workmanship usually show up together.
Where Waterproofing Actually Matters in a Kitchen
Water does not fail a kitchen evenly. It usually starts at one of a few predictable points, then travels into places you can't see. That's why the best kitchen waterproofing requirements checklist is built around risk zones, not room size. The sink, dishwasher, tap penetrations, threshold and splashback joints all deserve different treatment.
The high-risk points
The wall behind a sink or countertop area is one of the clearest code-driven zones. Where that wall sits immediately adjacent to or behind the sink or counter, waterproofing must extend to at least 1,100 mm above finished floor level or 300 mm above the countertop, whichever is higher. That's not decorative detail, it's a containment measure for the place where splashes and leaks happen most often. The NCC wording is here.
The floor also matters. The kitchen floor is expected to be water resistant, which is different from saying the whole room needs the same membrane treatment as a bathroom. In open-plan homes, that becomes more important because a spill can move fast across a threshold into timber, hybrid or other finished flooring.
See the practical difference between a splashback and the wall protection behind it, because the two are not interchangeable. A splashback manages visible splashes. Waterproofing manages what gets past them.
What fails first
Most kitchen leaks begin with a weak joint, aged sealant or movement around a penetration. That includes tap outlets, dishwasher connections, kickboard junctions and the seam where the bench meets the wall. Once a micro-gap opens, capillary action can move moisture into places no one inspects daily. The result is often slow damage, not sudden flooding.
Australian wet-area guidance also points to a 150 mm upturn onto adjoining dry surfaces, plus a floor-level drop or concrete kerb where wet and dry zones need separation. Those details may sound bathroom-centric, but the principle carries over neatly to kitchen edges where spill migration is a real concern.
For open-plan kitchens, the threshold detail becomes critical. If the kitchen flows into a living area, the transition is doing more than looking neat. It's deciding whether a mop spill, dishwasher leak or sink overflow stays local or travels into the next room. That's the kind of detail that separates a smart renovation from a patch-up job.
Comparing Membrane Systems for Kitchen Applications
The right membrane is not the one with the flashiest brochure. It's the one that suits the substrate, the expected movement, the finish schedule and the way the kitchen is used. In Victorian renovations, the three systems that come up most often are sheet membranes, liquid-applied membranes and polyurethane systems. Each one has trade-offs.
How the common systems differ
| System | Durability | Cure Time | Substrate Compatibility | Approx Cost per m² |
|---|---|---|---|---|
| Sheet membrane | Good when installed cleanly and fully bonded | Usually quicker to tile over once fixed, depending on the system | Best on stable, well-prepared substrates | Varies by system and labour |
| Liquid membrane | Good for detailed junction work when applied correctly | Depends on coats and drying conditions | Flexible across many internal substrates | Varies by system and labour |
| Polyurethane system | Strong choice where movement is expected | Depends on product chemistry and site conditions | Often suited to demanding junctions | Varies by system and labour |
The table is only useful if it leads to a better question at quoting stage. Ask what the system is designed to do, not just what it's called. A membrane that handles movement well may still be a poor fit if the substrate is dusty, the primer is wrong, or the cure time doesn't fit the build sequence.
What usually drives the choice
Liquid-applied membranes are common because they handle detailed corners and irregular surfaces well. Sheet membranes are often chosen where the substrate is predictable and the builder wants a controlled factory-made product. Polyurethane systems come into the conversation when movement and durability matter more than convenience. That's why the “best” system depends on the kitchen, not on habit.
If a product data sheet is vague about substrate prep, primer compatibility or cure conditions, treat that as a warning sign. The fail point is often not the membrane itself, it's the way it bonds to what's underneath.
In a kitchen, tile adhesive compatibility matters too. Some finishes and primers need to be matched carefully, otherwise you've built a good membrane on top of a weak bond. That's why a contractor who reads the technical sheet properly is worth more than one who just repeats a brand name.
The decision is not “sheet or liquid”. It's whether the system is compatible with the substrate, the junction detail and the project schedule.
Construction Sequencing and Trade Coordination
A membrane can be perfect and still fail if it's installed at the wrong time. Kitchen waterproofing belongs in a very specific window of the renovation, after the messy substrate work is done and before the finish trades lock everything in. If the sequence is wrong, the project ends up paying for delays, rework or both.
The usual order on a proper kitchen job
- Substrate preparation and screeding
- Plumbing rough-in
- Electrical rough-in
- Plastering and rendering
- Substrate priming
- Membrane application with upturns and bond-breaker installation
- Cure period
- Water testing
- Tiling and cabinetry installation
That sequence is the backbone of a clean result. Waterproofing comes after plastering but before tiling, because the membrane needs a prepared, stable surface and the finish trades need to build over a verified layer. Cabinetry shouldn't go in until the membrane has cured and passed inspection, because if a defect is hidden behind joinery, fixing it becomes a tear-out job.
The guidance also points to waterproofing extending at least 150 mm onto adjoining dry surfaces, plus a floor-level drop or concrete kerb to separate wet and dry zones where relevant. Those details need to be planned before the tiler starts, not improvised at the end.
Why sequencing gets messy in open-plan jobs
The trouble starts when the kitchen is not the only wet-adjacent space. A butler's pantry, integrated laundry or nearby sink run changes the trade order, because each area can affect the other's membrane lines and set-out. If the designer, plumber and cabinetmaker are not talking early, the build can stall while everyone waits on a detail that should have been resolved on day one.
A templated cabinet is not a substitute for a finished waterproofing stage. If the membrane hasn't been tested, the cabinetmaker is effectively guessing.
That happened on a Bayside renovation where the cabinetry was templated before the membrane had been tested. The result wasn't a disaster, but it did force the owners to delay installation by a week. That week was avoidable. Better sequencing would have saved the schedule and the stress.
The cleanest projects are the ones where the waterproofing stage is treated as a hard gate, not a soft preference.
Inspection, Testing and Compliance Documentation
Inspection is where good intentions become proof. A membrane nobody checks is just another hidden layer under tiles and cabinets. In Victoria, the builder or applicator should be able to show that the work was done against the right standard, with the right product evidence, and in a sequence that supports verification before finishes cover it up.
What gets checked
The practical inspection focus is straightforward. The surveyor or inspector wants to see the membrane at the right places, the correct junction treatment, and clear evidence that the product used is fit for housing. The documentation should also show who installed it and under what approved details. AS/NZS 4858 compliance evidence becomes more than paperwork.
Industry guidance commonly uses measurable checks too. A 24-hour closed-water test is used in some kitchen applications, while broader waterproofing checks may include a 48-hour flood test to verify membrane integrity. Those tests matter because they turn a hidden layer into something you can verify before tiling covers it permanently. The testing guidance appears here/lesson-1.pdf?sfvrsn=fc5ebe19_1).
What should be handed over
At the end of the waterproofing stage, the project file should contain:
- Product data sheets for the membrane system used.
- Evidence of AS/NZS 4858 compliance.
- Applicator details showing who did the work.
- A signed installation certificate or equivalent sign-off.
- Inspection photos taken before tiling hides the membrane.
Those documents are not busywork. They protect the owner if a defect appears later, and they make it easier to prove that the work was done properly if the job is ever questioned. They also force the builder to be specific, which cuts down on vague “it should be fine” conversations.
If a surveyor flags a detail, deal with it before tiling. Most issues are still fixable at that point. Once the room is finished, the same correction becomes slower, dearer and much harder to do neatly.
Hiring the Right Contractor for Kitchen Waterproofing
The contractor choice often decides the result before a membrane is even mixed. In a high-risk kitchen job, the difference between a registered builder, a specialist waterproofing contractor and an unregistered renovator is not just paperwork. It affects accountability, insurance and how the defect path works if something goes wrong later.
What to look for
Because wet-area compliance is an active regulatory issue, you want someone who treats waterproofing as a controlled trade, not a side task. State regulators have issued bulletins aimed at lifting wet-area compliance, which tells you the compliance environment is active, not relaxed. That regulatory context is outlined here.
A good contractor should be able to answer three questions quickly.
- Are you registered for the work you're quoting?
- Which membrane system will you use, and does it comply with AS/NZS 4858?
- Will you provide written installation evidence at handover?
If the job touches structural changes, larger layout shifts or permit-sensitive scope, registered builders unlimited are the safer category to involve. For narrower waterproofing work, the key is still competence and documented accountability, not just a low price.
This contractor selection guide is a useful checklist for homeowners who want to sanity-check the quote process before committing. It's especially helpful when the bathroom and kitchen trades are being coordinated under one renovation plan.
The cheapest quote is usually the one that leaves the most questions unanswered.
Watch for red flags. No written product name, no proof of compliance, no clear sequence, and no mention of testing are all signs the trade is guessing. That's not a risk worth taking in a kitchen, because hidden moisture damage is expensive to uncover after the cabinets are in.
Pulling It All Together in a Real Renovation
A family in Highett plans an open-plan kitchen with a butler's pantry and timber flooring running into the living area. The designer marks the sink wall, the cabinetmaker sets the layout, and the builder maps the waterproofing line early, not after tiling starts. That early call changes the whole job.
The kitchen floor is detailed as water resistant, the sink wall gets the required protection, and the threshold to the adjoining space is treated as a spill-control point rather than an afterthought. The builder sequences the membrane after plastering, waits for cure and testing, then releases cabinetry only once the inspection file is complete.
That's the code-versus-risk model in practice. The NCC sets the minimum, and the renovation details protect the parts that matter most. If you're planning a kitchen upgrade in Victoria, take a printout of the scope, ask for the membrane spec, ask for testing and ask who signs off. Then choose the contractor who can answer without hedging.
If you're planning a kitchen renovation in Highett or greater Victoria, speak with SitePro Bathrooms about a coordinated design-and-build approach that includes the waterproofing details, permit documentation and sequencing your project needs. Bring your plans, ask for the membrane specification upfront, and make sure the team can show you exactly how they'll protect the sink zone, threshold and cabinetry before construction starts.