8 Bathroom Layout with Walk in Shower Ideas
You're standing in a cramped bathroom, wondering whether removing the bath would finally make the room work. The shower feels boxed in, the vanity interrupts the doorway, and the walk-in showers you've saved online seem to belong in much larger homes.
Start with the space you have, not the fittings you'd like to buy. A bathroom layout with walk in shower needs to work around the room's footprint, existing plumbing wall, household routines and tolerance for wet floors. An open shower might improve access, but it won't automatically provide enough room to dry off, reach a towel or help a child wash.
For Highett and Victorian homeowners, the useful distinction is between a layout that looks open and one that functions well. Keeping plumbing close to its existing position deserves consideration when controlling scope. Moving it may still be worthwhile if that change resolves an awkward entrance or makes the bathroom usable as mobility needs change.
Before comparing finishes, mark these essentials on a measured plan:
- Movement: Trace the route from the doorway to the basin, toilet and shower.
- Water: Identify where spray could reach beyond the shower.
- Structure: Ask what's possible beneath the existing floor.
- Daily use: Allow for towels, toiletries, cleaning and assistance.
The following layouts offer different ways to balance those priorities without treating every bathroom as an empty shell.
1. Curbless Wetroom Walk-In Shower
A curbless shower creates a continuous floor without a raised hob at the entrance. In a full wetroom, the waterproofing design extends across the room, while carefully formed falls direct water towards the waste. A flush-looking floor still needs deliberate drainage gradients.
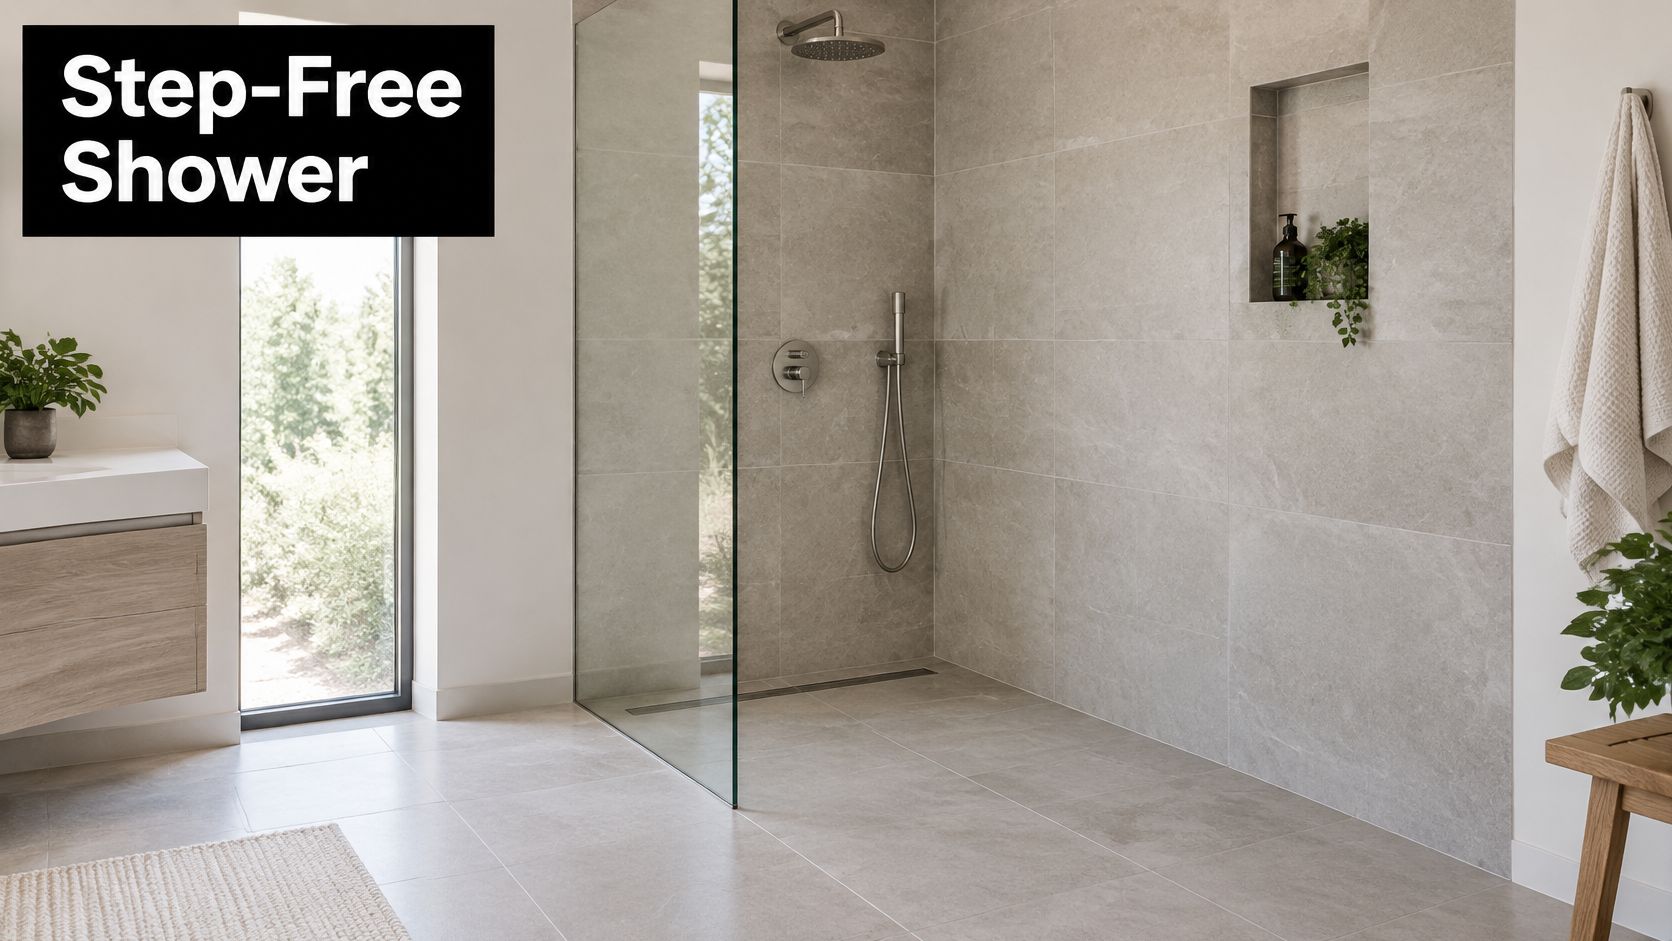
Consider an apartment ensuite where removing the bath could free up the entrance. A wetroom arrangement may suit the footprint, but the builder must investigate the slab, drainage position and permissible floor build-up before promising a level threshold. In an upper-level timber bathroom, the same proposal needs a different structural assessment.
Resolve the floor before the finishes
Choose the drainage position alongside the tile format and floor construction. A back-wall linear drain may suit a simple fall arrangement, while a central waste requires a different tiling set-out. Neither should be selected purely because it looks better in a photograph.
For unenclosed showers, NCC 2022 Housing Provisions clause 10.2.18 requires a waterstop at least 1500 mm horizontally from the shower rose, which is a waterproofing requirement, not a minimum shower dimension. Have the designer confirm the applicable Victorian compliance pathway.
- Floor finish: Specify documented slip resistance appropriate to the intended wet-area use.
- Containment: Test the screen position and spray direction in the proposed 3D layout.
- Scope: Compare a full wetroom with a more contained shower using this explanation of wet rooms versus walk-in showers.
Practical rule: A room can be waterproofed without being pleasant to use when everything gets wet. Protect the toilet, towels and main circulation route from everyday spray.
2. Corner Walk-In with Frameless Glass Return Panel
Use the corner when the centre of the room needs to remain available for movement. A fixed glass panel and short return can define the shower without visually closing off the vanity or toilet beside it.
For an established Victorian home with a narrow bathroom, removing a bath may allow the shower to occupy the far corner. That's a useful design scenario, not a guarantee that the existing bath footprint will accommodate an effective open shower. The entry, screen and shower rose need to be drawn together.
A return panel can interrupt escaping spray, but it also takes space away from the opening. Extending the glass until the shower looks contained can leave an entrance that's awkward to turn through.
Set out the glass around use
Ask the screen supplier to confirm the safety glazing specification and applicable installation requirements. Resolve fixings with the builder and waterproofer before tiling, particularly where the proposed installation affects waterproofed surfaces.
- Protect adjacent fixtures: Position the panel to shield the vanity and toilet rather than aligning it with an existing grout joint.
- Preserve access: Test entry while carrying towels or assisting someone, not only while standing still on the plan.
- Plan maintenance: Consider a water-repellent coating, but keep the glass accessible for routine cleaning.
- Coordinate the finish: Align glass edges, tile joints and fittings where practical without compromising containment.
The distinction between fixed panels, returns and doors matters more than the label “frameless”. Review the proposed frameless shower screen arrangement as a complete assembly.
This layout suits bathroom renovations where the corner location resolves circulation. It's less convincing when the only available entry faces directly towards the shower spray.
3. Walk-In Shower Beside a Freestanding Bath
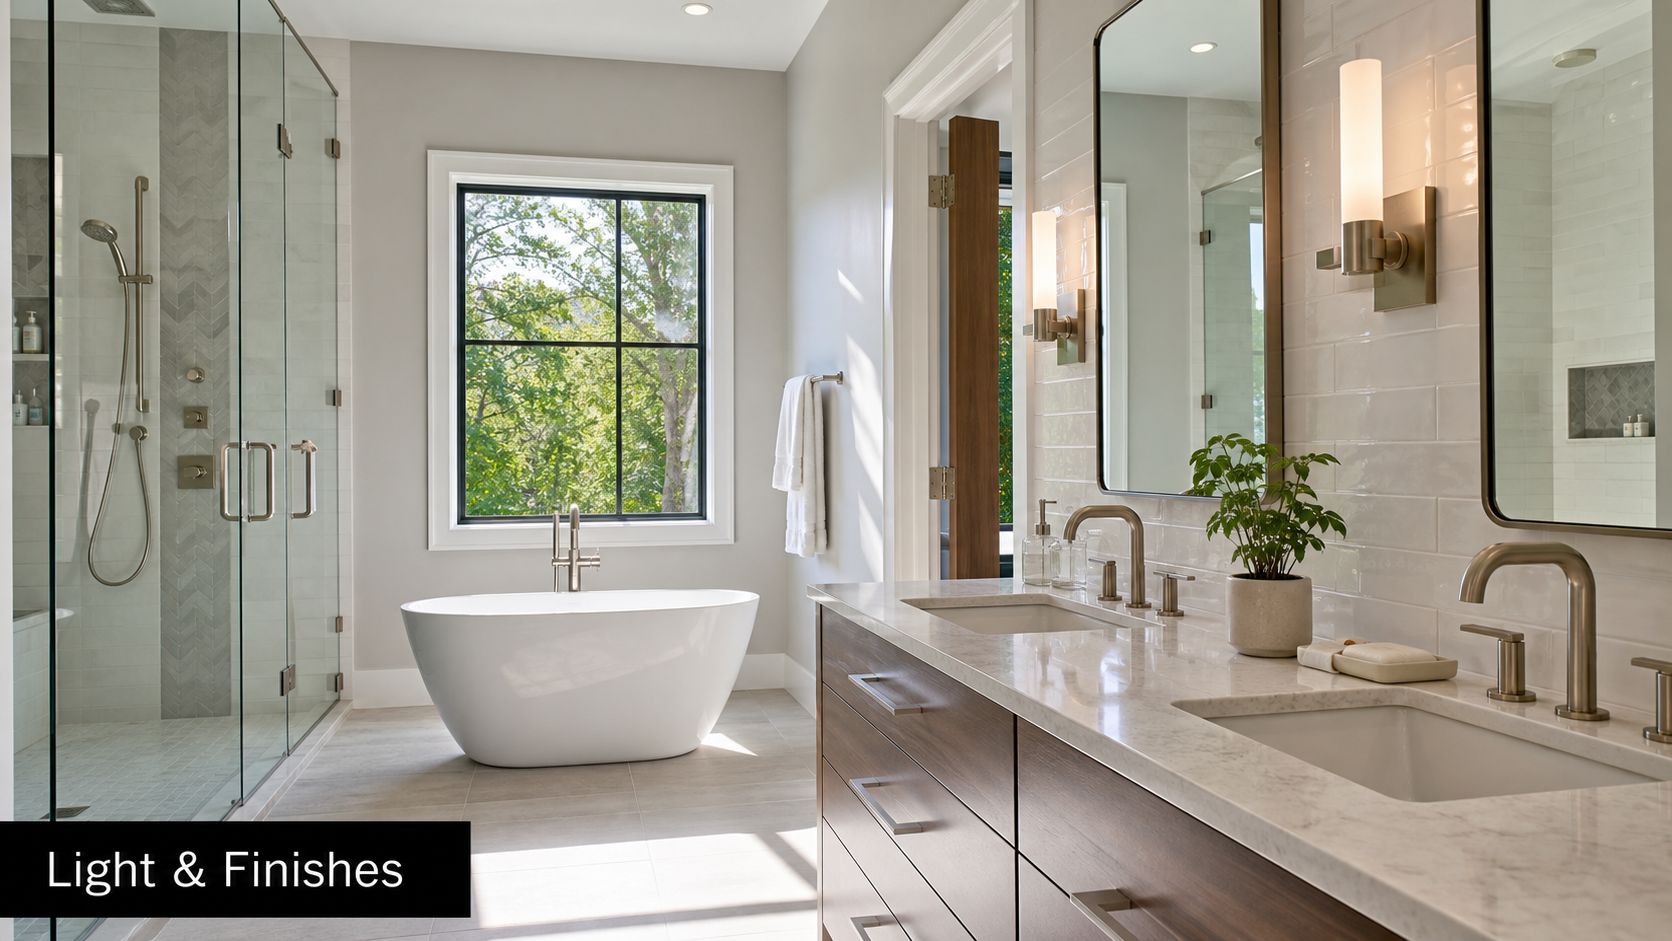
Keeping a bath and adding a walk-in shower can work beautifully, provided the room accommodates both fixtures and the space around them. The mistake is fitting the products into the drawing while leaving nowhere comfortable to stand, dry off or clean.
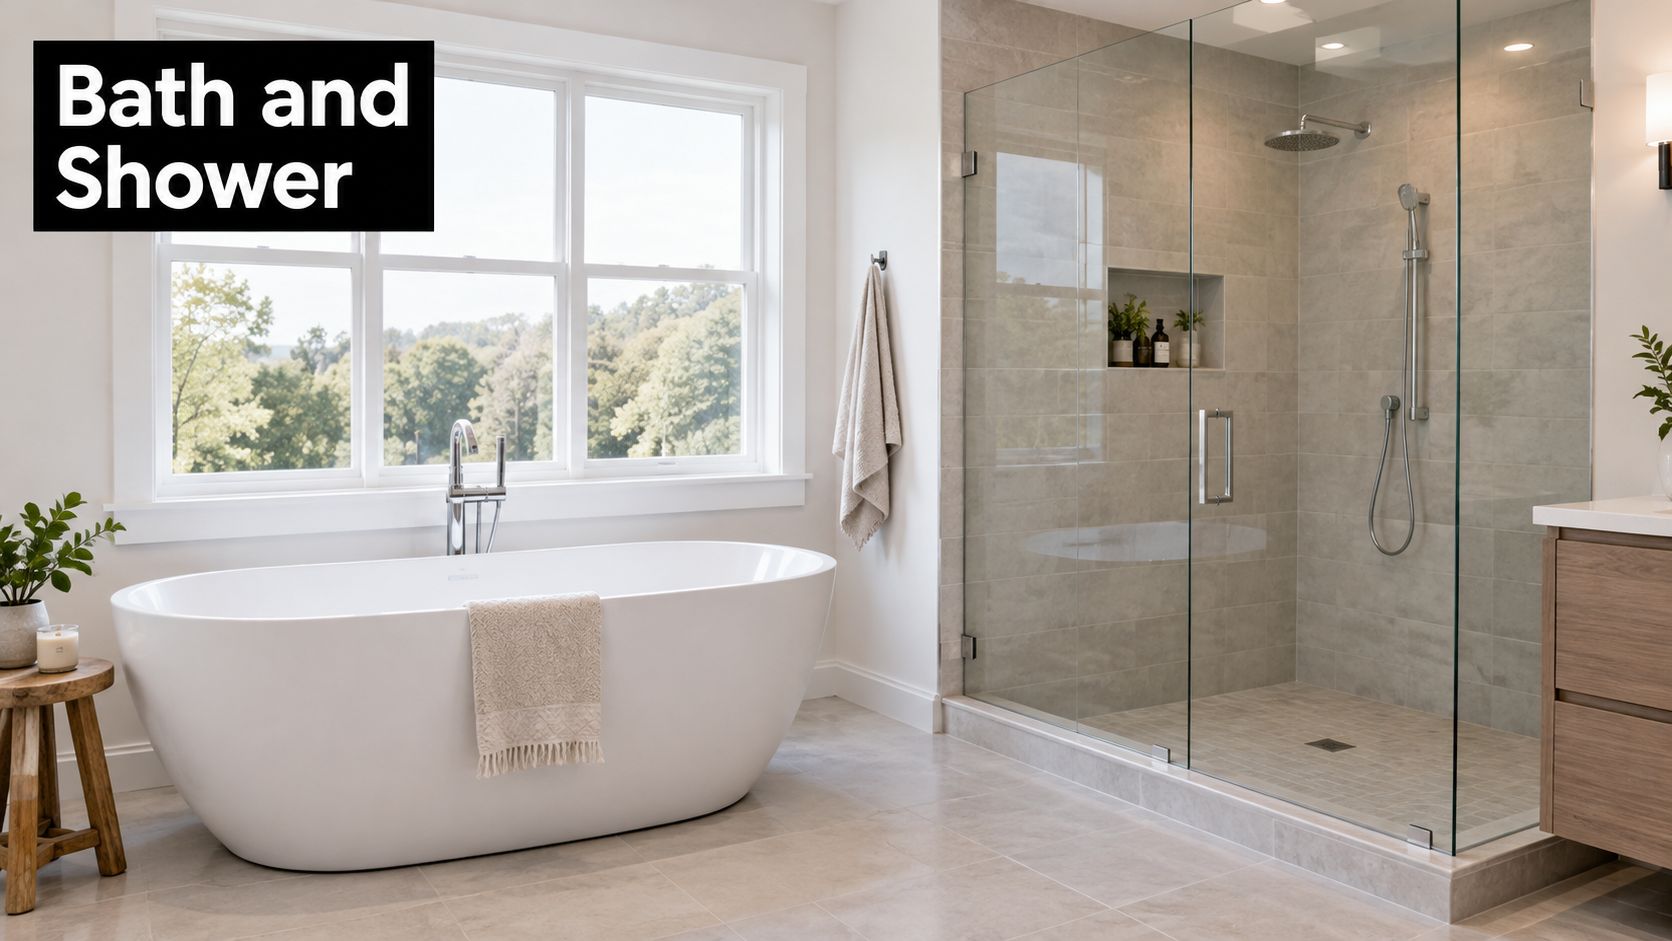
In a larger family bathroom, a bath beneath the window and a shower against an internal wall can create distinct bathing zones. In a tighter room, placing them side by side may produce narrow gaps that are difficult to wipe and awkward to reach behind.
Give each fixture a usable approach
Start with how the household bathes. If children use the bath, allow an adult to assist without kneeling in the shower entrance. If the bath is primarily for occasional soaking, don't let it compromise the shower used every morning.
- Check the structure: Have the proposed bath, filled load and support arrangement assessed where floor capacity is uncertain.
- Keep storage close: Provide a reachable towel position and somewhere for bath products without relying on the window sill.
- Separate spray: Position the showerhead and screen so showering doesn't routinely wet the bath's surrounding access area.
- Test cleaning access: Use the 3D model to inspect the spaces behind and between fixtures, not just the main view.
The trade-off is floor area, not merely purchase price. Designer bathrooms can include a generous bath and shower, but squeezing both into a constrained footprint may deliver a worse daily experience than a well-planned shower alone.
If the bath only fits by narrowing the route to the toilet, reconsider its size, position or inclusion before committing to plumbing changes.
4. Double Walk-In Shower for Shared Ensuites
A double shower makes sense when people use the ensuite at the same time. If the household gets ready on different schedules, a better single shower and more storage may be the stronger choice.
For a couple planning a larger principal ensuite, side-by-side shower positions can avoid competing for the same spray area. However, the design must account for users entering, reaching controls and accessing toiletries without crossing each other's space. A wide enclosure isn't enough by itself.
Coordinate water supply and drainage
Ask the plumber to assess the proposed outlets, simultaneous demand and hot-water arrangement before selecting the fittings. Provide separate controls where users want independent adjustment, and locate them where they're reachable without stepping through cold spray.
The drainage design must address the combined operating arrangement. Coordinate outlet positions, floor falls and the waste rather than assuming a larger drain solves every issue.
- Shared storage: Use a central niche only if each user can reach it comfortably.
- Screen geometry: A continuous screen may simplify sightlines, but access and cleaning still need testing.
- Future flexibility: Consider whether the space would remain useful for seated showering or assistance.
Bigger and more open isn't automatically more sustainable. Specify the water use of the fittings, not just their appearance.
Victorian research covering 207,129 shower events across 105 households found that efficient showerheads limited to 6.3 L/min could reduce shower-related greenhouse-gas emissions by 20% in summer and 22% in winter, according to the Victorian shower water and energy research abstract.
A rainhead's shape alone doesn't establish consumption. Compare rated flow, intended simultaneous use and household habits before choosing an elaborate outlet package.
5. Walk-In Shower with Built-In Bench and Recessed Niches
A seat and recessed storage can make a shower easier to use, but they must be designed around the person rather than added as decorative features. A bench that consumes the transfer space can undermine the accessibility it was meant to provide.
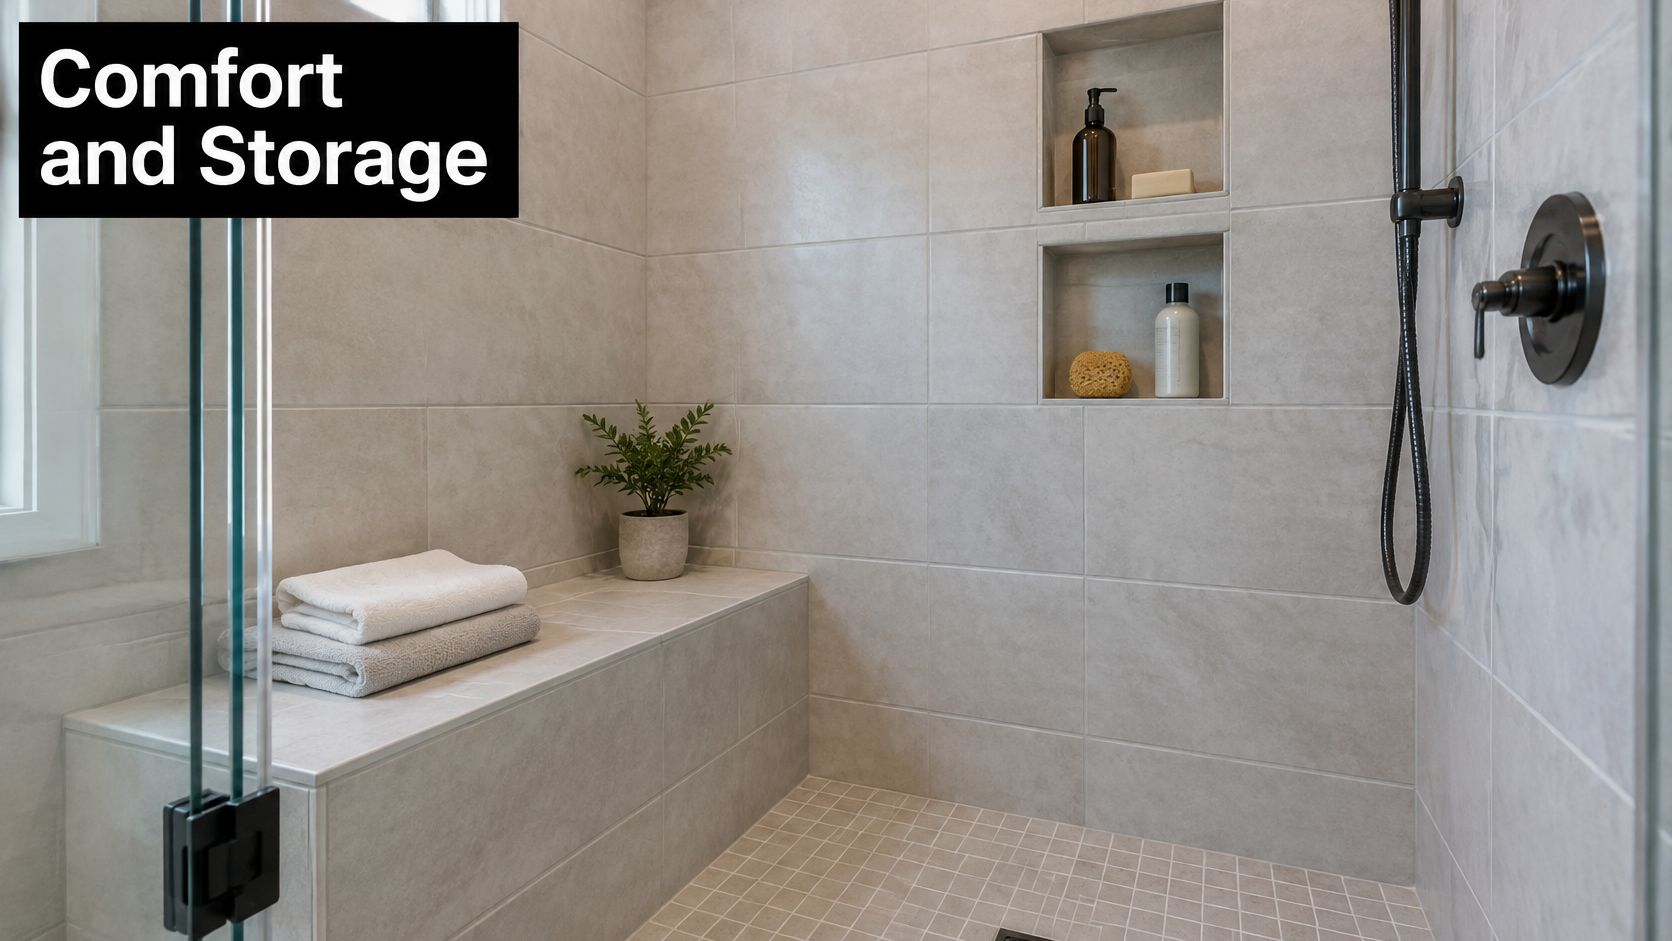
For an older homeowner replacing a step-in bath, compare a tiled bench with a fold-down seat. The built-in option offers a permanent surface but occupies floor area continuously. A fold-down seat may preserve more flexibility, subject to suitable support and user needs.
Australian evidence supports taking wet-area access seriously: approximately 8,560 hospitalised falls among people aged 65 and over occurred in bathrooms in 2019–20, as reported by the Australian Institute of Health and Welfare. That doesn't prove a walk-in shower prevents falls, so lighting, surfaces, balance and assistance still matter.
Design from the seated position
Set seat height, controls and storage around the intended user, with occupational therapy input where appropriate. Check whether someone can operate the shower and retrieve toiletries without twisting or leaning beyond a stable reach.
- Structural support: Install suitable reinforcement for planned seats and rails before closing the walls.
- Waterproofing: Detail niche openings and bench junctions before tiling.
- Storage placement: Keep essentials reachable and avoid unnecessary direct spray into niches.
For projects using accessibility benchmarks, Western Australian guidance referencing AS 1428.1:2009 specifies a shower-hose wall outlet at 700 ± 5 mm above finished floor level and a minimum hose length of 1500 mm. Treat those details as part of a coordinated accessible design, not a substitute for assessing the whole bathroom.
6. Walk-In Shower in a Compact Ensuite with Pivot or Sliding Door
Sometimes the most practical walk-in-style shower has a door. Strictly speaking, that makes it an enclosed shower rather than a doorless walk-in, but retaining a low or level entrance can still support the intended layout.
For a compact apartment ensuite, a sliding screen may contain spray while avoiding an outward door sweep beside the vanity. A pivot door can also work, but it still needs operating clearance. Don't assume “pivot” means “no swing space”.
The bathroom entry door needs separate attention. An outward-opening or sliding bathroom door may resolve a conflict, although the surrounding hallway, wall construction and privacy requirements must also be considered.
Compare the complete operating footprint
Mark the shower door's travel, the bathroom door's travel and the vanity drawers on the same plan. Then check the standing space that remains when someone is using them.
- Sliding hardware: Compare cleaning access, replacement parts and servicing requirements, not just the showroom action.
- Vanity position: Keep handles and corners outside the shower-door path.
- Visual treatment: Clear glass and restrained finishes can keep the view open, but they don't create physical clearance.
- Adaptability: Consider whether the screen could be removed or changed without relocating plumbing.
For future mobility planning, Victorian accessibility guidance describes an adaptable circulation area of 1.2 m by 1.2 m and, in some designs, an 850 mm clear opening. The same guidance explains that Livable Housing Design Standards became mandatory for relevant Victorian new homes and apartments from 1 May 2024.
Existing renovations need scope-specific advice. Don't assume every compact bathroom must meet new-home provisions, or that a hobless threshold alone makes it accessible.
7. Walk-In Shower Opposite the Vanity in a Galley Bathroom
Long, narrow bathrooms need a clear route more than they need oversized fittings. Placing the shower along one wall and the vanity opposite can work, provided their projections don't consume the central passage.
Consider a terrace bathroom with an entry at the narrow end. A shower towards the rear may help keep wet activity away from the doorway, while a restrained vanity preserves movement through the room. If the toilet also occupies that passage, its approach needs checking before the shower width is finalised.
Measure the finished room
Draw finished wall faces, screens, handles and cabinetry rather than relying on rough framing dimensions. Check whether someone can use the basin while another person passes, and whether cleaning equipment can reach beside the fixtures.
- Contain the entry: Use a fixed panel where it protects the walkway without creating a tight turn.
- Coordinate drainage: Select the waste position around the floor construction and tile falls, not the room elongated appearance alone.
- Reduce projections: Consider a shallower basin or wall-hung vanity where it improves usable space.
- Check ventilation: Don't let the rear shower become an overlooked pocket in the ventilation plan.
Budget priority: Spend on correcting an awkward circulation route before adding premium finishes to a layout that still feels cramped.
Relocating the shower waste or water services requires trade coordination. In Victoria, registered or licensed plumbers must provide a compliance certificate for plumbing work valued above $750, with specified gasfitting and below-ground sewer-drain work requiring one regardless of value.
For an investment property, favour a layout that tenants can use and clean comfortably rather than fitting the largest possible collection of fixtures.
8. Walk-In Shower with Feature Wall and Natural Light
A window, skylight or feature wall can make the shower the room's focal point. The strongest modern bathrooms use those elements to support a workable layout, rather than forcing the plumbing and screen into awkward positions for symmetry.
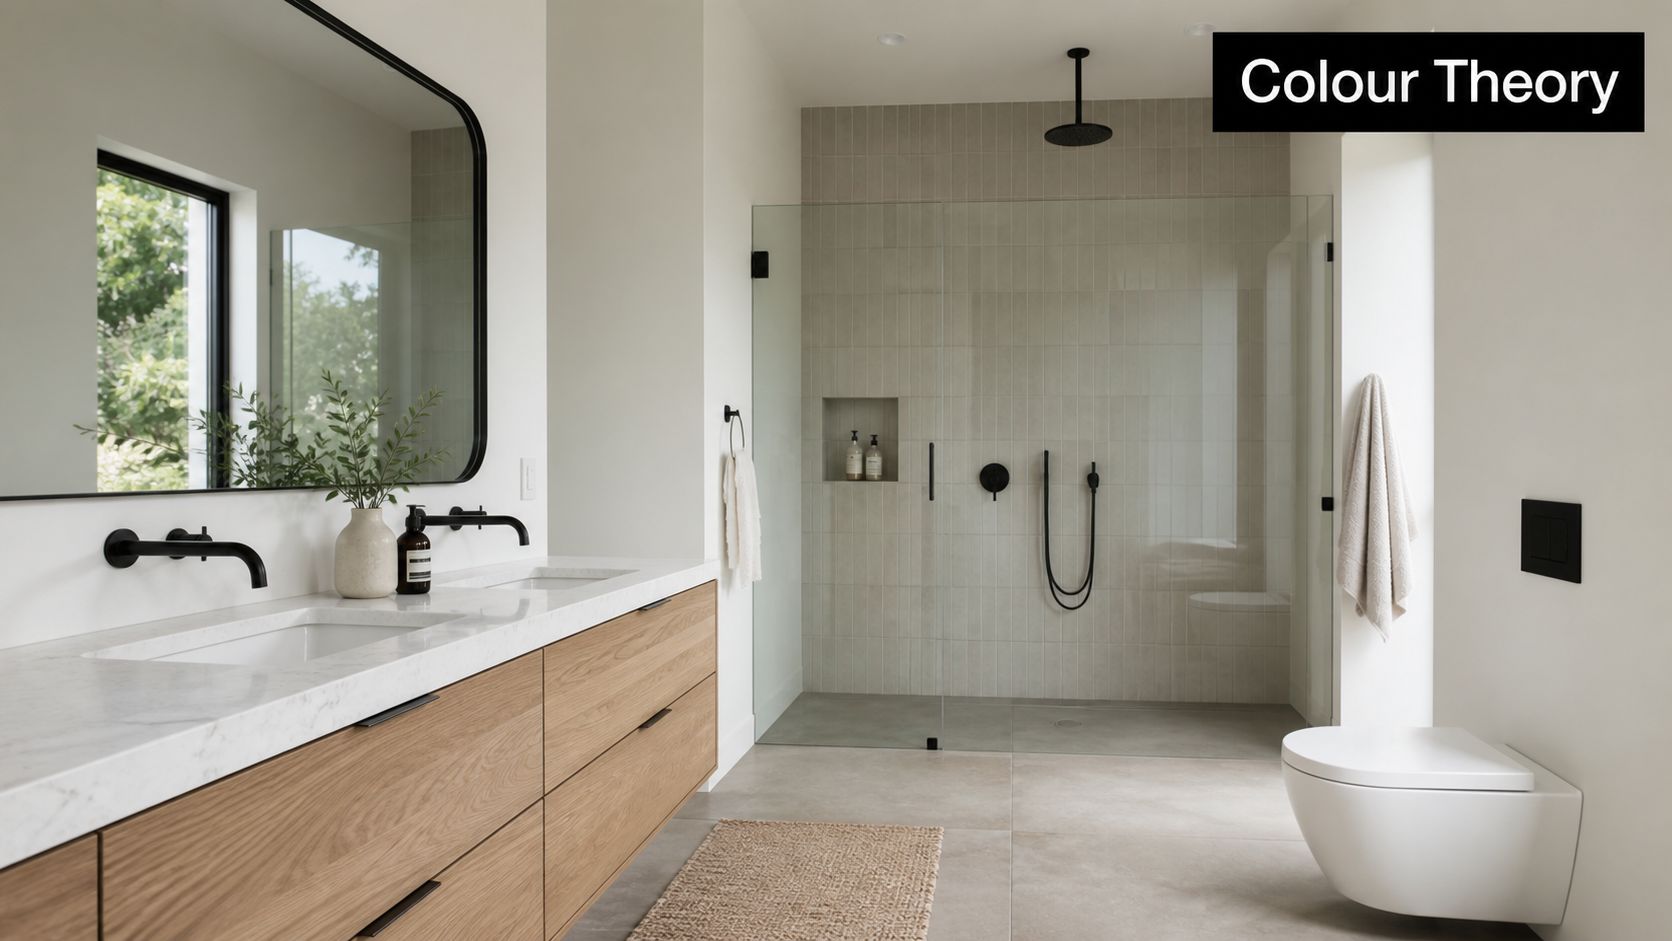
For a contemporary Highett renovation, a feature wall at the end of the room could draw attention through clear glass. Keep the controls reachable near the entrance, even if that means they don't sit centrally beneath the showerhead. Convenient operation matters more than a perfectly symmetrical elevation.
Detail the light and the water together
An existing window inside the shower zone needs careful assessment of its frame, sill, waterproofing junctions and privacy. A proposed skylight requires coordination beyond the bathroom finishes, including roof conditions and any relevant approvals.
- Privacy: Consider obscure glazing and sightlines from neighbouring properties.
- Ventilation: Have the designer or relevant trade confirm the applicable exhaust requirements. Daylight doesn't replace moisture extraction.
- Tile selection: Assess floor slip resistance separately from the appearance of the feature wall.
- Visualisation: Use the 3D design to review grout alignment, screen edges, lighting and fixture placement together.
Changing walls to create a more dramatic shower requires early regulatory advice. Consumer Affairs Victoria explains that a building permit is approval from a registered building surveyor, and that any required planning permit must come first.
Review these bathroom layout mistakes before approving the feature treatment. A beautiful wall won't compensate for an inaccessible mixer, exposed towel storage or a shower entrance that sends water towards the bathroom door.
8 Walk-In Shower Bathroom Layouts Compared
| Shower Layout | Implementation Complexity | Space and Resource Requirements | Expected Outcome | Ideal Use Case | Key Advantage |
|---|---|---|---|---|---|
| Curbless Wetroom Walk-In Shower | High; requires precise waterproofing, floor slope, and drainage | Full-room waterproofing; possible subfloor modification | Seamless, open, step-free shower area | Accessible or compact modern bathrooms | Easy entry and clean, spacious appearance |
| Corner Walk-In with Frameless Glass Return Panel | Moderate; requires careful glass and splash-panel placement | Corner space and one or two glass panels | Open shower with a light, contemporary look | Medium bathrooms replacing a bath or updating a narrow layout | Saves space without a full enclosure |
| Walk-In Shower Beside a Freestanding Bath | Moderate to high; involves coordinating fixtures and plumbing | Larger room, additional plumbing, and possibly floor reinforcement | Separate bathing and showering zones with a luxury feel | Large family bathrooms and principal ensuites | Provides both a shower and a bath |
| Double Walk-In Shower for Shared Ensuites | High; requires coordinated outlets, controls, and drainage | Large floor area, dual shower fixtures, and wide screening | Shared shower space for simultaneous use | Large master ensuites for couples or families | Allows two people to shower at once |
| Walk-In Shower with Built-In Bench and Recessed Niches | Moderate to high; bench and niches must be planned and waterproofed before tiling | Wall space for recesses; bench may reduce shower floor area | Comfortable seated showering with integrated storage | Accessible bathrooms and family homes | Combines seating, safety, and storage |
| Walk-In Shower in a Compact Ensuite with Pivot or Sliding Door | Moderate; requires accurate measurements and suitable door hardware | Compact footprint, typically 900–1200 mm wide | Functional shower with reduced door-clearance needs | Small ensuites and investment properties | Uses limited space efficiently |
| Walk-In Shower Opposite the Vanity in a Galley Bathroom | Moderate; needs careful walkway and splash-zone planning | Narrow, elongated room; walkway typically at least 600 mm | Clear circulation in a linear layout | Narrow terrace, townhouse, or apartment bathrooms | Makes efficient use of a long, narrow floor plan |
| Walk-In Shower with Feature Wall and Natural Light | Moderate to high; requires coordination of finishes, lighting, and window privacy | Feature materials, suitable glazing, and ventilation | Bright, visually distinctive shower area | Design-focused renovations with access to daylight | Creates a strong focal point with natural light |
Choose the Layout Before Choosing the Fixtures
Choose the arrangement that resolves the room's constraints before choosing taps, tiles or a statement bath. Start with measured dimensions, plumbing locations, household mobility and tolerance for splash. Then compare usable floor area, containment, drainage, ventilation, storage, accessibility and maintenance.
The most useful design comparison shows competing layouts within the same measured room. Ask for the shower entry, screen length, fixture projections and drying space to be visible. A polished perspective is helpful, but it shouldn't replace a dimensioned plan.
Compare scope as carefully as style
A corner shower that retains existing services and a full wetroom with altered floor construction are different renovation propositions. Ask the builder to separate necessary work from optional upgrades so you can see what each design decision changes.
- Existing conditions: Identify what remains uncertain until inspection or demolition.
- Trade coordination: Confirm responsibility for plumbing, substrate preparation, waterproofing, tiling and glazing.
- Documentation: Request the proposed permit pathway and relevant compliance records.
- Long-term use: Check cleaning access, replaceable hardware and provision for future rails or seating.
Victorian registration obligations depend on value and scope. Consumer Affairs Victoria states that domestic building work exceeding $10,000, including labour and materials, generally requires a registered builder, while specified structural work requires registration regardless of cost.
If you're searching for registered builders unlimited, check the actual registration class rather than relying on advertising language. Domestic Builder–Unlimited registration permits the practitioner to carry out, manage or arrange all domestic building work, and approval must be in place before work starts.
For apartments, raise owners corporation requirements and shared-service constraints early. For family homes, consider whether today's arrangement could accommodate assistance or changing mobility without another major reconfiguration.
A coordinated renovation service can help translate new bathroom ideas into buildable decisions. SitePro Bathrooms, based in Highett, provides concept development, detailed 3D design, construction and finishing, allowing homeowners to compare practical layouts alongside contemporary styling.
Bring your room measurements, photographs and a short list of daily frustrations to a consultation with SitePro Bathrooms. Ask for a quote that explains the proposed layout, drainage and waterproofing approach, trade coordination and any approval requirements before you commit to fixtures.