
How to Prevent Bathroom Mold: A Complete Guide for 2026
You spot it while the shower is still damp. A dark mark in the silicone corner. A few specks in the grout. You scrub it off, think you've handled it, and two weeks later it's back.
That cycle frustrates a lot of homeowners because bathroom mold rarely starts as a simple cleaning problem. It starts as a moisture problem. The visible patch is just the part you can see. The underlying issue is usually a mix of trapped humidity, slow drying surfaces, soap residue, worn sealant, or water getting where it shouldn't.
If you're trying to work out how to prevent bathroom mold, the answer isn't one magic spray. It's a system. Good airflow, fast drying, regular maintenance, and in some bathrooms, proper bathroom renovations to fix design or waterproofing faults that basic cleaning will never solve. That matters even more in older Victorian homes, where dated fans, tired grout, and hidden moisture are common.
Understanding Why Mold Appears in Your Bathroom
Mold is often first noticed in the same places. The shower corner. Around the base of the screen. Along a grout line that never seems to stay clean. It looks like a surface issue, but in practice it's usually the result of three things happening together: moisture, warmth, and a food source.
Bathrooms supply all three without much effort. Hot showers create steam. Steam settles on ceilings, tiles, windows, and seals. Dust, soap scum, and dead skin cells give mold something to feed on. If those surfaces stay damp long enough, mold gets a foothold.
That's why some bathrooms always seem to struggle, even when the owner cleans regularly. The room may be trapping moisture after every shower. The grout may be cracked. The sealant may have started failing. Or the fan may be moving air poorly, so the room never fully dries between uses.
The visible spot is often the last sign
A black mark on silicone isn't always the beginning. It can be the first visible clue that moisture has been sitting in the room for quite a while. In older bathrooms, I often see people focus on scrubbing the stain while the actual cause sits behind the tile edge, under a vanity, or inside failed joints.
Mold that keeps returning usually points to a bathroom that stays wet longer than it should.
That's the practical difference homeowners need to understand. Surface mold can often be cleaned. Recurring mold means the bathroom environment is helping it come back.
Why prevention works better than removal
Once mold gets established in porous or damaged materials, cleaning becomes a repeating job. Prevention is cheaper, easier, and more reliable. That starts with daily habits, but it also extends to smarter material choices in modern bathrooms and designer bathrooms where layout, ventilation, and waterproofing are planned properly from the start.
If you're dealing with a minor issue, better habits may solve it. If the same patches return again and again, it's worth looking at the bathroom more like a renovator would. Persistent mold often tells you the room was never drying properly, never waterproofed properly, or has reached the point where patch repairs won't hold.
Mastering Humidity and Improving Air Circulation
You finish a hot shower, leave the room, and come back an hour later to a foggy mirror, damp grout, and a heavy smell in the air. That bathroom is staying wet too long. In my experience, that is the point where mold prevention stops being a cleaning question and becomes a drying question.
Humidity control does more to prevent mold than scrubbing ever will. If moisture sits in the room after every shower, spores get the same conditions they need day after day. Cleaning helps, but only if the bathroom can dry properly between uses.
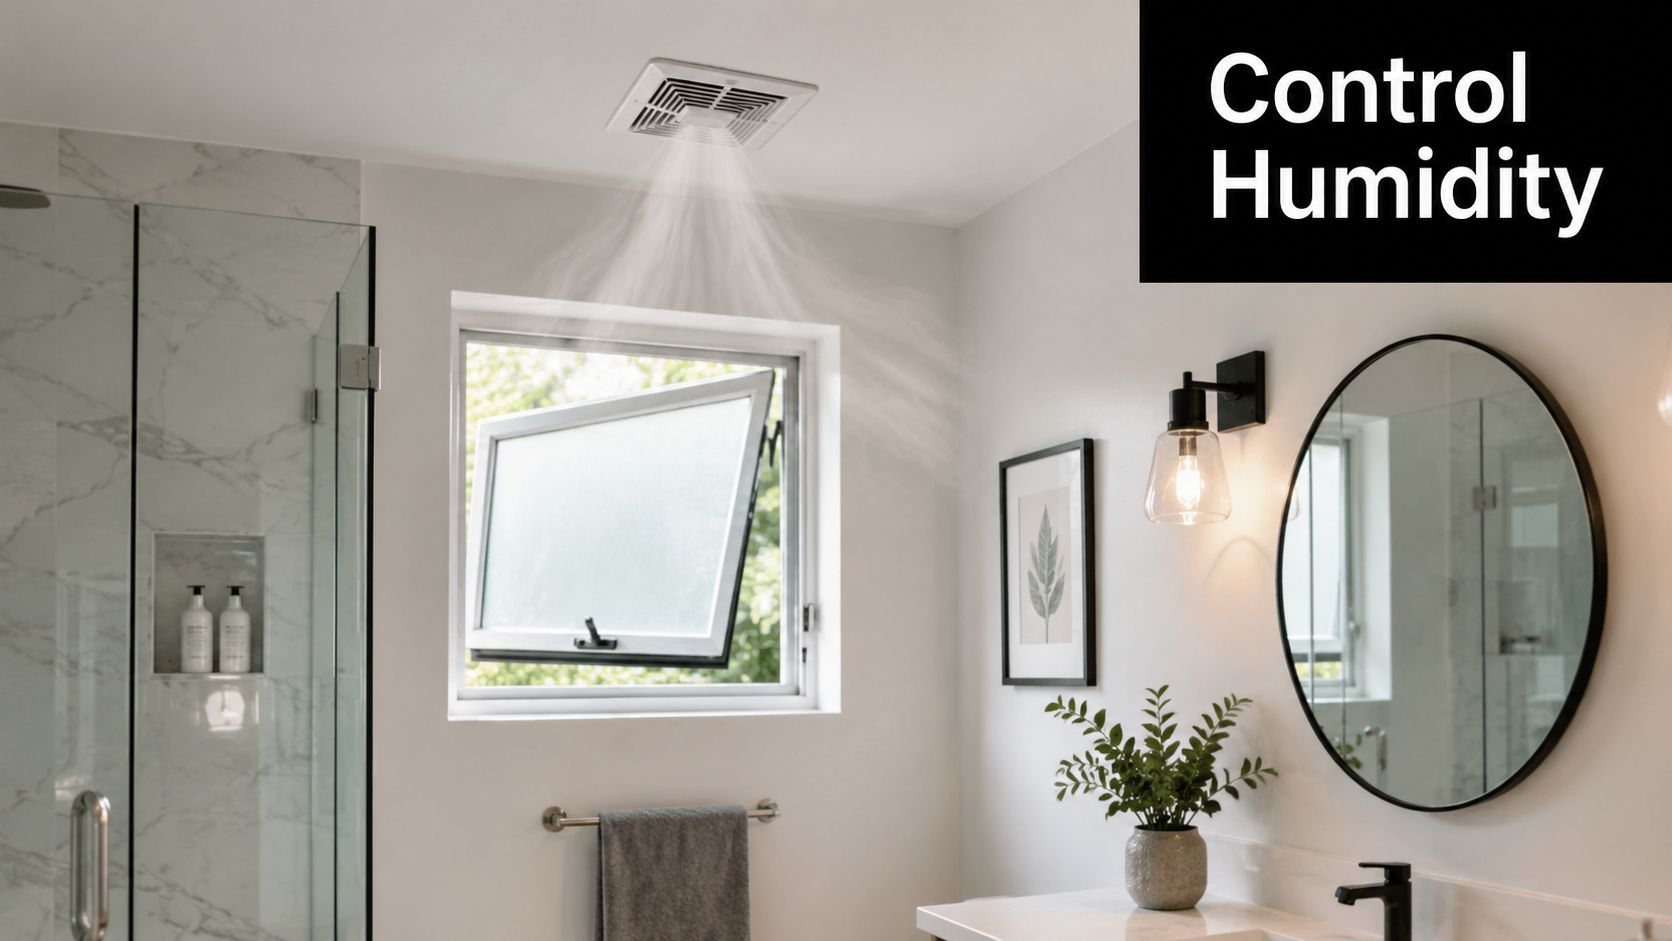
Experts note that to prevent bathroom mold in Australia, keeping indoor humidity below 50% is the critical target, with 50% to 60% used as the broader working range for prevention in bathrooms. They also recommend running exhaust fans for 20 to 30 minutes after every shower and making sure the fan vents directly outside, not into a roof space or attic, because mold can't thrive without sustained moisture (guidance on bathroom humidity control and fan use).
Use the fan long enough, and make sure it is doing real work
Running the fan during the shower helps. Running it after the shower is what usually makes the difference. Steam keeps settling onto tiles, silicone, ceilings, and window frames well after the water is off.
A useful setup looks like this:
- Start the fan early: Switch it on before or as the shower starts.
- Keep it running after use: Let it clear the room for the full recommended period.
- Give air a path to replace what is being extracted: If privacy and safety allow, leave the door slightly open once the room is no longer in use.
- Check where it vents: A fan that dumps moist air into the roof cavity is shifting the problem, not fixing it.
I see plenty of bathrooms with a fan on the ceiling that barely moves air. Some are undersized. Some are clogged with dust. Some were never ducted out properly in the first place. If the room stays muggy long after bathing, it is worth looking at a proper bathroom exhaust fan installation instead of assuming the existing unit is good enough.
Reduce the moisture load before it lingers
Every wet surface keeps feeding humidity back into the room. Glass, wall tiles, tap ledges, shower screens, and the corners around the base of the shower all release moisture as they dry. The longer that takes, the longer mold has a wet environment to work with.
That is why a quick squeegee and wipe-down helps so much in real bathrooms. It cuts down the amount of water left behind, which means the fan has less moisture to remove. It is a simple habit, but there is a trade-off. It only works if the underlying bathroom design is sound. If water pools in corners, sits on poorly sloped surfaces, or gets trapped around failed joints, better habits will only limit the problem, not solve it.
Daily habits that help the room dry faster
Small routines matter here because they shorten the damp period after each shower.
- Squeegee shower glass and tiled walls: Pay attention to bottom edges and corners.
- Wipe shelves, niches, and mixer ledges: These spots hold water longer than people expect.
- Spread towels out properly: Towels that stay damp add more moisture back into the room.
- Use a dehumidifier in internal bathrooms: It can help where windows are absent and extraction is poor.
One practical test works well. If surfaces still feel wet or the room still smells musty well after use, the bathroom is not clearing moisture fast enough.
Know when humidity points to a renovation problem
Some bathrooms keep growing mold because the room was built with weak extraction, poor airflow, bad falls, or finishes that trap moisture. In those cases, you can improve conditions with better fan use and better drying habits, but you may never get a lasting result until the layout, ventilation, or waterproofing is corrected.
That is the line I look for on site. If the room dries properly, routine maintenance usually keeps mold under control. If it does not, recurring mold is often a sign the bathroom needs more than cleaning. It needs the moisture problem designed out.
Your Proactive Cleaning and Maintenance Routine
A bathroom usually does not turn mouldy because it was missed once. It turns mouldy because the same damp residue stays in the same places week after week.
That is why maintenance needs a routine, not a once-off clean when stains show up. In bathrooms I inspect, the repeat trouble spots are predictable. Grout lines, silicone junctions, shower corners, around the base of screens, and any shelf or niche that holds a thin film of water after use.
The weekly routine that makes the biggest difference
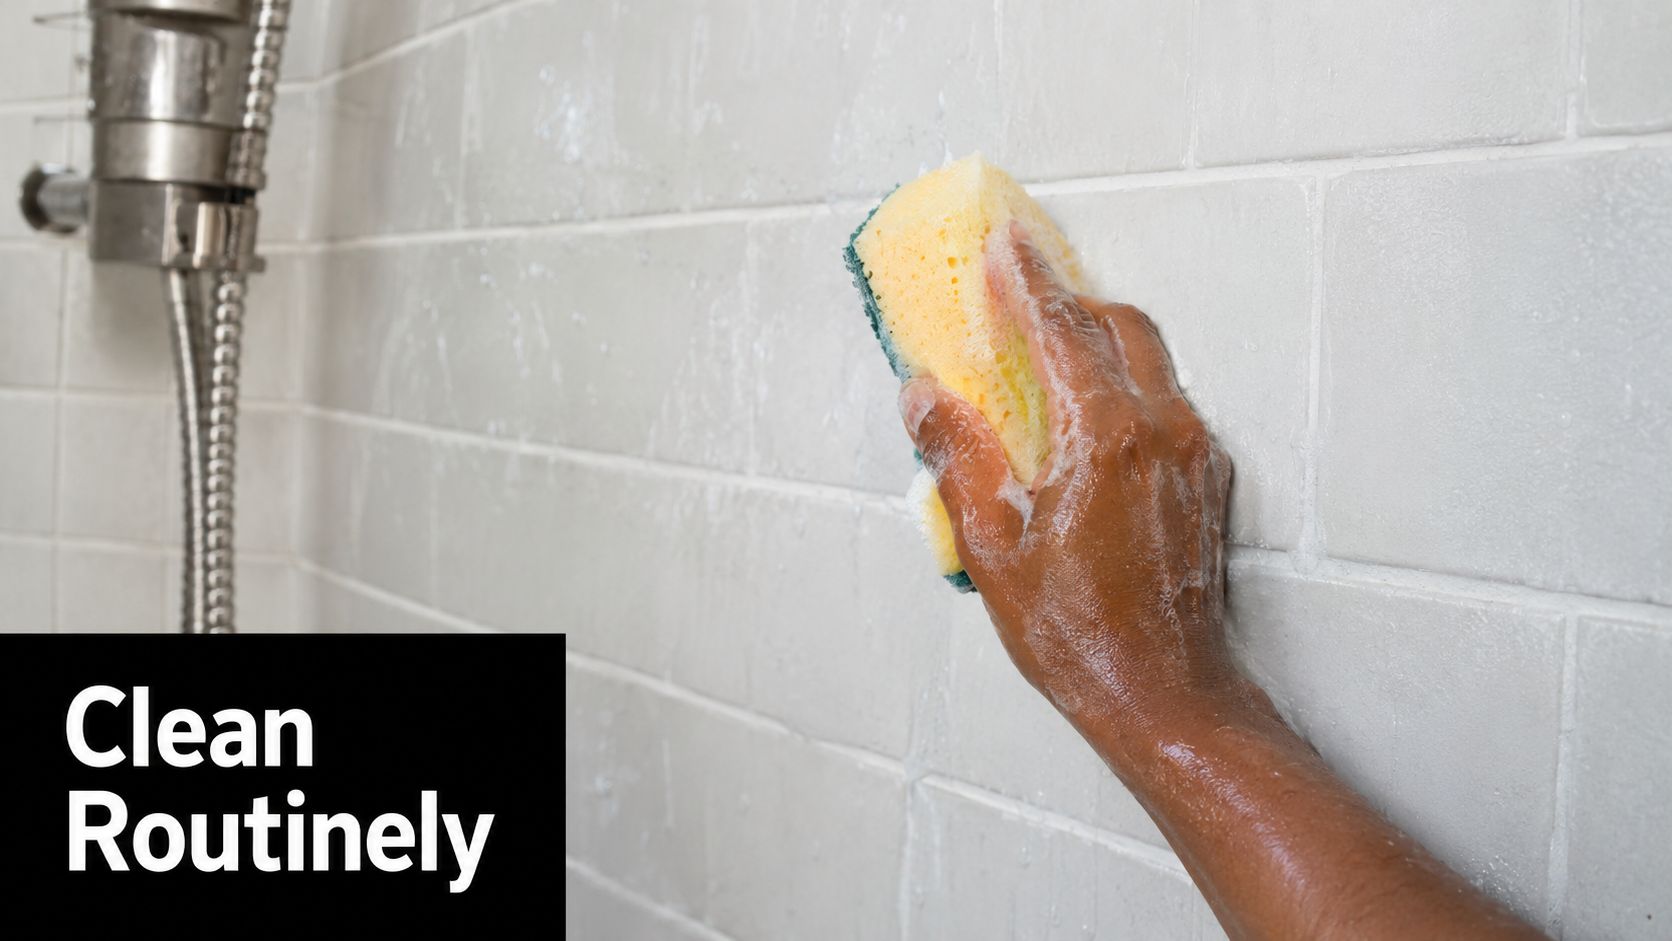
Regular cleaning works best when it targets the surfaces mould colonises first. Guidance on bathroom mould cleaning from RAC on vinegar cleaning for bathroom mould recommends a white vinegar and water mix for tiles, grout, and silicone, and notes that bleach often lightens staining without addressing growth properly on porous surfaces.
That lines up with what I see on site. Bleach can make a shower look better for a few days. It does not fix soap residue, trapped moisture, or failing joints, and repeated use can be hard on some finishes.
A practical weekly routine looks like this:
- Spray grout lines and silicone seals: Focus on shower perimeters, wall-to-floor joints, and screen edges.
- Let the solution sit before wiping: Contact time matters.
- Scrub lightly with a soft brush or cloth: Aggressive scrubbing can rough up older grout and tired sealant.
- Rinse if needed, then dry the surface: Cleaning that leaves water sitting behind defeats the point.
- Check for early failure while you clean: Split silicone, pinholes in grout, and loose corners matter more than light staining.
If floor joints are already holding grime, how to clean floor tile grout will help you clean them properly without making old grout wear faster.
The monthly jobs people skip
Weekly cleaning keeps surface growth down. Monthly maintenance is where you catch the reasons it keeps coming back.
Ceiling corners, exhaust covers, window reveals, under floating vanities, behind toilets, and the underside of shelves often collect fine dust and soap residue. Mould feeds on that film, especially where condensation settles and no one wipes.
Use the monthly clean to inspect as much as to wash.
Look for these signs:
- Silicone pulling away at corners or edges
- Grout that stays dark long after the room has dried
- Staining that returns in the same patch
- Swollen trim, peeling paint, or musty odour near joinery
- Dust build-up around exhaust grilles that restricts airflow
Towels, bathmats, and shower curtains also matter. If they stay damp, they keep adding moisture and organic residue back into the room. Wash them regularly and dry them fully before putting them back.
A maintenance rhythm that's realistic
The bathrooms that stay under control usually follow a simple pattern. Dry down after use. Clean the high-risk areas weekly. Inspect the room closely once a month.
| Task | Frequency | Main focus |
|---|---|---|
| Shower wipe-down | After use | Glass, tiles, taps, corners |
| Vinegar spray | Weekly | Grout, silicone, splash zones |
| General bathroom clean | Weekly | Floors, vanity fronts, toilet surrounds |
| Detail clean and inspection | Monthly | Ceiling corners, exhaust cover, under cabinetry, behind toilet |
| Soft furnishing wash | Regularly | Towels, bathmats, shower curtains |
Routine cleaning buys you control. It does not fix poor falls, trapped moisture behind tile, or joints that have already failed.
That trade-off matters. If the same mould patch keeps returning despite consistent cleaning, the bathroom is no longer giving you a maintenance problem. It is showing you a building problem.
Finding and Fixing Hidden Leaks and Waterproofing Failures
A bathroom can look clean on the surface and still be wet where it counts.
That is the point where mould stops being a housekeeping issue and starts looking like a building defect. If the same patch keeps coming back, especially around a shower base, wall junction, niche, or bath edge, water is often getting past the finish layer and staying trapped out of sight.
Cracked grout, split silicone, and movement at corners all give moisture a path in. Once water gets behind tiles or into wall linings, surface cleaning will only knock back what you can see. The source stays active.
Signs the problem is behind the tile line
Hidden leaks rarely announce themselves with obvious dripping. More often, the room shows a pattern of small failures that keep returning.
Watch for signs like these:
- Mould reappearing in the same exact spot: recurring growth in one corner or joint usually points to ongoing moisture, not missed cleaning
- Sealant peeling, shrinking, or separating from the wall: joints that have opened up let water enter during normal shower use
- Musty smell that lingers after the room is dry: trapped moisture behind finishes often smells before it becomes visible
- Paint blistering or swelling outside the shower area: water can travel beyond the wet zone and show up on adjacent walls, skirtings, or ceilings
- Loose, hollow, or drummy tiles: movement under tiles can mean the substrate has been affected by moisture over time
I see this often in older bathrooms that have been re-sealed more than once. Fresh silicone can tidy the joint, but it does nothing for saturated backing boards, failed membranes, or poor falls that keep water sitting where it should drain away.
Patch repairs only work in the right conditions
A local repair can make sense. Replacing a short run of failed silicone or repairing isolated grout is reasonable when the rest of the bathroom is dry, sound, and well built.
The trade-off is simple. Small repairs are cost-effective for localised wear. They are poor value when moisture has already moved behind the tile line, because the visible defect is only the access point, not the full problem.
Painting over a stain, re-grouting a corner, or scrubbing the same patch every fortnight usually turns into repeat spending. The room looks better for a while, then the smell returns, the mould returns, or the wall outside the shower starts to show damage.
If the mould keeps returning after cleaning and minor sealing repairs, treat that as a sign to inspect the construction, not just the surface.
Where professional assessment matters
Once there is reason to suspect waterproofing failure, the job changes. The question is no longer how to remove mould. It is how far the water has travelled and what needs to be opened up to stop it properly.
A proper assessment checks the likely entry points, the condition of seals and junctions, signs of substrate movement, and whether the bathroom was waterproofed correctly in the first place. Homeowners can spot the warning signs. Diagnosing concealed moisture and failed wet area detailing usually needs renovation experience.
If you are weighing up repair versus rebuild, it helps to understand the basics of bathroom waterproofing and how failures happen before spending money on another short-term fix.
Designing a Mold-Resistant Bathroom Renovation
Some bathrooms keep growing mold because the room was built with weak details from day one. Poor extraction. Cementitious grout in heavy splash zones. Limited drying space. Tired seals. Water getting behind the tile finish. In those cases, cleaning can only do so much.
That's where bathroom renovations change the conversation. Instead of asking how to keep fighting mold, you redesign the room so mold has fewer opportunities to return. That's the long-term value in well-planned modern bathrooms. They don't just look better. They dry better, clean more easily, and protect the structure behind the tile.

Start with the materials that resist water better
For homeowners collecting new bathroom ideas, the finish selections matter. Australian renovation guidance notes that epoxy grout provides superior water resistance compared with standard cementitious grout, and that a professional waterproofing membrane to all wet areas is a critical part of renovation work to prevent water ingress behind tiles (waterproofing advice for a mould-resistant renovation).
That's one of the clearest examples of short-term versus long-term thinking. Standard grout may cost less upfront, but it's more vulnerable to absorbing moisture. Epoxy grout gives mold less opportunity to take hold.
Material Choices for a Mold-Resistant Bathroom
| Component | Standard Option (Mold Prone) | Upgraded Option (Mold Resistant) |
|---|---|---|
| Grout | Cementitious grout | Epoxy grout |
| Wet area protection | Minimal or ageing barrier | Professional waterproofing membrane |
| Sealants | Old or poorly maintained joints | Fresh, properly installed sealant |
| Ventilation | Weak or badly ducted fan | Correctly sized fan vented outside |
| Layout | Tight corners and cluttered surfaces | Easier-to-dry, easier-to-clean design |
Good design reduces problem spots
A mold-resistant bathroom isn't only about hidden layers. Layout matters too. The easiest bathrooms to maintain usually have fewer awkward corners, fewer unnecessary ledges, and better spacing around the shower, vanity, and toilet.
That's why the best designer bathrooms often work so well in practice. The design isn't just visual. It supports airflow, access, and cleaning. Water has fewer places to sit. Surfaces are easier to reach. The room feels more open, so moisture clears faster.
Useful design moves include:
- Reducing clutter traps: Built-in niches and shelves should be planned so water doesn't pool in them.
- Making surfaces easier to reach: If you can't comfortably wipe it down, it often stays wetter for longer.
- Improving ventilation placement: A fan needs to draw moisture from where steam collects.
- Choosing finishes with durability in mind: Attractive materials still need to handle daily wet use.
Renovation is the right answer when the room keeps failing
A lot of people delay renovation because they hope one more reseal or one more deep-clean will finally sort it out. Sometimes it does. Often it doesn't. If the bathroom keeps showing the same moisture-related faults, the room is telling you something.
A proper renovation can address:
- hidden water ingress behind tile finishes
- ageing grout and sealant throughout the wet area
- extraction problems caused by poor fan placement or ducting
- layouts that trap moisture in corners and hard-to-clean gaps
- worn finishes that stay damp and stain easily
The bathroom that stays mold-free the longest is usually the one designed to dry properly, not the one cleaned most aggressively.
For homeowners planning a lasting fix, new bathroom ideas need to be judged on performance as much as appearance. The best modern bathrooms and designer bathrooms earn their keep by doing both.
When DIY Is Not Enough and You Need a Professional
You clean the ceiling patch, wipe down the grout, run the fan, and for a few weeks the bathroom looks under control. Then the same black marks come back in the same corner, the room still smells damp, and the paint near the shower starts to lift. At that point, mold is no longer just a cleaning problem. It is usually a sign that the bathroom is holding moisture because something in the room is failing.
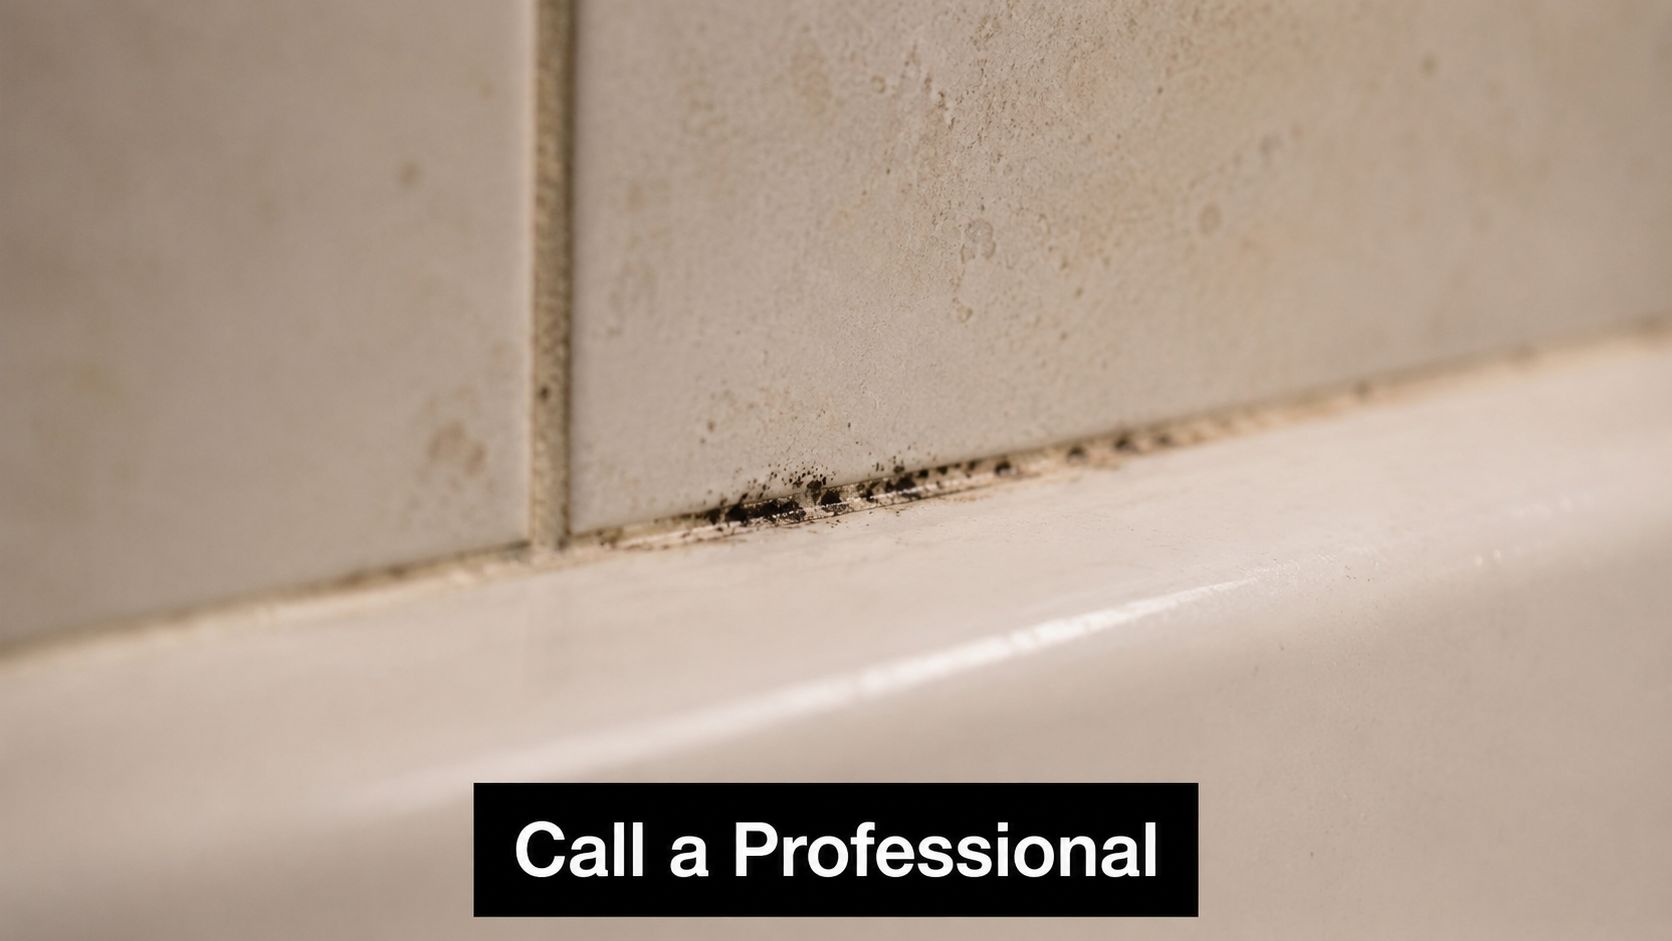
DIY has a place. Surface mold from a one-off ventilation lapse or missed cleaning can often be handled at home. Recurring mold is different. If it keeps returning after you have improved daily habits, cleaned properly, and replaced obvious sealant, the cause is often hidden behind tiles, inside wall linings, under shower bases, or in poor extraction setup that needs proper testing and repair.
Clear signs it's time to escalate
Treat the problem as a building issue, not a housekeeping issue, if you notice any of these:
- Mold returns quickly after cleaning: Moisture is still feeding it from somewhere.
- A damp smell lingers: Odour that never fully clears usually points to moisture trapped out of sight.
- Grout and silicone keep breaking down: Repeated failure often means water is getting where it should not.
- Paint blisters, trim swells, or plaster softens nearby: The wet area may be affecting surrounding finishes.
- Steam hangs in the room long after a shower: The fan may be undersized, badly ducted, blocked, or in the wrong spot.
Why a professional assessment saves time and money
A bathroom has to work as a system. Ventilation, waterproofing, drainage, surface falls, sealing details, and material condition all affect how well the room dries out. If one part is wrong, you can keep cleaning forever and still lose the fight.
I see this often in older bathrooms. The owner has already done the sensible things. New silicone, stronger cleaning, longer fan run time, maybe even repainting. The room still breeds mold because the underlying fault sits behind the visible finish. A cracked shower base, failed membrane, leaking penetration, or poorly installed duct can keep the space damp for months before the damage becomes obvious.
That is the point where another patch repair can become expensive repetition.
For larger recurring problems, many homeowners prefer working with registered builders unlimited because the cause may involve several trades and more than one concealed defect. The goal is not just to remove the staining you can see. It is to stop the bathroom from creating the same conditions again next winter.
If your bathroom still smells damp, still grows mold in the same places, or still struggles to dry after you have handled the basics, get it assessed properly.
If you're ready to stop managing mold and start solving the cause, SitePro Bathrooms can help assess whether your bathroom needs targeted repairs or a full renovation that fixes the moisture, ventilation, and waterproofing issues for good.