
Your Guide to a Downlight in Bathroom Renovations
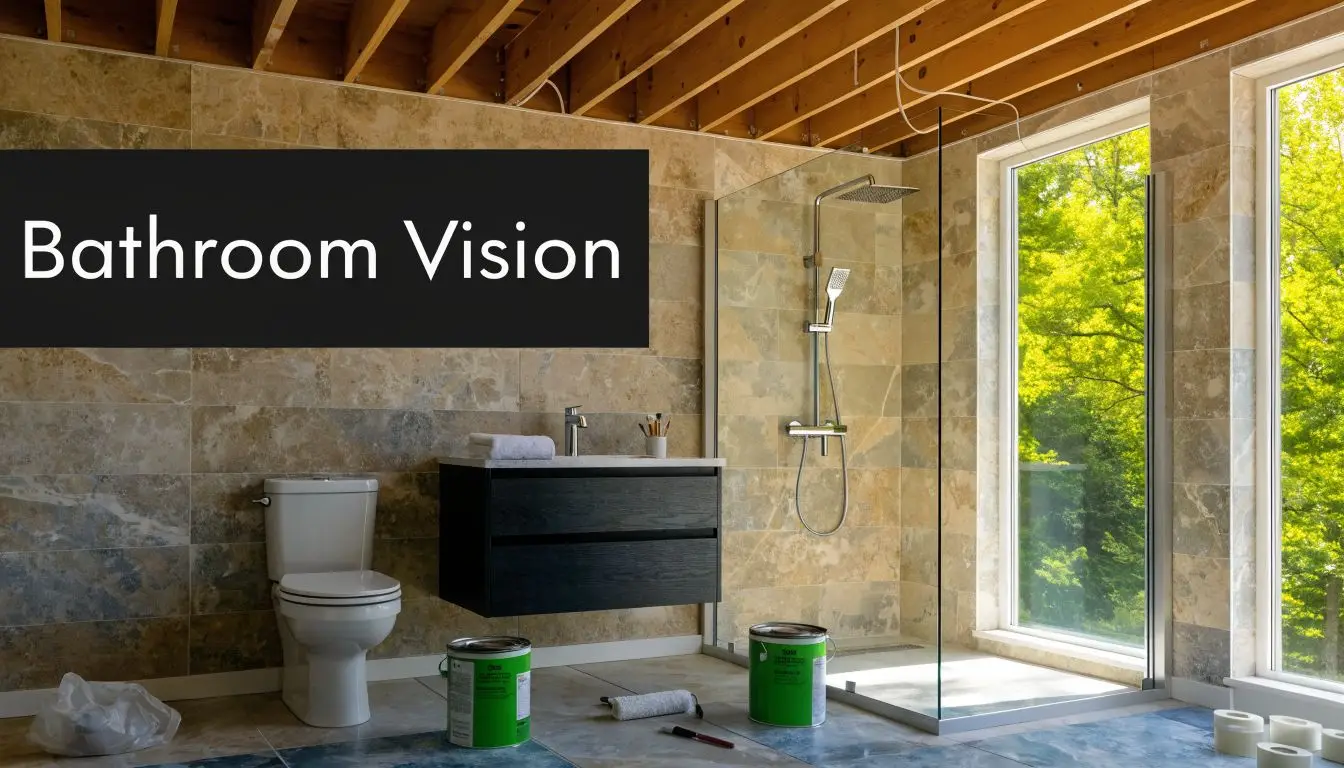
A lot of bathroom renovations start the same way. Homeowners spend weeks choosing tiles, tapware and a vanity profile, then lighting gets left until the electrical rough-in is already booked. That’s usually the moment the questions start. How many fittings do you need, what IP rating is required, and will a downlight in bathroom spaces make the room feel sharp and modern or harsh and clinical?
In Highett, I see this often in both compact ensuites and larger family bathrooms. The room looks straightforward on plan, but bathrooms are one of the trickiest spaces in the house to light properly. Water, steam, mirrors, ceiling heights and daily grooming all change the way light behaves. A fitting that works perfectly in a hallway can be the wrong choice above a shower or vanity.
Good lighting does two jobs at once. It keeps the room safe and compliant, and it makes the space easier to use every day. In designer bathrooms, it also helps the finishes look expensive, balanced and calm. That’s why the lighting layout needs the same attention as waterproofing, joinery and tile set-out.
Setting the Scene for Your Bathroom Lighting
You’re probably at the stage where the new bathroom ideas are starting to feel real. Tile samples are on the bench, the vanity size is locked in, and you’re trying to picture how the room will feel at 6:30 in the morning and again at night when you want the space to be softer. That’s exactly where lighting decisions matter most.
One common pattern in bathroom renovations is that clients know the look they want, but not how to achieve it with lighting. They’ll say they want modern bathrooms with a clean ceiling line, or designer bathrooms that feel hotel-like without being gloomy. Recessed downlights are usually part of that answer, but only when they’re selected and positioned properly.
A bathroom isn’t lit like a living room. You need useful light at the mirror, safe fittings in wet areas, and enough control so the room doesn’t feel overlit at night. If the renovation timeline is already on your mind, it helps to understand how long a bathroom remodel should take before electrical choices start affecting the build sequence.
Practical rule: If lighting is being discussed after tiles are ordered and ceilings are framed, you’re already giving away design control.
The best results come when lighting is planned early. That’s when the builder, electrician and designer can coordinate mirror position, fan placement, ceiling battens, insulation clearance and switch locations before anyone starts cutting holes.
Understanding Bathroom Downlights
A downlight is a recessed ceiling fitting that directs light downward. In bathrooms, that usually means a cleaner ceiling, less visual clutter and a more architectural finish than a central oyster light or bulky decorative fitting. That’s why downlights are so popular in modern bathrooms.
Why homeowners choose them
Downlights work well when you want the ceiling to disappear visually. In smaller rooms, that matters. A compact ensuite can feel less crowded when the fittings sit flush and the eye isn’t pulled up to hanging fixtures.
They also suit a wide range of layouts. A single room can use downlights for general ambient light, tighter task lighting near a vanity, and feature lighting over a shower niche or textured wall if the overall plan is handled properly.
Where they work well and where they don’t
The biggest strength of a downlight in bathroom design is simplicity. The biggest weakness is that simplicity can fool people into thinking placement doesn’t matter. It does.
Here’s the trade-off in practical terms:
- Clean look: Recessed fittings support minimalist, high-end bathrooms and keep sightlines tidy.
- Flexible planning: They can be used in ensuites, family bathrooms and powder rooms with different beam spreads and trim sizes.
- Low visual bulk: They’re useful where ceiling height is modest and you don’t want fittings hanging into the room.
But there are drawbacks:
- Poor placement causes shadows: A fitting directly over the user at the vanity can make grooming harder, not easier.
- Too many create glare: A ceiling dotted with fittings often looks busy and feels uncomfortable.
- Wrong product choice shortens life: Bathrooms expose fittings to steam and moisture, so general-purpose products often disappoint.
A sleek ceiling isn’t the same thing as a good lighting plan.
The balanced view
If you want a simple answer, downlights are usually the right starting point for bathroom renovations, but not always the full solution. They give you the base layer. They don’t automatically solve vanity lighting, mirror glare or mood. That’s where beam angle, CRI, zoning and layout start to matter.
Critical Safety Regulations for Bathroom Lighting
This is the part that should never be guessed. In Victoria, bathroom electrical compliance is governed by AS/NZS 3000 wiring rules. Bathroom zones then determine what level of moisture protection a light fitting needs under AS/NZS 60598.

The simplest way to think about it is this. The closer the fitting is to direct water exposure, the higher the protection level needs to be. That protection level is shown as the IP rating. If the wrong fitting goes in the wrong zone, the issue isn’t only cosmetic or administrative. It creates a real safety and durability problem.
A cited industry summary notes that in Victoria, Zone 1 above a shower requires a minimum IP44 rating, but many professionals recommend IP65 to limit steam ingress, which can reduce a downlight’s lifespan by up to 50%. The same source notes that 28% of Victorian bathroom electrical faults stem from incorrectly IP-rated fittings, which is why licensed installation matters (bathroom IP rating and fault summary).
How the bathroom zones work
Bathrooms are divided into zones based on water exposure. In practice, the most critical areas are inside the bath or shower, directly above those fixtures, and the surrounding splash zone.
| Zone | Location Description | Minimum IP Rating | SitePro Recommended Rating |
|---|---|---|---|
| Zone 0 | Inside bath or shower basin | IPX7 / IP67 | IP67 |
| Zone 1 | Above bath or shower to 2.25m height | IP44 to IPX4-IPX5 minimum | IP65 |
| Zone 2 | Around fixtures, generally 0.6m from water source to 2.25m | IP44 / IPX2-IPX4 minimum | IP65 where practical |
| Outside zones | Areas outside defined splash zones | IPX0 | IP44 or higher for added durability |
That table is the conversation I want clients to have with their builder and electrician before final selections are made.
What this means on a real project
On site, the mistakes are usually predictable. Someone chooses fittings by appearance alone. Or they assume the centre of the ceiling is automatically outside the risk area. In a steamy room, that assumption can be expensive.
These are the checks that matter most:
- Check the actual zone: Don’t estimate from memory. Measure from the bath and shower footprint and confirm the ceiling height.
- Read the fitting specification: The trim style tells you nothing about compliance. The IP rating does.
- Match the fitting to the ceiling build-up: Insulation, cut-out size and fire separation all affect what can be installed safely.
- Use licensed trades: Wet-area electrical work isn’t a DIY area.
For broader site safety thinking during a renovation, it also helps to understand worker safety on construction sites, because bathroom lighting decisions sit inside a much bigger compliance process.
On site advice: If a fitting is only “probably fine” for a wet area, it isn’t the right fitting.
Why the recommended rating is often higher than the minimum
Minimum compliance and best practice aren’t always the same thing. A bathroom in regular use creates steam, condensation and repeated moisture cycling. That’s why many builders and electricians prefer a higher rating than the bare minimum, especially over showers and in homes where the bathroom sees heavy daily use.
For homeowners, that usually means fewer callbacks, fewer failed fittings and a better result long after handover.
Choosing the Best Downlight Types for Your Space
Once safety and zoning are sorted, product choice becomes a design decision. It determines whether many bathrooms either become calm and usable, or end up looking bright on paper and uncomfortable in real life.
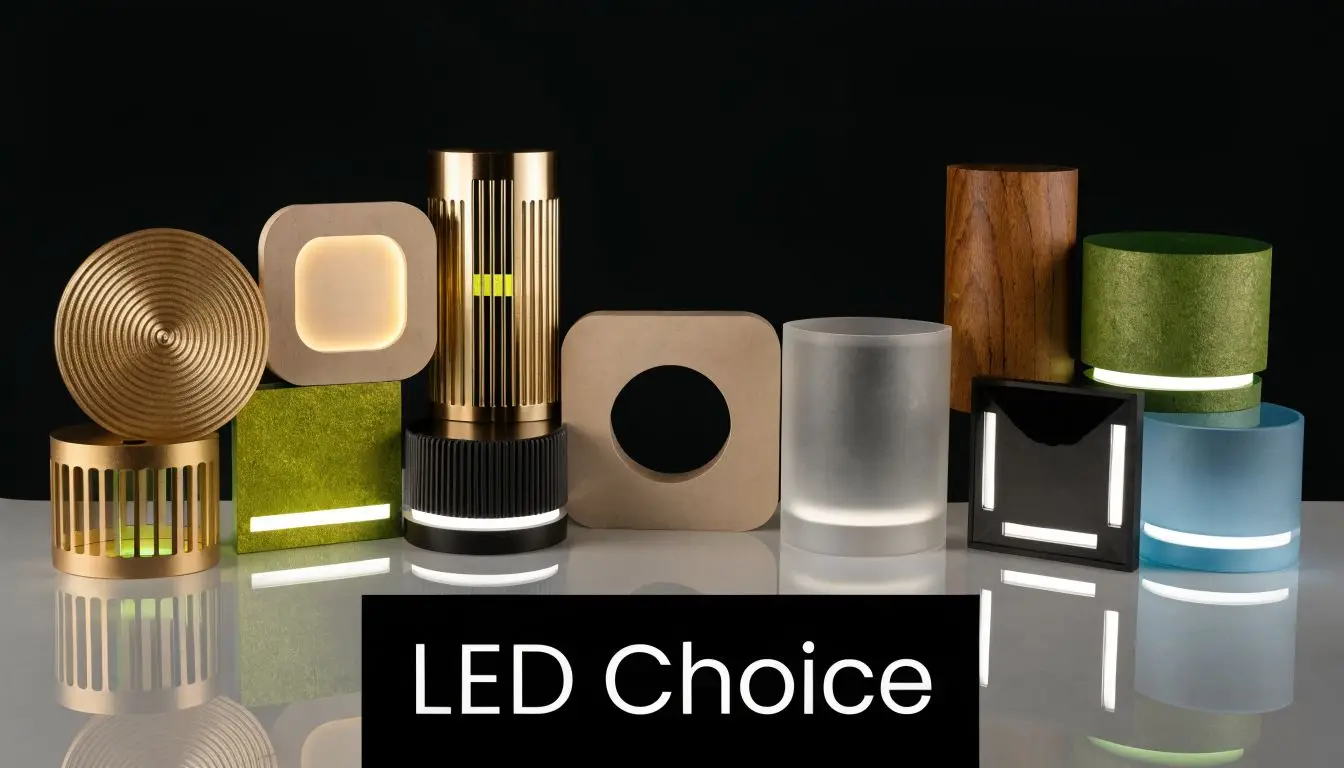
Fixed, fire-rated and adjustable options
A standard fixed LED downlight is usually the workhorse. It handles general illumination well and suits most ceilings where you want a neat, consistent finish.
A fire-rated downlight matters where the ceiling system needs to maintain fire performance. In upper-level rooms or where there’s habitable space above, this isn’t a decorative upgrade. It’s part of a compliant ceiling strategy.
An adjustable or gimbal-style fitting has a narrower use, but it can solve specific problems. It’s useful when you need to direct light away from a mirror, bring light onto a feature wall, or avoid a harsh drop straight onto a user’s face.
CRI matters more than most people realise
If you only remember one lighting term for the vanity area, make it CRI, or Colour Rendering Index. This tells you how accurately a light source shows colours and skin tones.
A verified industry summary notes that for vanity lighting, downlights placed directly overhead can cast shadows that accentuate wrinkles. The same summary says a Dulux AU lighting study found LEDs with a CRI above 95 can reduce makeup application errors by 40%, while only 22% of Melbourne renovations use them (beam angle and CRI summary).
That lines up with what works in practice. Cheap, low-quality light makes faces look dull, tired or patchy. High-CRI light gives a more natural reading of skin, hair and finishes.
Beam angle changes the feel of the room
Beam angle controls how wide the light spreads. That affects both comfort and function.
A tighter beam is more focused. It can help with targeted light over a shower or niche, but if it’s used carelessly over a vanity, it creates hotspots. A wider beam can soften general lighting, but too much width in a small room can flatten the space and increase glare.
I usually explain it this way:
- Narrower beam: Better for control, accenting and avoiding spill into every corner.
- Wider beam: Better for broad ambient coverage, but easier to overdo in compact rooms.
- Balanced scheme: Best result for most bathrooms, with one beam approach for general light and another for key task areas.
Good bathroom lighting doesn’t blast every surface equally. It puts light where people actually need it.
What works best in modern bathrooms
For most modern bathrooms, the strongest combination is simple. Use quality LED fittings, choose fire-rated products where the ceiling build-up requires them, and prioritise high CRI around the vanity. If a fitting can tilt, use that feature deliberately rather than as a gimmick.
For designer bathrooms, restraint usually wins. Fewer, better-chosen fittings create a cleaner result than overcomplicating the ceiling with too many fixture types.
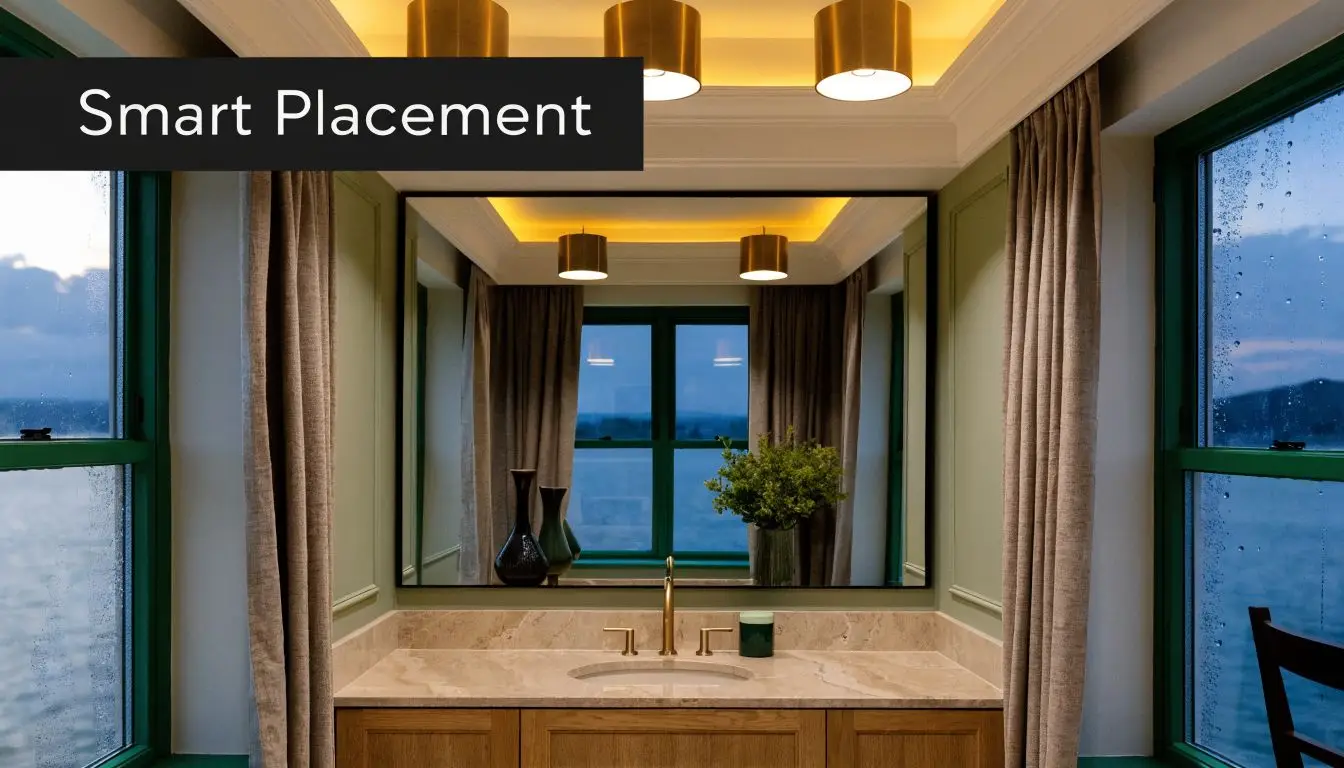
Perfect Placement and Spacing for Downlights
The layout is where the whole scheme either starts to make sense or falls apart. You can buy a compliant, high-quality fitting and still get a poor result if the spacing is wrong.
For compact Victorian ensuites sized 3 to 5m², guidance supports 2 to 4 inch fittings, with one downlight per 1.5 to 2m² and enough illumination to achieve 300 to 500 lux for task lighting over sinks. In lower-ceiling homes of 2.4 to 2.7m, this more precise approach can reduce multi-shadowing by up to 40% compared with larger wide-angle lights (compact ensuite placement guidance).
Start with layers, not a grid
The mistake I see most is people trying to centre lights by eye and create a neat row pattern. Bathrooms don’t need a runway grid. They need layered light.
Think in three parts:
- Ambient light for the whole room.
- Task light where people shave, apply makeup, brush teeth and clean.
- Accent light only if there’s a feature worth highlighting.
That approach is more useful than trying to make the ceiling look mathematically symmetrical.
Practical placement for common bathroom areas
A better layout usually follows how the room is used.
- At the vanity: Don’t rely on one fitting directly above the user’s head. That tends to put the brow and nose into shadow. Slightly offset placement works better, especially when combined with mirror or side lighting.
- In the shower zone: Use the correct wet-area fitting, but avoid making it the brightest point in the room unless the shower is enclosed and dark.
- In the centre of the room: One fitting may help with circulation space, but only if it supports the full layout rather than creating glare on glossy tiles.
- Near feature finishes: If you have stone texture, a niche, or a detailed wall tile, controlled light can help. Random extra fittings usually won’t.
Compact ensuite example
A small Highett ensuite often needs restraint more than output. With a low ceiling and limited floor area, oversized fittings or broad flood beams can make the room feel flatter and brighter than intended.
A better approach is:
- Use smaller-diameter fittings
- Space them to suit room function, not just room shape
- Keep vanity lighting flattering rather than top-heavy
- Include dimming so the room can shift from morning task use to evening comfort
If you’re planning a small room, designing an ensuite properly from the start helps the lighting plan make more sense because vanity depth, mirror width and shower location all affect placement.
The right number of downlights is the number that lights the room properly. Not the number that fills the ceiling.
Why dimming is worth including
Bathrooms do double duty. They’re workspaces in the morning and wind-down spaces at night. Dimming gives you flexibility without changing the fittings themselves.
In practical terms, that means the same layout can support bright, useful task lighting when needed and a softer feel when the room is being used for a bath or late-night routine.
Common Downlight Mistakes to Avoid in Your Renovation
Most bathroom lighting problems aren’t caused by one dramatic error. They come from a series of small decisions that were never coordinated.
The first and most serious mistake is using the wrong IP-rated fitting in the wrong area. That can create safety issues, shorten product life and complicate final compliance. Homeowners sometimes assume all recessed lights sold for bathrooms are suitable everywhere in the room. They aren’t.
The next problem is overlighting. People worry a bathroom will feel dim, so they keep adding fittings. The result is often a ceiling full of evenly spaced circles that produce glare off tiles, mirrors and stone tops. The room feels more like a treatment room than a home.
Mistakes that keep showing up on site
- Treating the vanity like general space: The vanity is a task zone. If the downlight sits directly overhead, facial shadows get worse.
- Ignoring insulation and ceiling conditions: Not every fitting suits every ceiling build-up. Insulation contact, fire separation and cut-out depth all need checking.
- Choosing on trim colour alone: A black, white or brushed finish might suit the palette, but appearance doesn’t tell you whether the fitting is appropriate.
- Skipping dimmers: That usually seems like a small omission at quote stage and a daily annoyance after handover.
What doesn’t work in real bathrooms
A common assumption is that more downlights automatically means a better bathroom. It usually means the opposite. Strong bathrooms use fewer fittings with better purpose.
Another weak move is leaving lighting until the electrician is already roughing in. By then, the mirror size, joinery height and shower set-out may already be fixed, and the opportunity for a refined layout is gone.
Bad bathroom lighting is rarely a product problem alone. It’s usually a planning problem.
If you’re chasing designer bathrooms rather than just functional ones, avoid the temptation to solve every issue with another hole in the ceiling.
Working With Your Renovator for Flawless Lighting
Lighting gets better when it’s resolved before construction, not adjusted during it. A good renovator should be able to explain where each fitting goes, why it belongs there, what rating it needs, and how it will interact with the mirror, ceiling, fan and tile layout.
That matters because bathroom renovations involve more than selecting a fitting from a display board. The layout has to work with framing, waterproofing, electrical rough-in, insulation, ceiling cut-outs and final usability. Homeowners don’t need to manage all of that themselves, but they should expect clear answers.
Questions worth asking early
Ask your renovator these things:
- How are the wet-area zones being assessed
- What CRI is being specified near the vanity
- Will the room rely only on ceiling light, or is it layered
- Is the lighting shown in the design before installation starts
A professionally modelled design can do more than improve confidence. Verified guidance notes that integrating lighting plans into 3D designs can reduce energy consumption by 20 to 30% when placement is simulated and efficient LED fixtures are selected to meet AS 1680 goals (3D lighting design and energy savings).
That’s one reason experienced, registered builders unlimited in practical knowledge tend to protect the client from expensive guesswork. You see the lighting intent early, not after the plaster is patched.
If you’re planning a bathroom renovation in Highett or elsewhere in Victoria and want a lighting plan that balances compliance, comfort and clean design, SitePro Bathrooms can help. Their end-to-end bathroom renovations process includes 3D design, practical layout planning and a build approach focused on modern bathrooms, designer bathrooms and durable results that work in everyday life.