
Floor Drain Requirements in Bathrooms a Renovator’s Guide
You're choosing tiles for a Highett bathroom renovation when someone asks where the floor drain should go. You assumed it would sit somewhere near the centre, but the proposed walk-in shower, freestanding bath and hallway threshold make that answer less straightforward. Before you order the grate, you need to establish whether the bathroom requires a general floor waste, what it must drain, and how the floor will meet it.
Why the Bathroom Floor Drain Question Matters Before You Renovate
For a family updating a tired bathroom, a floor waste can look like a small item on the selections list. It's easy to give more attention to the vanity colour or shower screen than to the plumbing beneath the tiles. Yet floor drain requirements in bathrooms belong in the design discussion, not just the finishing schedule.
Consider a hypothetical Highett renovation where the owners want to replace an enclosed shower with an open wet area. They also want continuous-looking tiles through the doorway. Before anyone promises that appearance, the project team should examine how water will travel, where the finished floor will sit and what construction work the layout needs.
Separate the fixture from the whole system
The visible grate is only the part you'll clean and walk past. The complete decision includes the waste connection, floor shaping, waterproofing interface and surrounding finishes. Choosing the grate first can leave the plumber, waterproofer and tiler trying to resolve incompatible details later.
For bathroom renovations, I'd put these questions on the design meeting agenda:
- Purpose: Is the proposed drain serving the shower, the wider bathroom floor, or a combination that needs professional assessment?
- Location: Can the team explain the intended drainage direction on a plan?
- Construction: What needs to happen beneath the tiles to achieve the proposed finished levels?
- Responsibility: Who will confirm compliance and check the work before it's concealed?
A homeowner doesn't need to design the plumbing system. You do need a clear answer from the people who are designing and installing it.
Planning principle: Approve the drainage concept before approving the final tile layout.
Treat new bathroom ideas as proposals to test, rather than finishes to fit at any cost. A useful design conversation combines the room's appearance with the way it will be built, used and maintained.
When the Code Actually Requires a Floor Waste in a Bathroom
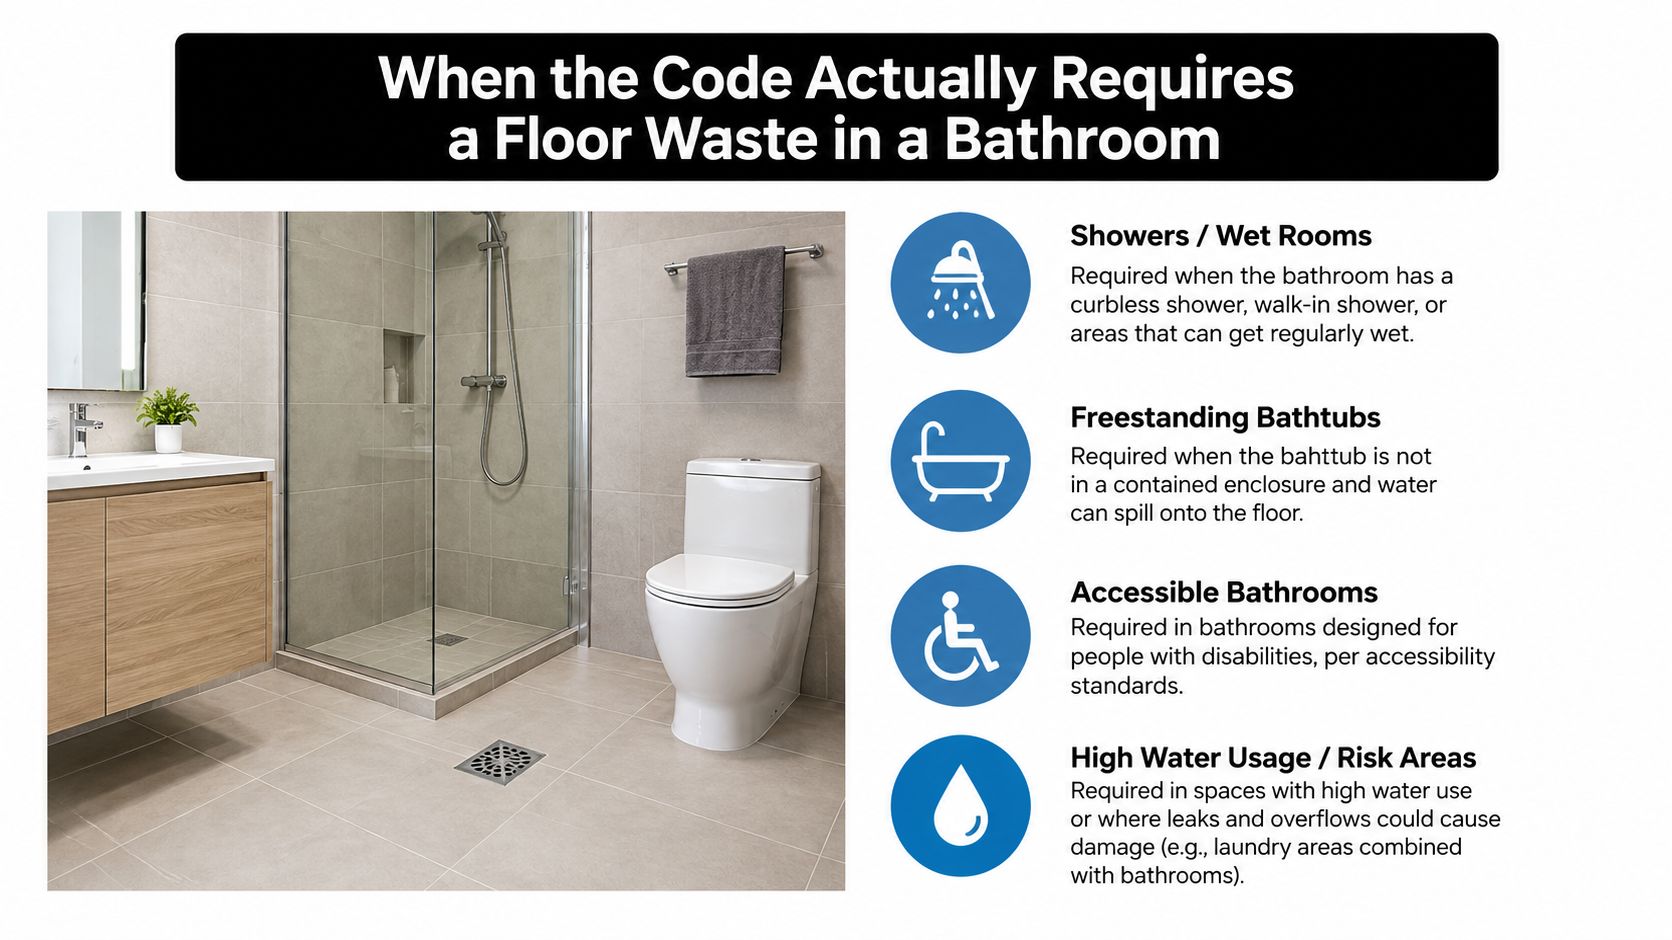
A general bathroom floor waste isn't automatically mandatory in every Victorian home. The Victorian Building Authority's livable-housing guidance under NCC 2022 states that “a floor waste is not mandatory for a bathroom”, while relevant NCC provisions identify situations where a bathroom or laundry above another sole-occupancy unit or public space must be graded to a floor waste unless specified overflow-protection or drainage conditions are satisfied.
That distinction matters. The livable-housing statement isn't blanket permission to remove drainage from any bathroom, and the multi-residential provisions shouldn't be applied indiscriminately to every detached house.
Establish which situation you're actually renovating
Ask the designer or building surveyor to identify the building classification, applicable code edition and compliance pathway. Then have the plumber explain how the proposed fixtures and drainage arrangement satisfy that pathway.
- Detached dwelling: Don't assume the bathroom needs a separate general floor waste because the old room had one.
- Upper-level bathroom within a home: Clarify what's below it. An upstairs bathroom within the same dwelling isn't automatically the same situation as a bathroom above another sole-occupancy unit.
- Apartment or shared building: Identify whether another dwelling or public space sits underneath, and what drainage or overflow conditions apply.
- Changed fixture layout: Ask how the shower, bath, basin and any other vessel affect the required wet-area treatment.
Distinguish room drainage from fixture drainage
A shower drain and a general floor waste aren't interchangeable descriptions. A homeowner may say the bathroom has a drain while referring only to the shower outlet. The project team needs to describe which areas are intended to discharge to each outlet.
Likewise, don't assume a bath's overflow automatically resolves the wider bathroom requirement. Ask whether the specific overflow arrangement is part of the accepted compliance solution.
For a Highett apartment renovation, the useful question is not whether the neighbouring apartment has a floor waste. It's whether your building, room location and proposed layout require one. Request that conclusion before demolition, with the reason recorded in the project documentation.
The NCC Fall Rule Explained in Plain Numbers
Before choosing a drain, establish what the finished floor must do. A floor that looks gently sloped may still have a flat patch or dip where water collects. Continuous fall means the drainage path keeps descending towards the floor waste.
The NCC Housing Provisions clause 10.2.12 sets a minimum continuous fall of 1:80 and a maximum of 1:50 towards the floor waste. Over a horizontal metre, those ratios equal a 12.5 millimetre drop at the minimum and a 20 millimetre drop at the maximum.
Quick Reference for the NCC Continuous Fall Rule
| Fall Ratio | Drop Over 1 Metre | Practical Implication |
|---|---|---|
| 1:80 (minimum) | 12.5 millimetres | Shallowest permitted continuous grade; suits large floors where total level change must stay small |
| 1:50 (maximum) | 20 millimetres | Steepest permitted grade; check comfort for people using mobility aids |
For a worked example, mark the start and finish of the measured run on the plan. The floor at the drain must be lower than the starting point by a drop within this range. The finished construction must provide that change in level; a tile pattern that merely looks sloped does not establish the fall.
Work backwards from the finished surface
The substrate, screed, adhesive, tile thickness and grate assembly all affect the final levels. Have the builder and tiler coordinate these layers before installation. A level check made before tiling cannot confirm the finished fall unless the remaining build-up has been allowed for.
The details depend on the room:
- Walk-in shower: Identify where the drainage plane begins and how it meets the entry without creating a ridge.
- Compact ensuite: Check whether the required fall fits between the waste and the nearby doorway.
- Family bathroom: Set out how the floor around the vanity and bath relates to the planned drainage area.
Measure along the intended drainage paths, rather than checking only beside the grate with a spirit level. The installer should explain how the specified area falls throughout, including transitions between tile planes.
A compliant slope on the drawing still needs to become a continuous slope in the finished floor.
Ask the tiler to state the finished-floor tolerance, then check it against the approved drainage design and the applicable requirements. This gives you a specific measurement to verify during installation, rather than relying on appearance alone.
Choosing Drain Position and Style for a Real Bathroom Layout
A central point drain and a linear drain solve different layout problems. Neither is an automatic upgrade, and neither should be chosen solely because it disappears neatly into a tile design.
The NCC wet-area provisions under NCC 2022 also require the specified continuous grading where a floor waste is installed. That makes drain placement an accessibility decision: insufficient fall can leave ponding, while excessive slope can make movement uncomfortable or difficult for people using mobility aids.
Compare the floor shapes before comparing finishes
| Design consideration | Central point drain | Linear drain |
|---|---|---|
| Proposed floor shape | Consider how surrounding planes converge on a point | Consider whether the layout can use a simpler directional fall |
| Tile planning | Review cuts where drainage planes meet | Review tile edges and transitions along the channel |
| Waterproofing coordination | Resolve the connection around the outlet | Resolve the channel interface and any nearby wall junction |
| Cleaning access | Check access to the grate and underlying assembly | Check that the full removable grate remains accessible |
These are design comparisons, not promises that either style will suit every bathroom. The selected product, room geometry and existing structure still need assessment.
Test the position against everyday use
In a compact, roughly square ensuite, a point drain may offer a workable arrangement if the tiler can resolve the converging planes. In a narrow shower, a linear drain may make a directional fall easier to organise. An open-plan wet area needs a broader review of where water is intended to travel and how people enter and move through the room.
Use bathroom floor plans to discuss the waste location alongside the vanity, shower screen, bath and door swing. Check wall and window-reveal details where the wet-area design reaches them, rather than treating those edges as someone else's problem.
For modern bathrooms and designer bathrooms, a discreet grate can be attractive. Before selecting it, ask whether it can be lifted without moving a fixture, whether the tile set-out accommodates it, and whether the proposed finished levels work for the people using the room.
Connecting the Drain to the Waterproof Membrane
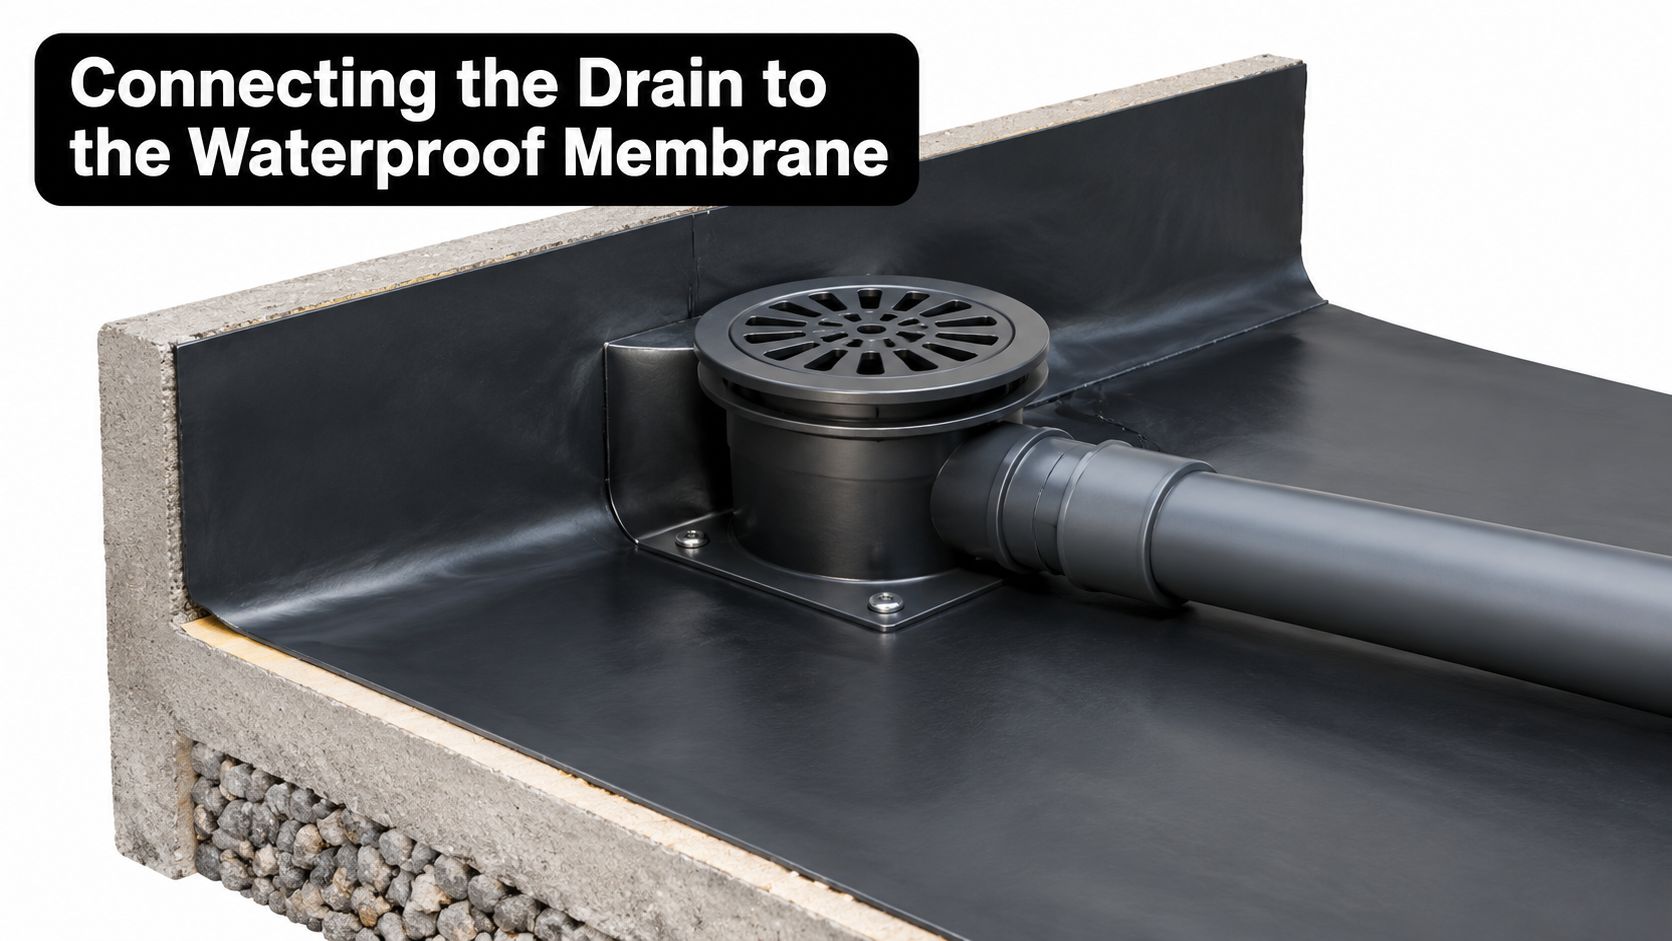
The most important drain detail may be the one you'll never see after handover. The drain-to-membrane connection must allow the waterproofing and drainage system to work together beneath the finished surface.
The NCC wet-area requirements cited earlier address waterproofing of floors, floor-to-wall junctions and penetrations where floor wastes are provided for drainage. AS 3740-aligned wet-area detailing also requires the drainage flange to connect correctly with the membrane so water can discharge at membrane level.
Ask to see the concealed connection
A puddle flange is a term you may hear when the team discusses this interface. Don't assume that mentioning one establishes compliance. Ask the plumber and waterproofer to identify the actual assembly, its compatibility with the membrane system and the required installation detail.
A useful discussion of Australian waterproofing standards should translate into a project-specific detail, not just a general assurance that the bathroom will be waterproofed.
Before covering the work, ask the team to show you:
- Flange interface: Where the membrane meets the drainage assembly and how that connection is formed.
- Upturns and junctions: How the membrane continues at walls, corners and thresholds.
- Penetrations: How pipe openings and other interruptions are treated using the selected system.
- Inspection records: What checks, photographs and applicable certificates will be retained.
Agree on testing before the installation starts
Ask whether a membrane flood test is appropriate for the system and required by the project's inspection arrangements. If one is planned, agree on its timing, method and record with the responsible practitioner. Don't improvise a test yourself or assume every membrane has the same procedure.
Site check: Resolve a questionable membrane termination before the tiler conceals it.
A missing specified flange, an unexplained membrane edge or a grate assembly that appears incompatible with the planned finish deserves clarification. These observations aren't diagnoses, but they're good reasons to pause and request a documented answer.
Trap Types, Venting and How the Drain Joins the Sewer
The grate selection won't tell you whether the proposed plumbing fits beneath the floor. For an older Highett or bayside renovation, ask the plumber to inspect the existing drainage before the design assumes a new waste can connect wherever you'd like.
Treat limited floor depth, difficult access or older earthenware pipework as conditions to investigate, not characteristics to assume from the home's age or postcode. The actual pipe location and condition matter more than the broad description of the property.
Build a useful plumbing vocabulary
Your plumber should explain the proposed trap arrangement in plain language. If the discussion includes a floor-waste gully, a separate trapped outlet, a P-trap or an S-trap, ask which component the term describes and why it suits the installation. Don't select a trap by name without understanding the complete connection.
Put these questions to the plumber:
- Water seal: What provides the barrier between the room and sewer gases, and how will that seal be maintained?
- Venting: How does the proposed arrangement manage pressure changes and protect the trap seal from siphoning?
- Available depth: Does the assembly fit within the approved floor construction without unplanned structural alterations?
- Existing branch: Where will the new outlet join, and what must be checked before that connection is approved?
- Maintenance access: Will the finished bathroom allow the necessary cleaning and inspection access?
Review the fixtures as a connected arrangement
Ask the plumber to explain how the shower, basin, bath and any nearby laundry connections relate to the proposed floor waste. Whether fixtures share parts of a drainage arrangement, and whether an inspection opening is required, should be determined for the actual installation.
For example, a proposed drain beside a vanity may look convenient on plan but remain provisional until the plumber checks the route beneath it. Request a sketch or marked-up plan showing the intended connection and access points.
You're not trying to approve pipe sizing or redesign venting. You're confirming that the concealed plumbing has been assessed before the builder commits to the floor and tile layout.
Permits, Contracts and the Registered Builder Question in Victoria
Moving a floor drain can involve more than plumbing. The proposed work might also affect the floor structure, wall layout and approved construction details, so permit questions need answers before work begins.
In Victoria, bathroom renovations costing more than $10,000 generally require a written major domestic building contract and the builder or tradesperson must be registered with the Building and Plumbing Commission; structural bathroom alterations require registration and a building permit regardless of cost. The guidance also identifies exemptions for individual tasks, such as plumbing or tiling, when performed alone.
Confirm the scope rather than judging by appearance
A bathroom can retain a familiar appearance while the work beneath it changes substantially. Conversely, replacing finishes doesn't automatically establish that a building permit is needed.
Consumer Affairs Victoria's renovation guidance explains that permit requirements depend on the proposed work and should be established before construction. A building permit records approved plans and specifications and provides formal approval for the relevant building work.
Ask a registered building surveyor or local council to assess structural alterations and proposed layout or drainage changes. Don't assume moving a drain always requires a building permit, but don't treat it as permit-free without checking the associated work.
Check the practitioner behind the quotation
When homeowners search for registered builders unlimited, they're generally referring to the Domestic Builder – Unlimited registration class, rather than a description of the company's service range. The broader scope of that class is addressed in the final checklist below.
Before signing, request:
- Registration details: The practitioner's name, registration number and class, checked against the work being contracted.
- Defined scope: A written description of drainage, waterproofing, structural work and exclusions.
- Permit responsibility: Confirmation of who will establish requirements and arrange approvals.
- Inspection arrangements: Identification of checks that must happen before work is concealed.
Understanding why using a registered builder matters for a bathroom renovation helps you assess the contracting arrangement, not just the finished photographs.
A Practical Renovation Checklist Before and After the Drain Goes In
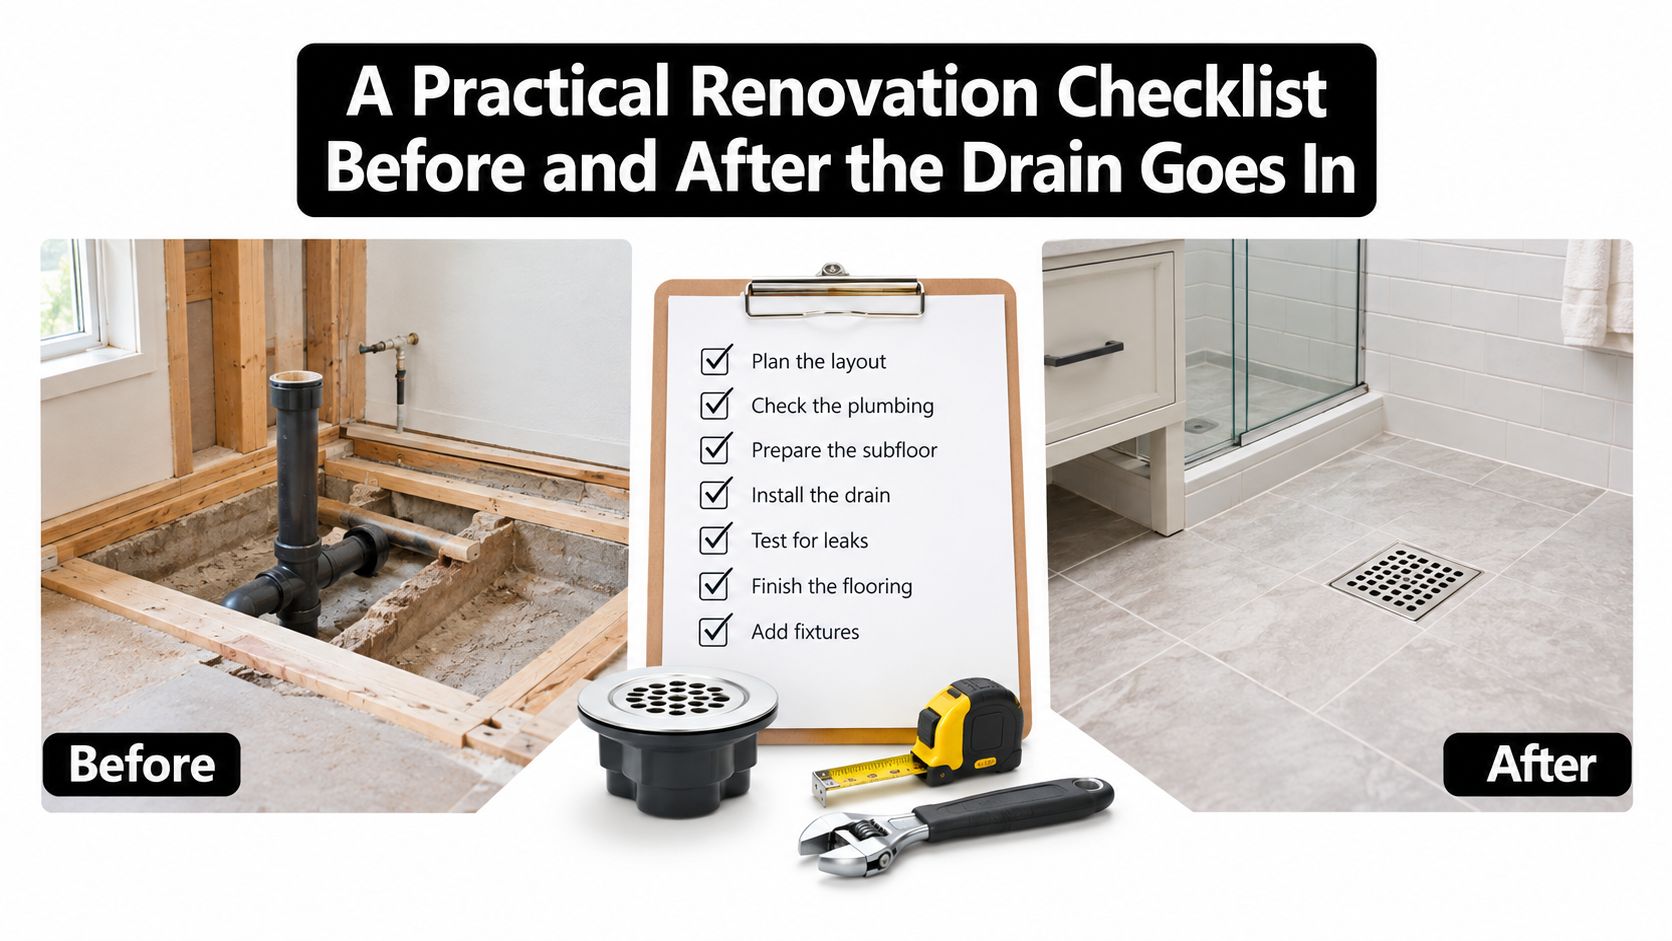
Keep the drain decision in the same project file as the layout, levels, waterproofing detail and approvals. Separate verbal assurances are harder to check than a coordinated record showing what the team intends to build.
Before installation
- Confirm the requirement: Obtain the project-specific conclusion about whether a general floor waste is required or being installed voluntarily.
- Approve the design: Record the drain position, floor grading and finished-level transitions.
- Check the contract: Match the practitioner's registration class to the complete scope.
Victorian registration guidance states that DB-U practitioners can carry out, manage or arrange subcontractors for all domestic building work. Registration is required for contracts above the threshold already discussed, structural work at any value, or combined building skills exceeding that threshold; this doesn't mean DB-U is the only appropriate class for every bathroom project.
Before concealment and at handover
- Verify grading: Request the installer's measured checks against the approved drainage design.
- Review waterproofing: Retain membrane-interface photographs and records of any specified flood test.
- Confirm plumbing: Ask for the required installation documentation and an explanation of maintenance access.
- Check the finish: Review grate height against adjoining tiles, removable components and threshold transitions.
- Close out approvals: Collect applicable inspection records, certificates and permit documentation.
A floor waste is a deliberate design choice where it's optional, and a coordinated construction obligation where it's required. A stylish grate doesn't replace either assessment.
Bring your existing bathroom photos and proposed layout to a renovation consultation, and ask for the drainage requirement, floor levels and permit pathway to be resolved before you order finishes. SitePro Bathrooms is one local option offering concept development, detailed 3D design and coordinated construction. Request a quote that identifies the drainage scope and inspection responsibilities, not just the visible fixtures.