How to Budget a Bathroom Remodel: A 2026 AU Guide
The average bathroom renovation in Australia now sits at $26,000, with budget projects starting around $8,000 and premium work pushing beyond $35,000, according to Canstar's summary of HIA cost data. In Melbourne and wider Victoria, actual expenditure is often higher once trade rates, compliance and finish level are factored in.
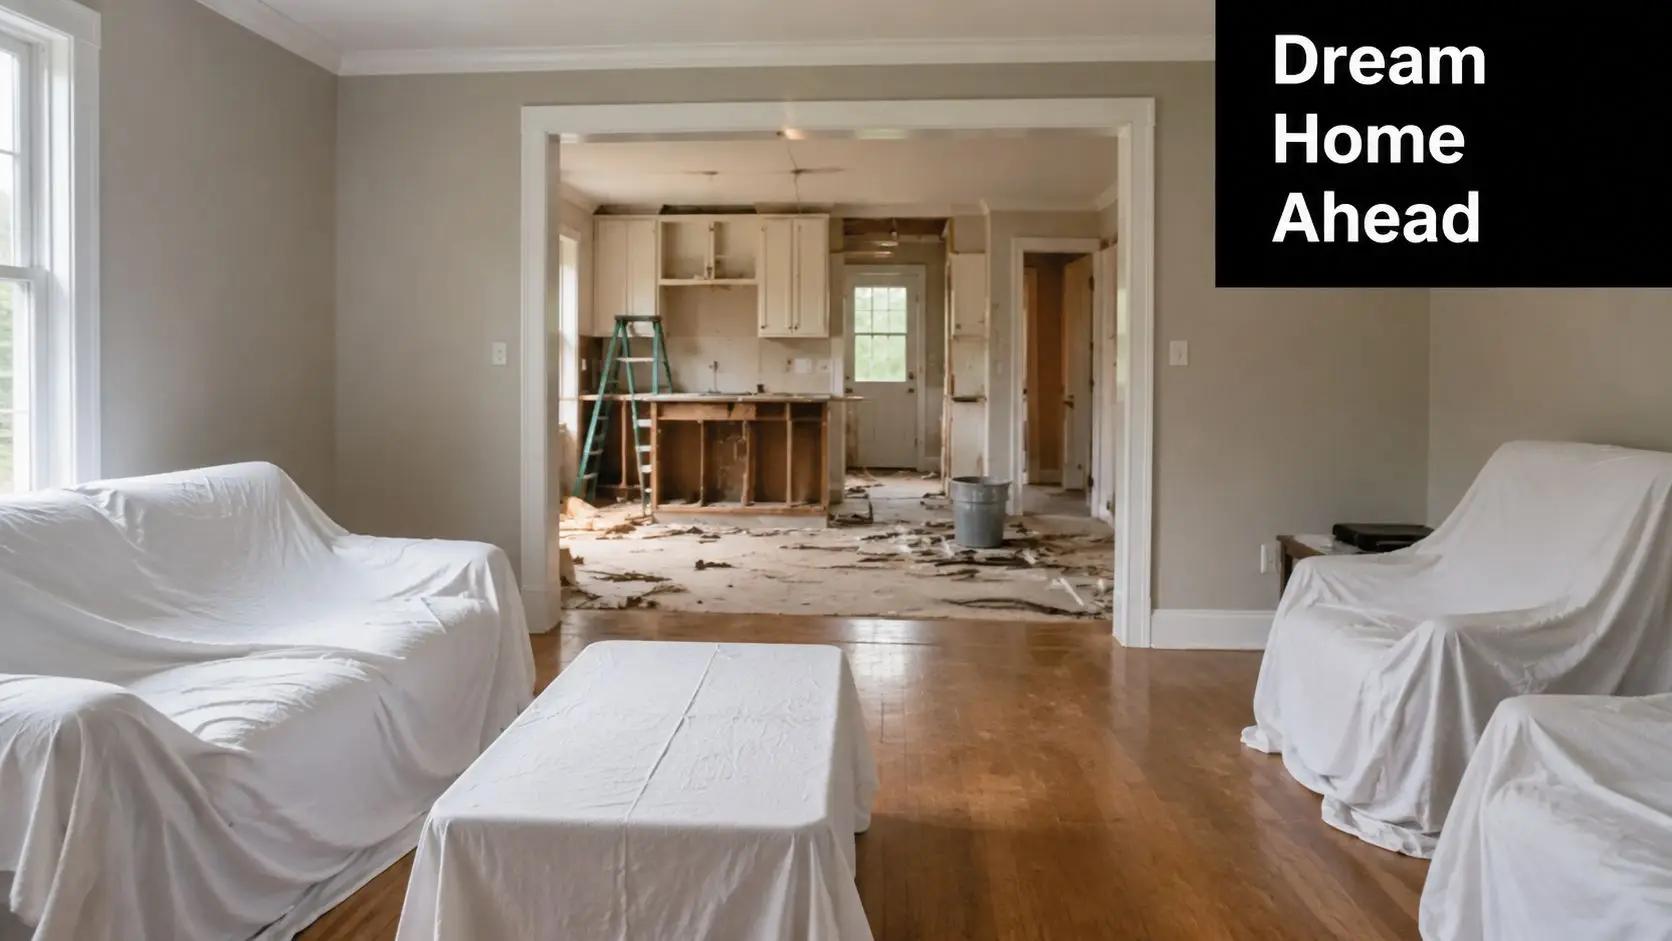
That's why most bathroom renovations go wrong at the budgeting stage, not on site. The problem usually isn't that people forget to price tiles or tapware. It's that they start with a mood board instead of a scope, then make layout changes halfway through, then discover the room needs more rectification work than expected.
As a renovation project manager, I've found that learning how to budget a bathroom remodel comes down to one principle. Price the room you're building, not the one you're vaguely imagining. Once the scope is locked, the numbers become far more predictable. That matters whether you're planning a simple refresh, looking at new bathroom ideas for a family home in Highett, or weighing a DIY pathway against a professional build through a registered builders unlimited firm.
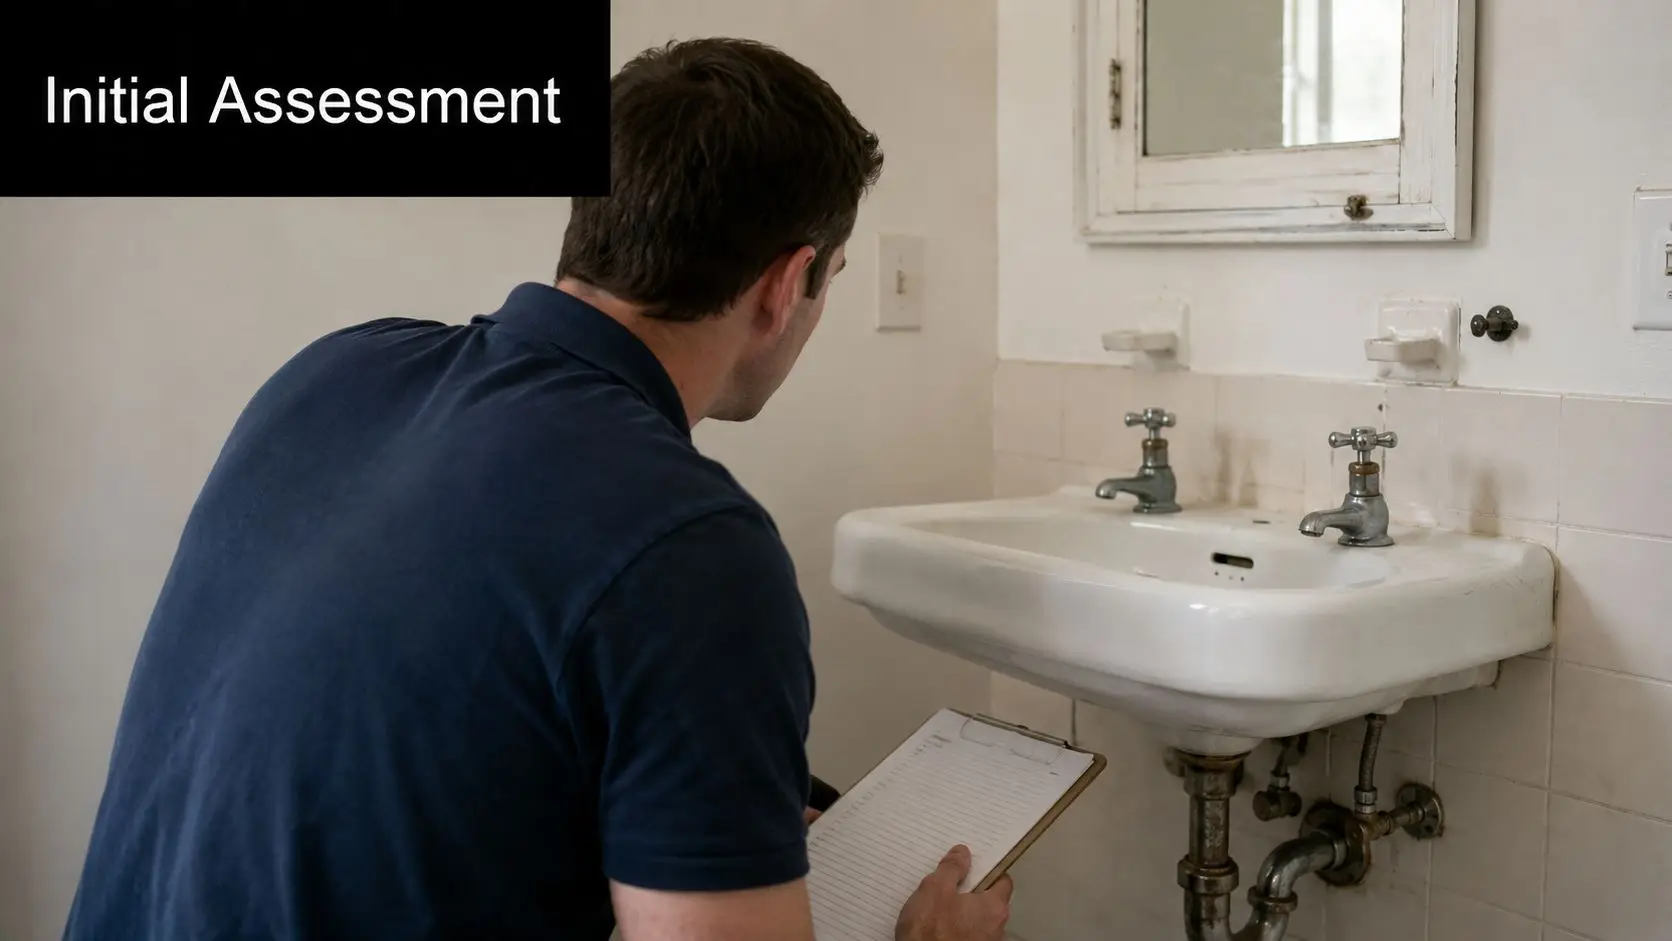
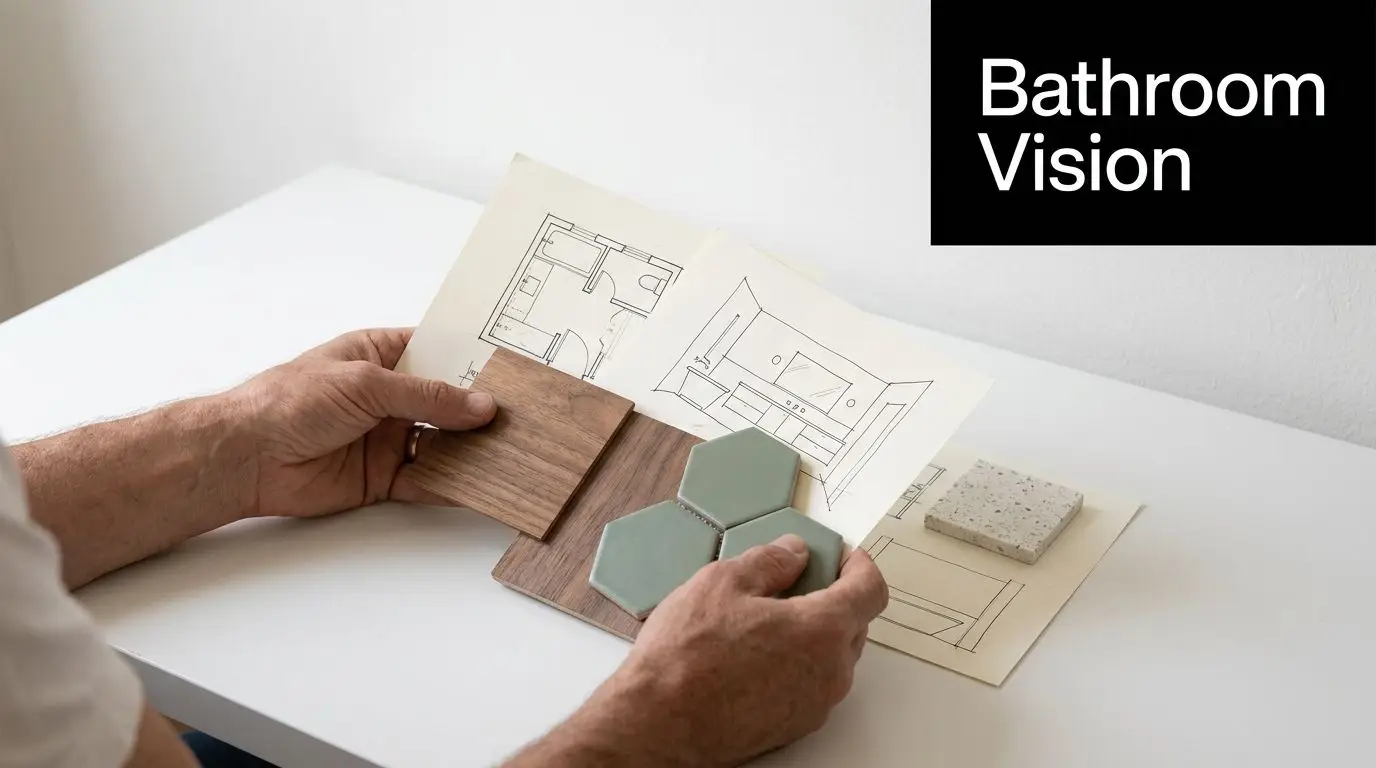
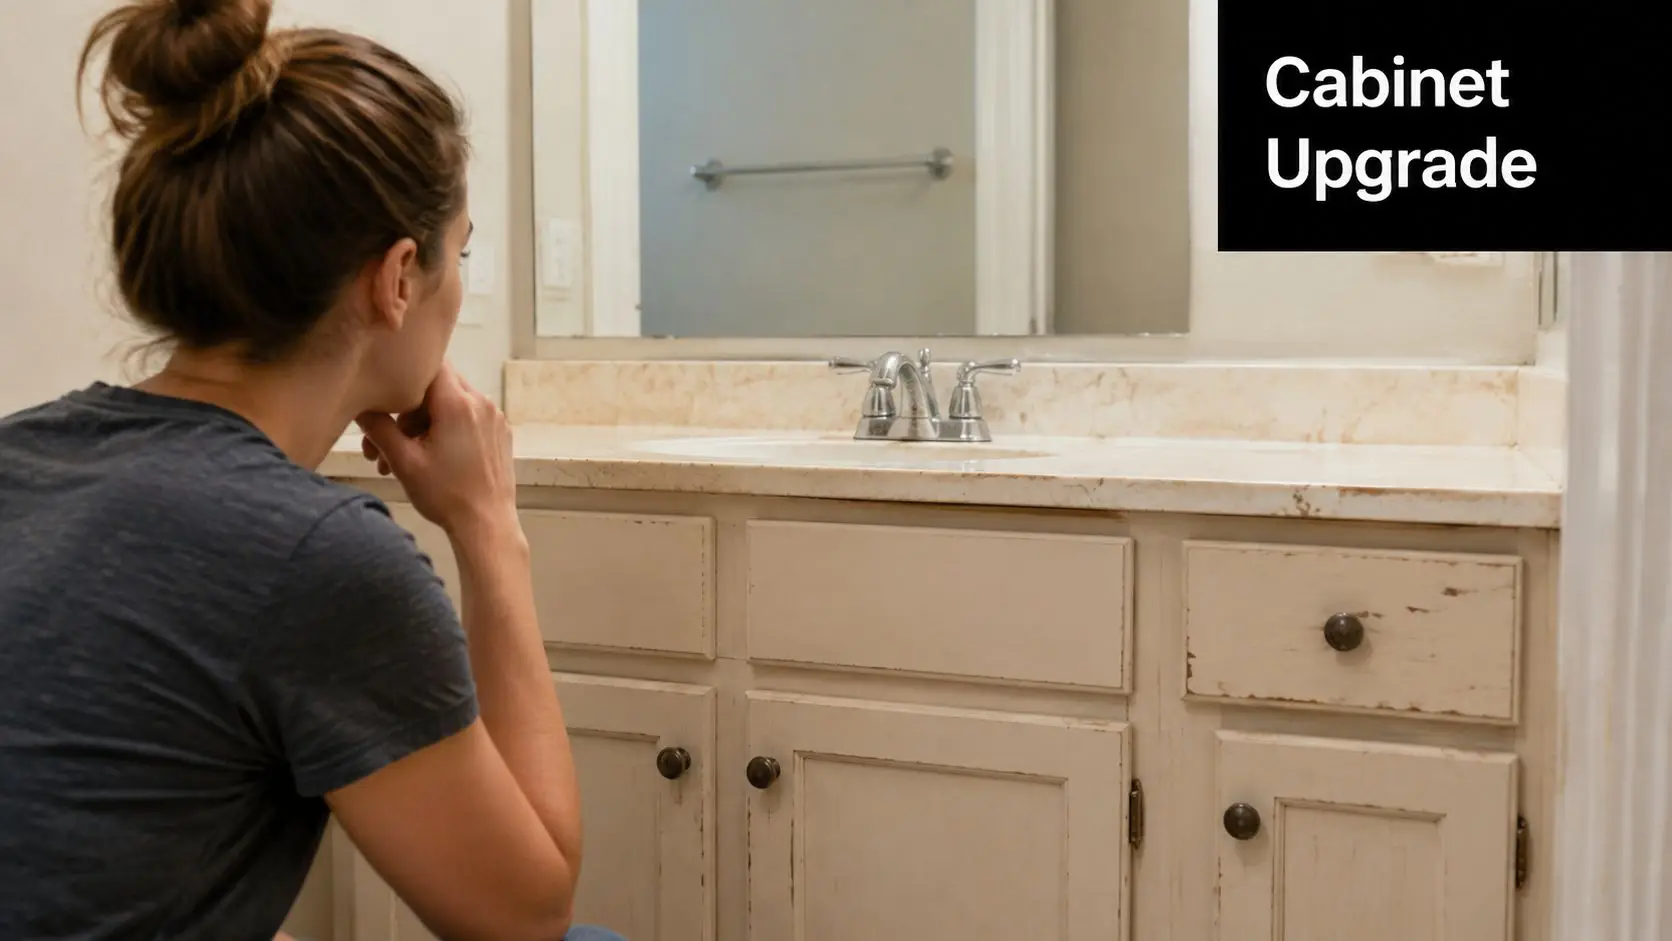
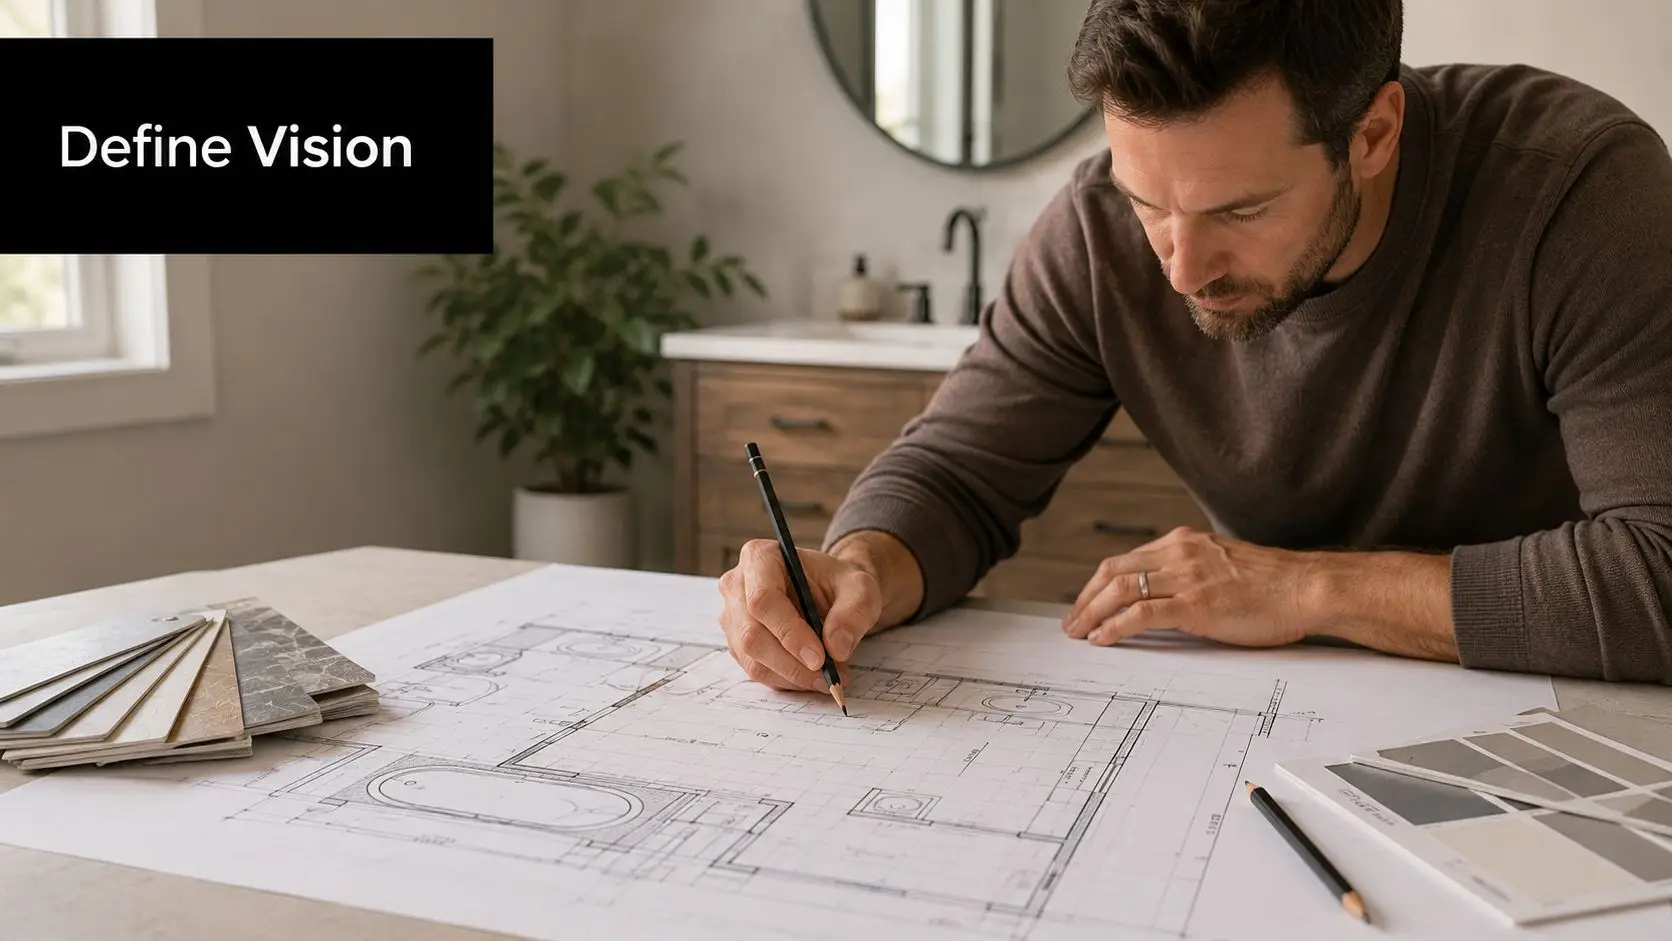
Defining Your Vision and Scope
A budget without scope is guesswork. Before you compare quotes or choose fixtures, decide what kind of project you're funding.
Some bathrooms only need a cosmetic update. Others need a full strip-out, waterproofing replacement, services review and layout redesign. Those are completely different jobs, and they sit in different pricing bands. Indicative Australian ranges place cosmetic upgrades at $10,000–$20,000, mid-range remodelling at $20,000–$35,000, and premium full reconfigurations at $35,000–$70,000+, with waterproofing required to comply with AS 3740, electrical work to AS/NZS 3000, and structural changes often triggering council approvals, as outlined by Joyce Kitchens' renovation guide.
Start with the type of renovation
If you're chasing savings, separate your project into one of these practical categories:
- Cosmetic refresh. Keep the room layout, retain most services, replace selected finishes and fixtures, and improve presentation.
- Functional remodel. Replace the room properly, update waterproofing and trades, and improve usability without major structural change.
- Full reconfiguration. Move plumbing points, alter walls or openings, and build a different room than the one you started with.
That distinction matters because every extra trade dependency adds cost and risk. A toilet staying where it is creates one budgeting path. A toilet moving to the opposite wall creates another.
Practical rule: If you can't describe the project in one sentence, you're not ready to budget it.
Match your ideas to your budget ceiling
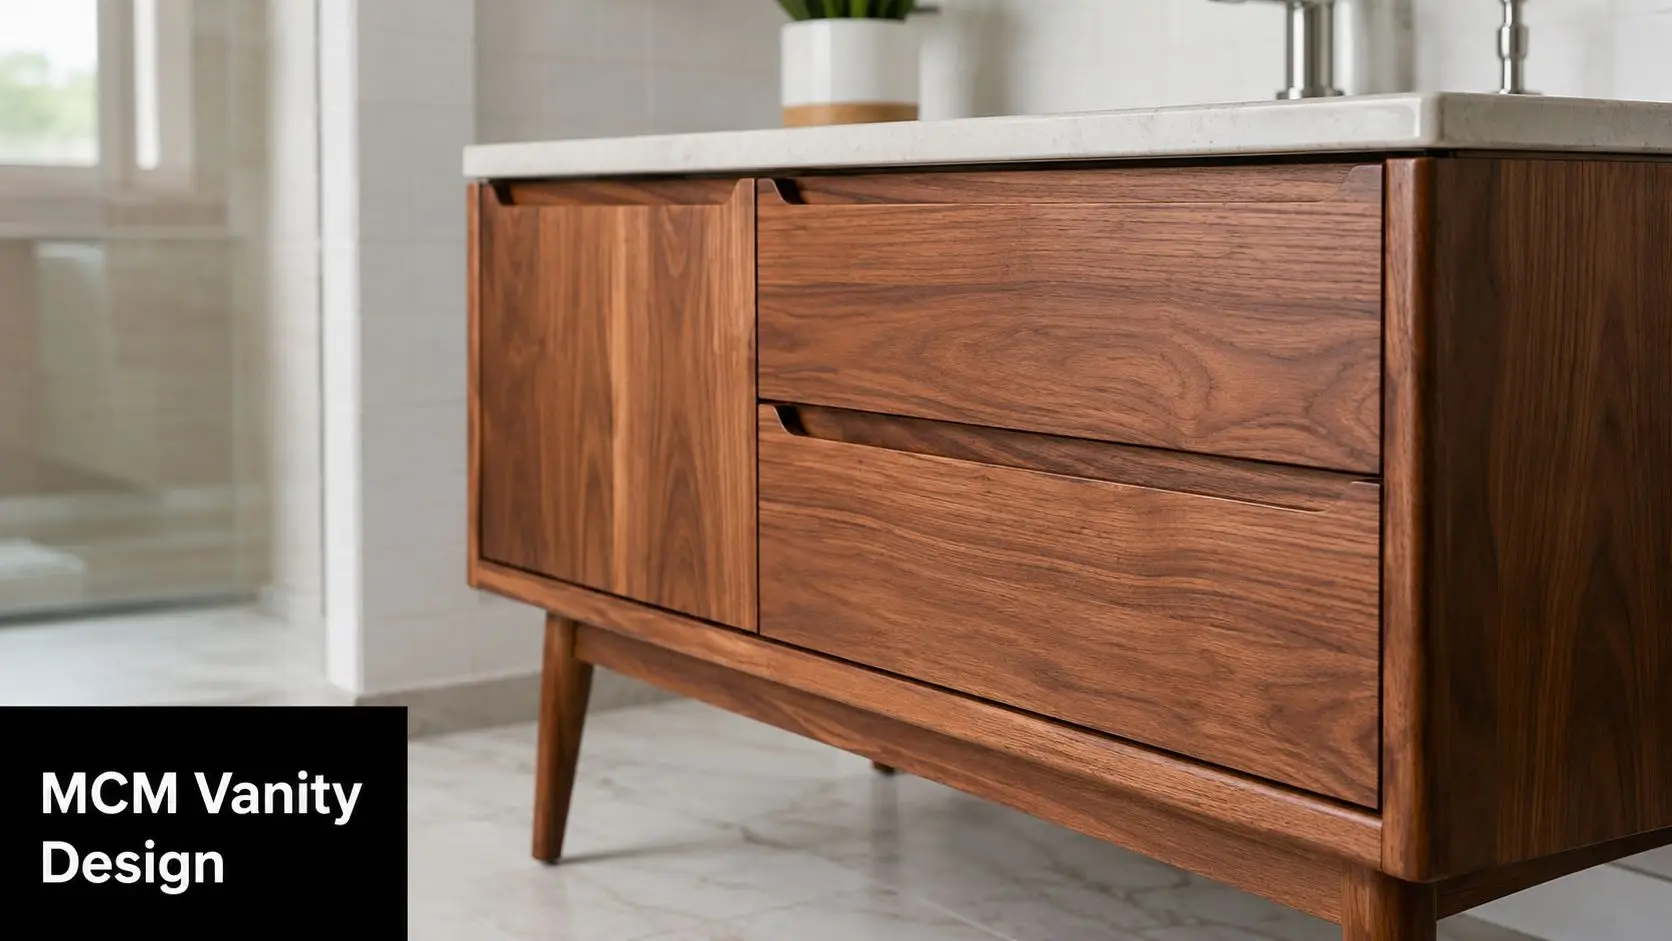
A lot of homeowners collect inspiration from modern bathrooms online, then price a very different project. That's where disappointment starts. A clean, restrained room with straightforward tiles and stocked fixtures can look sharp without entering the territory of fully bespoke designer bathrooms.
Use your inspiration properly. Ask these questions:
- What must change for the bathroom to work better? Think storage, shower size, ventilation, lighting, cleaning ease.
- What would be nice to change if the budget allows? Freestanding bath, custom vanity, feature tile, niche details.
- What can stay? Existing footprint, window position, waste locations, doorway, service points.
The best early planning tool isn't a shopping list. It's a scope list. If you need one, a bathroom renovation checklist for planning scope and layout helps organise the room before costs start drifting.
Scope creep is what breaks budgets
Most budget blowouts don't begin with one big decision. They come from five small ones. Changing tile format, shifting the shower screen, upgrading tapware, adding custom joinery, then deciding the room should feel more “architectural” all stack up.
Lock these items before pricing:
- Layout
- Fixture types
- Tile extent
- Vanity approach
- Whether the work is cosmetic or structural
That discipline is what turns scattered new bathroom ideas into a buildable plan.
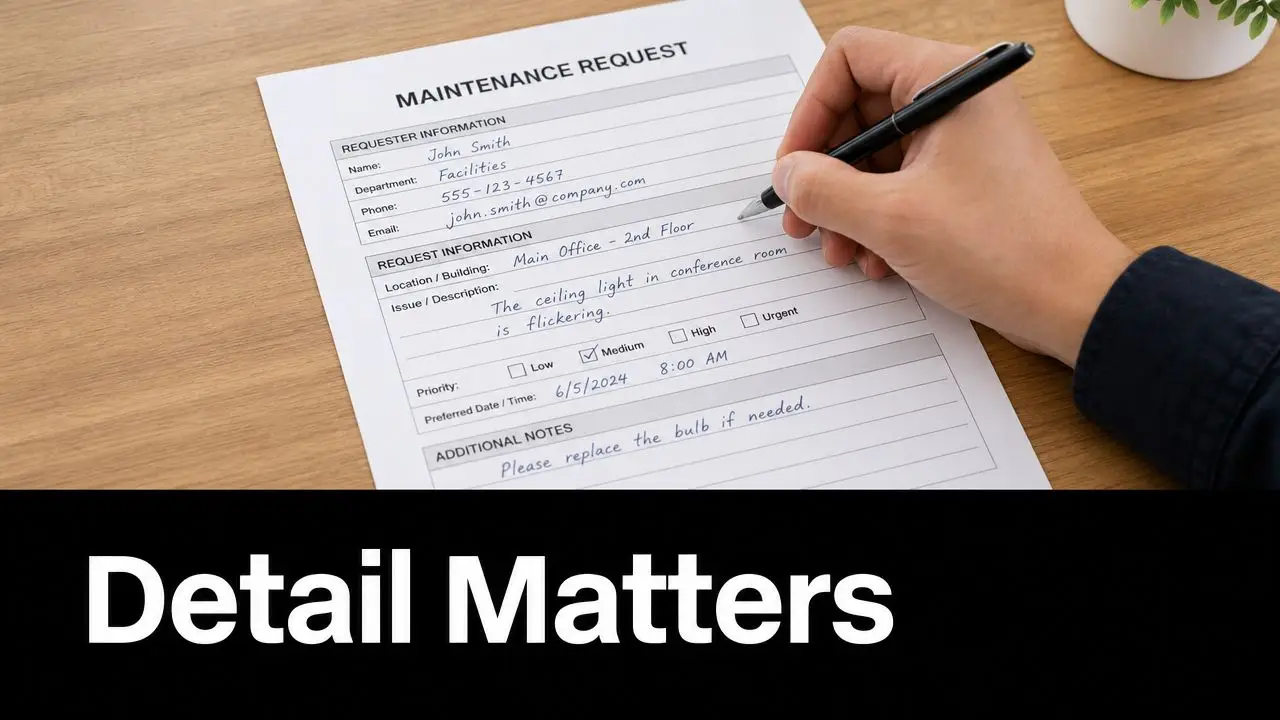
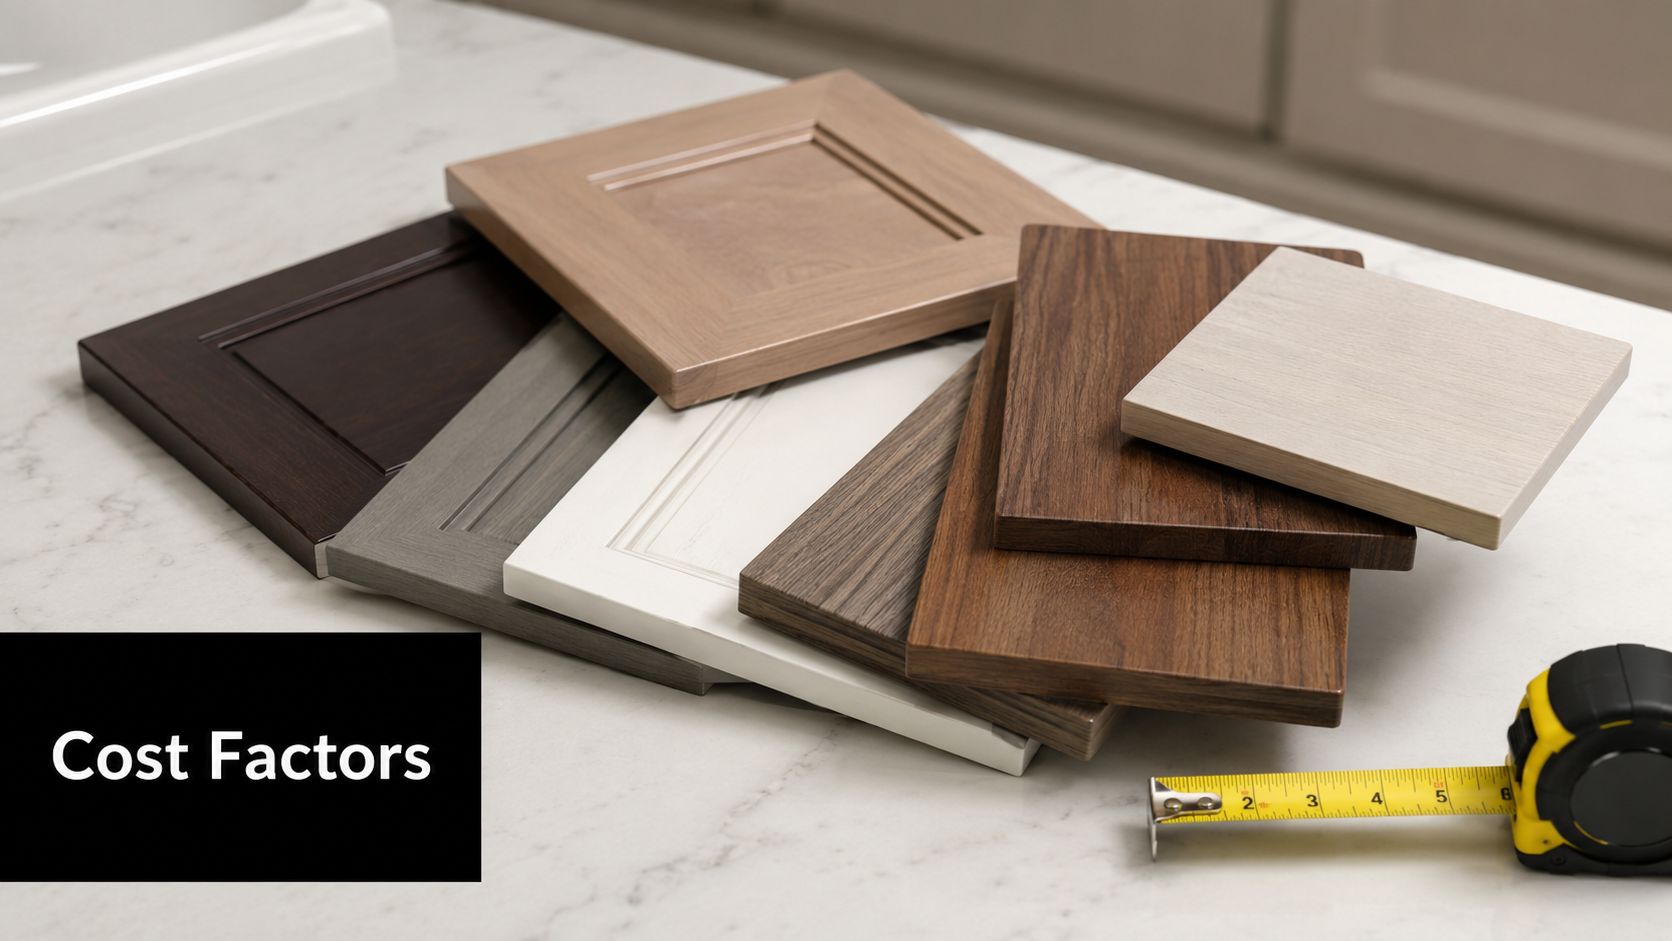
Itemising Your Bathroom Renovation Costs
Fixed scope still does not equal a working budget. The budget starts to hold together when every part of the job is priced in the order it will be built, not in the order you notice it on Pinterest or in a showroom.
In Melbourne and across Victoria, that matters more than many homeowners expect. Trade rates, apartment access, parking limits, older homes, and stricter compliance expectations can shift the cost profile fast. A project that looks like a simple cosmetic update on paper can become a full rebuild once waterproofing, substrate repairs, or service upgrades are properly allowed for.
What to itemise first
Start with trade packages and site costs. Product selections come after that.
A workable budget should include:
- Demolition and strip-out. Removing old fixtures, wall linings, floor finishes, screed and waste.
- Plumbing work. Rough-in, fit-off, drainage changes, mixer relocations and fixture connections.
- Electrical work. Lighting, power, exhaust fans, heated rails, switch positions and compliance.
- Waterproofing. Membranes, bond breakers, floor wastes, certification where required, and the prep work before any membrane goes down.
- Carpentry and substrate preparation. Wall straightening, sheeting, floor corrections, noggings for fittings, door frame adjustments.
- Tiling and materials. Tiles, trims, adhesives, grout, levelling systems and extra labour for patterns or large-format tiles.
- Fixtures and fittings. Toilet, vanity, basin, tapware, shower set, screen, mirror, accessories and storage.
- Labour and project coordination. Scheduling, site supervision, trade sequencing and defect correction.
That order matters because hidden build costs usually decide whether the project stays in the budget range you planned.
A practical way to structure the budget
I usually tell clients to split the budget into three layers.
Layer 1: Core construction
Demolition, plumbing, electrical, waterproofing, carpentry, screeds, tiling labour and waste removal.
Layer 2: Fixtures
Vanity, toilet, tapware, shower rail, bath, mirror, storage, screen and accessories.
Layer 3: Finish upgrades
Feature tiles, niches, underfloor heating, custom joinery, premium tapware finishes and bespoke glazing.
This makes the trade-offs obvious. If the numbers tighten, cut from Layer 3 first. Protect Layer 1 as long as possible, because that is the part that keeps the room straight, watertight, compliant and easier to maintain.
Where budgets usually go wrong
Homeowners rarely blow the budget on one dramatic decision. The drift usually starts with finishes.
A tile may only cost a bit more per square metre, but the primary increase is often in labour. Large-format tiles can require flatter walls and floors. Patterns increase set-out time and cutting. A wall-hung vanity may trigger extra framing. A frameless screen can demand tighter tolerances across the whole room. Those are normal trade consequences, and they should be priced before you commit to the look.
The same applies to layout changes. Keeping existing waste points and plumbing locations usually gives better budget control. Moving a toilet, changing the shower position, or shifting the doorway can be worth doing, but those decisions push costs into demolition, plumbing, carpentry, waterproofing and tiling at the same time.
Use a builder's lens, even if you're budgeting yourself
DIY budgeting often works at fixture level. Builders price at system level.
That gap is where many Victorian bathroom budgets fail. A homeowner might allow for a vanity, toilet, taps and tiles, then miss substrate repair, floor levelling, rerouting services, disposal fees, delivery coordination and supervision. A registered builders unlimited firm prices those connections because they carry responsibility for how the whole room is built, not just how the finished room looks.
You do not always need a builder from day one. For a straightforward bathroom with no structural work and a stable layout, early budgeting can be done room by room. Once the project involves complex access, significant plumbing moves, structural changes, heritage conditions, apartment rules, or multiple trades overlapping tightly, professional pricing usually saves money by reducing omissions and contract variations.
If you want to test different layouts and finish levels before requesting formal quotes, this bathroom renovation cost calculator for comparing renovation scenarios gives you a better starting point than pricing fixtures in isolation.
Keep the budget realistic for Melbourne
National averages can help set expectations, but local delivery conditions should shape the actual budget. In Melbourne, I would rather see a client spend more on proper waterproofing, reliable trade coordination and sensible layout decisions than chase a premium finish package that leaves no room for the build itself.
Good budgeting is detailed, a little conservative, and honest about what the room needs first. That is how you protect the result and avoid turning a standard bathroom renovation into an expensive recovery job.
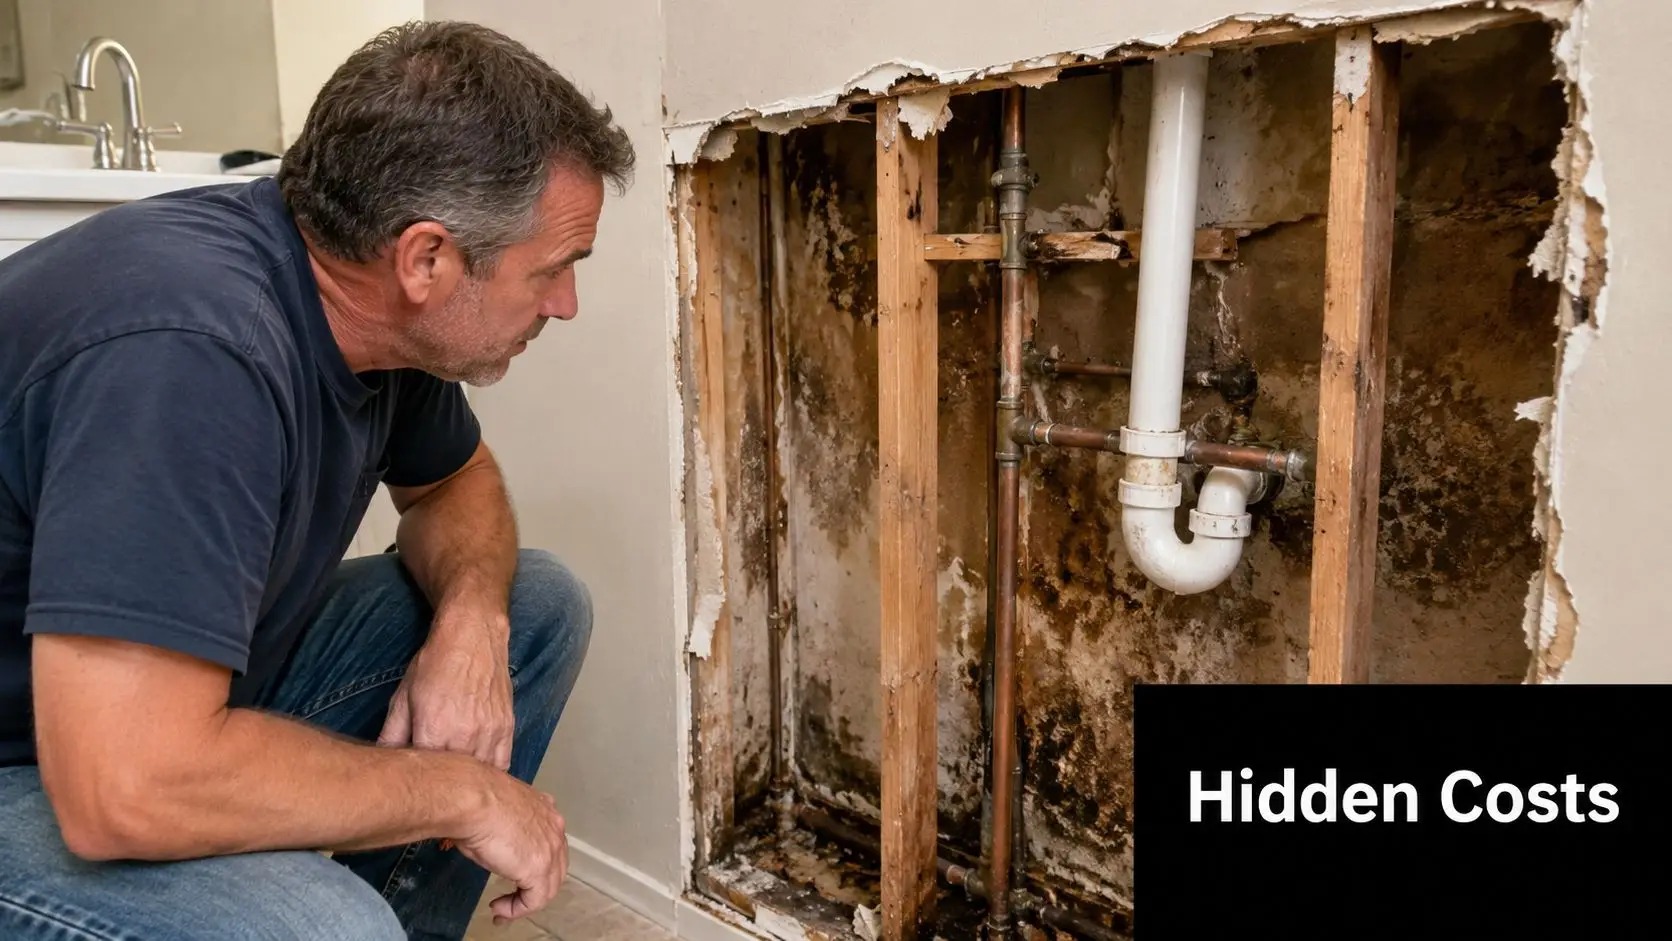
Planning for Unexpected Expenses and Hidden Costs
The budget that survives is the one that expects trouble. Bathrooms are demolition-heavy rooms, and demolition reveals things the old surfaces were hiding.
Industry guidance recommends holding a 10% to 20% contingency buffer, specifically because opening a bathroom can expose issues like water damage or outdated plumbing. The same guidance notes that basic council building permit fees typically range from $500 to $1,000 in Australia, with more extensive work potentially costing more, as outlined by CO-architecture's bathroom renovation cost advice.
What usually sits behind the walls
Bathrooms age from the inside out. Tiles can look acceptable while the substrate, services or framing tell a different story once the room is stripped.
Common hidden issues include:
- Water ingress behind showers and around failed seals
- Outdated plumbing that no longer makes sense to reconnect into a new room
- Electrical non-compliance that has to be corrected when works are opened up
- Structural irregularities that affect lining, tiling and fixture installation
None of these are unusual. They're part of renovating older bathrooms properly.
If your budget has no contingency, the first concealed defect becomes a design decision you didn't plan to make.
Why contingency isn't optional
Homeowners sometimes treat contingency like spare money they hope not to use. It's better to think of it as risk funding. If you need it, the project continues without panic. If you don't, you finish with a healthier financial outcome.
That buffer also protects quality. Without it, people tend to cut the wrong things once a surprise appears. They downgrade waterproofing scope, rush trade decisions, choose fixtures based only on immediate price, or delay required rectification. Those moves can create far bigger costs later.
Permits and approvals belong in the budget
Another trap is treating compliance costs as someone else's problem. Structural changes can trigger council involvement, and even straightforward work may include permit-related expenses depending on scope. Those costs should sit in your budget from the start, not arrive as an unwelcome extra.
A clean budgeting approach includes:
- Known construction costs
- Approval and permit allowances where relevant
- A separate contingency reserve
- No overlap between the two
That separation matters. Permits aren't surprises. Hidden damage is.
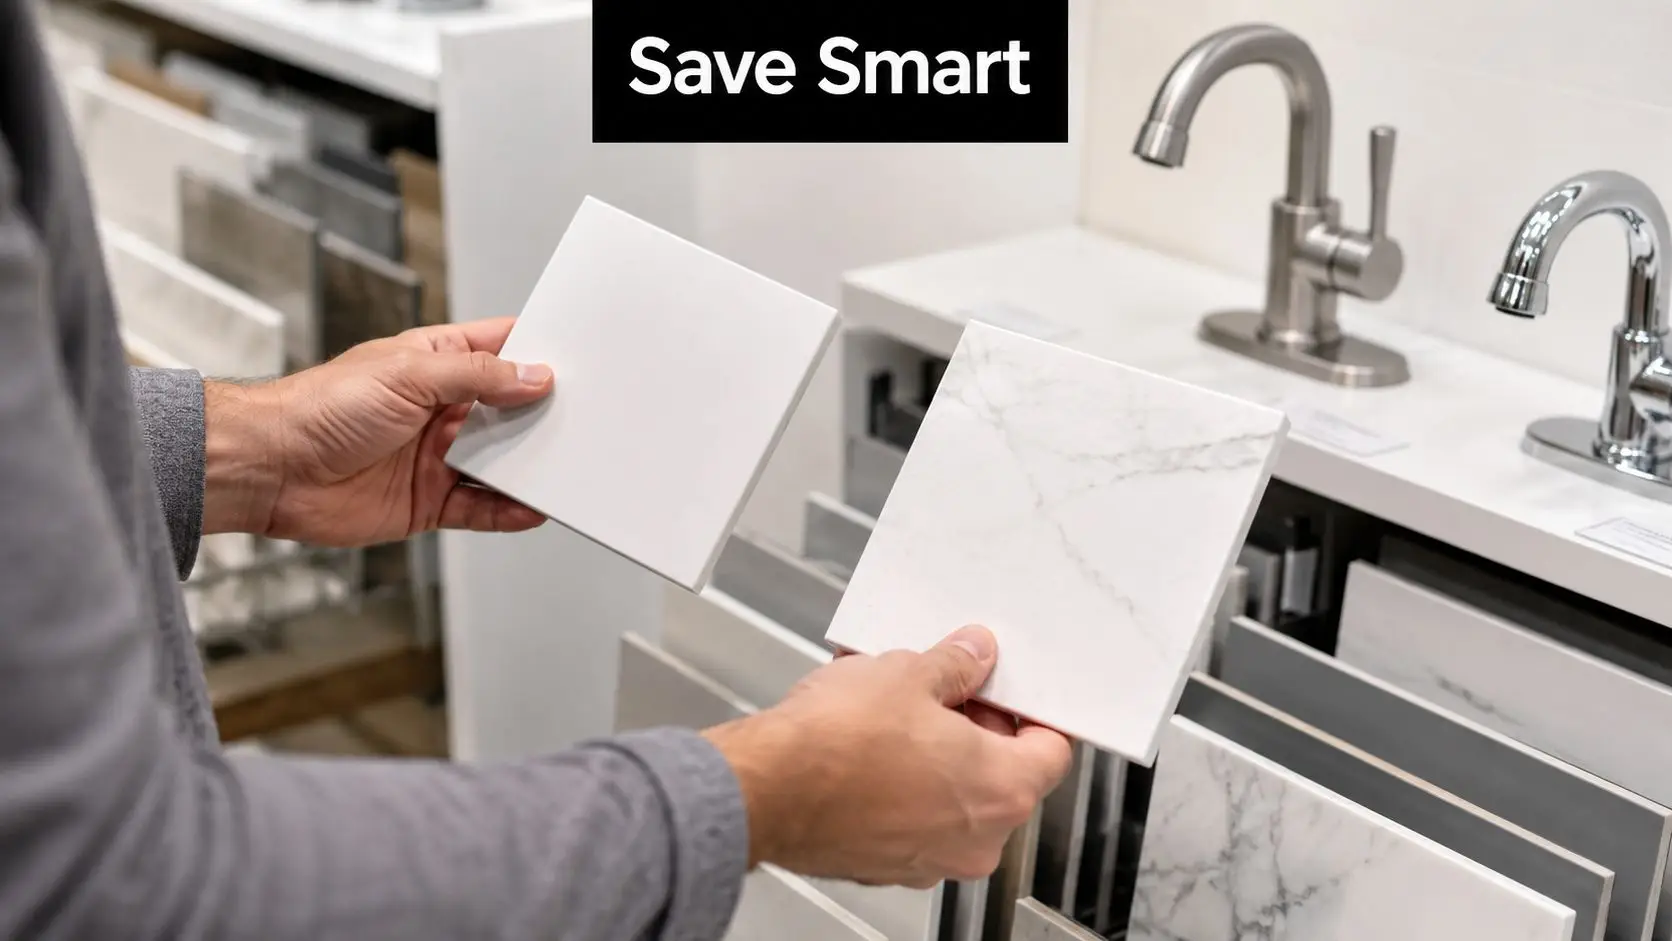
Smart Ways to Save Money on Your Remodel
The cheapest bathroom isn't always the smartest one. The goal is to spend less without building a room that dates quickly, wears badly or needs correction work.
The biggest saving move is also the least glamorous. Keep the existing plumbing layout wherever possible. A verified Australian renovation guide notes the hidden cost of layout inertia clearly: moving plumbing even 50cm can dramatically increase costs, and bathroom renovation pricing can run from $2200–$5500 per square metre, which is why preserving the original layout is the most effective way to stay under the $15k mark for a budget renovation in many cases, according to Three Birds Renovations' bathroom cost discussion.
Save on the expensive parts first
If you want your budget to hold, target the items that trigger extra labour and coordination.
- Keep services in place. Leaving the toilet, shower and vanity in their existing positions usually saves more than any sale-priced tapware ever will.
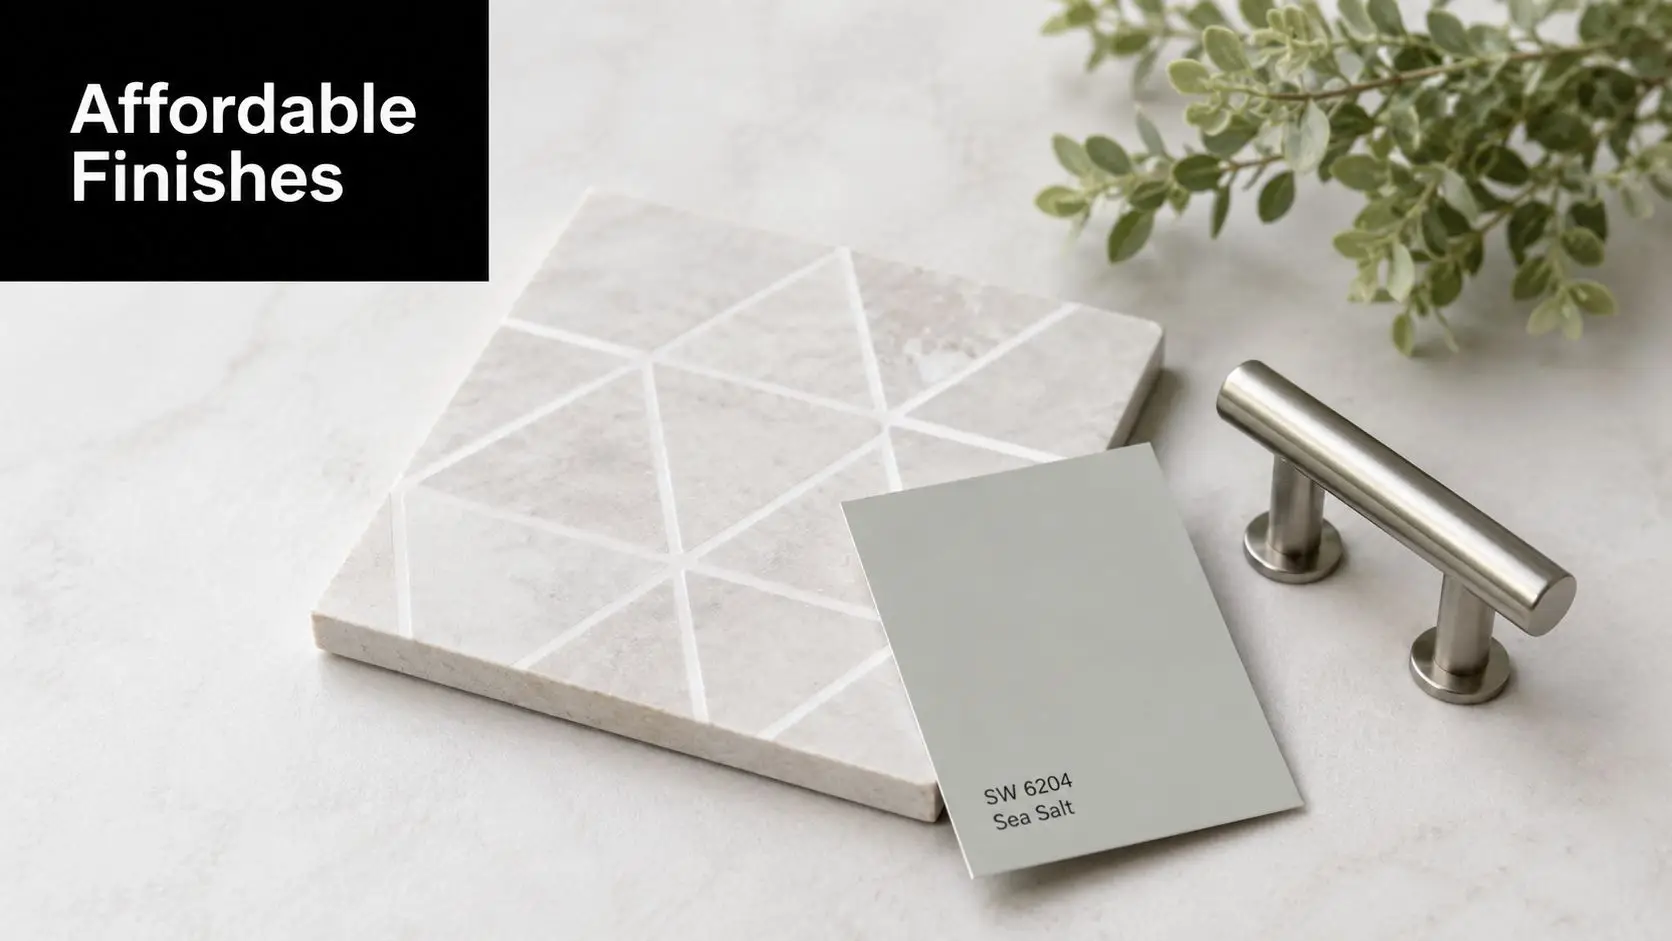
- Reduce tile complexity. Simple tile sizes and straightforward laying patterns usually cost less to install and waste less material.
- Choose stocked fixtures. Readily available products reduce delay risk and make replacements easier if anything arrives damaged.
- Use custom work selectively. A custom vanity can be worthwhile, but not every element needs to be bespoke.
Spend where it improves function
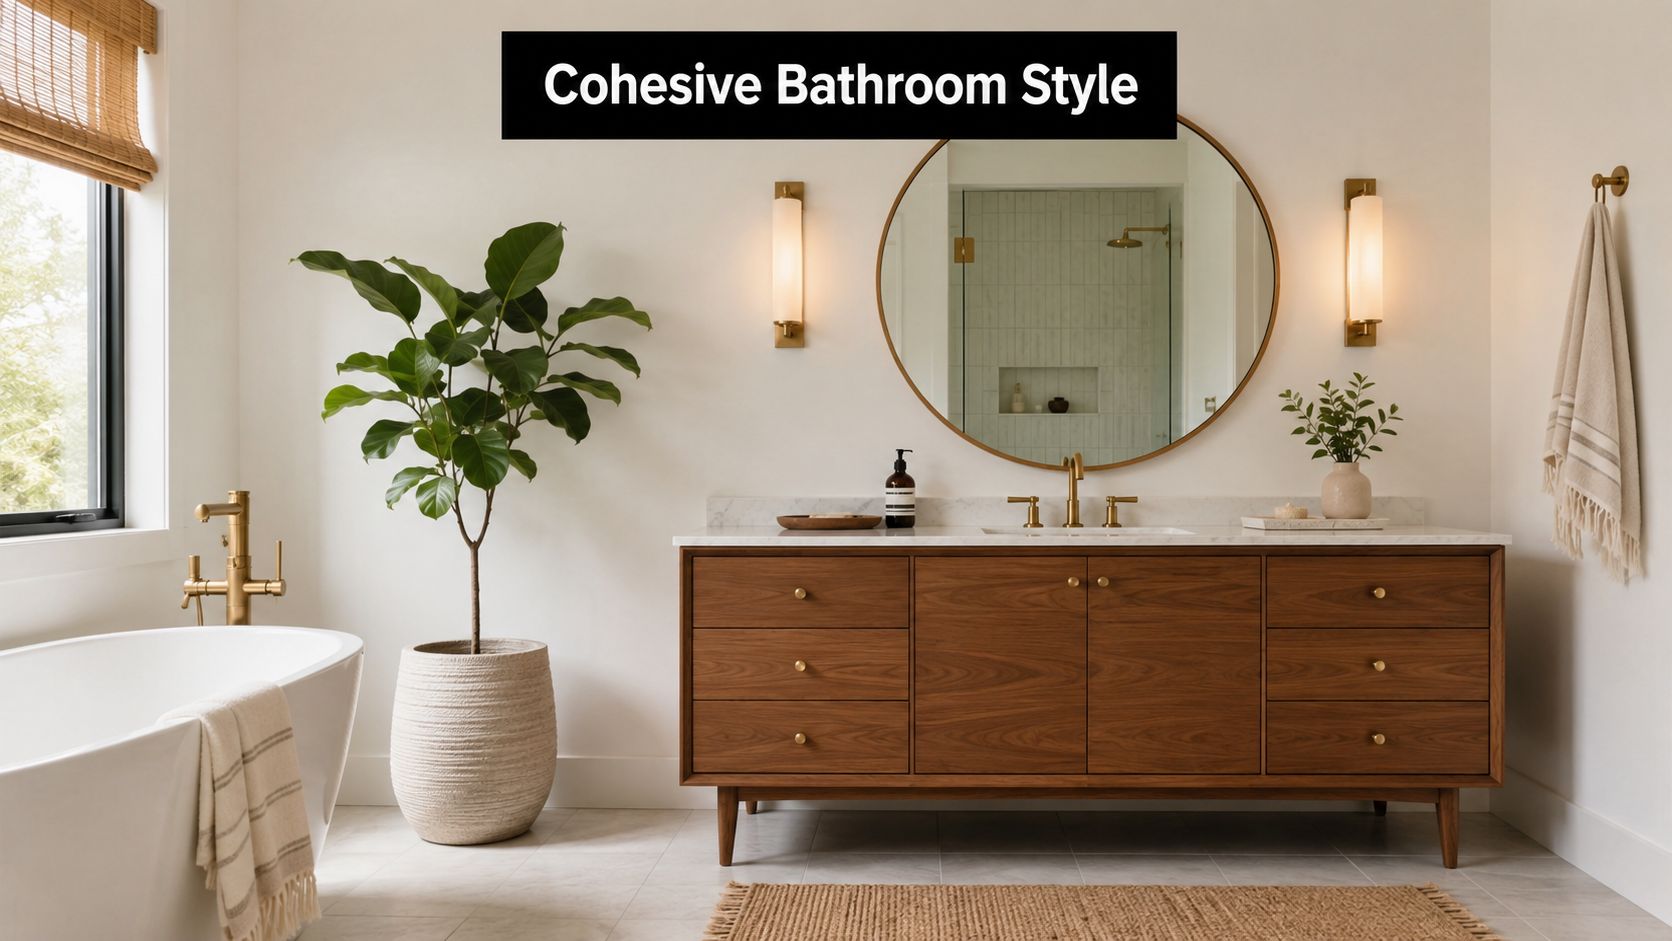
Practical planning trumps social media inspiration. Good modern bathrooms don't need every upgrade at once. They need smart priorities.
Focus your money on:
- Storage that fits daily use
- Lighting that works at the mirror
- Shower screens and fixtures that are easy to clean
- Durable surfaces in wet zones
- Ventilation and detailing that help the room last
You can still create strong visual impact. Large-format wall tiles, a cleaner vanity profile, a framed mirror and restrained finishes often deliver a more polished result than chasing every trend.
Budget filter: If a change adds cost but doesn't improve function, longevity or maintenance, question it hard.
What DIY can do, and what it usually can't
There's a difference between DIY budgeting and DIY building. Homeowners can often save money by handling selection work carefully, comparing fixtures, avoiding reactive upgrades and doing low-risk tasks outside the wet construction sequence. But bathrooms are still compliance-heavy rooms.
That's why the most effective saving strategy usually isn't “do more yourself”. It's “make fewer expensive changes”. In practical terms, that means protecting the layout, locking selections early and choosing materials that are attractive without creating unnecessary installation complexity.
Financing Your Project and Integrating a Timeline
Most homeowners fund a bathroom remodel from one of a few common pathways. They use savings, short-term credit, equity access through their home loan, or a dedicated renovation finance product. The right option depends on your wider finances, not just the room itself.
The important point is this. The funding method should support the build sequence, not pressure it. If your cash flow only covers the first half of the renovation, decision-making gets worse when materials need to be ordered or a variation appears.
Match the finance method to the build
A simple refresh can often be managed differently from a full-service renovation. In Melbourne, anecdotal local pricing shared in a renovation discussion puts a small ensuite at around $25,000 for a full service build, while a DIY-style approach where the homeowner sources trades and materials could land around $10,000–$12,000 if no structural changes are required, based on this Melbourne ensuite cost discussion.
That gap tells you something useful. You're not only paying for labour. You're paying for coordination, sequencing, accountability and less risk falling on the homeowner.
Timeline discipline protects the budget
A bathroom budget isn't separate from the schedule. They're tied together. Delays in fixture selection, stock arrival, access to trades or approval timing can force rushed substitutions or leave trades waiting on site.
A better process looks like this:
- Lock selections early so ordered items are known before the build starts.
- Confirm who is supplying what because confusion over fixtures and fittings causes delay fast.
- Allow time for fabrication items such as custom joinery or stone-related work.
- Avoid changing the design once works begin because timeline drift often becomes budget drift.
If you're learning how to budget a bathroom remodel properly, treat time as a cost control tool. The cleaner the sequence, the fewer expensive decisions you'll make under pressure.
When to Hire a Professional for Your Bathroom Renovation
DIY can work for minor cosmetic changes. It usually stops working when the project needs trade sequencing, compliance oversight and cost control across multiple moving parts.

The moment your renovation includes waterproofing, electrical coordination, drainage changes, structural questions, council approvals or premium finish expectations, professional management becomes a budget protection measure. That's especially true if you want certainty around sequencing and accountability rather than managing each trade yourself.
The point where expert help saves money
A lot of homeowners assume hiring professionals automatically costs more. On paper, yes, the upfront contract amount may be higher than piecing the job together yourself. In practice, self-managed builds often absorb hidden costs through delays, misordered fixtures, rework, compliance issues and fragmented responsibility.
A professional team earns its place by controlling variables:
- The scope is documented before demolition starts
- Trades are sequenced in the right order
- Selections are locked before they create delays
- Compliance requirements are managed properly
- Variations are easier to identify and price
That's the difference between hopeful budgeting and managed budgeting.
When a registered builders unlimited firm makes sense
If you're reconfiguring the room, coordinating several licensed trades, or trying to achieve a refined finish rather than a basic update, a registered builders unlimited firm is often the safer financial call. Not because every project needs maximum complexity, but because some bathrooms stop being simple very quickly once the old room comes apart.
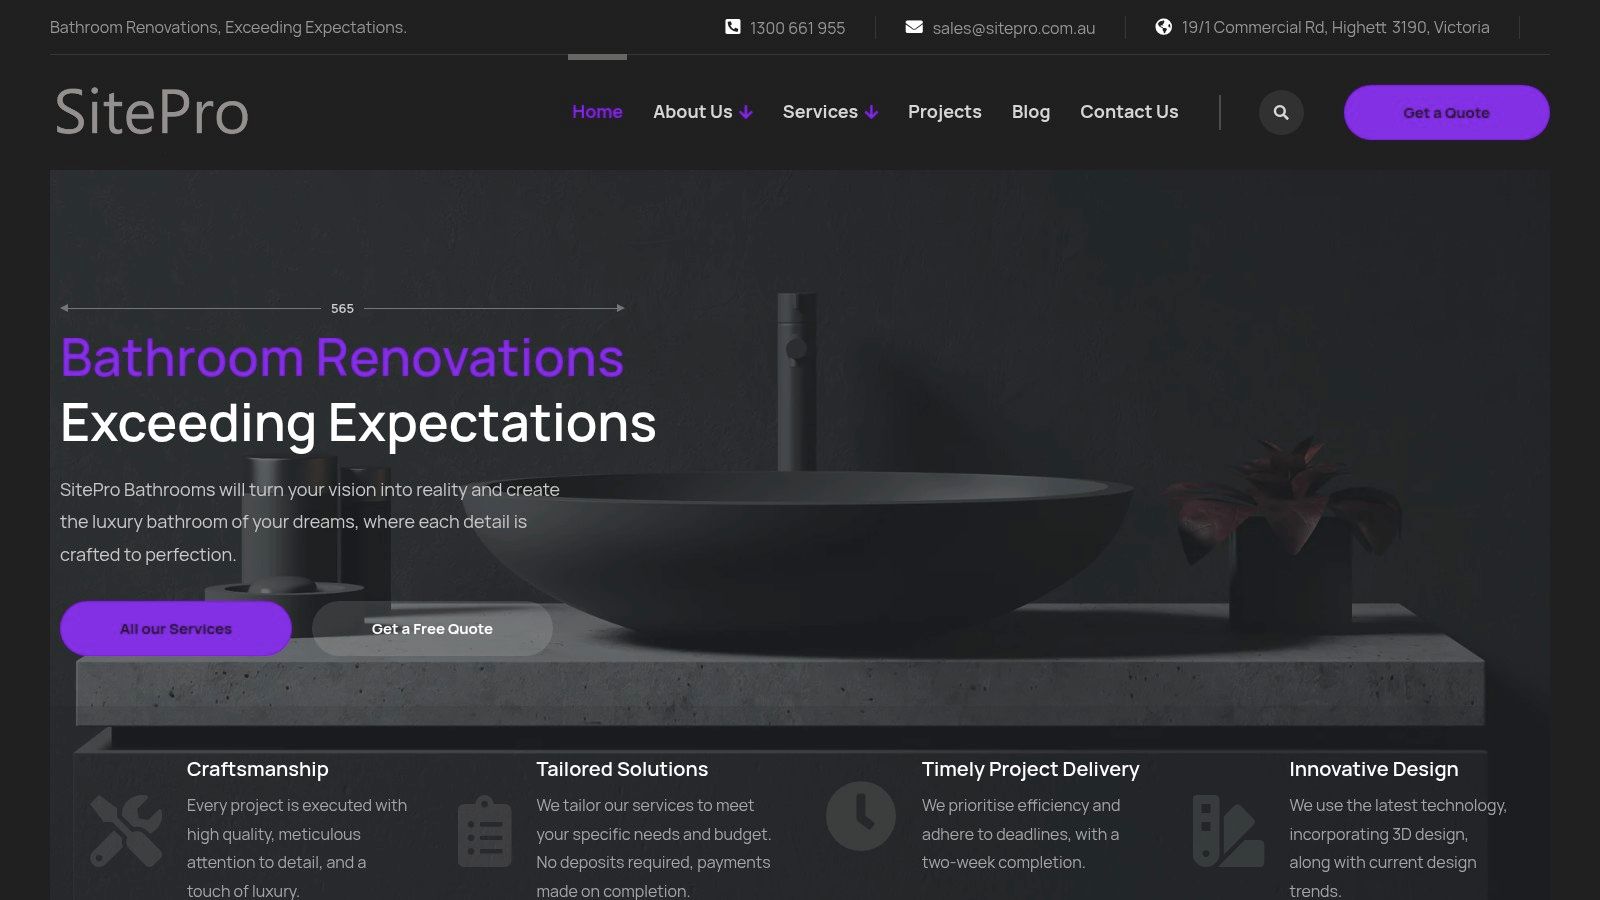
For homeowners who want one coordinated pathway from planning through construction, SitePro Bathrooms' bathroom remodel contractor service is one example of an end-to-end option in Victoria. The practical value in that model is clear scope management, organised trade delivery and a single point of responsibility.
The same logic applies whether you want a compact family bathroom, a polished ensuite, or one of the more bespoke designer bathrooms that require tighter finish control. Professional management doesn't just build the room. It protects the budget from the kind of mistakes that are expensive to fix later.
A realistic budget starts with scope, not shopping. Keep the layout stable where you can, separate essential construction costs from finish upgrades, hold a proper contingency, and don't underestimate the value of coordinated delivery. That's how bathroom renovations stay controlled, and that's how a project moves from ideas to a finished room without constant financial surprises.