Bathroom Renovations Yarraville
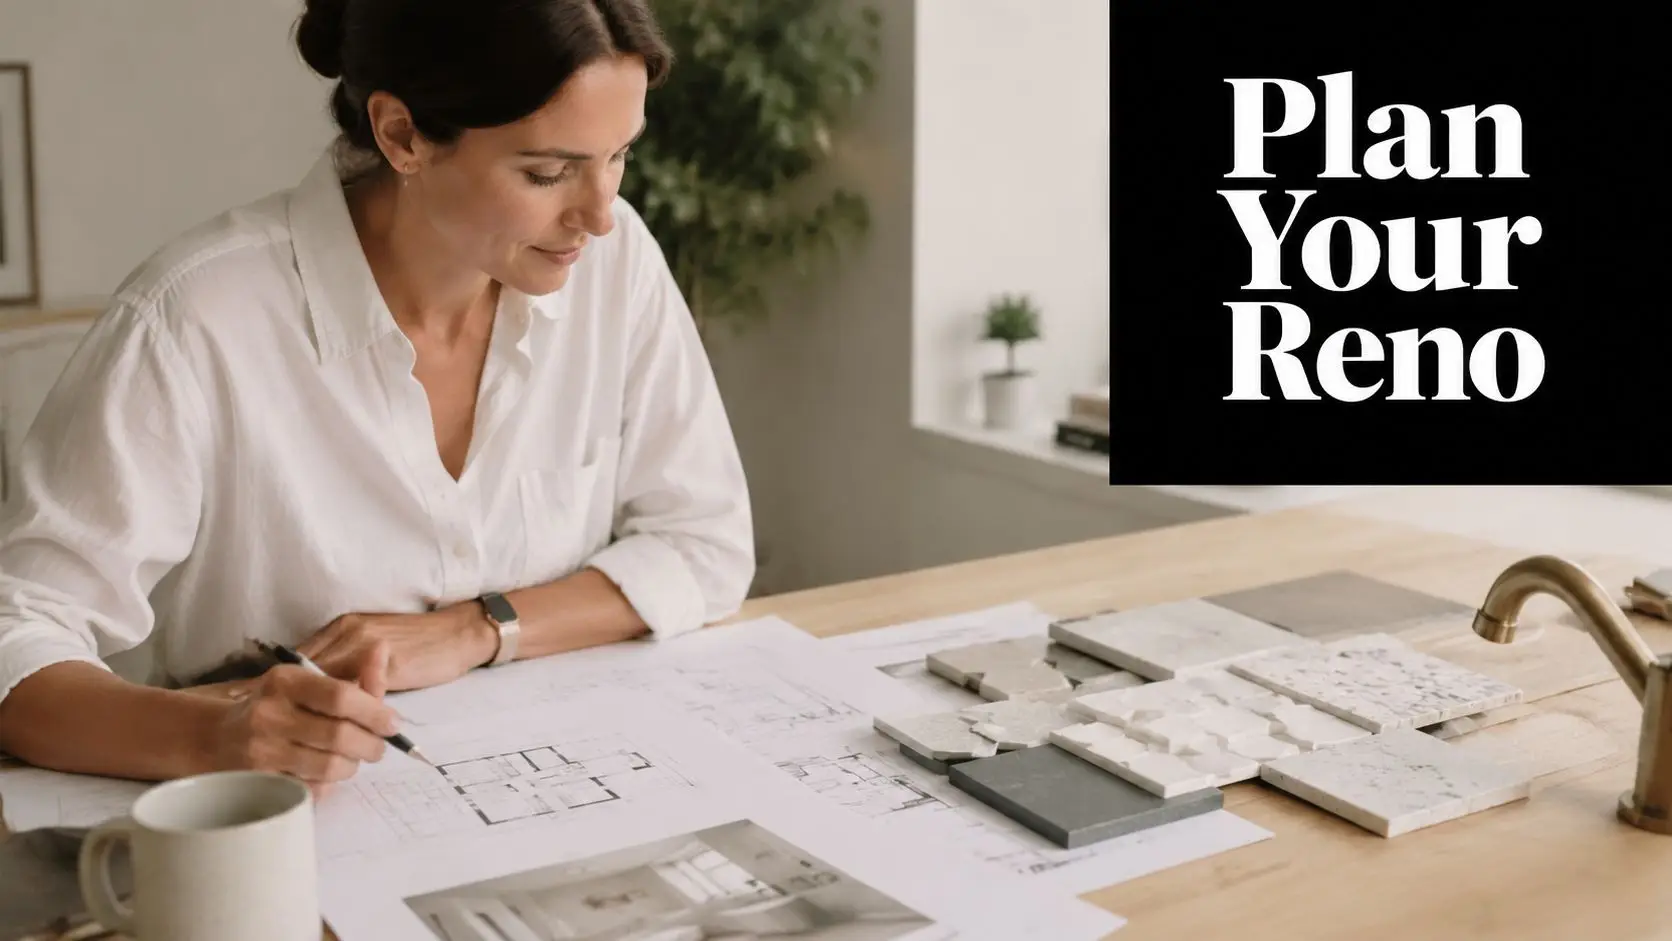
You're probably reading this because your bathroom no longer suits the way you live. The vanity is too small, the shower feels cramped, the exhaust struggles, and every rushed weekday morning turns into a traffic jam. In Yarraville, that's common. Plenty of homes have charm in all the right places, but the bathroom was built for a different era.
That's why bathroom renovations in this suburb need more than a standard quote and a mood board. Older homes often hide old pipework, tired subfloors, uneven walls, and access problems that don't show up until demolition starts. Good planning isn't about overthinking it. It's about avoiding expensive surprises, wasted time, and design choices that look good on paper but don't work in a tight Victorian floorplan.
Your Yarraville Bathroom Renovation Starts Here
You buy an older Yarraville home for the character, then six months later the bathroom starts testing your patience. The door swings into the vanity. The shower is tight. Storage is missing. The room feels tired, and once you look closely, the problems usually go past old tiles and dated tapware.
In this suburb, a bathroom renovation often starts with one question. Is the room basically sound and ready for an update, or are we dealing with a full strip-out because the plumbing, floor, and wall framing have reached the point where patching no longer makes sense?
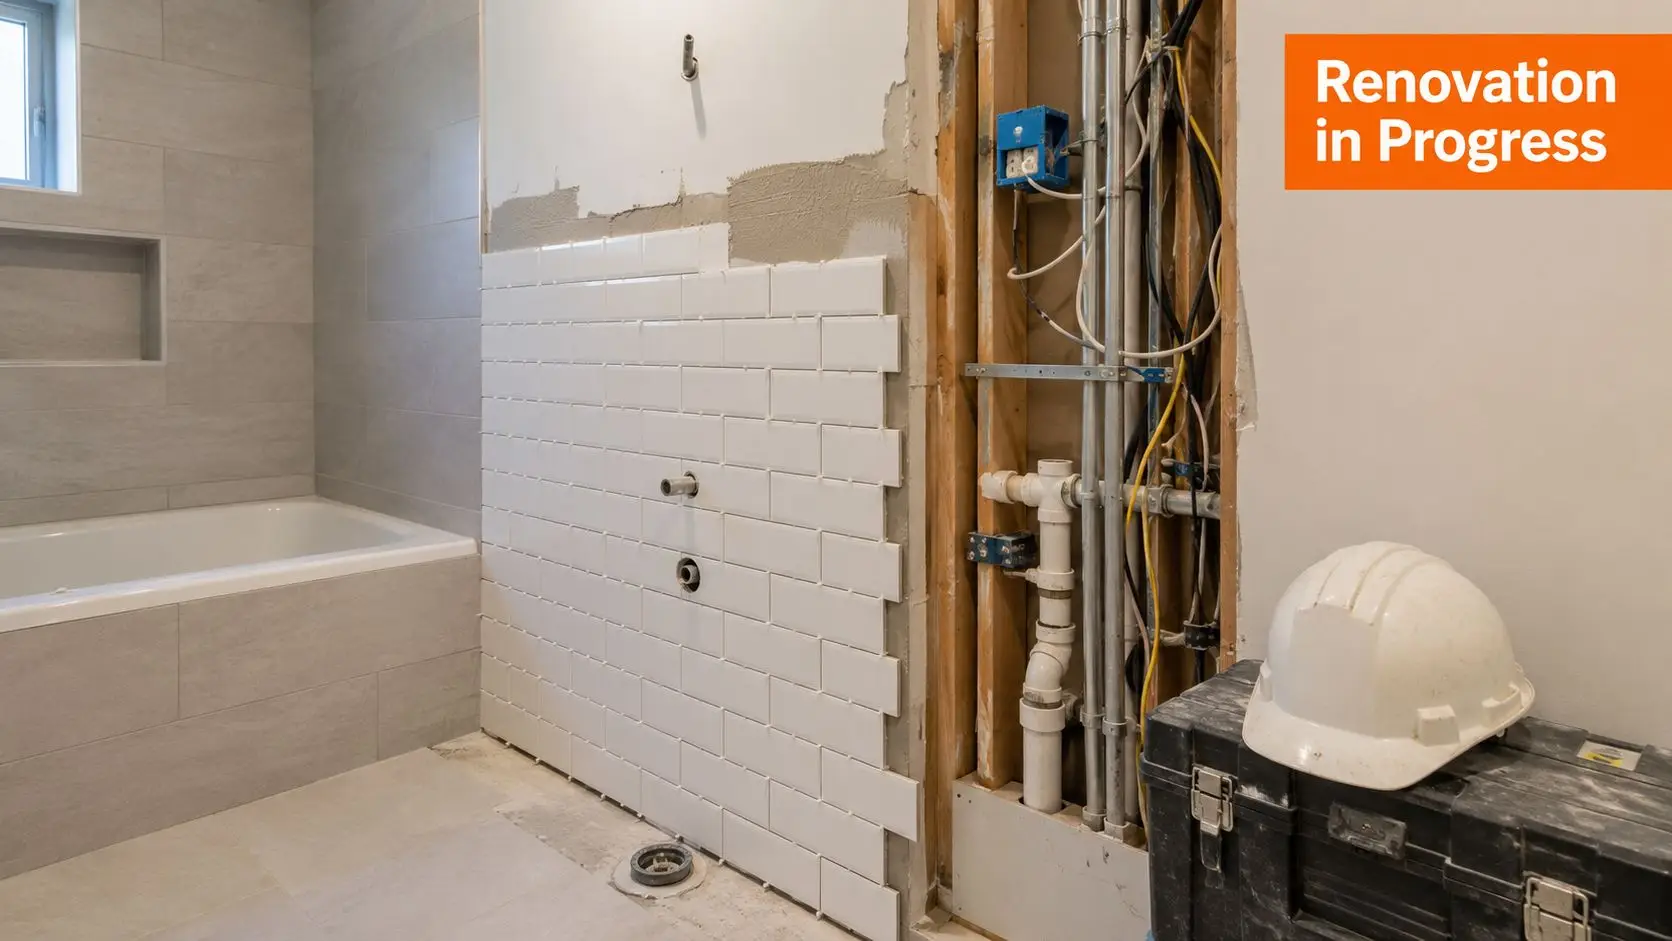
That distinction matters more in Yarraville than it does in many newer areas. Older weatherboards, terraces, and period homes can hide leaking shower bases, out-of-level floors, brittle pipework, previous DIY repairs, and wall surfaces that are nowhere near straight. A bathroom can look like a cosmetic job at first glance and turn into a proper rebuild once demolition begins.
That is why experienced renovators budget for the unknowns. In practice, I advise homeowners to keep a contingency aside for hidden work, especially in homes where the bathroom has not been opened up in decades. It is the difference between handling a subfloor repair properly and cutting back on fixtures later under pressure.
What catches Yarraville homeowners by surprise
- Services that need replacement: Old water lines, wastes, and isolation points often do not justify being left in place once the room is opened.
- Floors and walls that are out of square: Tiling, shower screens, vanities, and niches all take longer to set out neatly when the room is not true.
- Restricted access: Side paths are narrow, parking can be awkward, and moving demolition waste or full tile loads through an older home adds labour and time.
- Layout limits inside small footprints: Some floorplans will not suit a freestanding bath, oversized vanity, or separate shower without compromising circulation.
A good renovation solves those constraints instead of hiding them.
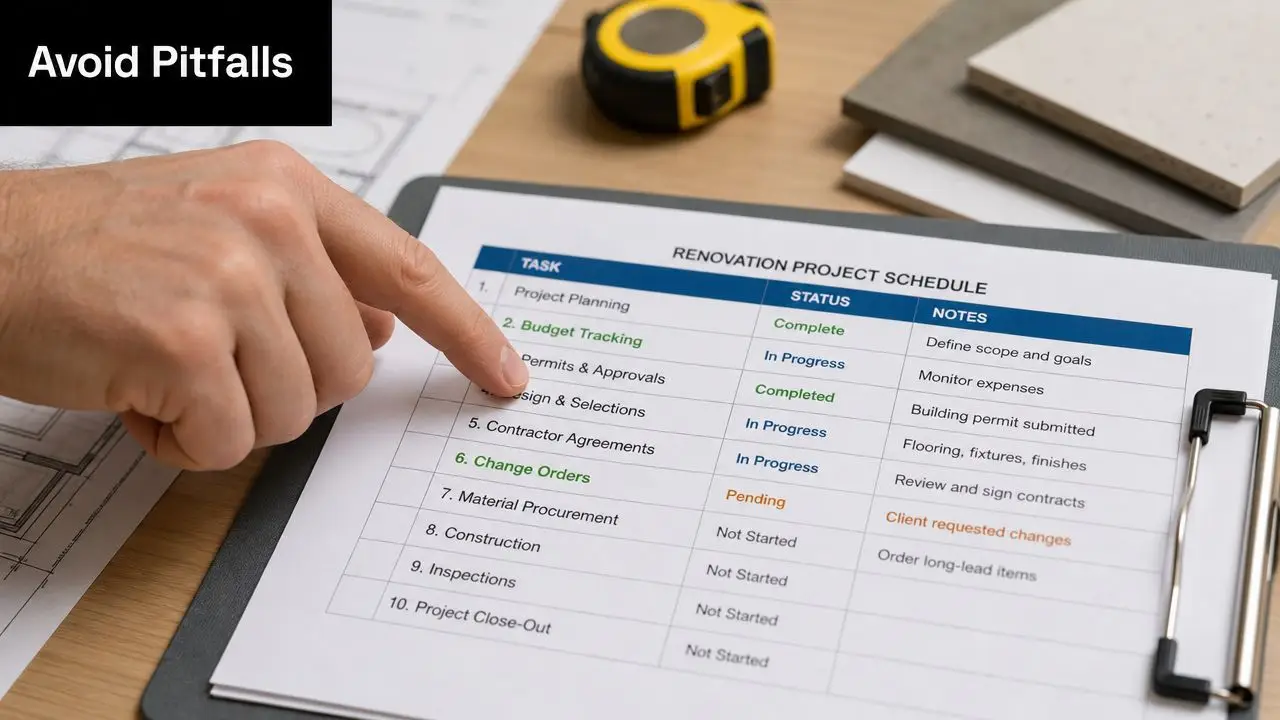
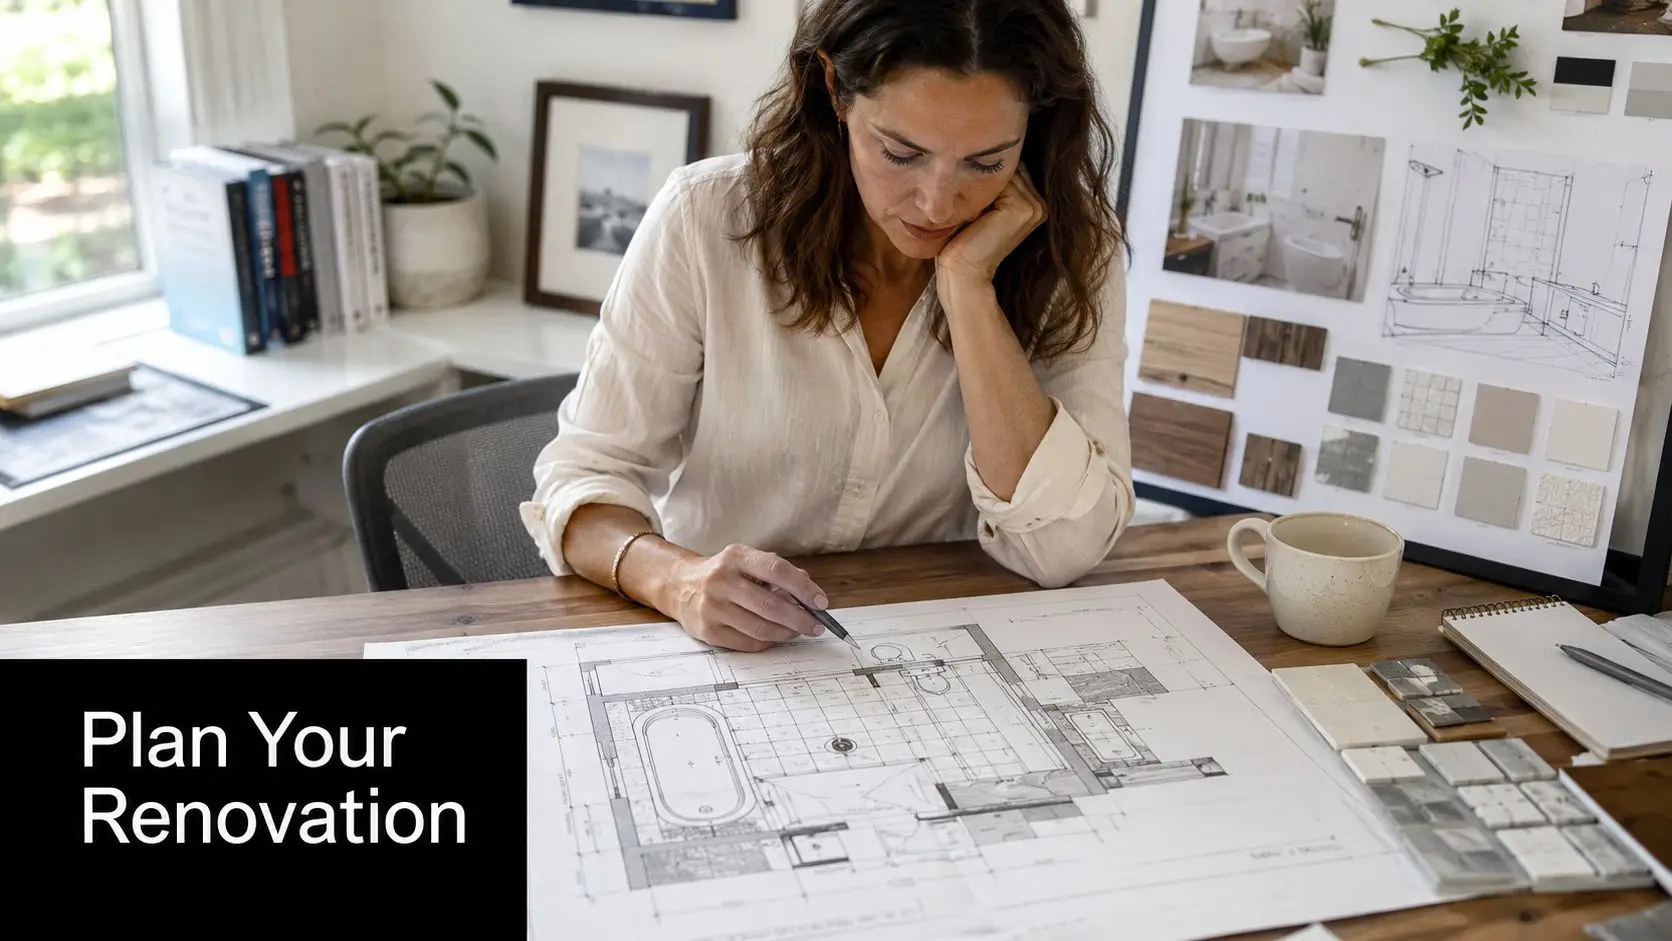
The early planning stage should cover layout, fixture priorities, waterproofing scope, ventilation, and whether any structural repairs are likely once the room is opened. Homeowners who want a realistic sense of sequencing should review a typical bathroom remodel timeline and project stages before locking in selections.
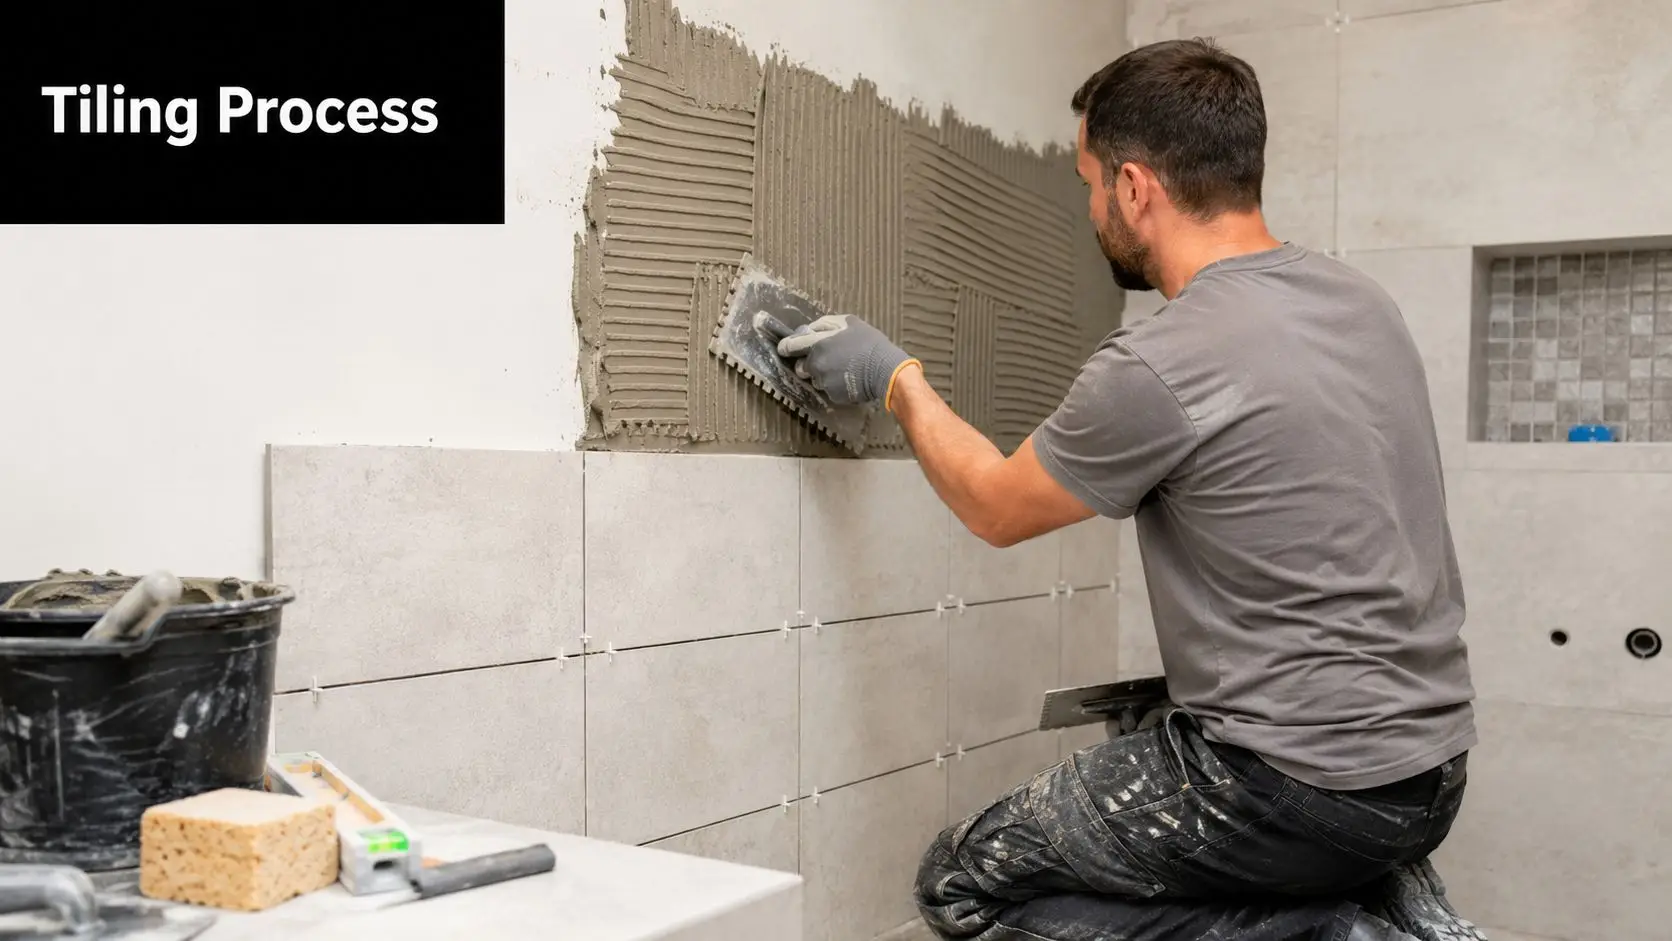
The finish is the part everyone sees. The result lasts because the framing, sheeting, falls, waterproofing, and services underneath were handled properly.
Decoding Costs and Timelines for Yarraville Renovations
You pull up the first tile in an older Yarraville bathroom and the budget can change in a day. What looked like a straightforward refit can turn into floor repairs, plumbing replacement, or extra wall preparation once the room is opened. That is why broad Melbourne averages often miss the mark here.
For 2026, a standard bathroom renovation in Yarraville usually sits from about $20,000 to $35,000, with a build period of roughly 4 to 6 weeks once work starts. A full-gut renovation with structural repairs, custom joinery, premium fixtures, or major plumbing changes will often run higher and take longer. Those are practical local estimates based on the type of housing stock in Yarraville, not optimistic entry-level figures that assume the room is straight, dry, and easy to access.
What the project scope changes
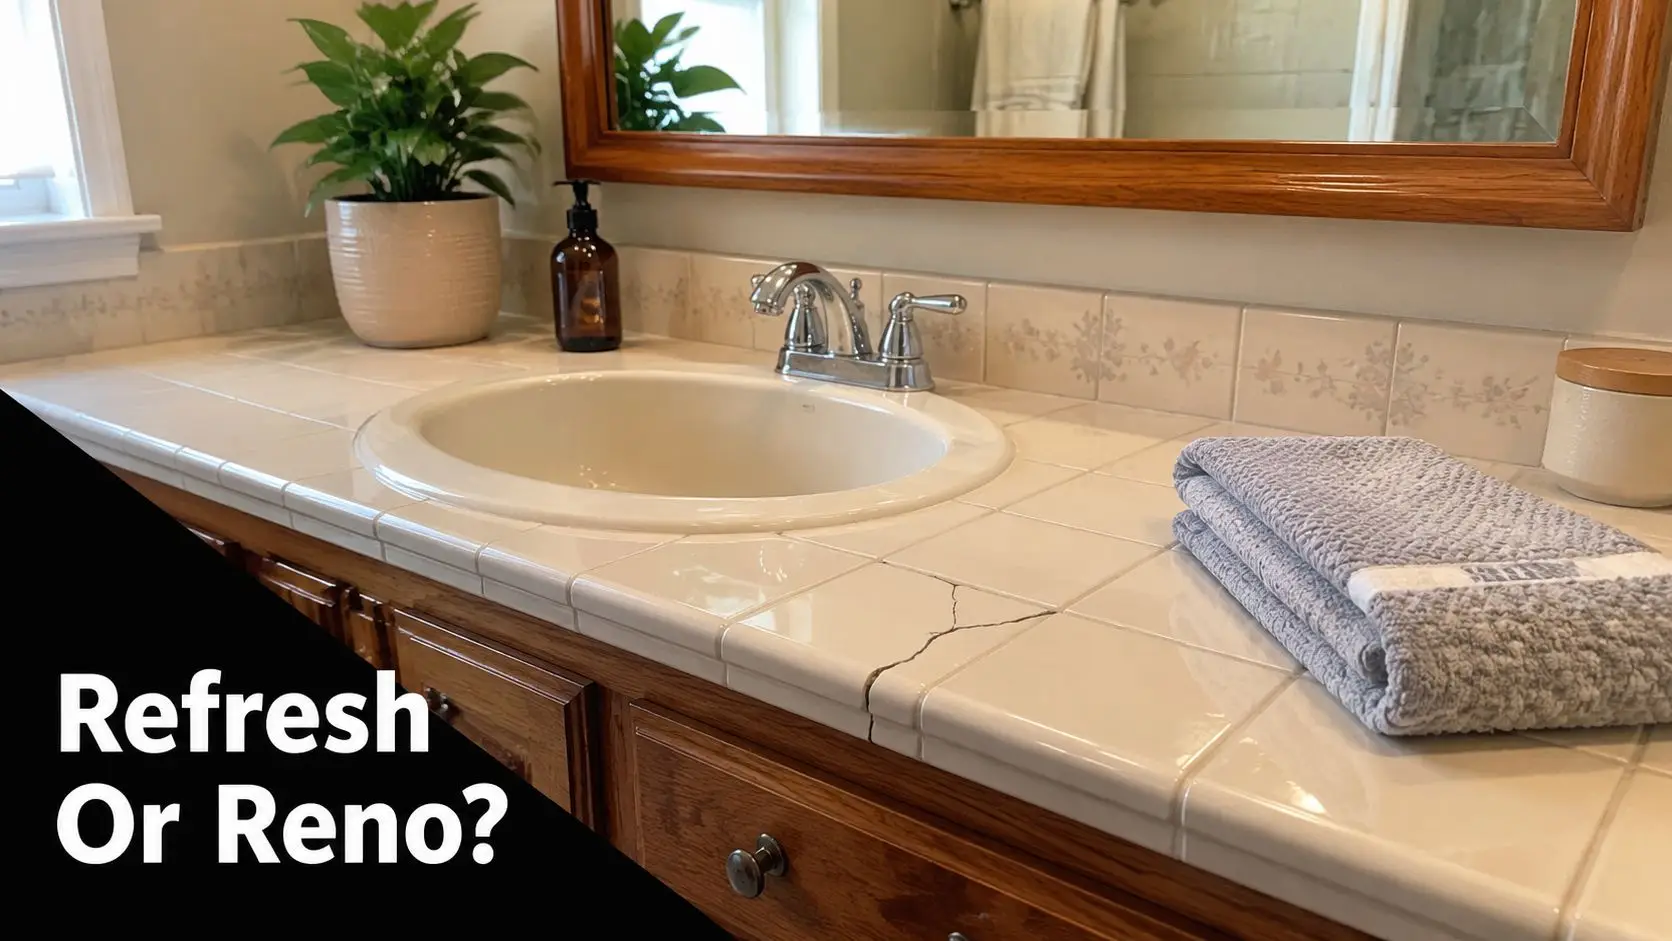
A cosmetic refresh suits a bathroom where the layout works, the waterproofing is not being disturbed, and the room only needs surface improvements. That might mean a new vanity, tapware, lighting, painting, and a few fixture swaps. It is the least disruptive option, but it only makes sense if the underlying condition is still sound.
A standard renovation is the bracket most Yarraville homeowners end up in. It usually includes demolition, new waterproofing, tiling, plumbing fixture replacement, electrical updates, and better use of the existing footprint. This is often the right balance between cost and long-term value.
A full-gut remodel is different. It is usually the right call in older weatherboards and period homes where the bathroom has poor falls, water damage, outdated services, or a layout that wastes space. Once walls and floors are opened, patching around those problems rarely saves money.
Yarraville Bathroom Renovation Scope Comparison 2026 Estimates
| Renovation Scope | Typical Cost Range (AUD) | Estimated Timeline | Key Inclusions |
|---|---|---|---|
| Cosmetic refresh | Lower than a full renovation, depending on what stays in place | Often shorter, if tiles and plumbing positions are retained | Vanity, fixtures, lighting, paint, minor surface updates |
| Standard renovation | Approximately $20,000 to $35,000 | Around 4 to 6 weeks | Demolition, waterproofing, tiling, plumbing and electrical upgrades, new fixtures, finishing |
| Full-gut remodel | Above the standard range, depending on repairs and specification | Often 6 weeks or more | Structural rectification, major plumbing changes, custom joinery, full rebuild, higher-end finishes |
Why older Yarraville homes cost more
The biggest cost increases are usually hidden at the start, not added at the end.
Subfloors in older homes are often out of level or damaged around previous shower areas. Walls may need packing and straightening before tiling starts. Original pipework can be undersized, poorly located, or not worth reconnecting to new fittings. None of that is decorative work, but it affects how well the finished bathroom performs.
Access also matters more in Yarraville than many homeowners expect. Narrow side paths, limited parking, and tighter lot layouts add labour to demolition, deliveries, and waste removal. On paper that can look minor. On site, it adds time.
Cheap allowances usually rely on everything behind the walls being usable. In older Yarraville homes, that is rarely a safe assumption.
If you are comparing builders or trying to plan around living arrangements, it helps to read a more detailed breakdown of how long a bathroom remodel should take at each stage.
Where money is well spent
- Preparation and waterproofing: These items prevent the failures that are expensive to fix later.
- Service upgrades: Replacing tired plumbing and electrical components while the room is open avoids paying twice.
- Layout improvements: A better shower position, more practical vanity, or recessed storage changes how the room works every day.
- Contingency: Older Yarraville homes need budget room for repairs that only become visible after demolition.
A realistic budget is not about overbuilding. It is about allowing for the kind of house you own.
New and Modern Bathroom Ideas for Your Home
You step into a typical older Yarraville bathroom and the problem is usually obvious within seconds. The room is tight, the doorway steals usable wall space, the shower feels boxed in, and there is nowhere sensible to put daily items without cluttering the vanity. Good design fixes those problems on paper before tiles and fittings are selected.
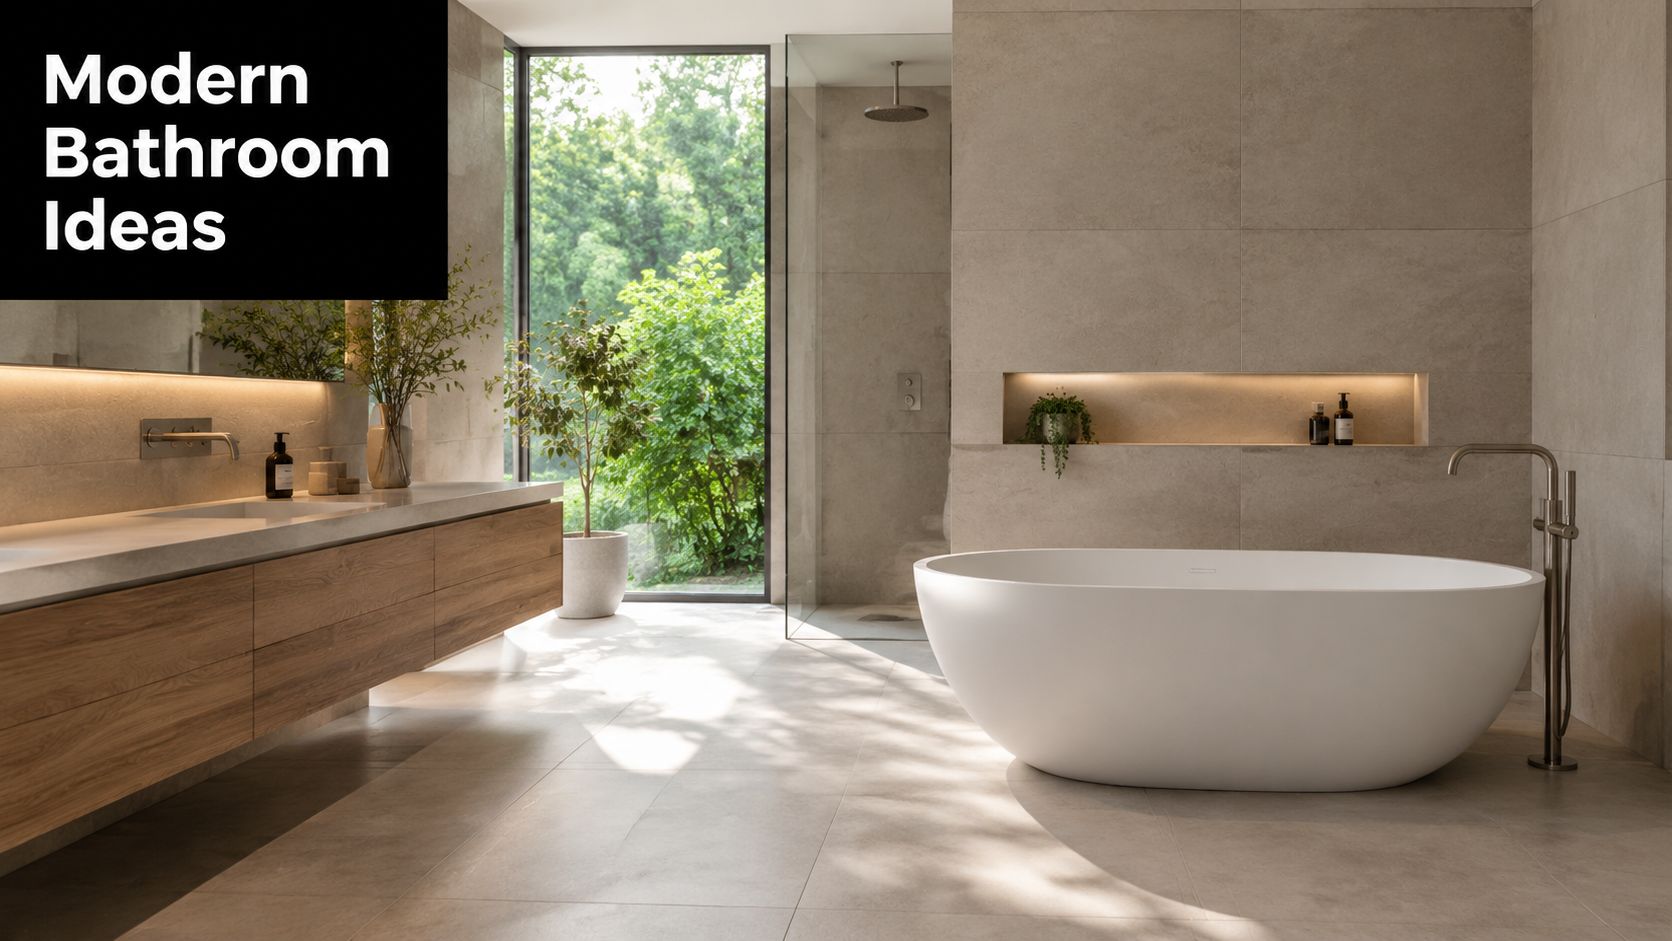
In Yarraville, modern bathroom design works best when it responds to the house, not just the style brief. Many local homes were built with smaller wet areas, irregular wall lines, and window positions that limit layout options. A plan that looks good in a new build can feel cramped fast in a period home if the vanity is too deep, the toilet pan projects too far, or the shower opening is squeezed into a corner.
That is why layout testing matters. Before construction starts, I prefer to map circulation carefully and check clearances around doors, drawers, screens, and towel placement. Homeowners often arrive with a shortlist of features they like. Wall-hung vanity, walk-in shower, shaving cabinet, freestanding bath. Some make sense together. Some do not once you allow for the room size and the way the household uses it each morning.
Space-saving ideas that work in older Yarraville bathrooms
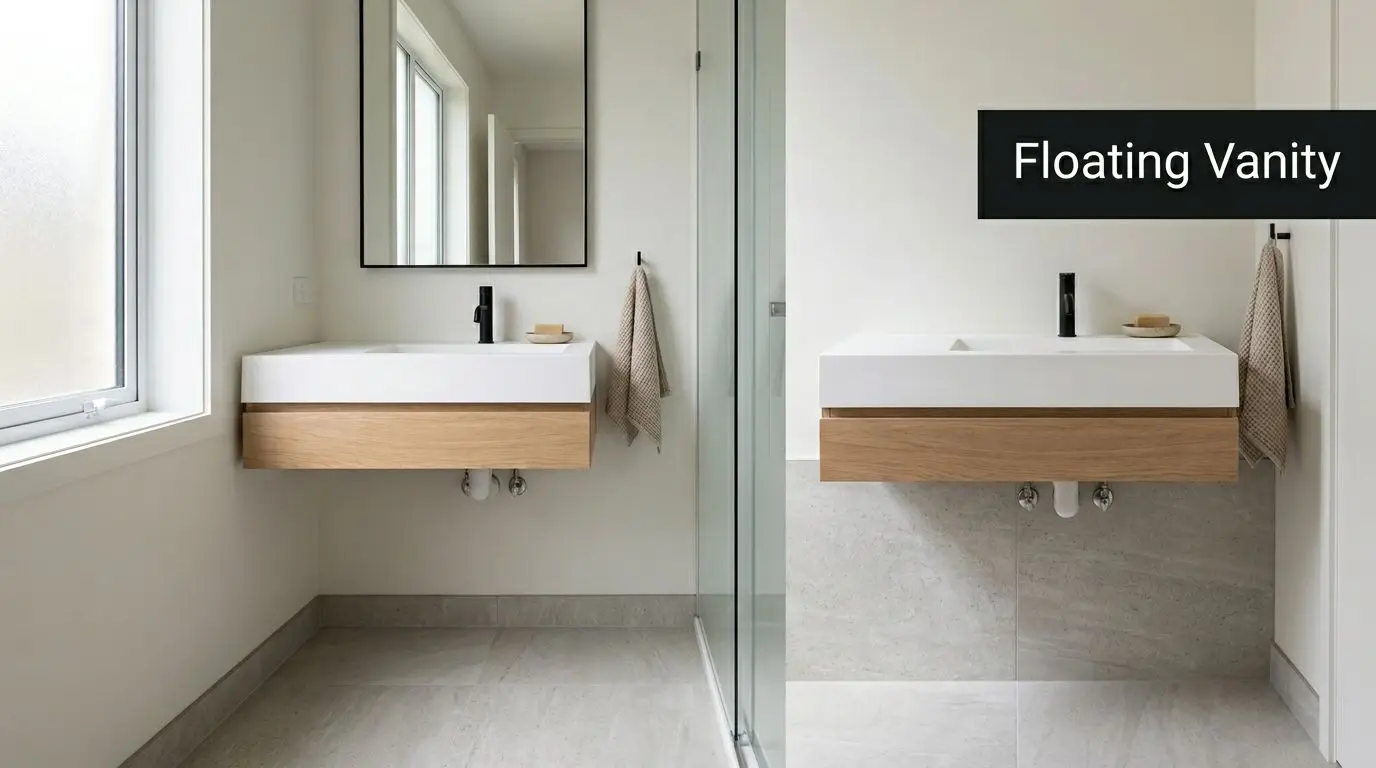
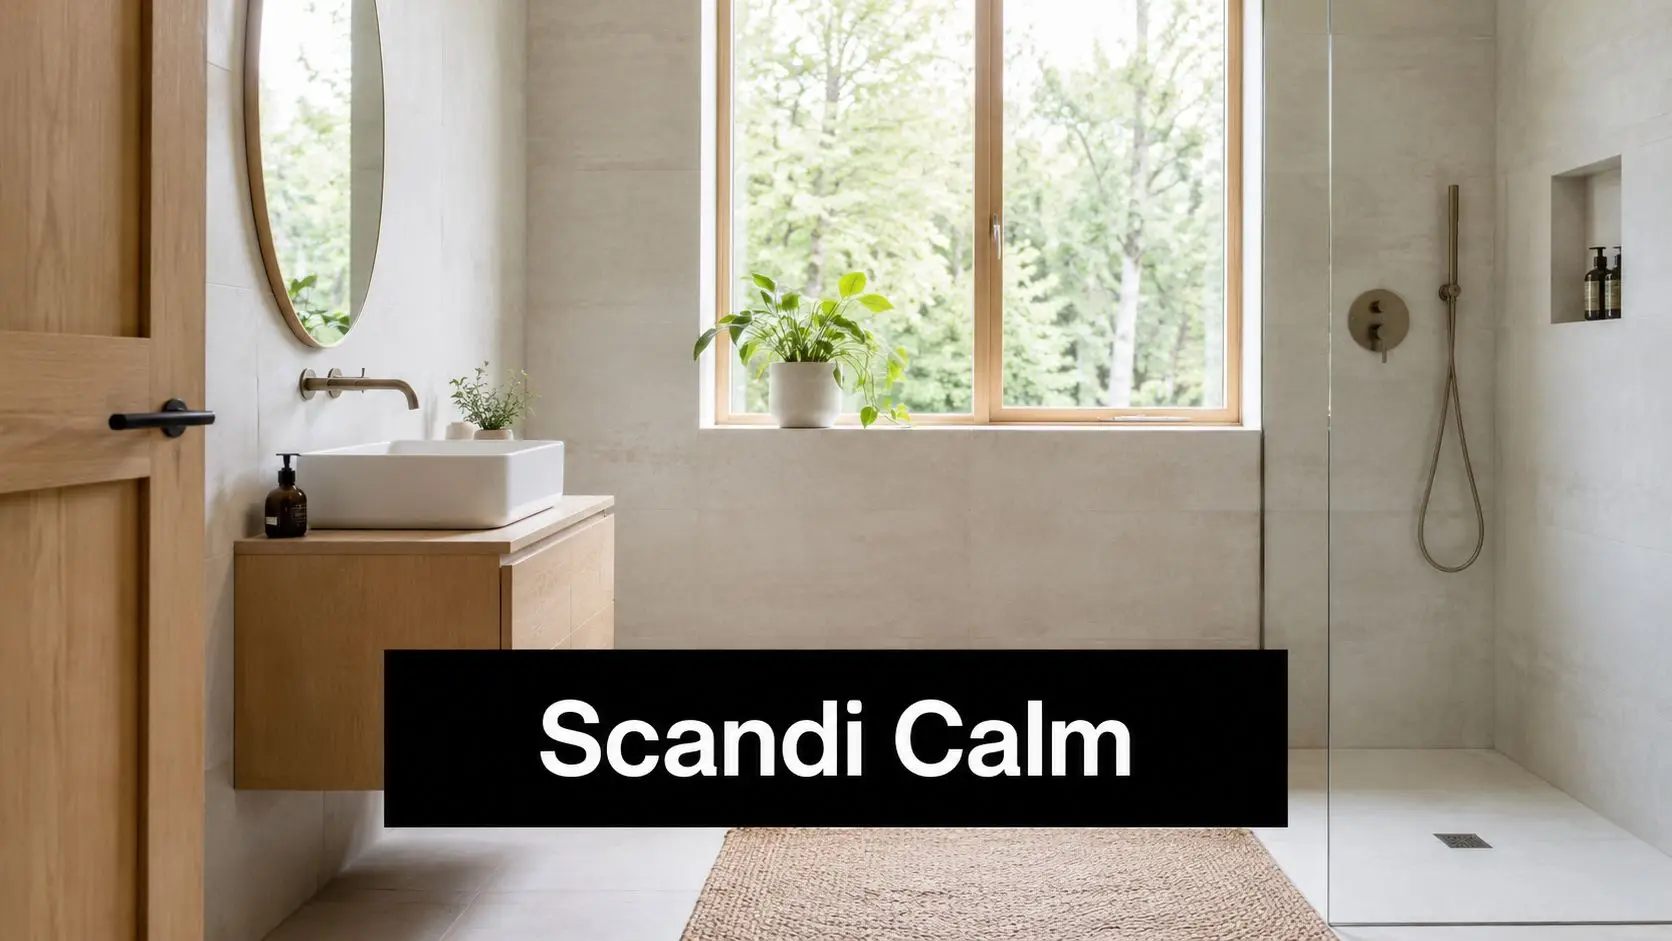
Wall-hung vanities remain one of the strongest choices for compact rooms. They expose more floor, help the room feel less crowded, and make cleaning easier. In older homes where the bathroom footprint is fixed, that visual relief is useful.
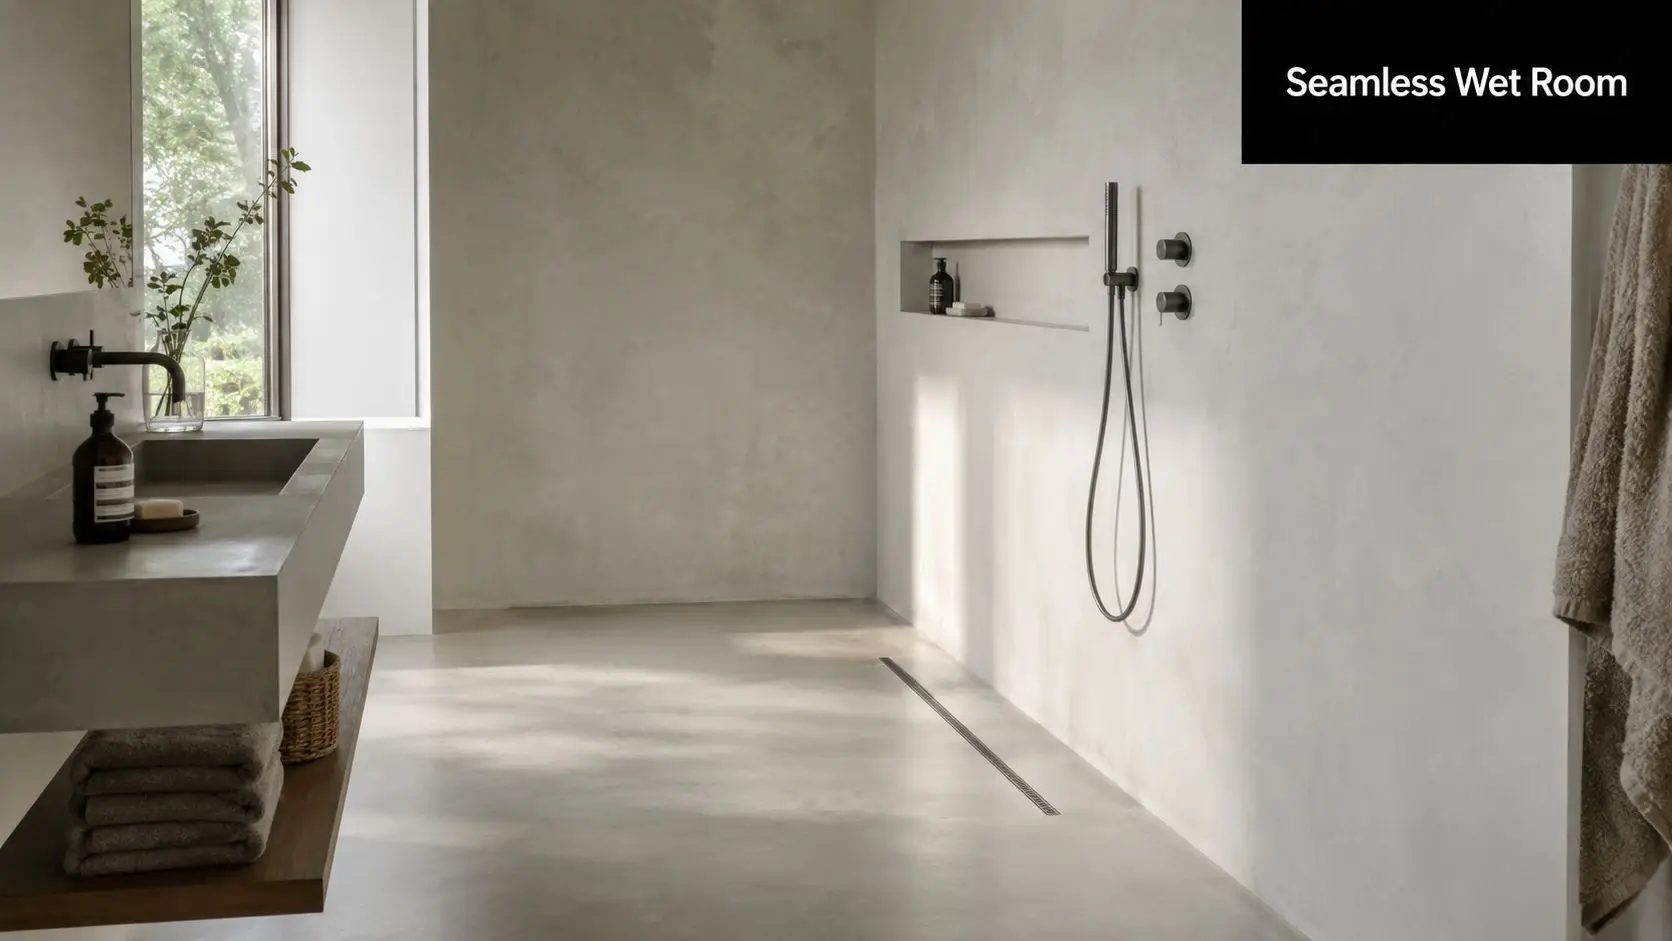
Frameless shower screens also help, but only if the layout supports them. In a narrow room, they keep sightlines open and let light move through the space. In a busy family bathroom, though, a fully open walk-in shower can push water further than expected, so screen sizing and floor falls need to be resolved properly.
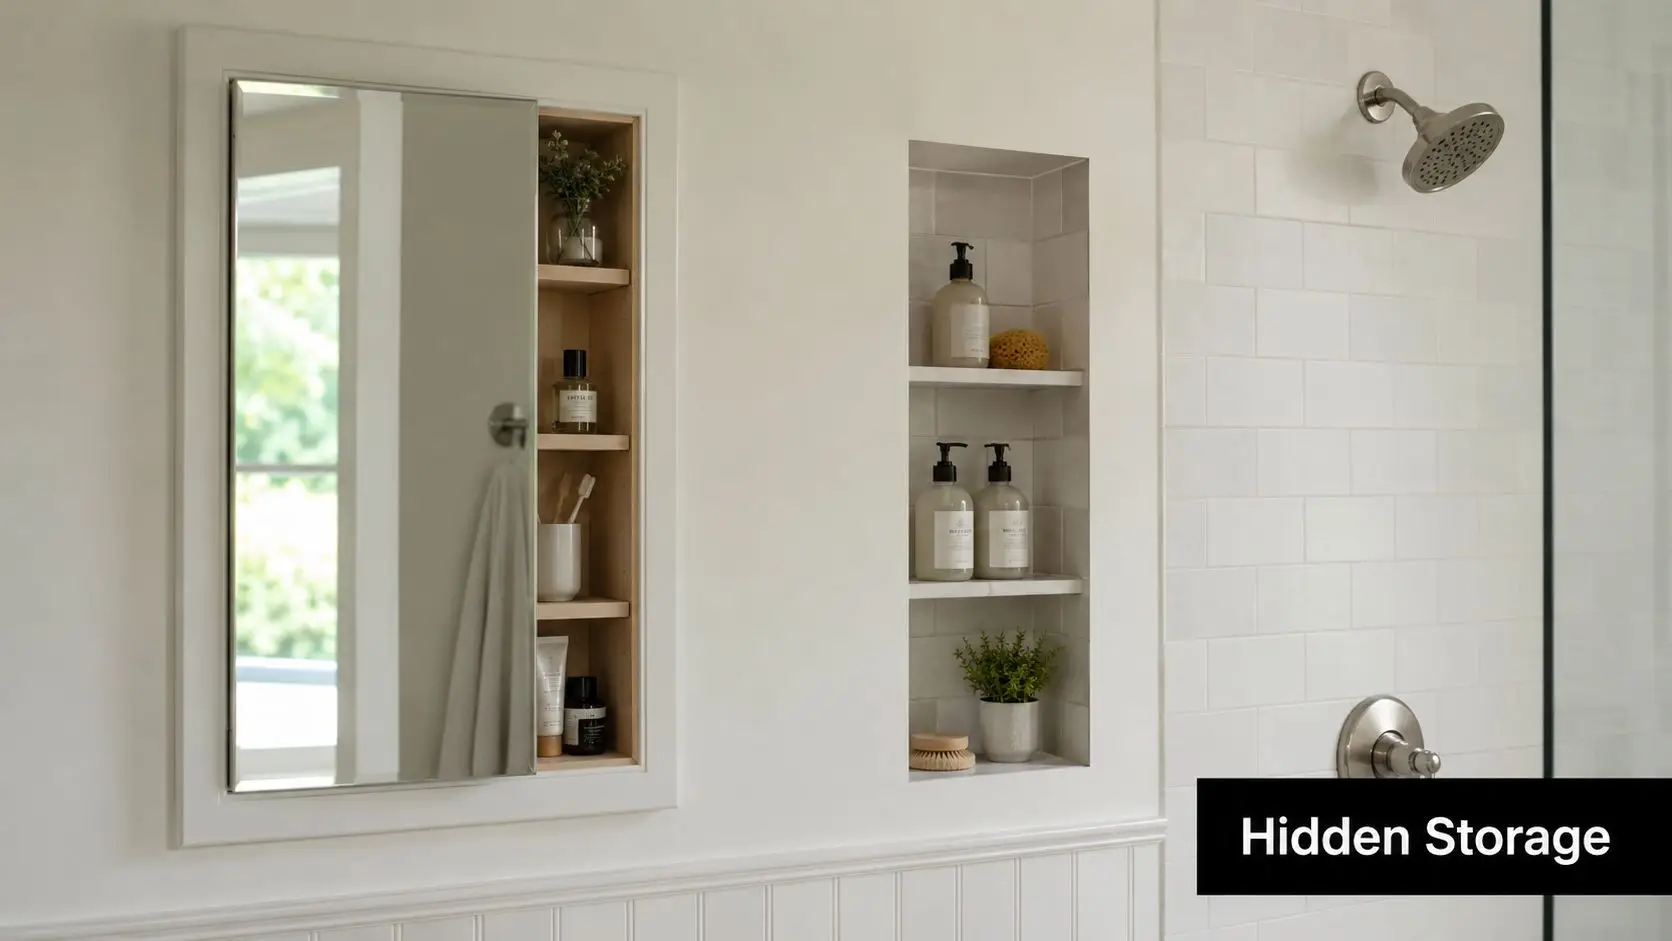
Recessed storage is another smart inclusion if the wall construction allows it. A shower niche or in-wall cabinet can save space, but in older brick homes or walls packed with services, recessing is not always straightforward. Sometimes a slimmer vanity with better drawer organisation gives a better result than forcing a niche into the wrong wall.
Modern features that justify the cost
A good bathroom feels resolved because the details are practical. Lighting should cover the face evenly at the vanity. Power points need to be usable without cords crossing the basin. Mirror size, drawer depth, towel rail position, and shower controls should suit the way the room is used every day.
Some inclusions are worth considering carefully in Yarraville homes:
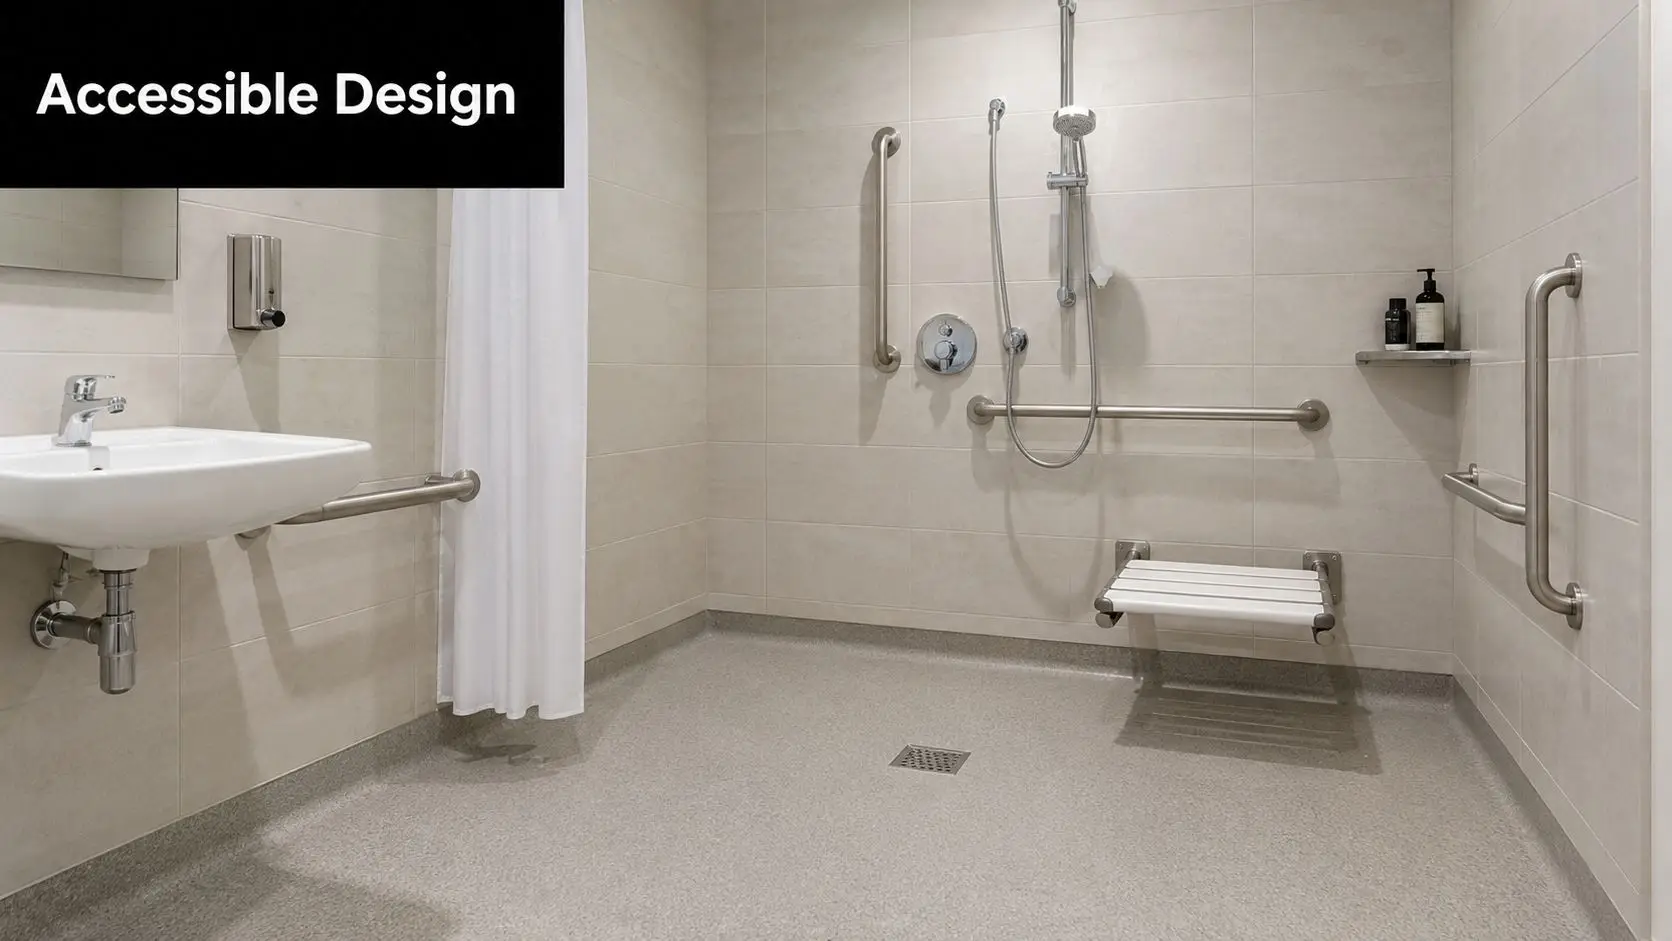
- Wall-hung fixtures: Useful in tight bathrooms, but they may require extra wall framing depending on the existing structure.
- Frameless screens: Best where the room benefits from open sightlines and the floor falls are built accurately.
- Freestanding tubs: Suitable only when there is enough clearance to clean around them and move comfortably through the room.
- Double vanities: Good for shared bathrooms if the bench length is there. In smaller rooms, one generous vanity usually works better than two cramped basins.
A designer bathroom is a bathroom that functions properly. Expensive finishes do not fix a bad plan.
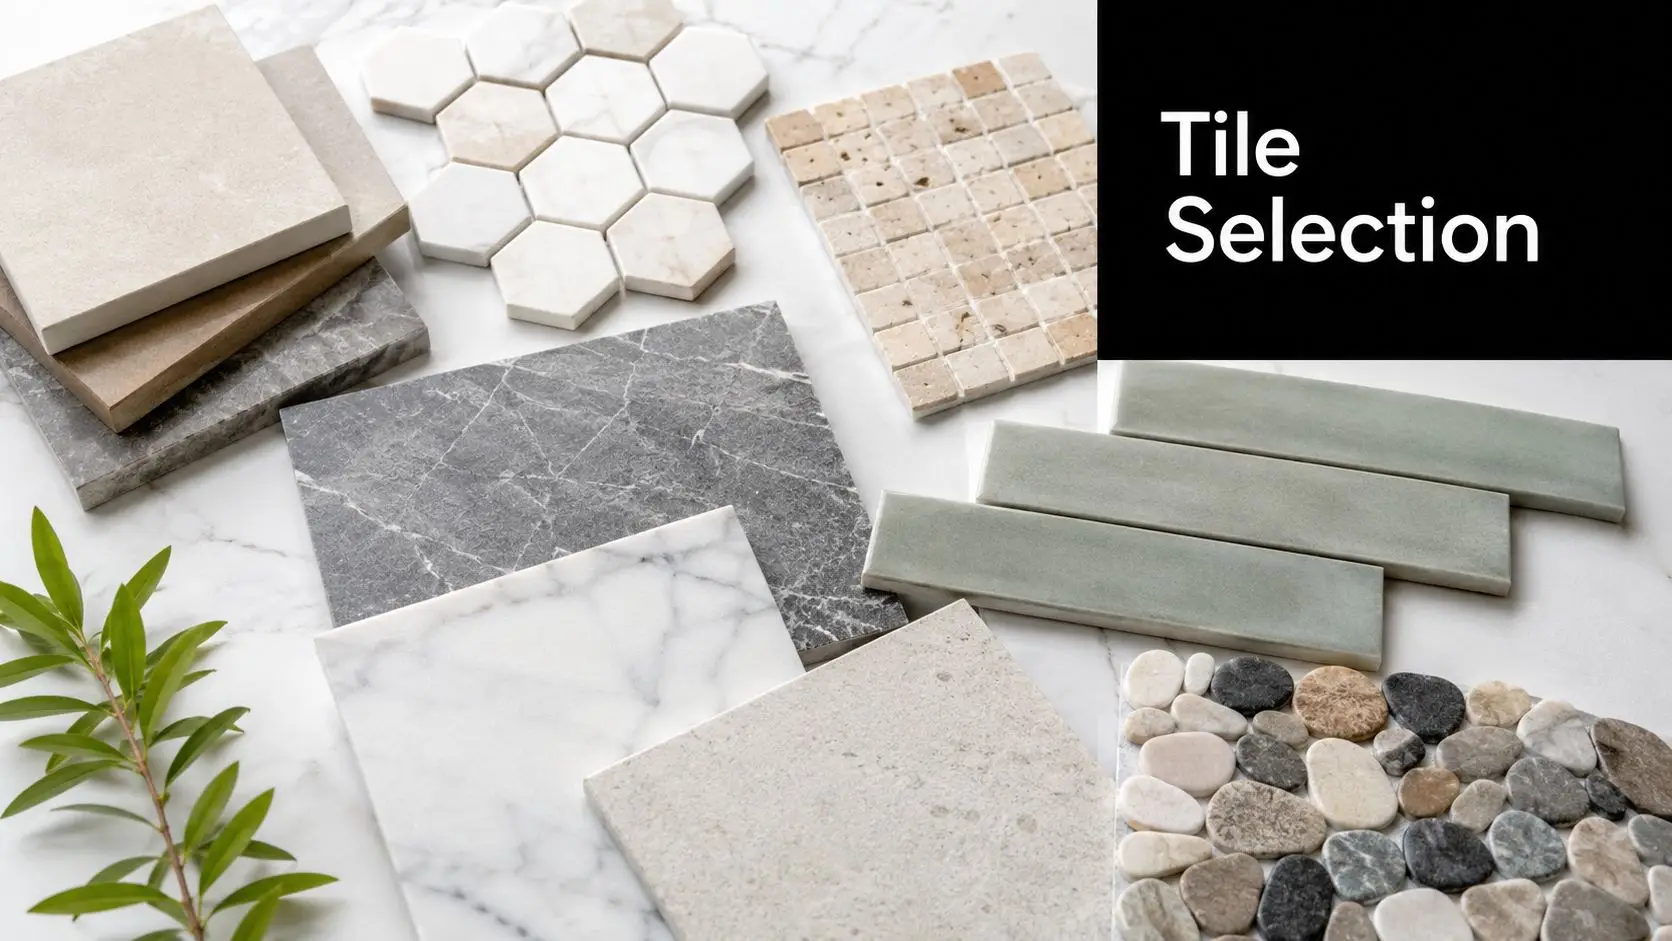
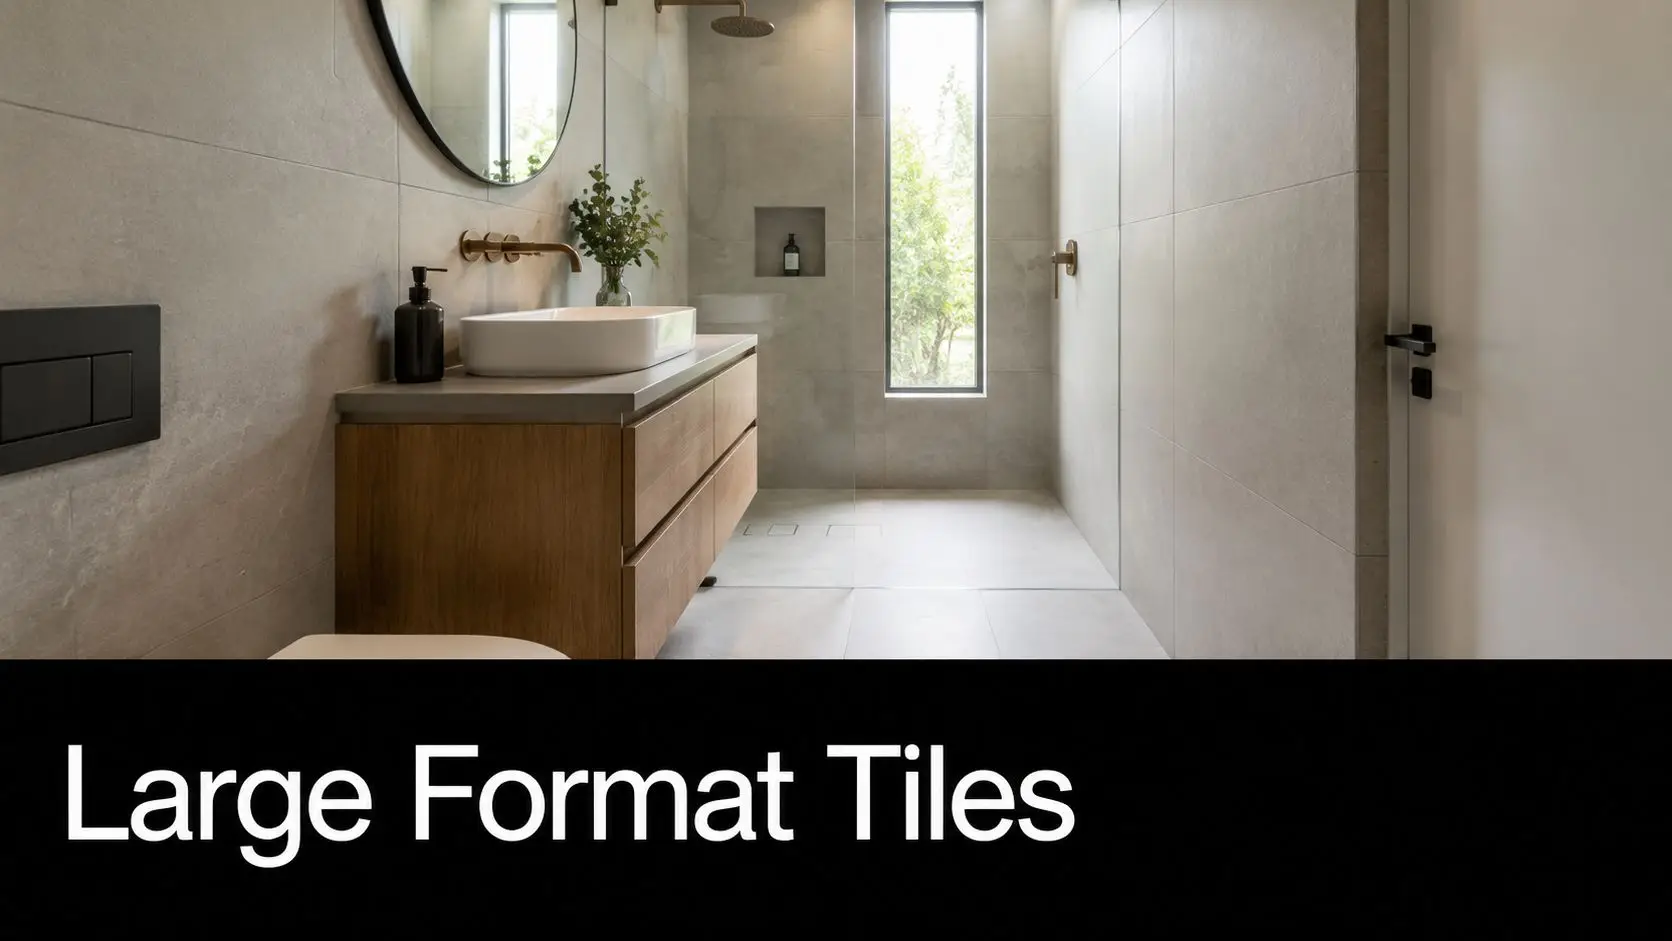
The strongest results usually come from matching modern fittings with proportions that suit the age and scale of the house. That might mean brushed tapware, larger format tiles, and a cleaner vanity profile, while still keeping warmer tones or joinery details that do not feel out of place in an older Yarraville property. If you want examples that balance appearance with day-to-day function, this collection of bathroom renovation ideas in Australia is a useful starting point.
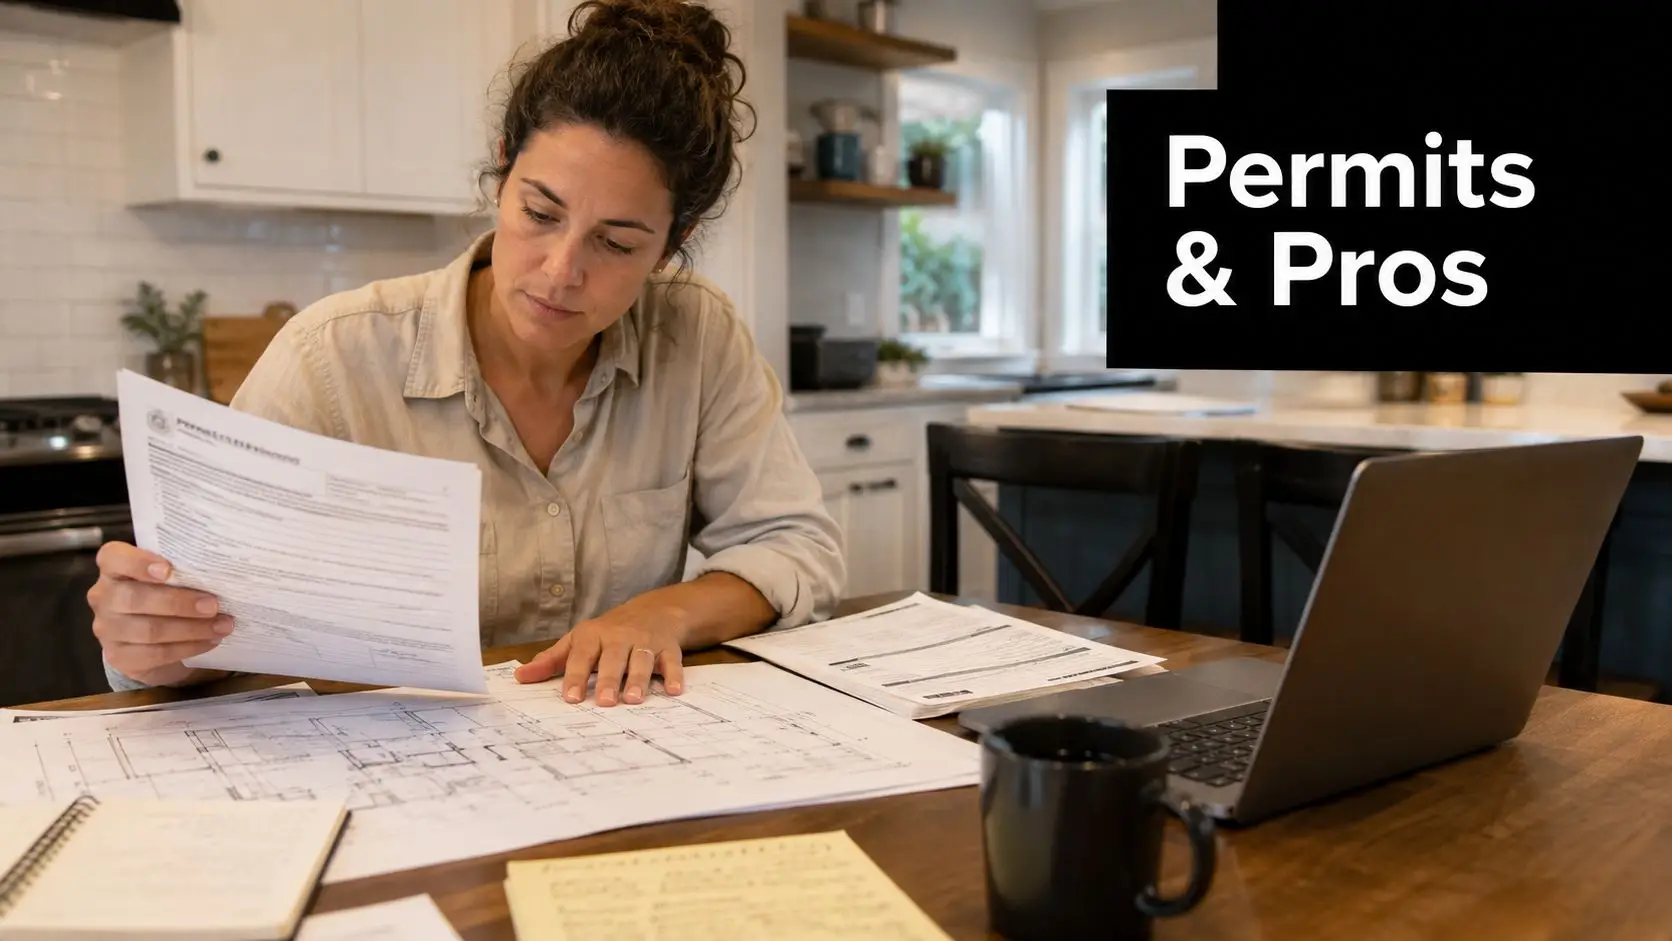
Navigating Local Permits and Building Regulations
You find out whether a bathroom renovation was done properly long after the new tiles go in. In older Yarraville homes, that usually shows up as cracked grout, swollen skirting outside the bathroom, or movement in the floor because the structure underneath was never checked properly.
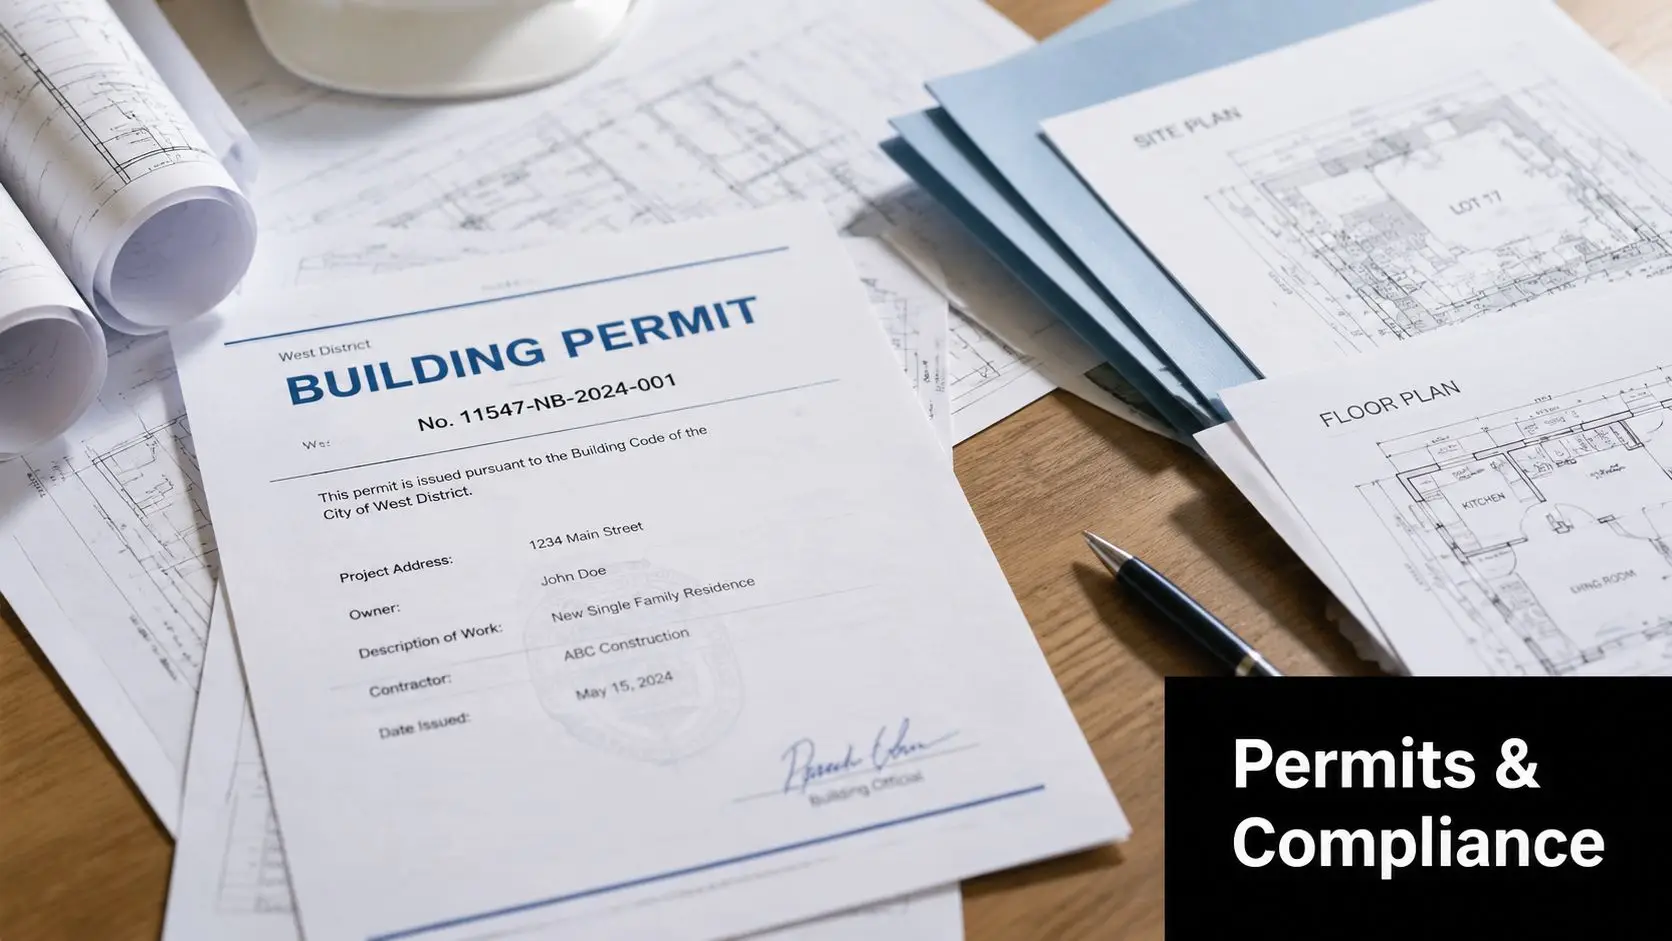
Compliance affects how the room is built, not just what gets signed off. In Yarraville, many bathrooms sit inside weatherboard homes, period brick houses, and extensions built in different decades. That mix creates real construction issues. Timber subfloors can have deflection, walls are not always plumb, and earlier renovations may have left behind patchwork plumbing or unapproved changes. A proper renovation deals with those conditions before waterproofing and tiling begin.
Builder registration also matters once the project reaches the legal threshold for domestic building work in Victoria. If the contract value and scope require a registered builder, the homeowner should confirm that before signing. Anyone unsure about that point should read this guide on why using a registered builder matters for your bathroom renovation.
Waterproofing and structure need to work together
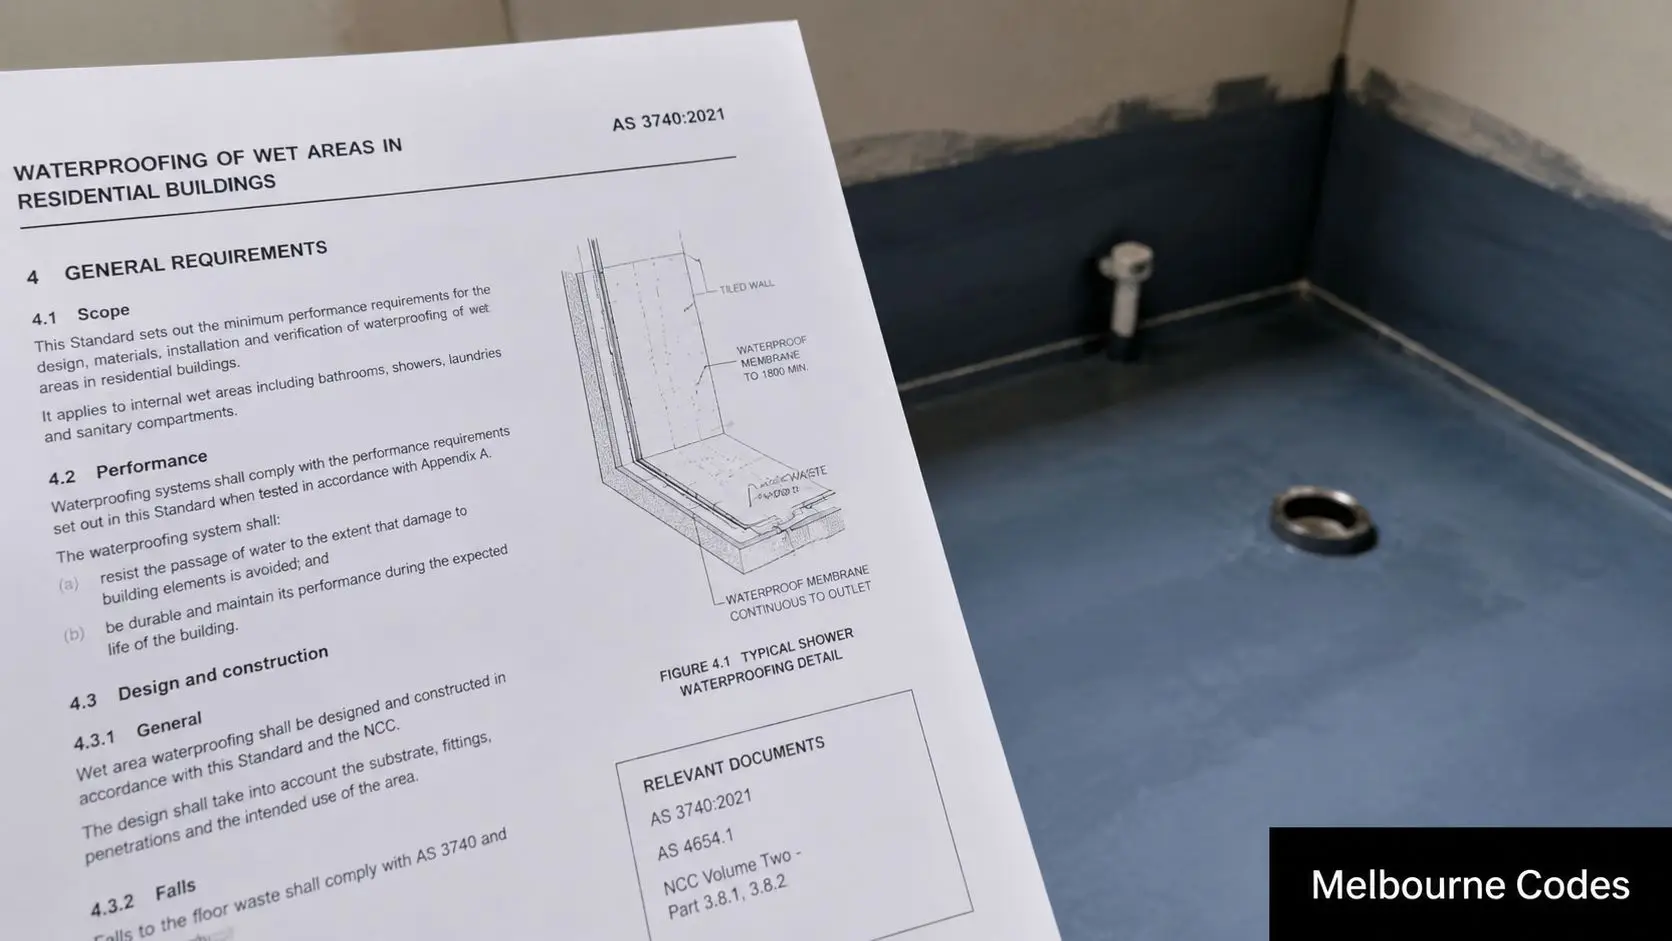
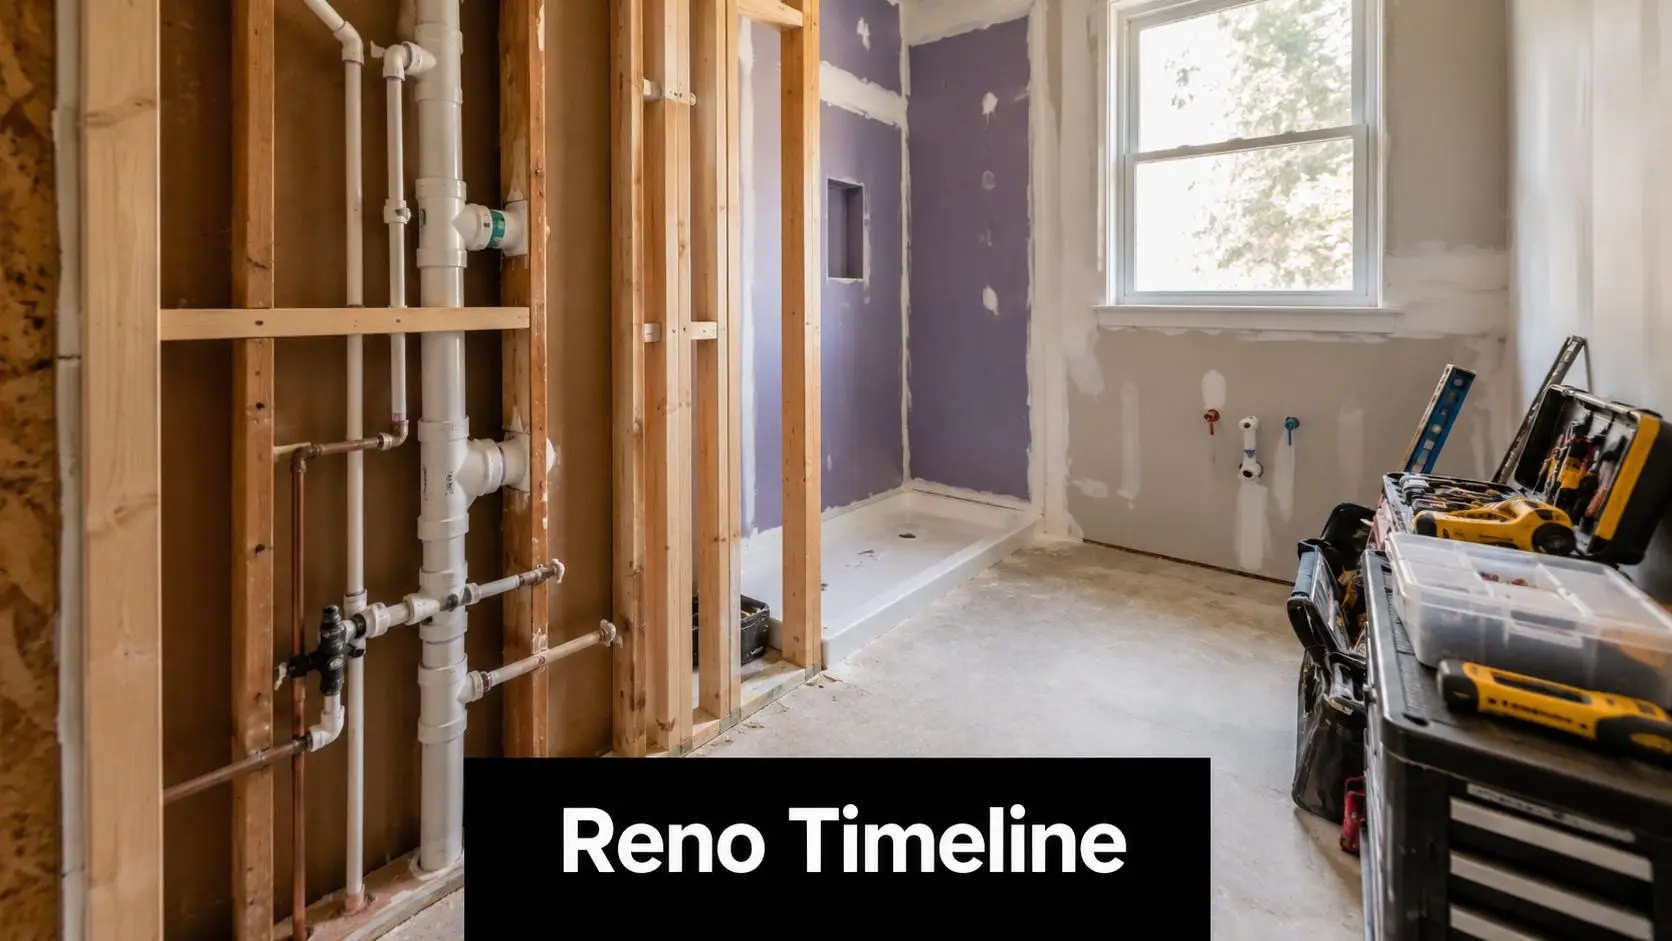
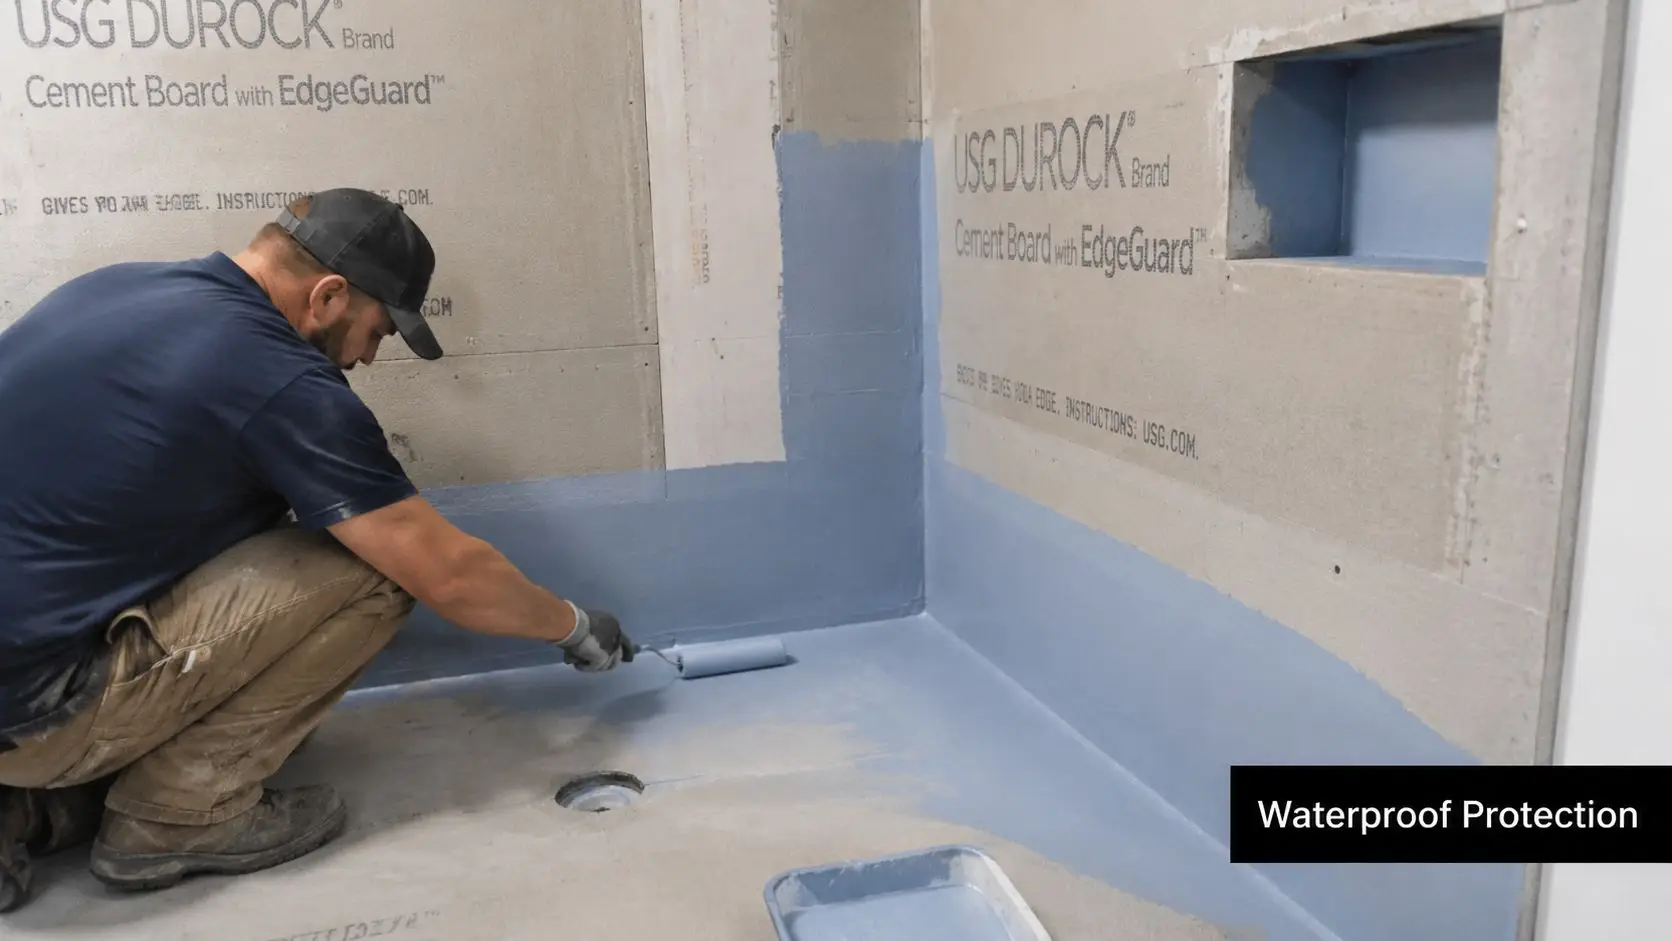
According to Australian Standard AS 3740, wet area waterproofing has to be continuous and correctly detailed at corners, junctions, waste outlets, and service penetrations. The membrane system must be applied to the manufacturer's specification and to the required dry film build. On paper that sounds straightforward. On an older Yarraville site, it often is not.
A common problem is movement in the substrate. If the floor has bounce, if new sheet surfaces are installed badly, or if wall framing has shifted over time, the waterproofing system is being asked to bridge defects it was never meant to fix. It will not. The right sequence is to stabilise the room first, then waterproof it, then tile it.
Permits depend on the scope. A like-for-like bathroom replacement may not need the same approvals as work involving structural changes, relocated windows, altered external walls, or major plumbing reconfiguration. The point is to assess that early, before demolition starts, because permit delays can push a Yarraville bathroom schedule out by weeks, especially where access is tight and trades need to be booked in sequence.
What tends to get missed in older Yarraville homes
- Structural movement under wet areas: Older timber floors often need levelling, strengthening, or new sheet substrate before waterproofing.
- Hidden previous work: We regularly find old repairs, mixed pipe materials, and uneven wall build-ups that change the scope after strip-out.
- Approval triggers: Removing or altering walls, changing openings, or touching structural elements can change the permit position.
- Neighbour and access constraints: Narrow side paths, limited off-street parking, and smaller block layouts affect demolition, waste removal, and delivery timing.
These issues are why I tell homeowners to allow contingency in both budget and time. The room may look like a standard bathroom on day one. Once demolition exposes the framing and floor, the full job becomes clear.
If waterproofing fails, the fix is expensive because the finished room has to be opened up again. Good compliance protects the tiles, the framing, and the rooms next to the bathroom. In an older Yarraville house, that protection matters as much as the renovation itself.
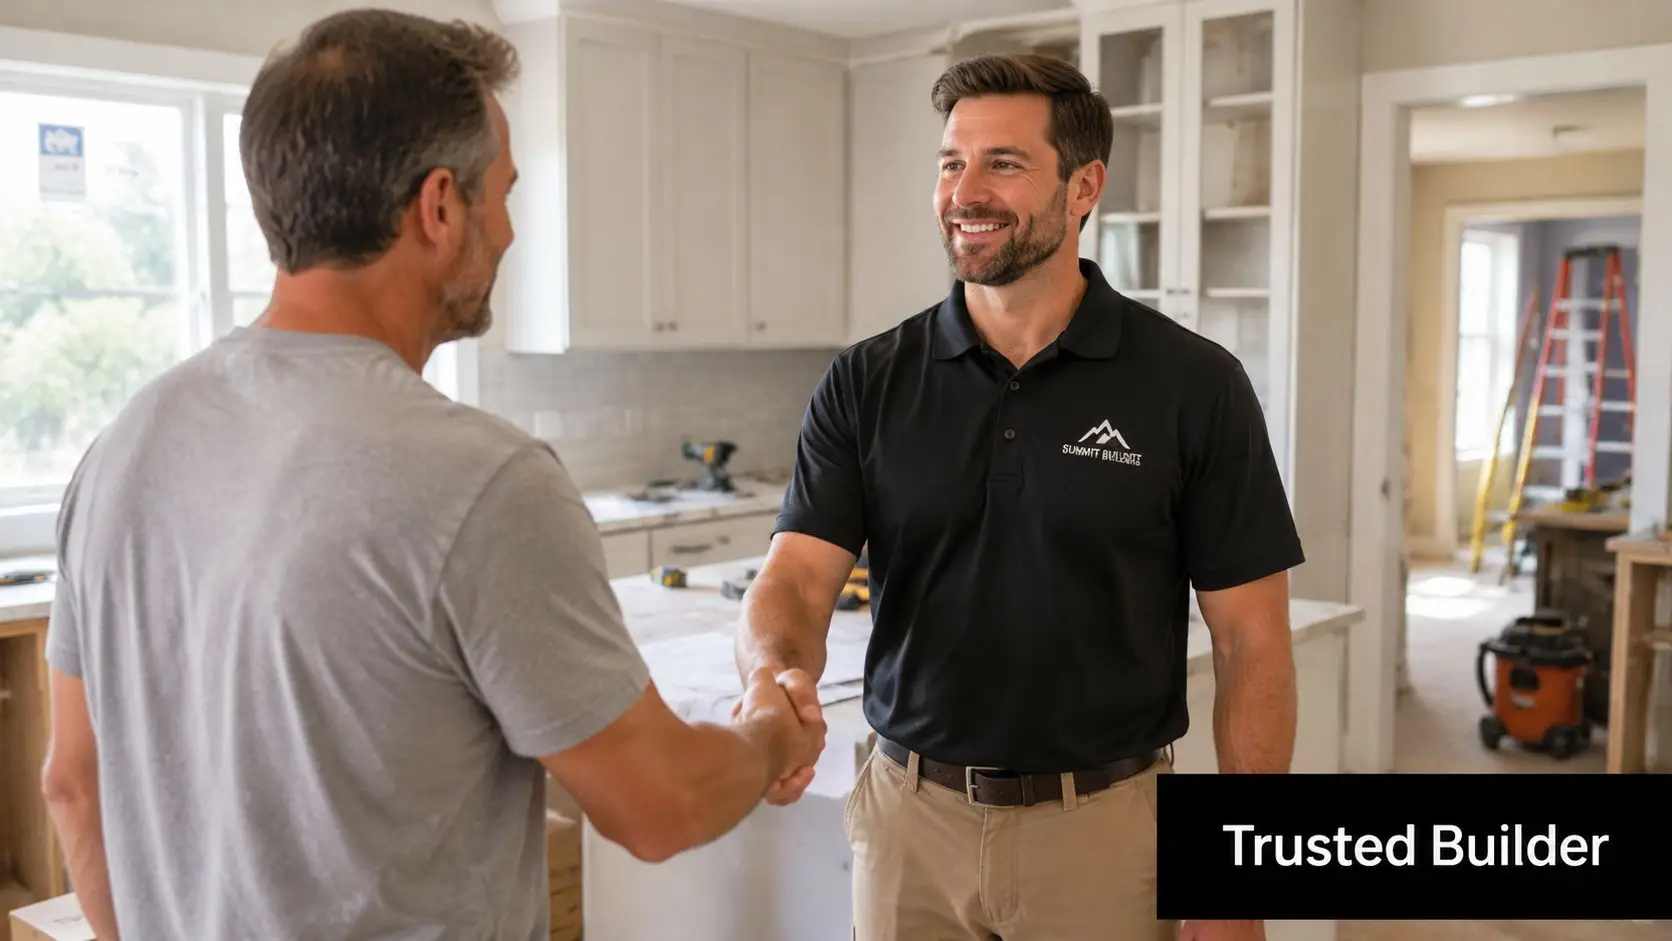
The SitePro Bathrooms End-to-End Renovation Process
The least stressful renovation jobs usually have one thing in common. The homeowner isn't trying to coordinate every moving part themselves. A bathroom project looks small from the doorway, but it involves design decisions, sequencing, demolition, waterproofing, plumbing, electrical work, tiling, joinery, and defect checks. Someone needs to own that chain from start to finish.

One practical option for homeowners wanting a coordinated approach is SitePro Bathrooms, which provides end-to-end bathroom renovation services including concept development, 3D design, construction, and finishing.
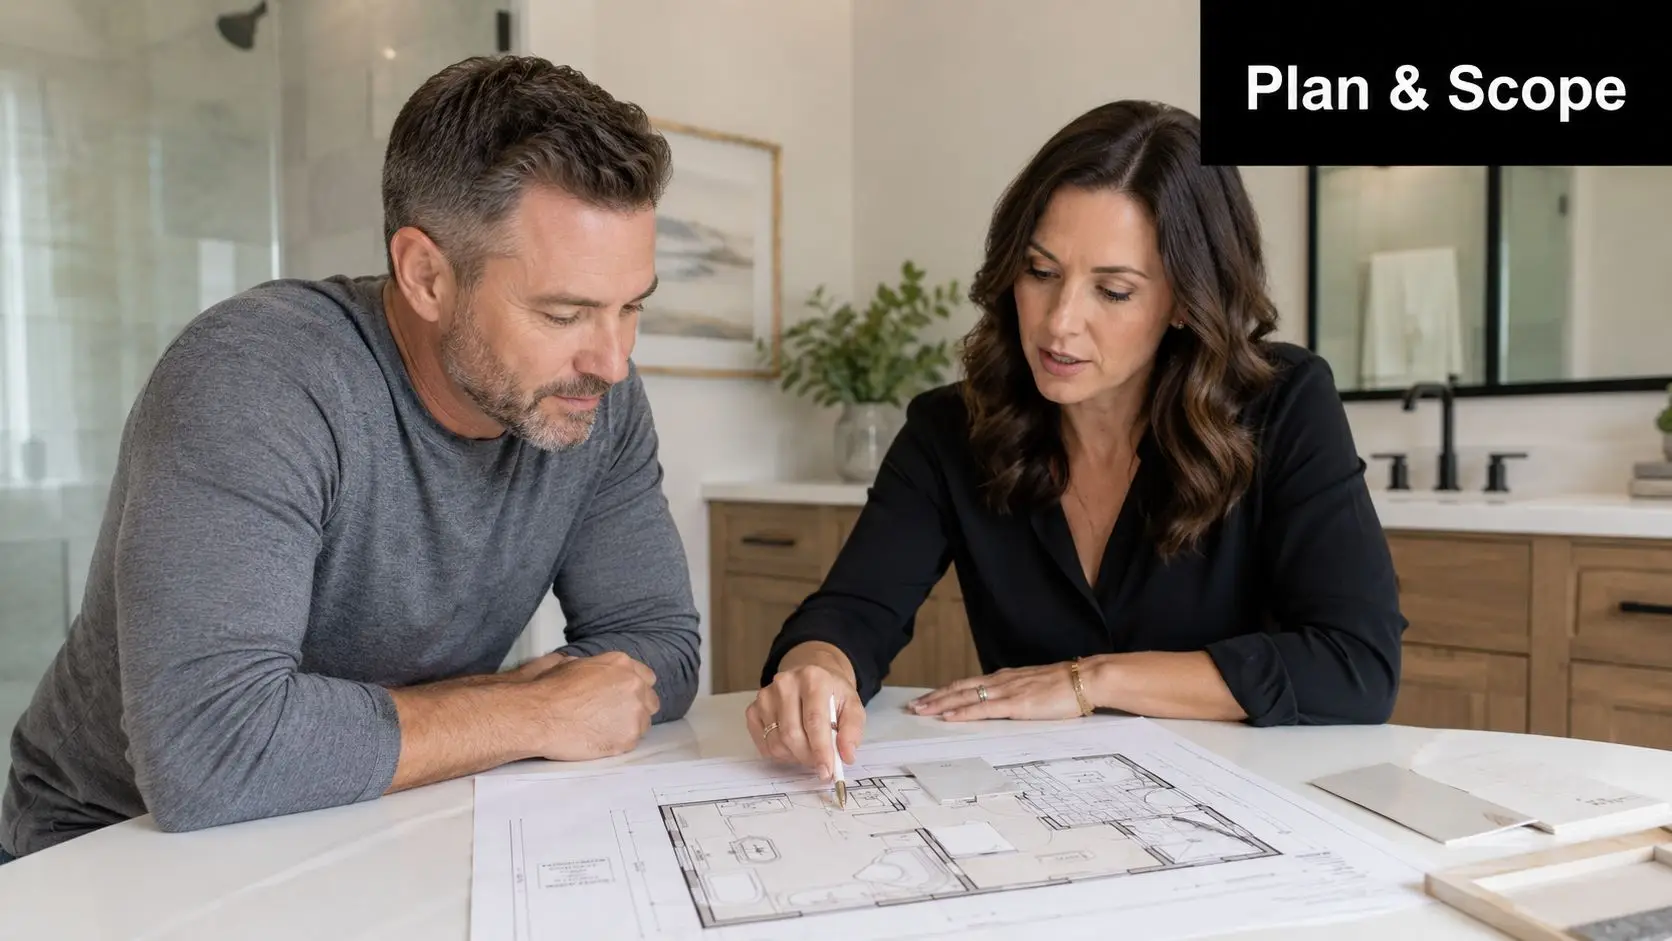
Stage one with the brief and the room check
The initial discussion determines whether a renovation starts clearly or badly. It needs to cover how the bathroom is used, who uses it, what isn't working, and what the home itself will allow. In Yarraville, the room inspection matters just as much as the wish list because older homes often hide the constraints in the structure, not the finishes.
At this stage, the right questions are practical. Do you need more storage or more circulation space? Is the current shower too small? Can the vanity get wider without blocking movement? If the room is part of a family bathroom, daily use should drive the plan.
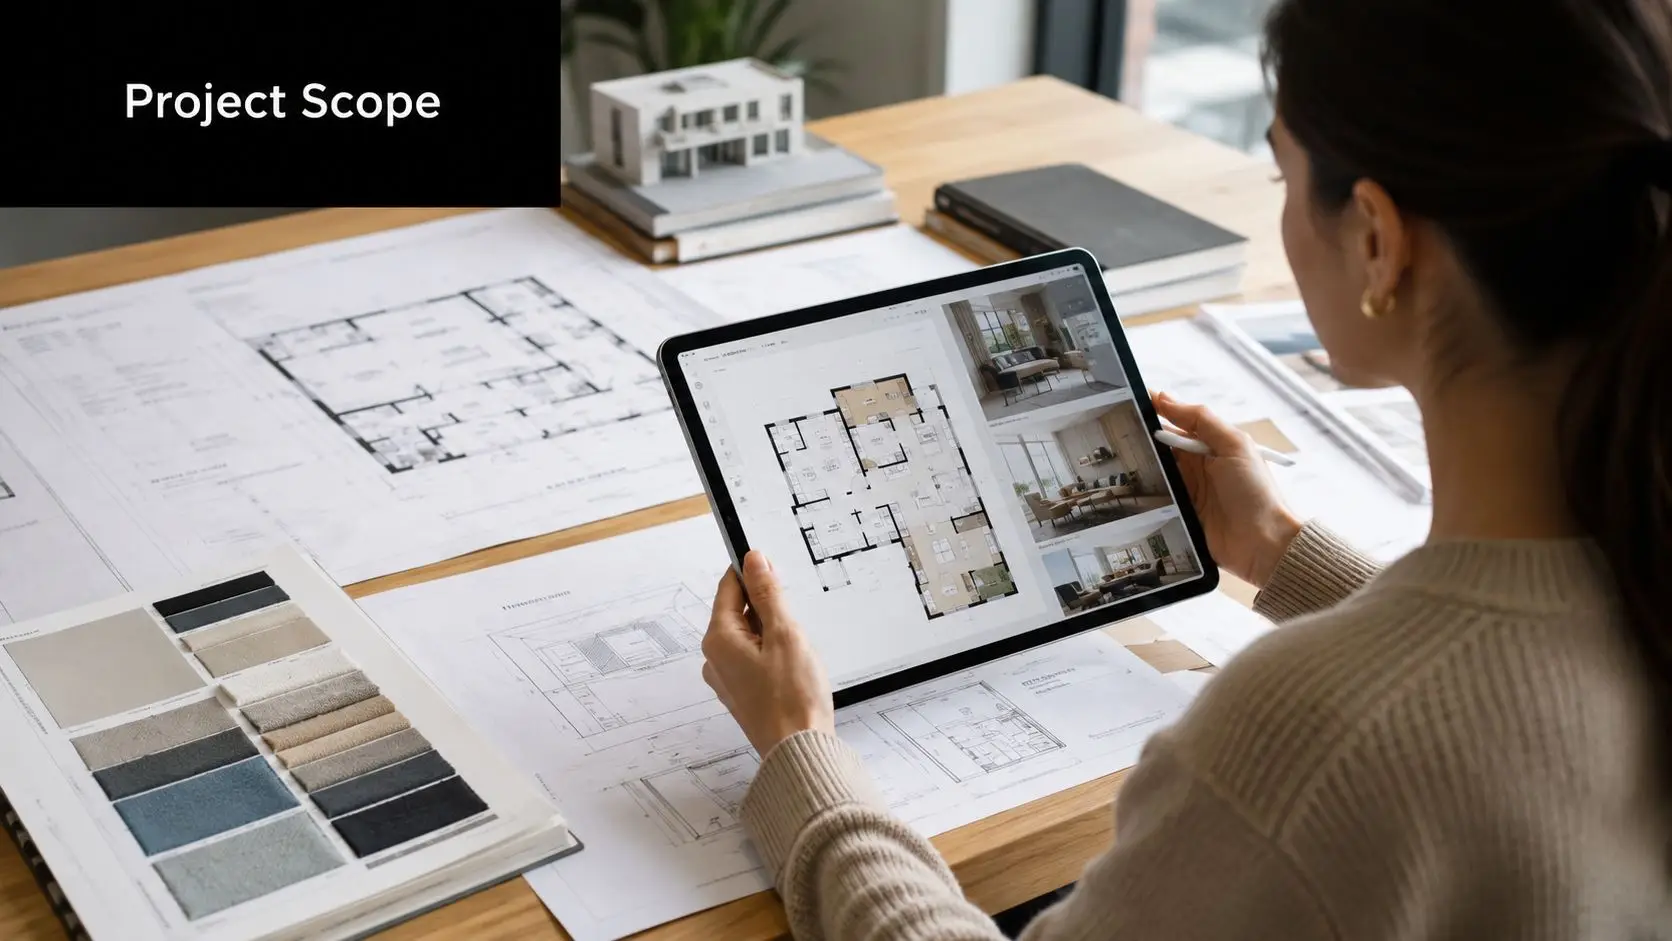
Stage two with 3D design and selections
New bathroom ideas stop being abstract with a 3D layout. It lets you test whether a wall-hung vanity improves movement, whether a niche sits in the right place, and whether a freestanding bath leaves enough walking space around it.
Selections also become easier when they're tied to the actual room rather than chosen in isolation. A tile may look great on a sample board but feel too busy once it covers every surface. A vanity finish may look warm under showroom lighting and read completely differently in a narrow room with limited natural light.
The best time to fix a layout mistake is before demolition starts.
Stage three with construction management
Once work begins, sequencing becomes everything. Demolition has to expose the room without creating unnecessary damage. Plumbing and electrical rough-in need to land in the right locations. Substrates have to be prepared before waterproofing goes down. Tiling needs a proper set-out so the room doesn't finish with awkward cuts in every visible corner.
This is also where Yarraville-specific logistics show up in full. Access can be tight, neighbouring homes can sit close, and waste removal needs planning. A managed project handles those realities instead of letting them derail the schedule.
Stage four with completion and handover
A proper handover isn't just the day the room looks finished. It's when the details have been checked, the fixtures are working as intended, and the bathroom is ready for normal life. Drawers should open cleanly. Falls should drain correctly. Glass, tiles, and fittings should feel resolved, not rushed.
The difference homeowners notice most is usually not one single feature. It's that the room finally works as a whole.
Yarraville Project Highlights and Transformations
A typical Yarraville before-and-after is not a cosmetic update. It often starts with an older bathroom squeezed into the back corner of a weatherboard or brick home, with uneven walls, limited natural light, and a layout that never worked well in the first place. The best transformations fix those underlying problems so the room feels larger, functions better, and suits the age of the house.
One of the most common projects starts with a narrow bathroom in a period home. The original vanity is too deep, the shower cuts the room in half, and storage has spilled into the hallway or nearby bedroom over time. The strongest result usually comes from pulling the layout back into proportion. A wall-hung vanity can free up floor area, a frameless shower screen keeps sightlines open, and recessed storage gives the family somewhere to put daily items without crowding the room.
Another regular brief is the family bathroom that has to handle school mornings, shift work, and guests. Double vanity layouts are popular for that reason, but they are not right for every room. In a wider bathroom, they can make daily use easier. In a tight Yarraville footprint, they often steal too much circulation space, reduce storage depth, and leave the room feeling heavy. A single larger vanity with better drawer storage is often the smarter choice.
The projects that age well tend to share the same traits:
- The layout does the heavy lifting: Better spacing between the shower, vanity, and toilet improves the room more than adding extra features.
- Storage is built into the room: Shaving cabinets, niches, and joinery sized to the actual wall cavity usually work better than oversized furniture pieces.
- The design suits the house: Older Yarraville homes handle contrast well, but the bathroom still needs to respect existing ceiling heights, window positions, and room proportions.
The most successful transformations are usually the most disciplined. They solve the right problem, allow for what old houses reveal once work starts, and avoid forcing big-city showroom ideas into a compact suburban floorplan.
Your Questions Answered and Next Steps
A lot of Yarraville owners ask the same thing once plans start to feel real. Can we stay in the house while the bathroom is being renovated?
Sometimes, yes. The practical answer depends on whether you have a second bathroom, how easy it is to isolate the work area, and how difficult access is from the street to the bathroom. In older Yarraville homes, that last point matters more than people expect. Narrow side paths, shared driveways, limited skip bin access, and waste moving through a lived-in house can all slow a job down. A bathroom renovation that looks straightforward on paper can run longer once demolition starts and materials have to be carried through a tight site.
That matters most in single-bathroom homes. Even a short delay is disruptive when the only shower and toilet are out of action.
Quick answers to the questions homeowners usually ask
- Can I live at home during the works: Yes, if there is another usable bathroom and the renovation zone can be closed off safely for dust, noise, and trade access. If there is only one bathroom, temporary accommodation is often the less stressful option.
- What makes a well-designed bathroom different: Better planning. The room works properly, storage suits the household, finishes are consistent, and the layout fits the house instead of fighting it.
- How are unknowns handled in older homes: By allowing time for investigation, keeping a contingency in the budget, and making decisions based on what is found after strip-out. In Yarraville, common surprises include uneven subfloors, outdated plumbing, damaged wall framing, and hidden moisture.
What to do before asking for a quote
- Write down what is not working now: Poor storage, weak lighting, cramped showering space, mould, cleaning problems, or no power where you need it.
- Decide whether the layout stays or changes: Keeping plumbing close to its current position usually controls cost. Moving the toilet or shower can improve the room, but it often adds plumbing work, floor repairs, and time.
- Set a budget with a buffer: Older homes rarely open up perfectly. A contingency helps you deal with repairs without compromising the finish.
- Ask who is managing waterproofing, compliance, and the trade sequence: Clear answers here usually tell you more than a glossy finishes schedule.
Good quoting starts with actual conditions on site. The age of the home, the access path, the wall construction, and the state of the existing plumbing all affect price and timing. Generic estimates do not account for that.
If you are planning bathroom renovations in Yarraville, the next step is a site assessment before you lock in fixtures or final costs. That gives you clearer pricing, a more realistic timeline, and a bathroom that suits the way your household lives.