

Kitchen Renovation Planner: Your Step-by-Step Guide
You've started collecting kitchen photos, the cupboard doors are looking tired, and someone has suggested removing the wall beside the dining room. Meanwhile, you're wondering whether the bathroom should be done at the same time, where you'll cook during construction, and what the whole job will cost.
A useful kitchen renovation planner turns those competing questions into decisions you can make in order. For a Highett renovation, that means looking beyond finishes early, checking the existing house, testing permit risk and getting the commercial details settled before demolition becomes a booking in the calendar.
Starting With a Clear Renovation Brief
Consider a Highett household replacing an older kitchen. The initial wish list might include an island, more drawers and a cleaner connection to the living area. But those requests don't yet explain what the renovation needs to solve.
Start with the daily frustrations. Does someone preparing dinner block the fridge? Are small appliances permanently occupying the preparation bench? Is the problem insufficient storage, or storage that nobody can reach comfortably?
Write down the purpose before choosing the appearance. Family function, preparing for sale, ageing-in-place and rental presentation can lead to different priorities. Treat resale uplift or rental returns as goals to assess, not outcomes a new kitchen automatically guarantees.
Record the room before redesigning it
Measure the overall room, wall runs, ceiling height, window positions and floor-level changes. Include door openings and swings, appliance cavities and the space around any proposed island. Record where measurements were taken rather than assuming opposite walls are identical.
Your own measurements are a starting point, not fabrication dimensions. Ask the designer or builder to verify the site before cabinetry is ordered.
Capture constraints alongside dimensions:
- Existing services: Mark the sink waste, water connections, cooking supply, power points and likely ventilation route.
- Building questions: Flag walls whose structural role hasn't been confirmed, along with proposed window or doorway alterations.
- Property conditions: Record any known heritage controls, owners corporation requirements and access restrictions.
- Technical checks: Ask the electrician to assess the switchboard and proposed appliance requirements rather than judging capacity from spare-looking switches.
Create a brief someone can price
Keep the working brief to a page, with supporting photographs and measurements attached. Use these fields:
- Purpose and priorities: State what must improve and what you're willing to compromise on.
- Household habits: Describe cooking, shopping, entertaining and storage needs in detail.
- Scope boundaries: Identify retained items, proposed changes and any adjoining bathroom or laundry work.
- Budget and logistics: Record the spending limit, preferred timing and whether you'll remain at home.
- Unresolved questions: List matters requiring professional investigation.
Separate confirmed decisions from assumptions. A builder can investigate an uncertain wall; they can't reliably price a wall everyone has casually assumed is removable.
Building a Realistic Victorian Kitchen Budget
A budget should help you choose the scope, not become a difficult conversation after you've selected everything. Begin by deciding whether you're refreshing serviceable components, replacing the kitchen within its existing footprint, or undertaking a more extensive reconstruction.
For orientation, Australian renovation-cost guidance estimates a budget refresh at $12,000–$18,000, a typical mid-range kitchen at $25,000–$45,000, and premium work at more than $60,000, with the indicative category shares set out below. These are planning allowances, not Highett quotations.
Typical Victorian Kitchen Budget Splits
| Category | Typical share | Scope lever with the biggest cost swing |
|---|---|---|
| Cabinetry | 40%–55% | Cabinet quantity, internal fittings and custom detailing |
| Benchtops | 10%–20% | Material, edge treatment and fabrication complexity |
| Appliances | 15%–25% | Appliance specification and integration |
| Installation trades | 15%–25% | Service relocation and the extent of associated work |
Treat these as separate indicative ranges, not a formula to add together at their upper limits. Your actual allocation needs to come from a project-specific quote.
Moving a sink illustrates why scope matters. Don't price only the plumber's connection: ask about the waste route, access, cabinetry changes and making good affected surfaces. Likewise, an island with cooking or washing facilities needs a different allowance from a furniture-like preparation island.
Make savings without weakening the work
Price the measured layout and written specification together. Early estimates can test affordability, but comparable construction quotes need comparable assumptions.
When money tightens, review decorative upgrades, elaborate cabinet accessories and appliance choices before compromising necessary service work. Don't remove required waterproofing, suitable ventilation or electrical capacity from the scope to preserve an expensive finish. Have the relevant professionals explain what the proposed design needs.
Budget rule: Simplify the design before you underfund the work required to build it properly.
If bathroom renovations are also being considered, maintain separate room allowances plus an allowance for shared works. That makes it easier to decide what proceeds together without spending the bathroom allocation on kitchen joinery.
Use the kitchen renovation budget guide to organise those conversations, then request a quote that clearly identifies exclusions, investigation allowances and unresolved selections.
Choosing Layouts and Using 3D Design to Decide
An island isn't automatically an improvement. If it interrupts the route between the back door and living room, you may gain a breakfast perch while making everyday movement harder.
Start with layouts the measured room can accommodate. Compare them on storage, usable preparation space and circulation, rather than choosing whichever looks most impressive in a render.
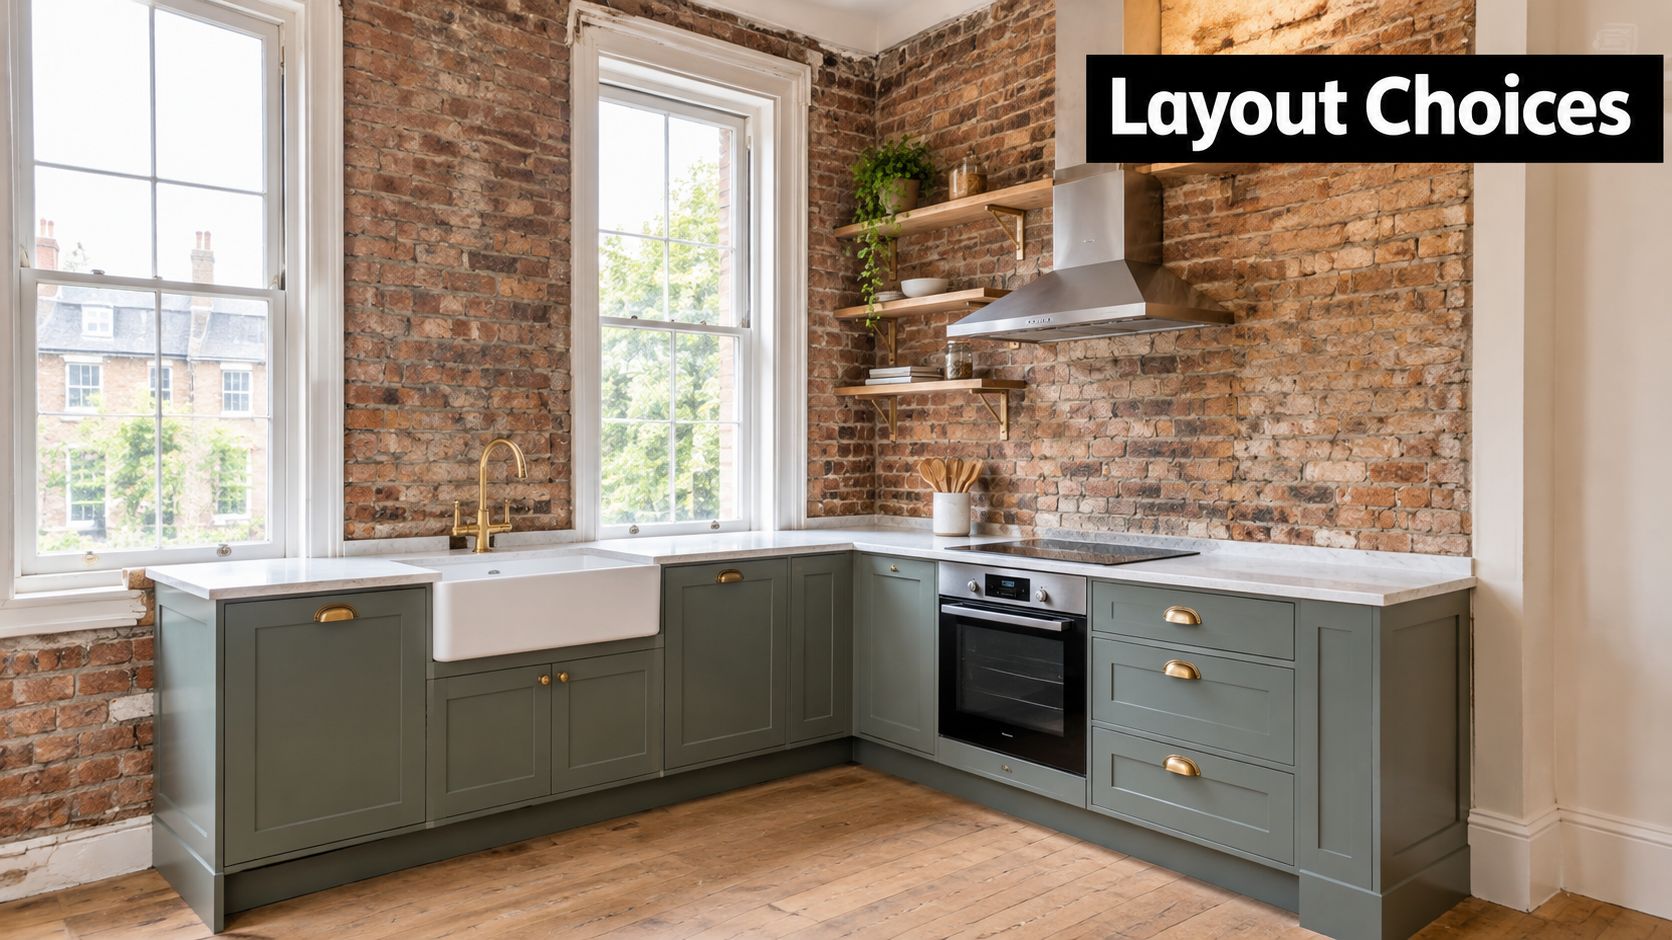
Match the layout to the room
| Layout | Worth testing when | Main compromise to examine |
|---|---|---|
| Single-wall | You want to keep the adjoining floor area open | Separation between preparation, cooking and storage |
| Galley | Opposing walls can accommodate working runs | Passing space when doors and drawers are open |
| L-shape | You want an open connection to dining | Corner storage and distances between tasks |
| U-shape | Continuous bench space is a priority | Entry width and potentially enclosed circulation |
| Island or peninsula | The room can support an additional work zone | Household traffic, seating and service requirements |
Use the familiar work-triangle idea as a prompt, not a rigid rule. Follow an actual meal: retrieve ingredients, wash them, prepare them, cook and clear away. Then test whether someone accessing the fridge crosses that sequence.
A peninsula deserves consideration where a freestanding island feels cramped. It can provide a useful boundary, but check that its entry point doesn't become a bottleneck.
Make the model answer practical questions
The online kitchen planner offered by SitePro Bathrooms is an option for exploring layouts and finishes before professional documentation. Treat visualisation as a way to test ideas, not as proof that a design is ready for construction.
Ask the designer to show:
- Open-door views: Check the dishwasher, oven, fridge and adjoining drawers together.
- Working storage: Review drawer contents, bin access and the actual space available for appliances.
- Technical details: Request dimensioned clearances, extraction provisions and splashback set-outs, not just attractive surfaces.
For adjoining modern bathrooms, carry across a compatible material palette without copying every detail. New bathroom ideas should also account for water use: YourHome's water-efficiency guidance recommends four- or five-star basin taps and checking applicable WELS labels. Put performance requirements into the selections schedule alongside colour and finish.
Understanding Permits and Victorian Building Rules
Replacing internal components and altering the building are different propositions. A kitchen that keeps its walls and openings may have a simpler approval pathway than a project involving structural changes, but the room's name doesn't determine whether approval is required.
Consumer Affairs Victoria's plans and permits guidance explains that exemptions depend on the work and its effect on structural soundness and safety. It also establishes that planning approval must precede a building permit where both are required, and that the homeowner remains responsible for ensuring necessary permits are obtained.
Distinguish the approval questions
Planning approval concerns whether the proposed development is acceptable under relevant planning controls. Heritage conditions, overlays and changes to the property can affect that assessment.
A building permit concerns the proposed building work and applicable requirements. Structural alterations require particular attention. Don't accept an informal assurance that removing a wall is straightforward without establishing its role and the required documentation.
Moving plumbing isn't the same question as removing a structural wall. Ask the relevant practitioner to identify the plumbing approvals or certification involved, rather than assuming that every service relocation either requires a building permit or is entirely approval-free.
A permit application managed by your builder is still something you should understand, track and retain.
Run a permit-risk review before design freeze
For a Highett property, confirm the controls applying to the actual address. Don't rely on what a neighbour was allowed to do.
- Structure: Has someone appropriately qualified assessed walls and proposed openings?
- Property controls: Have zoning, overlays and any heritage conditions been checked?
- Services: Who is confirming the requirements for plumbing, electrical work and ventilation?
- Documentation: Do the plans address applicable Victorian regulations, council requirements and relevant energy provisions?
- Responsibility: Who prepares applications, pays fees and tracks conditions?
- Inspections: Which construction stages require inspection, and who books them?
Record the answers before signing off a layout that depends on approval. If consent or further design work is required, allow for it before committing to cabinetry production.
Owners corporation consent, where applicable, is another decision to resolve. Don't confuse that permission with council or building approval; ask the project team to identify each separate requirement.
Picking the Right Builder and Getting Contract-Ready
A polished quote doesn't establish whether the person offering it is registered for your scope. Check the practitioner first, then assess the proposal.
Homeowners searching for registered builders unlimited should look for the Victorian Domestic Builder Unlimited, or DB-U, registration class. Victorian registration guidance distinguishes its broad domestic building scope from limited classes, including bathroom, kitchen and laundry renovations, and explains that registration belongs to individual practitioners rather than companies.
A suitable limited registration can match a renovation project. An unlimited registration is broader, but it isn't a substitute for checking the individual's current registration, relevant experience and proposed supervision arrangements.
Verify the person and the scope
For bathroom renovations involving multiple building skills, Consumer Affairs Victoria's practitioner guidance explains the registration requirements and distinguishes certain single-skill work, including painting, tiling, glazing and electrical work. An exemption from builder registration doesn't remove the need for any applicable trade licence.
Ask who will manage the project. If the quotation comes through a company, identify the registered practitioner responsible for the relevant work and check that their registration covers it.
Establish commercial readiness
Under Victoria's renovation checklist, work over $10,000 requires a major domestic building contract, while work over $16,000 requires current domestic building insurance before a deposit is taken and work starts; splitting amounts doesn't avoid the major-contract threshold.
Before signing, settle the following:
- Inclusions and exclusions: Name demolition, disposal, surface repairs, painting, protection and cleaning.
- Allowances: Identify provisional sums and selections that remain uncertain. Ask what would change the allowance.
- Supply responsibilities: Record who purchases appliances and who checks their specifications before ordering.
- Variations: Require a written description of the change, its cost and its scheduling effect before authorisation.
- Payments: Tie milestones to clearly described work rather than vague progress descriptions.
- Completion requirements: Identify required documents, defect-reporting arrangements and the process for unresolved items.
Before signing: If a detail changes what someone supplies, installs or pays for, put it in the contract documents.
Scope drift is a preventable source of disagreement. A coordinated service can reduce your administrative workload, but it doesn't replace a clear agreement or the homeowner responsibilities already identified.
Planning the Timeline and Coordinating Trades
Don't accept a programme that contains only a start date and a hoped-for finish. Ask for a sequence showing dependencies, homeowner decisions, inspections and material availability.
The useful question isn't when a trade arrives. It's what must be ready before that trade can complete its work.
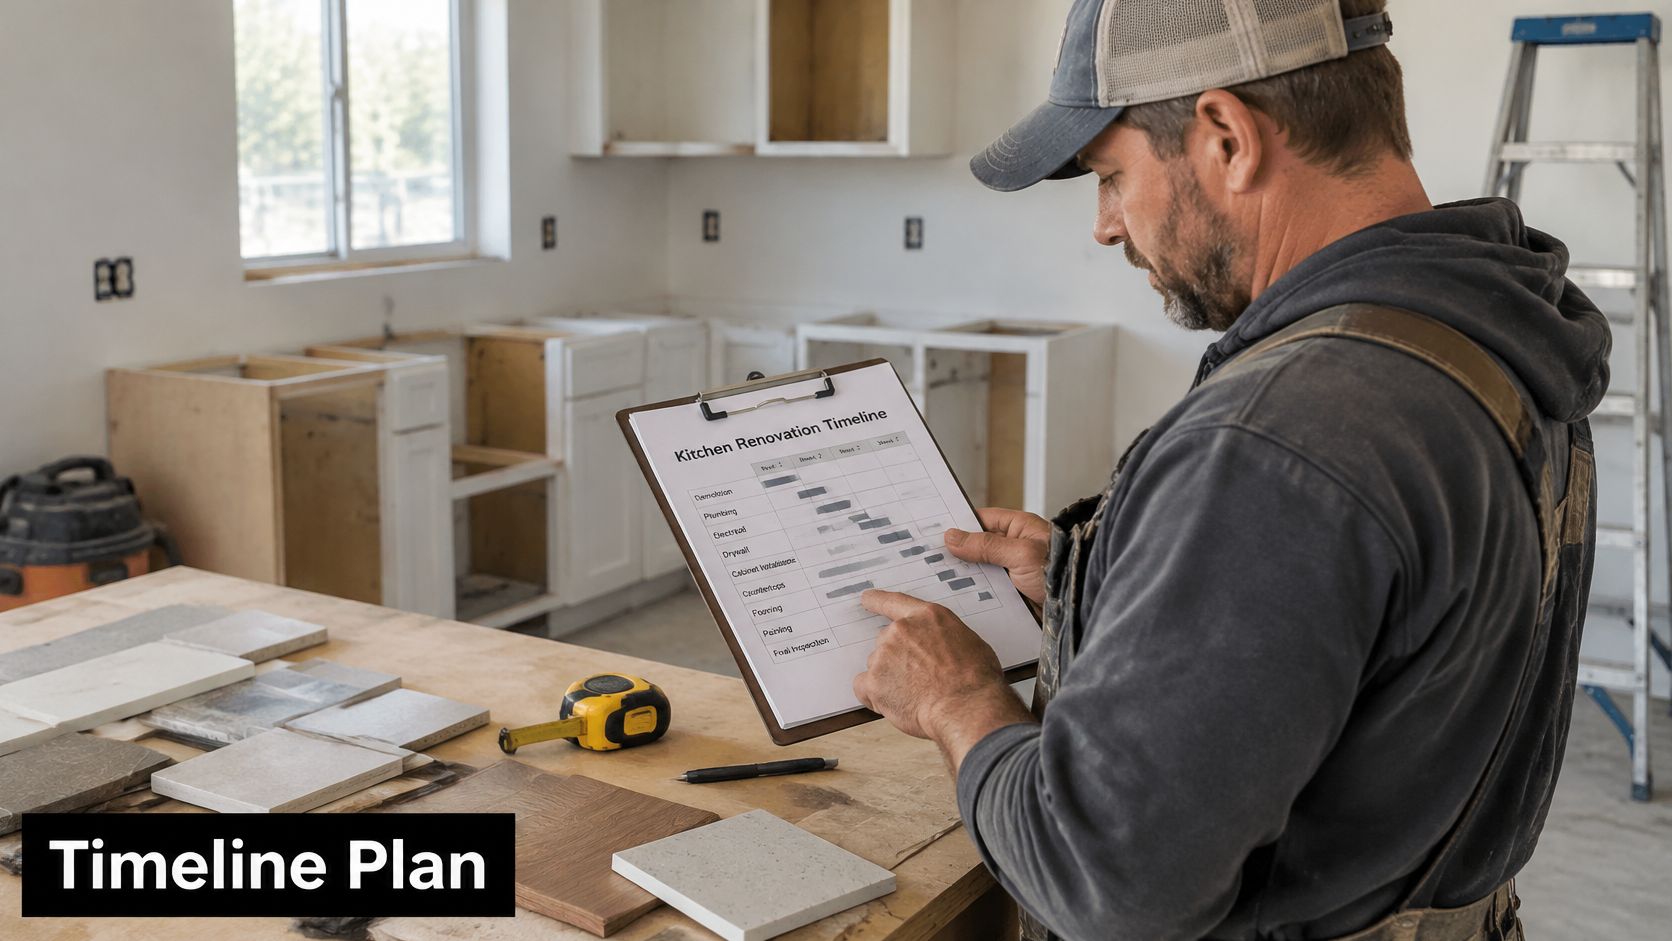
Build the schedule around dependencies
Begin with approved documentation, resolved selections and procurement. Confirm cabinetry, benchtop and appliance arrangements before agreeing to demolition, particularly where substitutions would alter dimensions.
A working sequence should address:
- Site establishment and removal: Protect retained areas, establish access and clarify waste removal.
- Structure and rough-in: Complete applicable building work and locate concealed services against the coordinated drawings.
- Substrates and wet-area work: Schedule preparation, waterproofing where required, and relevant inspection or product waiting requirements.
- Cabinetry and benchtops: Confirm installation, site verification, templating and fabrication dependencies with the suppliers.
- Finishing and fit-off: Coordinate splashbacks, painting, appliance installation, service connections and testing in the order the selected systems require.
Avoid assuming every kitchen follows an identical sequence. Flooring, benchtop construction and splashback choices can change the order. The project lead should explain the programme for your materials, not copy a generic checklist.
Protect usable time at home
Build breathing room around uncertain site conditions, approvals and supplier commitments. Don't hide contingency inside a finish date that everyone treats as guaranteed.
If the kitchen and bathroom are proceeding together, decide which facilities remain usable at each stage. Overlapping work may suit the household, but losing cooking, washing and toilet access simultaneously needs a deliberate accommodation plan.
Designer bathrooms should also be practical to use once completed. YourHome's minor-upgrade guidance recommends features such as step-free showers, slip-resistant flooring and lever taps. Resolve those selections before the associated rough-in and substrate work, not during final styling.
Use the kitchen renovation timeline guide to prepare scheduling questions. Ask the project lead to maintain a shared decision register so trades work from the same current drawings and you know when an outstanding answer will affect progress.
Bringing It Together With a Handover Pack
Handover should demonstrate that the kitchen works and that the agreed documentation is complete. Don't reduce it to collecting keys and admiring the benchtop.
Arrange a walkthrough with the scope and selections schedule available. Open cupboards and drawers, check agreed finishes, operate installed equipment with the appropriate guidance, and record incomplete or defective items clearly.
Collect records that remain useful
Keep a project folder containing:
- Approval records: Relevant permits, approved drawings and the required Certificate of Final Inspection or Occupancy Permit, as applicable.
- Product information: Warranties, appliance manuals, model details and maintenance instructions.
- Trade documentation: Applicable certificates and records supplied by the responsible practitioners.
- Concealed-work photographs: Images of services before they're covered, labelled by location.
- Outstanding items: A written defects list, agreed actions and the process for reporting further concerns.
Include paint colours, touch-up arrangements and appliance registration tasks. These details are easy to overlook while everyone is concentrating on practical completion.
The folder can support later maintenance, tenancy management or a sale by making the work easier to explain. It isn't a promise of additional resale value. Where bathrooms were included, keep their records identifiable rather than mixing every certificate into an unlabelled email chain.
Stress-test the plan before construction
Ask these questions before authorising the start:
- Is the scope stable? Can everyone identify what's included and excluded?
- Are approval questions resolved? Are outstanding conditions visible?
- Are responsibilities documented? Does each supply, decision and application have an owner?
- Is the programme workable? Can the household manage the proposed disruption?
- Is completion defined? Do you know what must be delivered at handover?
Request a quote once your measured brief, priorities and unresolved questions are organised. Send photographs, proposed kitchen and bathroom scope, your budget parameters and preferred timing, then ask for a consultation that addresses buildability, approvals and commercial readiness before you commit to construction.