Small Bathroom Remodel on a Budget: A 2026 AU Guide
You're probably standing in a bathroom that feels too small, too dated, or too tired to keep ignoring. Maybe the tiles are stained, the vanity has seen better days, and every quote you've heard makes a fresh start feel out of reach.
A small bathroom remodel on a budget is possible in Australia. But the projects that stay affordable aren't the ones driven by impulse. They're the ones planned properly from the start, with a clear line between cosmetic upgrades, structural issues, and compliance jobs that can't be faked your way through.
That's the difference between a bathroom that looks better for a few months and one that performs well for years. Good bathroom renovations start long before you choose tapware or scroll new bathroom ideas. They start with the bones of the room.
The Foundation of Your Budget Bathroom Renovation
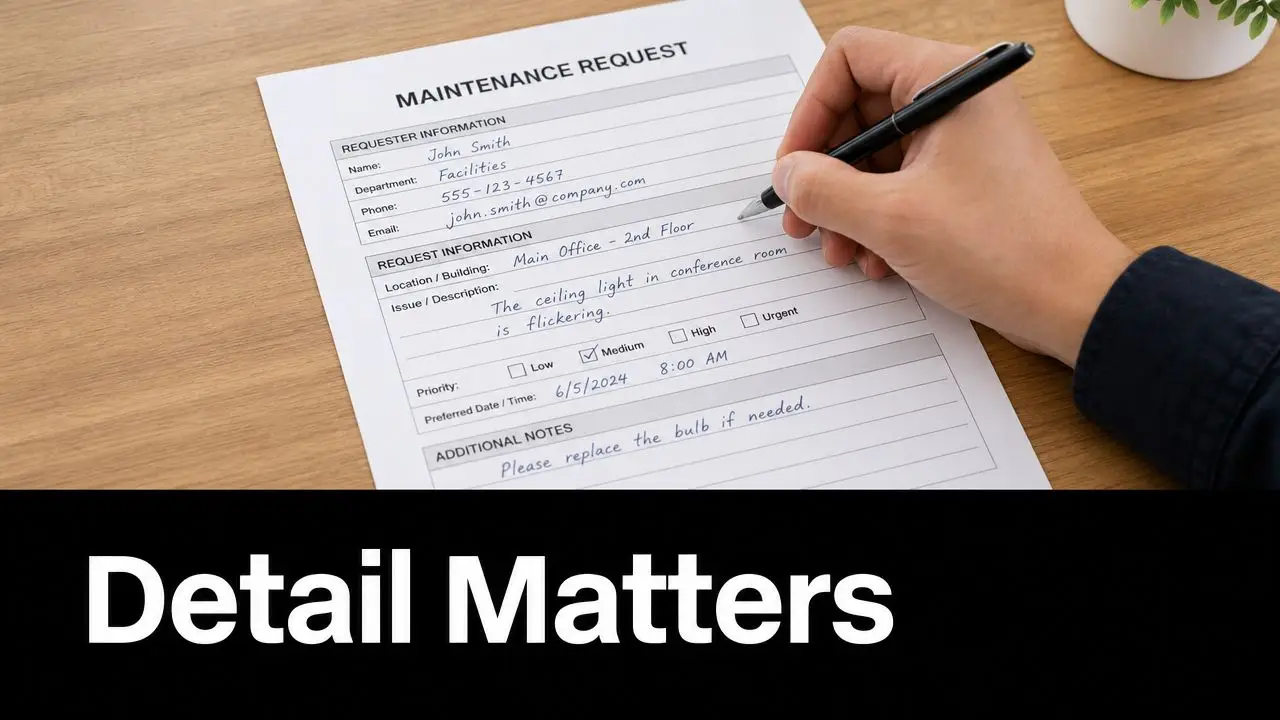
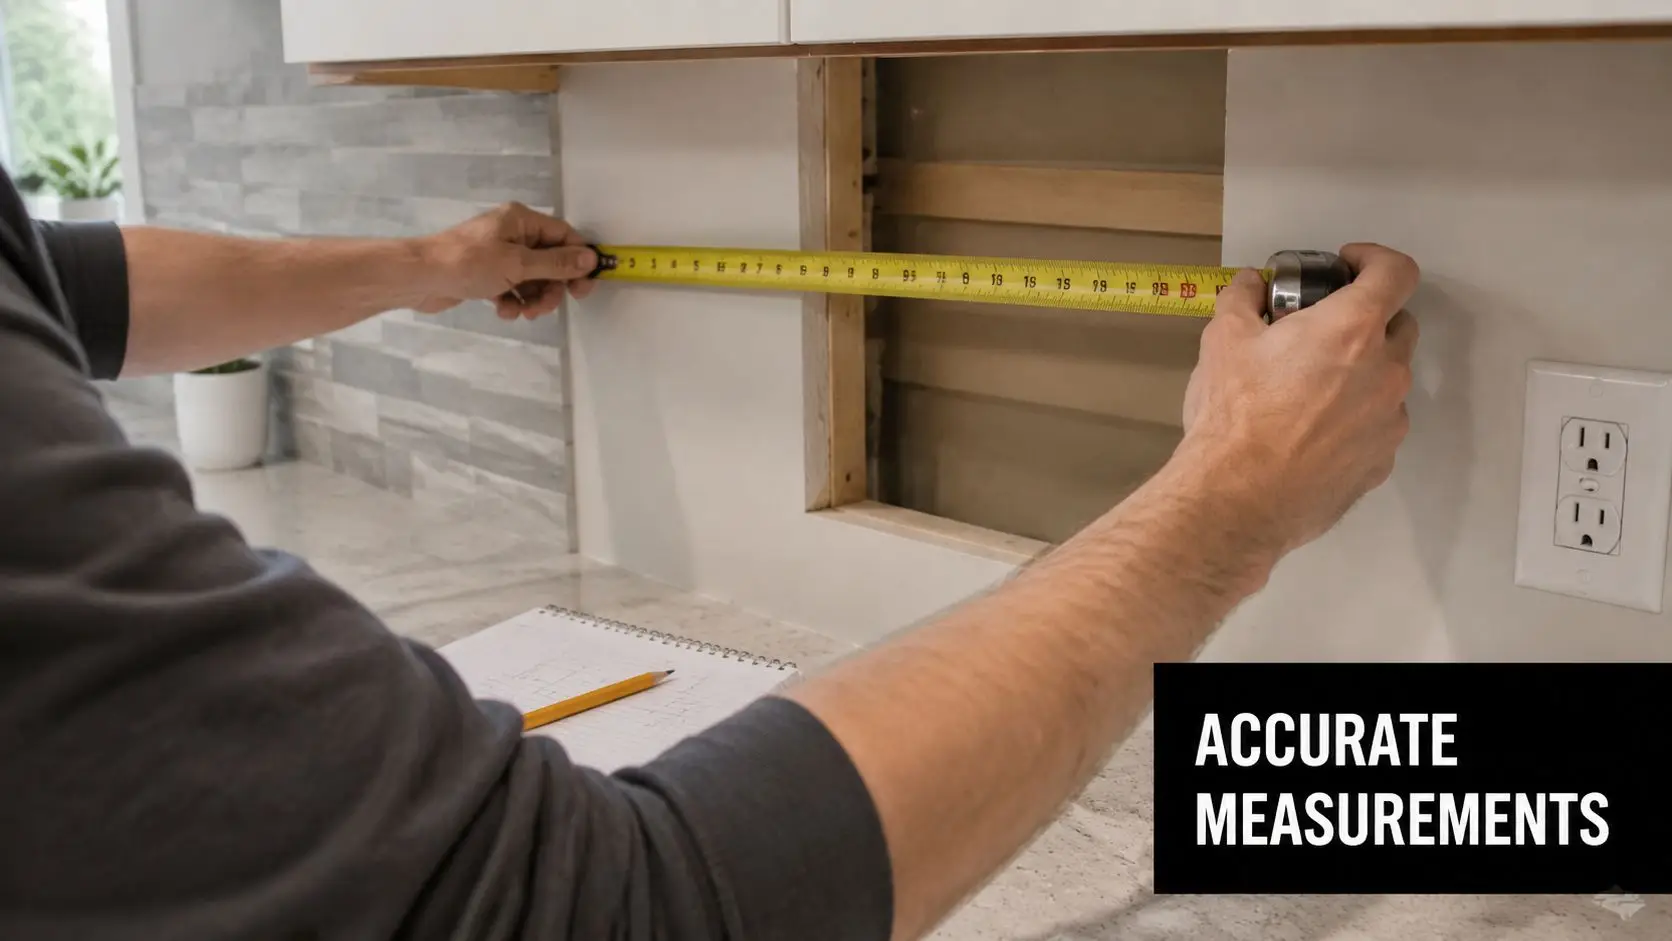
Treat your existing bathroom like a problem-solving exercise first. Before you think about colours, modern bathrooms, or designer bathrooms, inspect what's already there and ask one question. What could force this job off budget later?
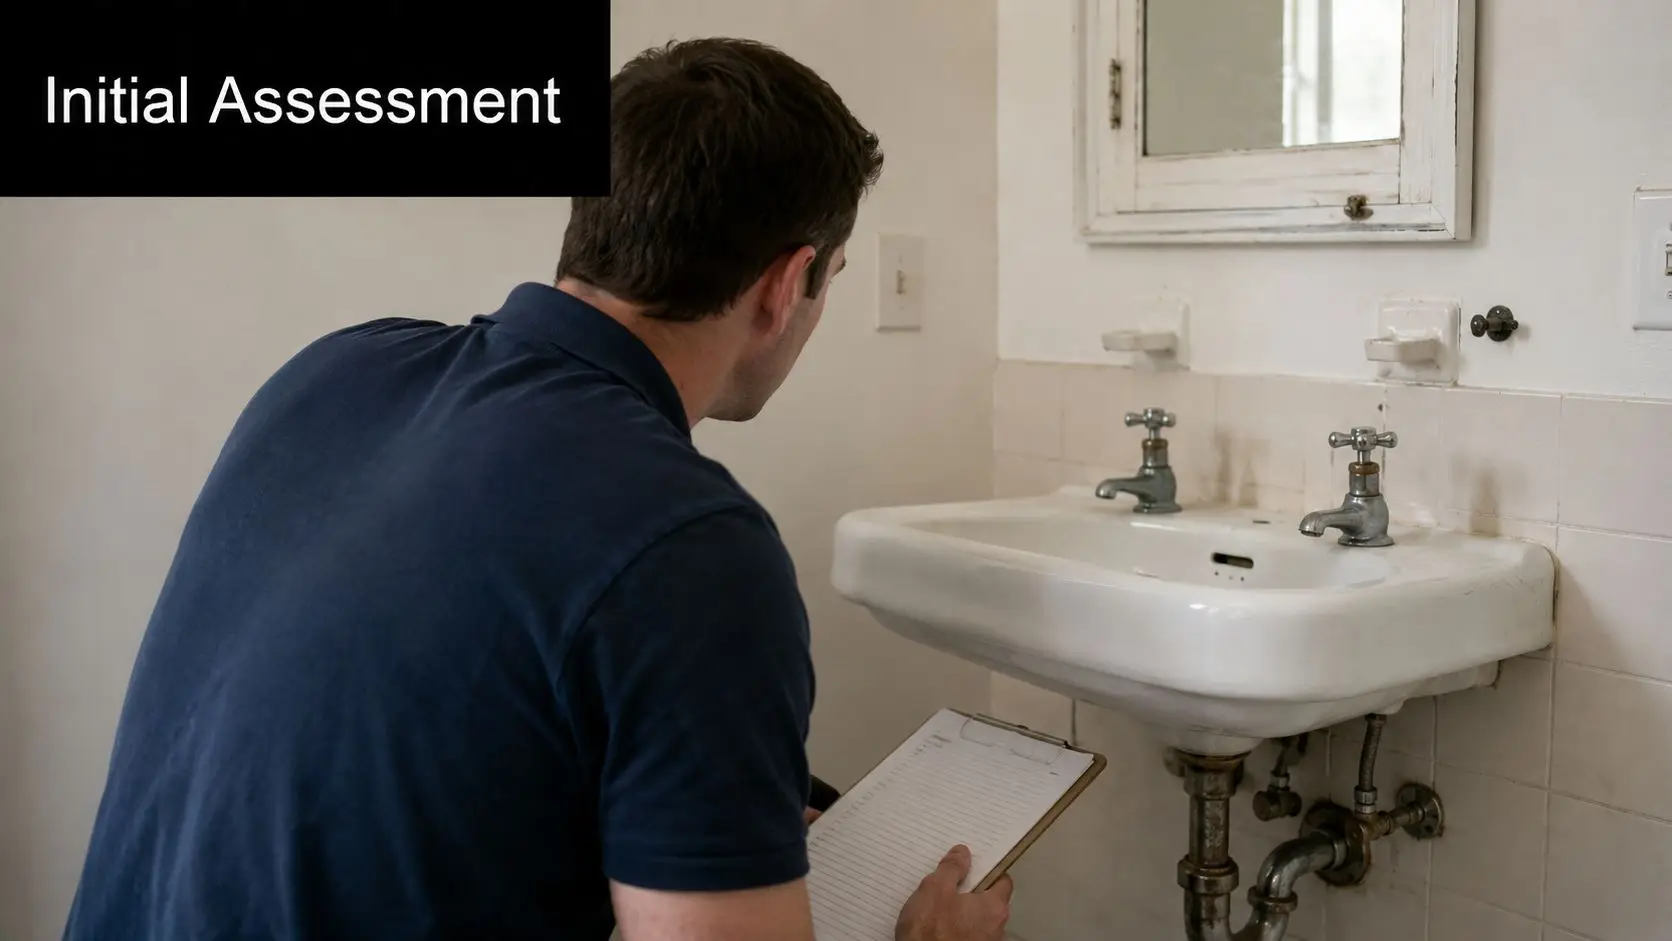
What to inspect before choosing finishes
Start with what you can see and smell:
- Check for moisture clues like swollen skirting, loose tiles, peeling paint, mould marks, or a musty smell that lingers after the room dries.
- Look at ventilation. If mirrors stay fogged for ages and surfaces never dry properly, moisture is hanging around too long.
- Test fixtures and drainage. Slow waste lines, drips under the vanity, and movement around tapware can point to bigger plumbing issues.
- Watch the floor underfoot. A soft or springy feel near the shower or toilet needs attention before any cosmetic work begins.
These aren't small details. They shape the whole budget.
According to recent case studies on hidden bathroom water damage in Australia, 60% of budget renovations in Australia fail within 12 months because underlying structural issues like water-damaged subfloors or leaky plumbing are ignored until after tiling and painting. The same source states that 28% of post-renovation complaints in Victoria in 2024 to 2025 were due to water intrusion not addressed in initial planning.
Practical rule: If water is getting in where it shouldn't, paint and new fittings won't solve the problem. They'll just hide it briefly.
Separate needs from wants
Homeowners often save or lose money at this point.
A need is anything tied to durability, safety, drainage, waterproofing, ventilation, or known leaks. A want is the visual layer. Mirror shape, feature tile, black fittings, niche styling, and upgraded handles all sit in the second category.
A simple shortlist helps:
Must fix now
Leaks, damaged substrate, failed sealant, ventilation problems, or plumbing defects.Worth doing while the room is open
Storage improvements, better lighting position, vanity replacement, and shower screen upgrade.Can be scaled up or down
Tapware finish, tile extent, statement mirror, feature wall, and accessories.
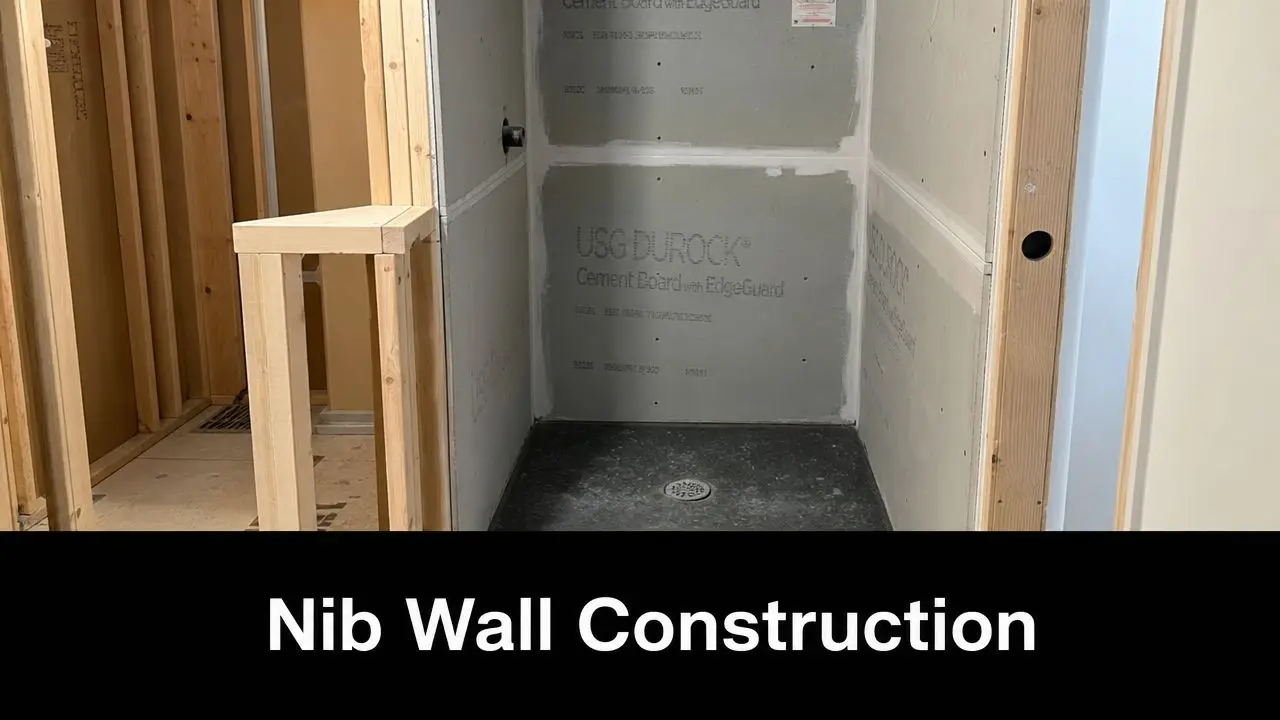
Keep the layout unless there's a strong reason to move it
On tight budgets, the existing footprint usually wins. Once you start shifting plumbing points or changing the room structure, labour rises quickly and the chance of hidden surprises goes up with it.
That doesn't mean the room has to stay ugly. It means your best value often comes from fixing defects first, keeping the service locations sensible, and spending the visible budget where it changes the room most.
A well-planned budget bathroom doesn't begin with shopping. It begins with honest diagnosis.
Realistic Budgeting and Sample Cost Breakdowns
The biggest budgeting mistake is treating the whole project as one lump sum. A small bathroom remodel on a budget works better when you split the spend into buckets and accept that some costs aren't optional.
In Australia, the average cost for a small bathroom renovation ranges from $8,000 to $25,000, while council building permit fees can add $500 to $1,000, according to this Australian bathroom renovation cost guide. The same source recommends allowing an additional 10 to 20% for unexpected surprises.
Where the money usually goes
In a compact bathroom, the expensive parts aren't always the ones you notice first. Labour, prep, disposal, waterproofing, plumbing connections, and making old surfaces ready for new finishes often eat more budget than homeowners expect.
That's why a cheap-looking quote can become an expensive project later. If key tasks are missing from the allowance, the price hasn't disappeared. It's just waiting for variation.
If you want a rough planning tool before getting formal pricing, use a bathroom renovation cost calculator for Australian projects. It won't replace a site inspection, but it helps frame the likely budget range.
Sample $8,000 Small Bathroom Budget Breakdown
| Item | Estimated Cost (AUD) | Percentage of Budget |
|---|---|---|
| Demolition and waste removal | $700 | 8.75% |
| Waterproofing | $1,100 | 13.75% |
| Plumbing labour and fittings | $1,100 | 13.75% |
| Tiling labour and materials allowance | $1,600 | 20% |
| Vanity, basin and tapware | $1,100 | 13.75% |
| Shower screen | $600 | 7.5% |
| Lighting, accessories and painting | $800 | 10% |
| Permit fees allowance | $500 | 6.25% |
| Contingency reserve | $500 | 6.25% |
This isn't a universal template. It's a planning model that shows how quickly the “invisible” items take up space in the budget.
What this breakdown tells you
A few lessons jump out straight away:
- Waterproofing isn't a side note. It takes a meaningful share because it protects the whole room.
- Fixtures should match the budget tier. Overspending on one vanity or tap set can starve the project elsewhere.
- Permit costs need a place in the numbers. If they apply, they can't be treated as an afterthought.
- Contingency is part of the budget, not extra to it. If nothing unexpected happens, great. If something does, you're still in control.
The calmest renovations usually belong to homeowners who planned for bad news before demolition started.
Budget renovations can look sharp and feel well resolved. They just need disciplined choices. If the room needs structural correction, spend there first. If the room is sound, you've got more freedom to chase style without exposing yourself later.
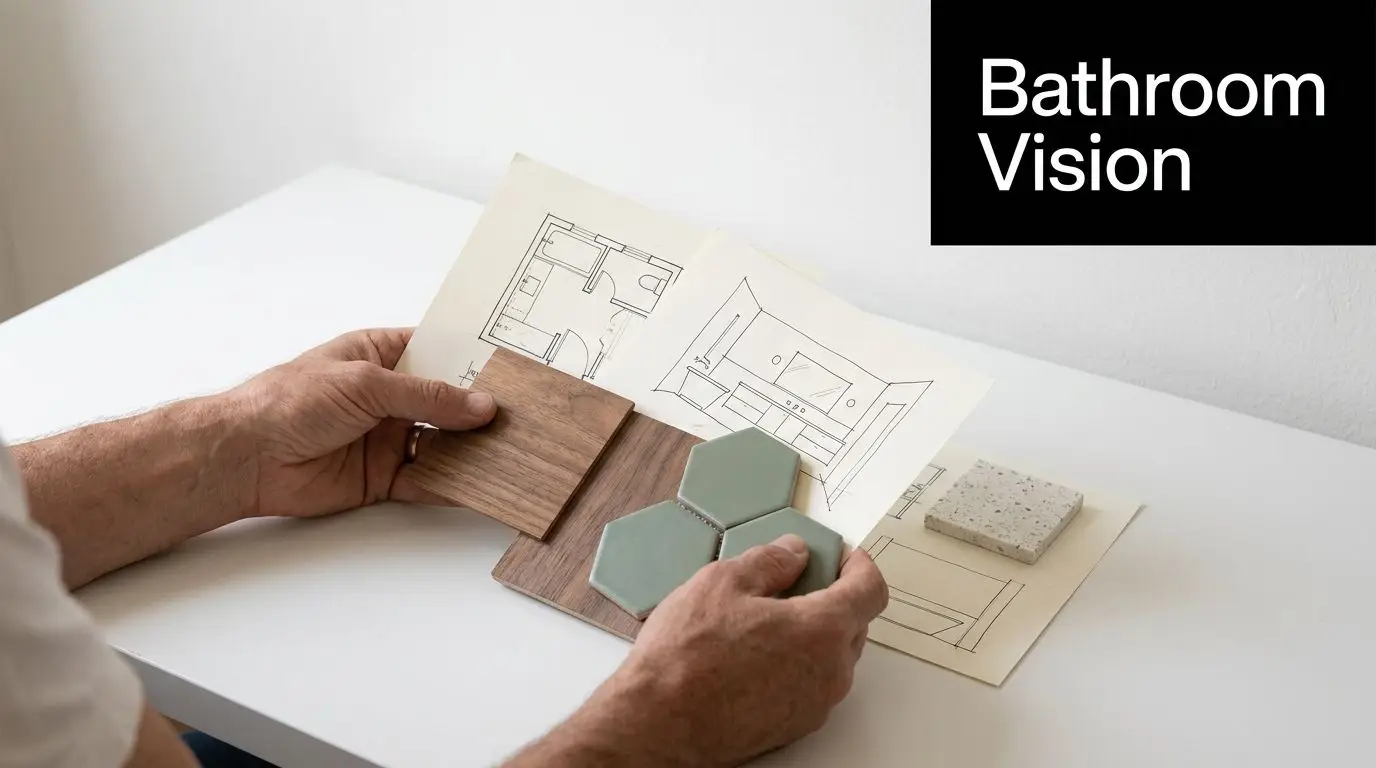
Smart Design Ideas for Small Modern Bathrooms
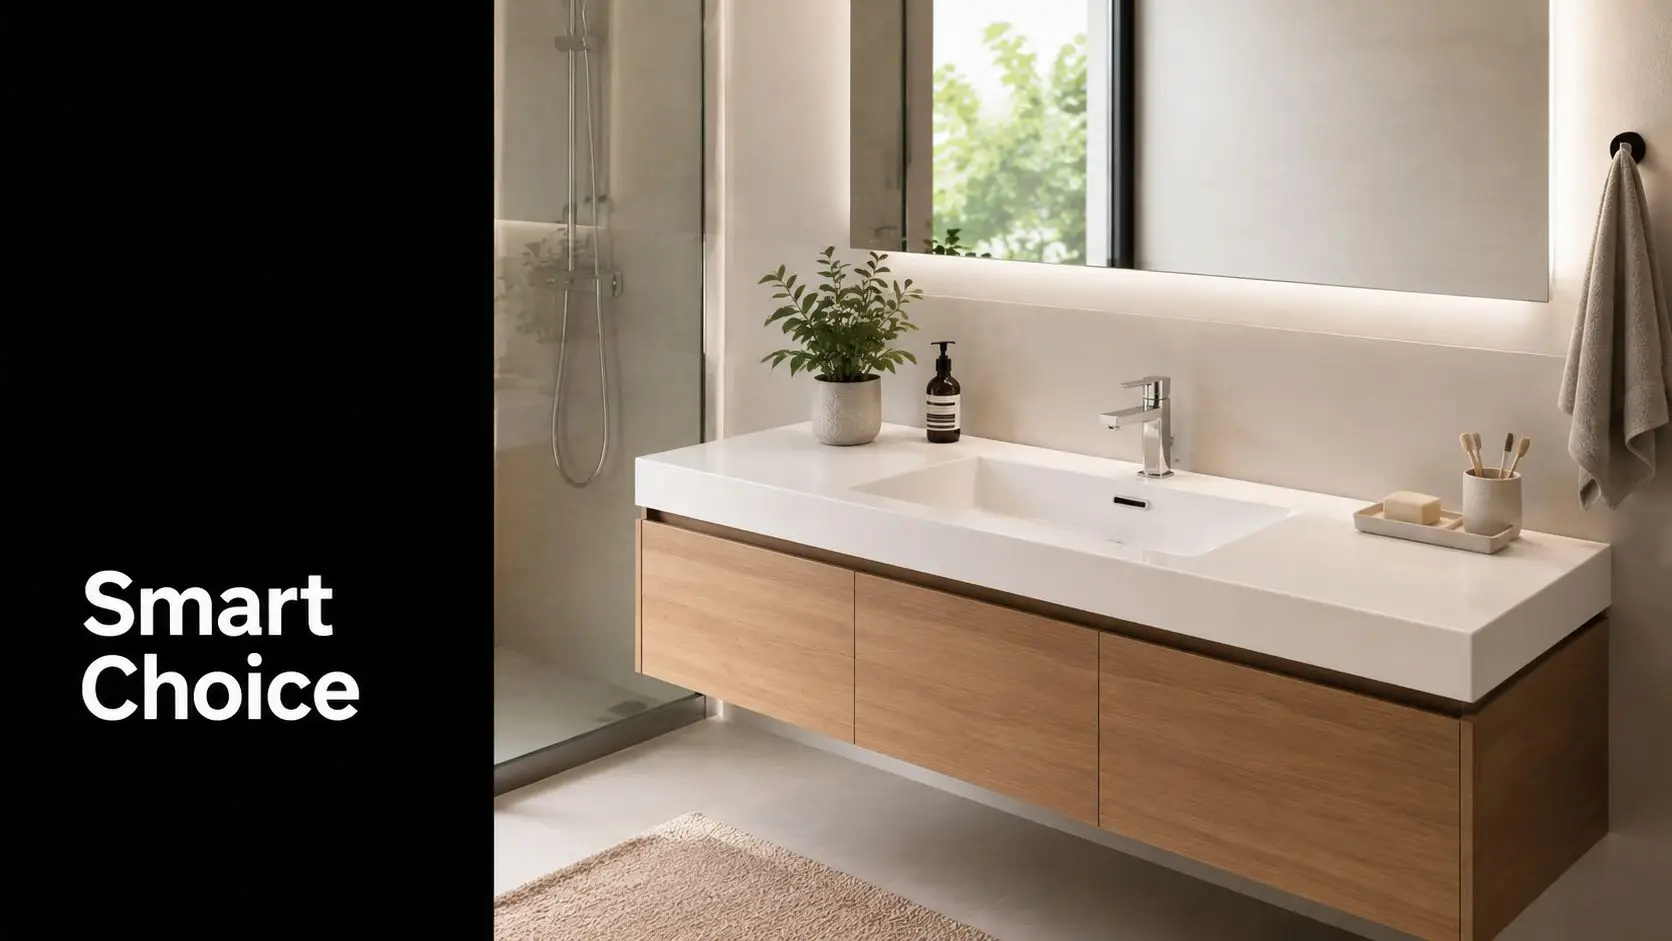
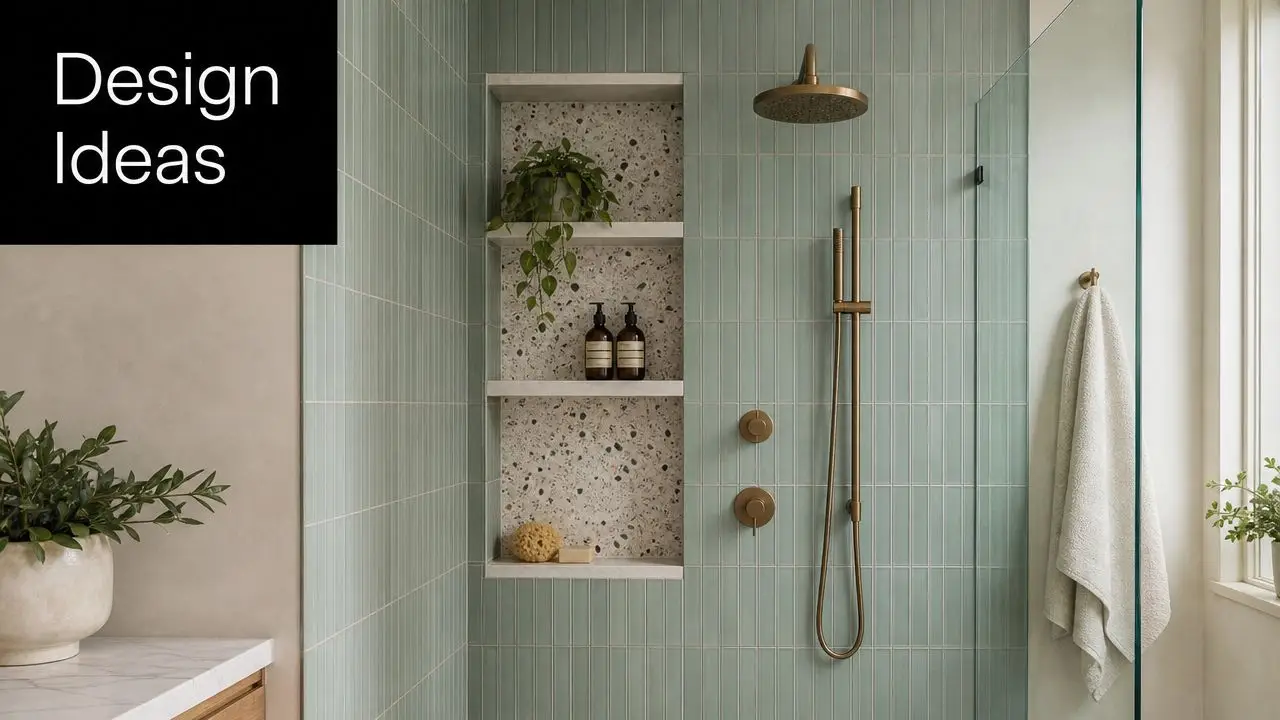
A small room can still feel generous. The trick is to choose design moves that create visual space instead of filling every corner with product.
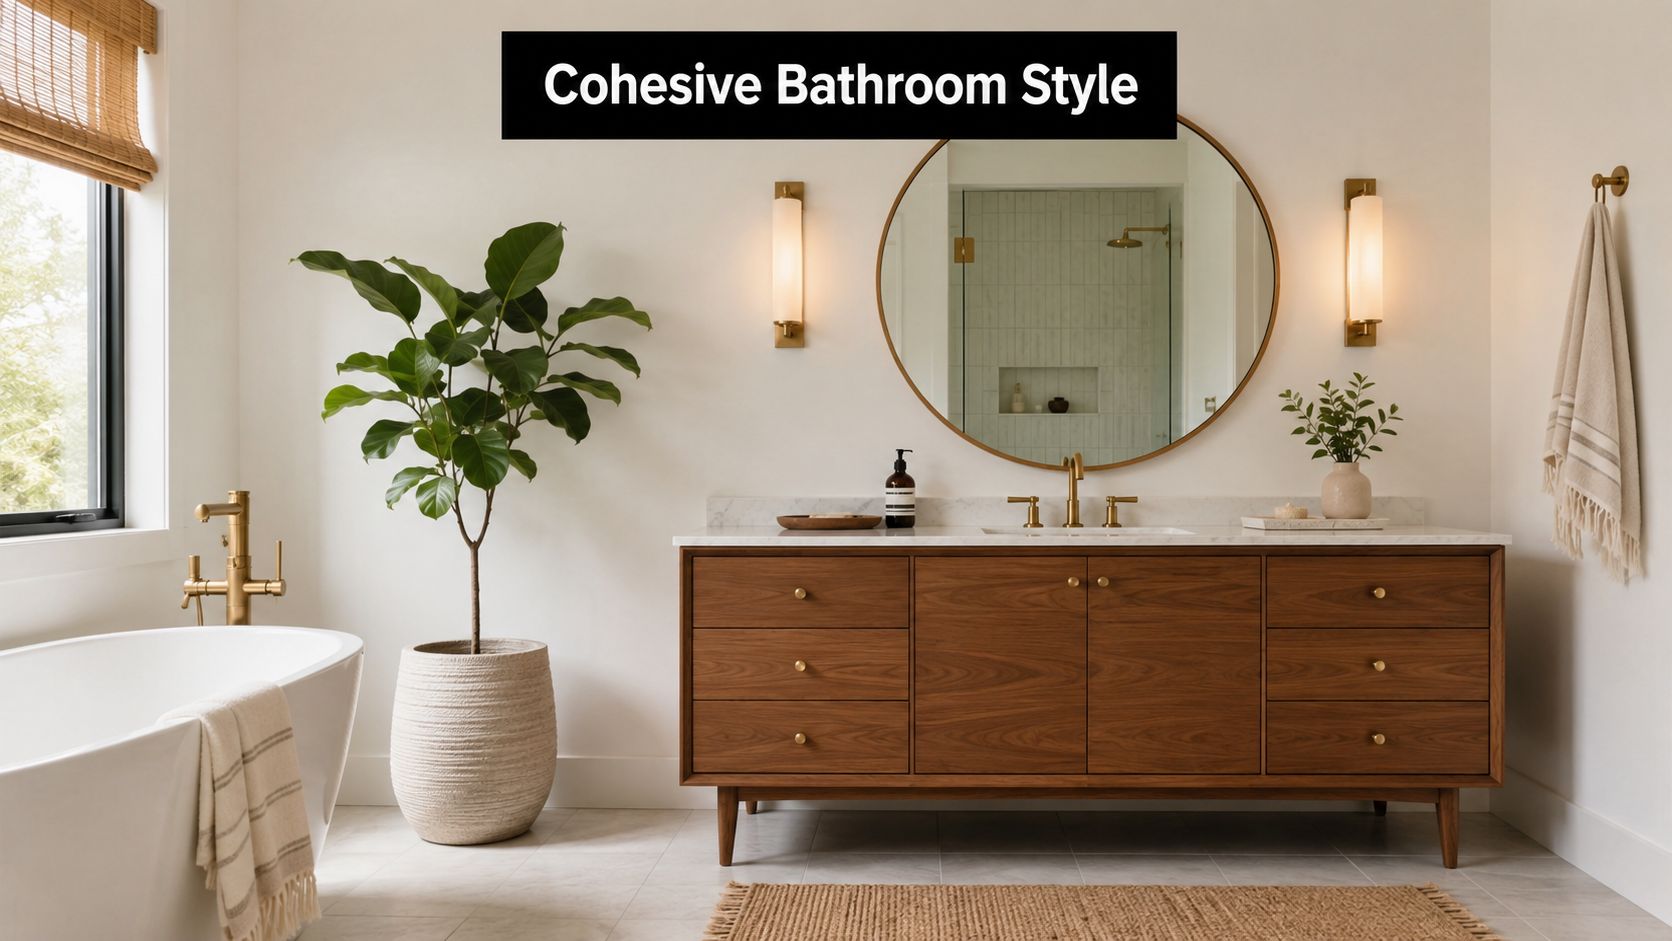
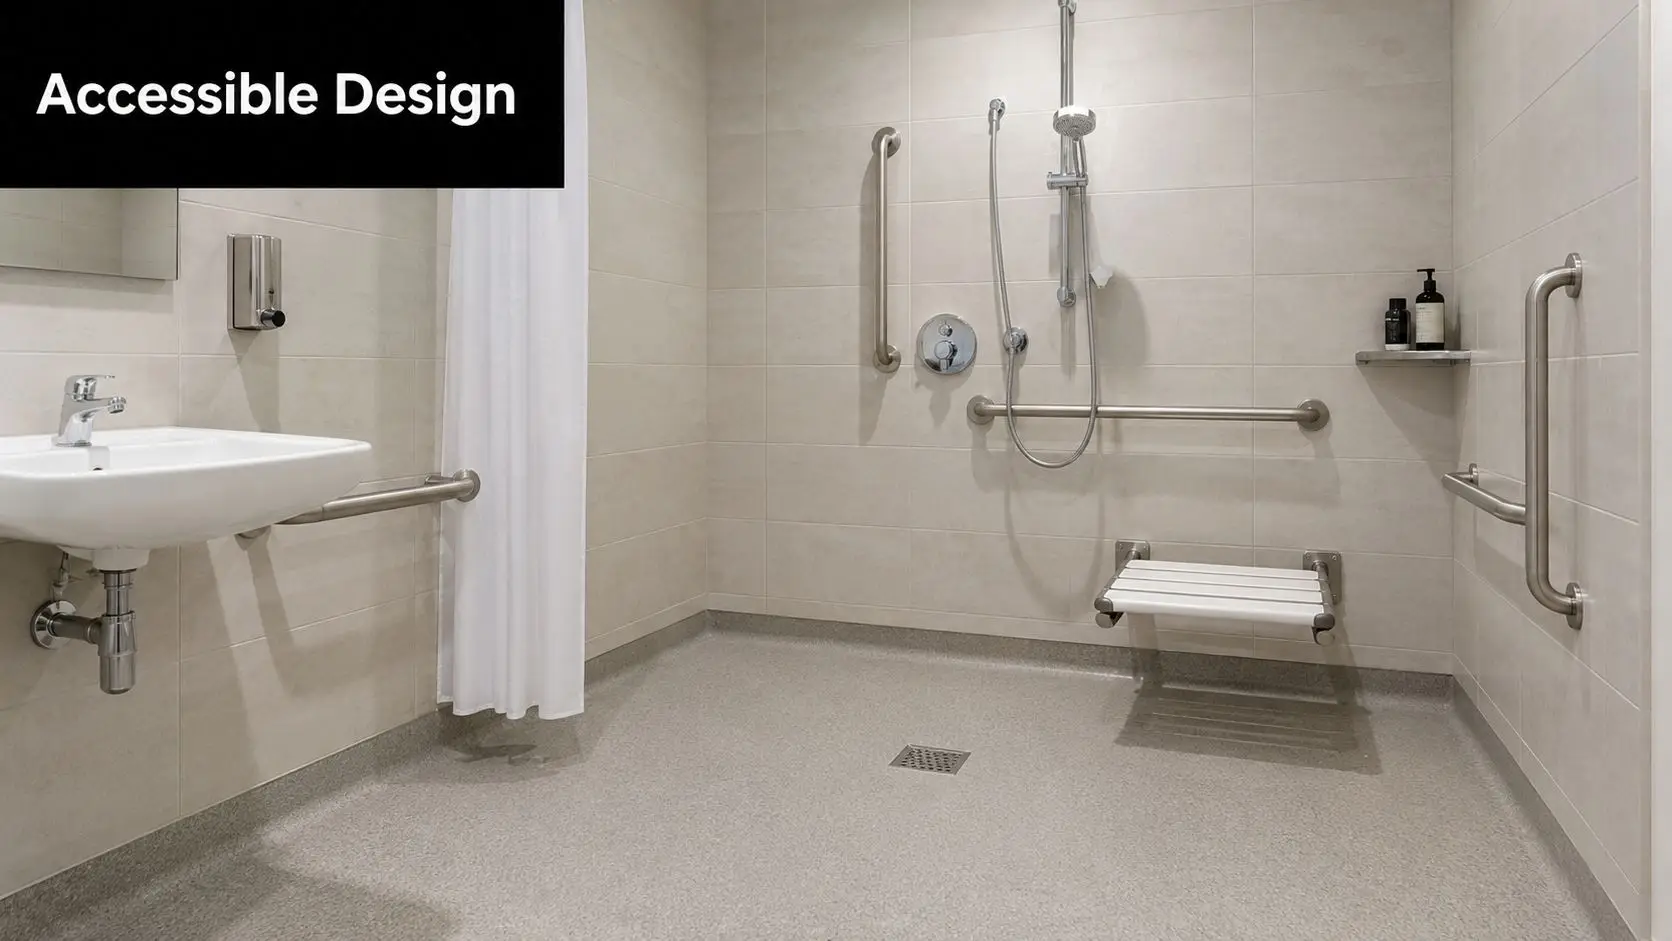
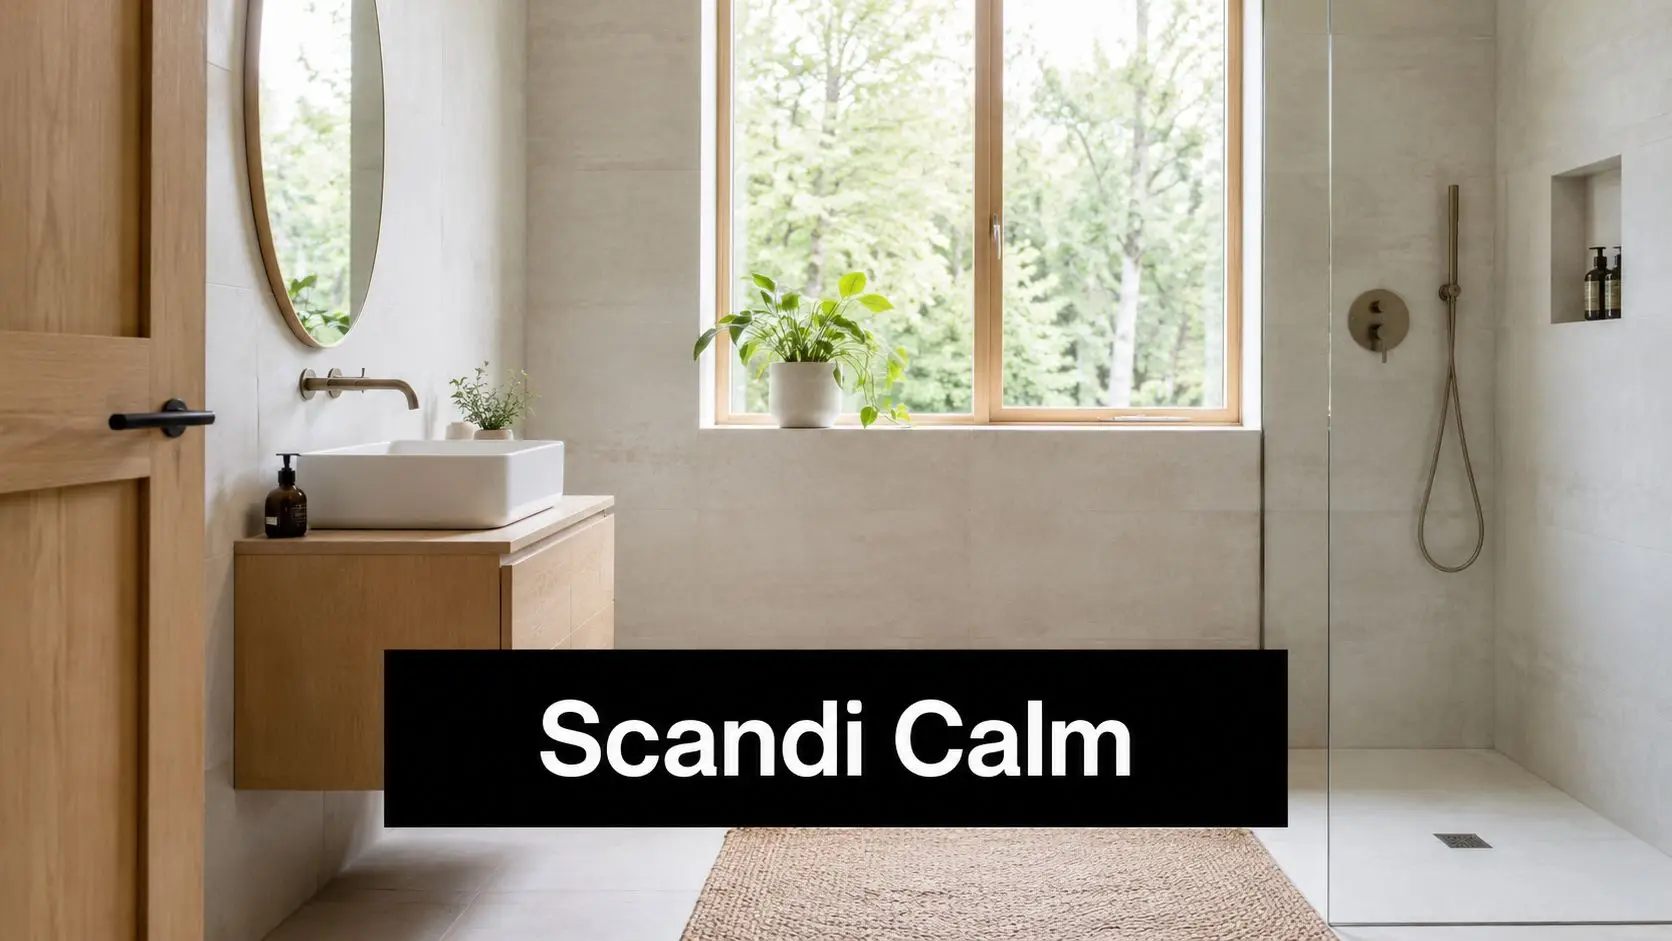
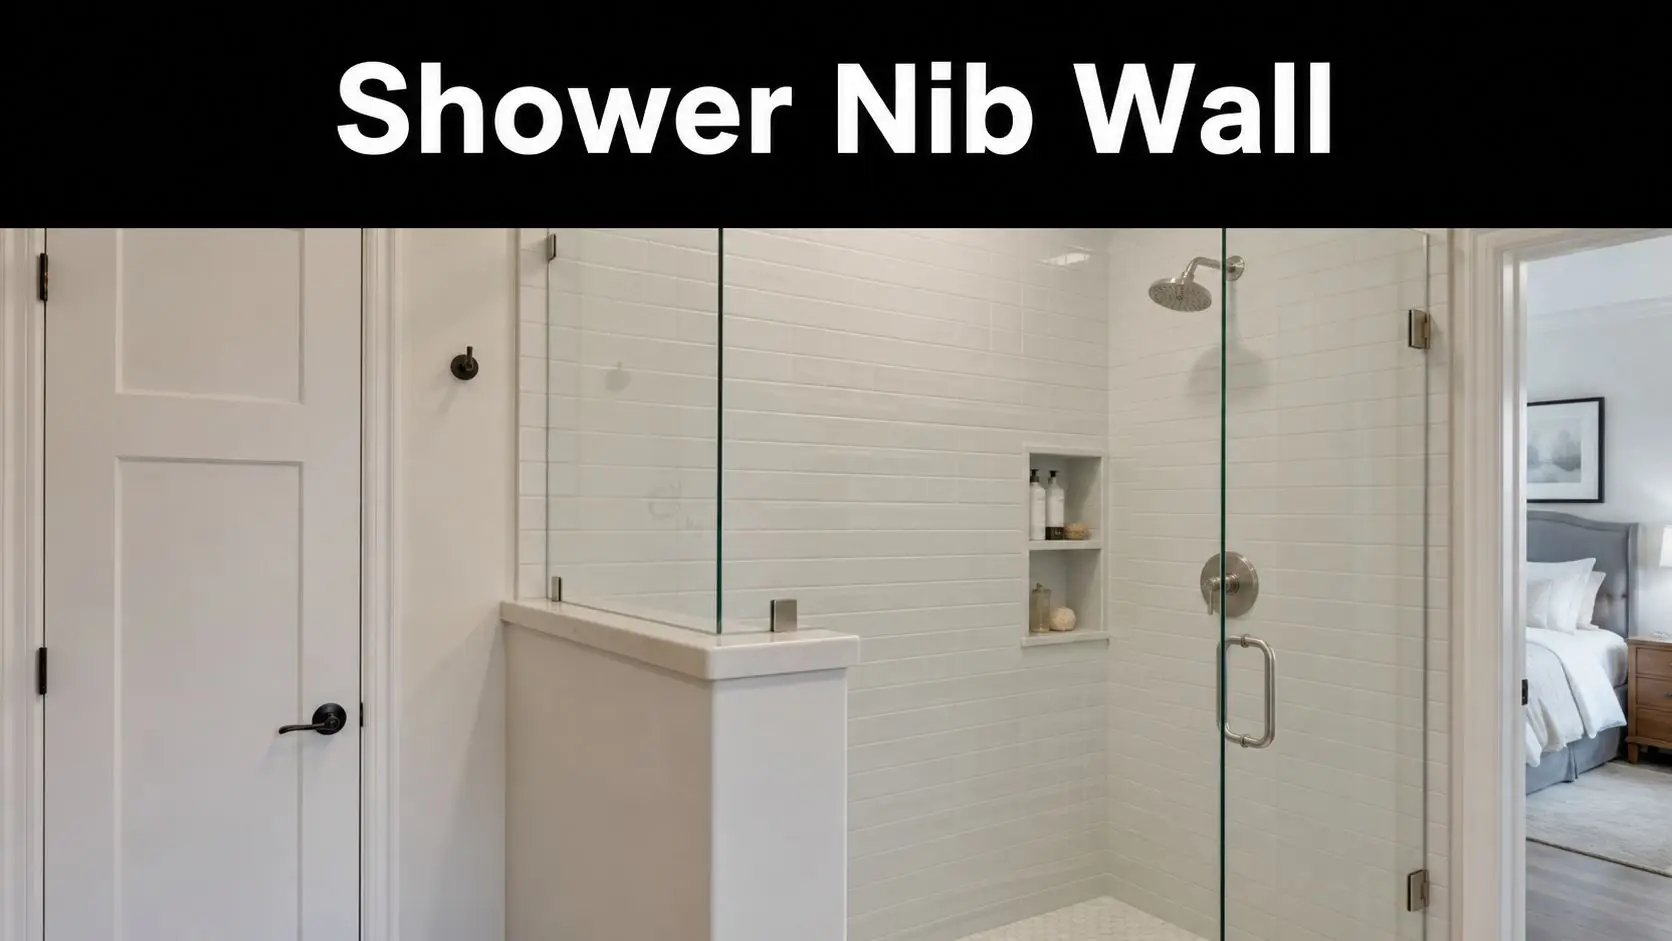
The strongest small-bathroom layouts do three things well. They keep the floor line visible, reduce visual interruption, and bounce available light around the room. That's how modest spaces start to feel like modern bathrooms rather than cramped utility zones.
A completed room helps make that feel more achievable.

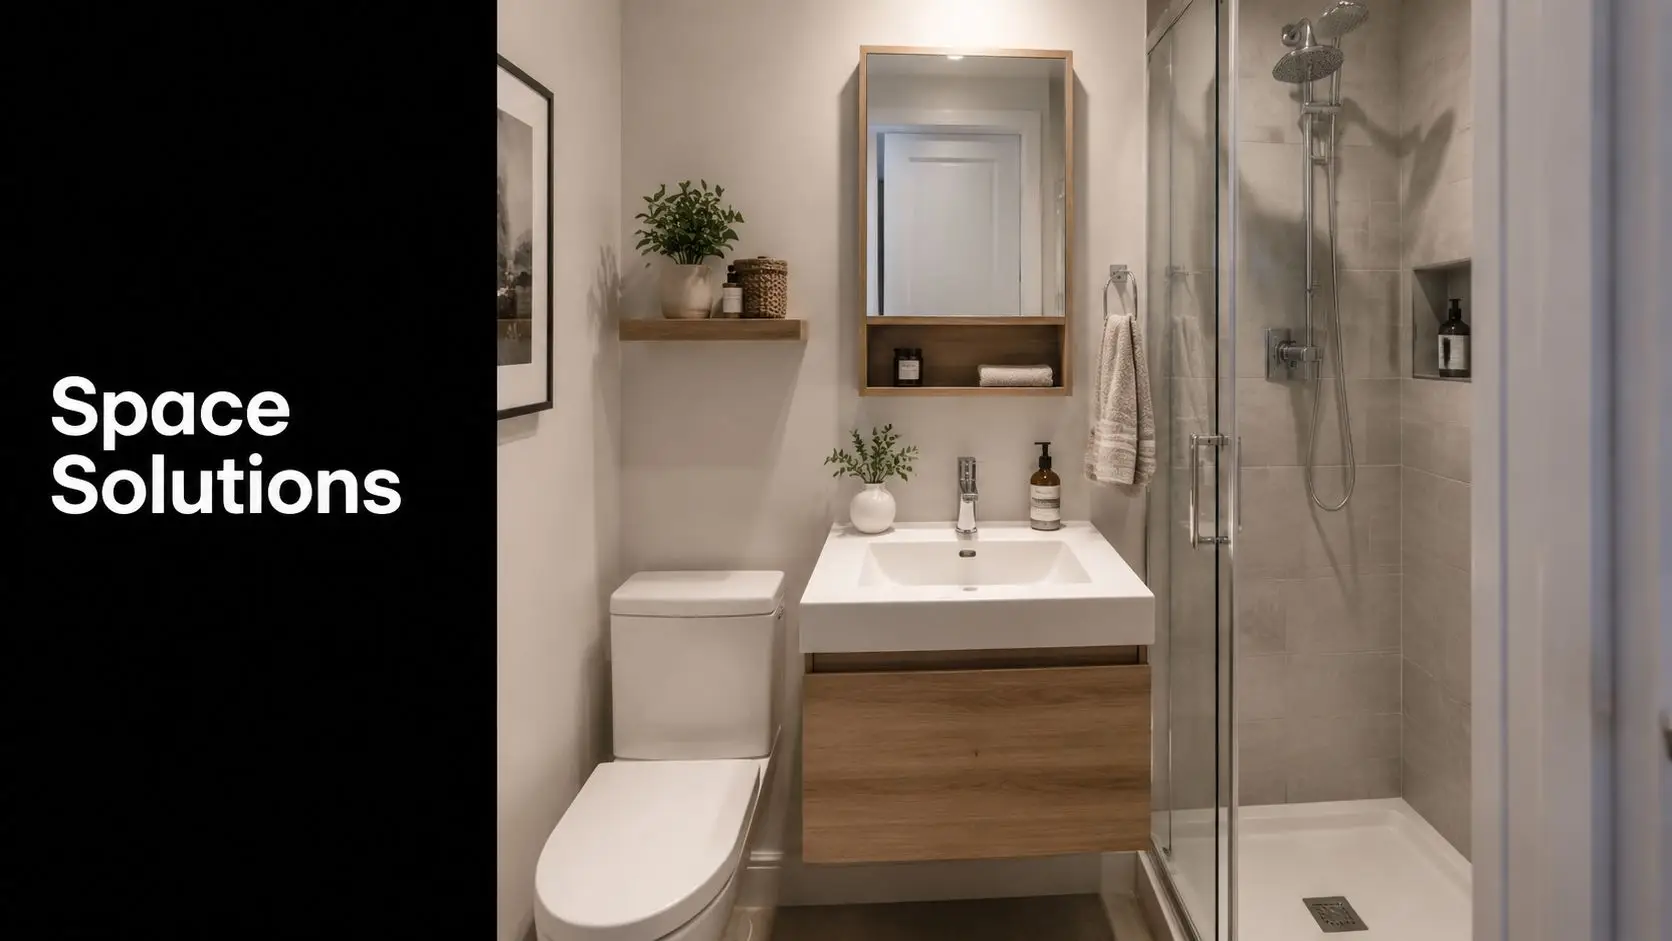
Design moves that make a small bathroom feel bigger
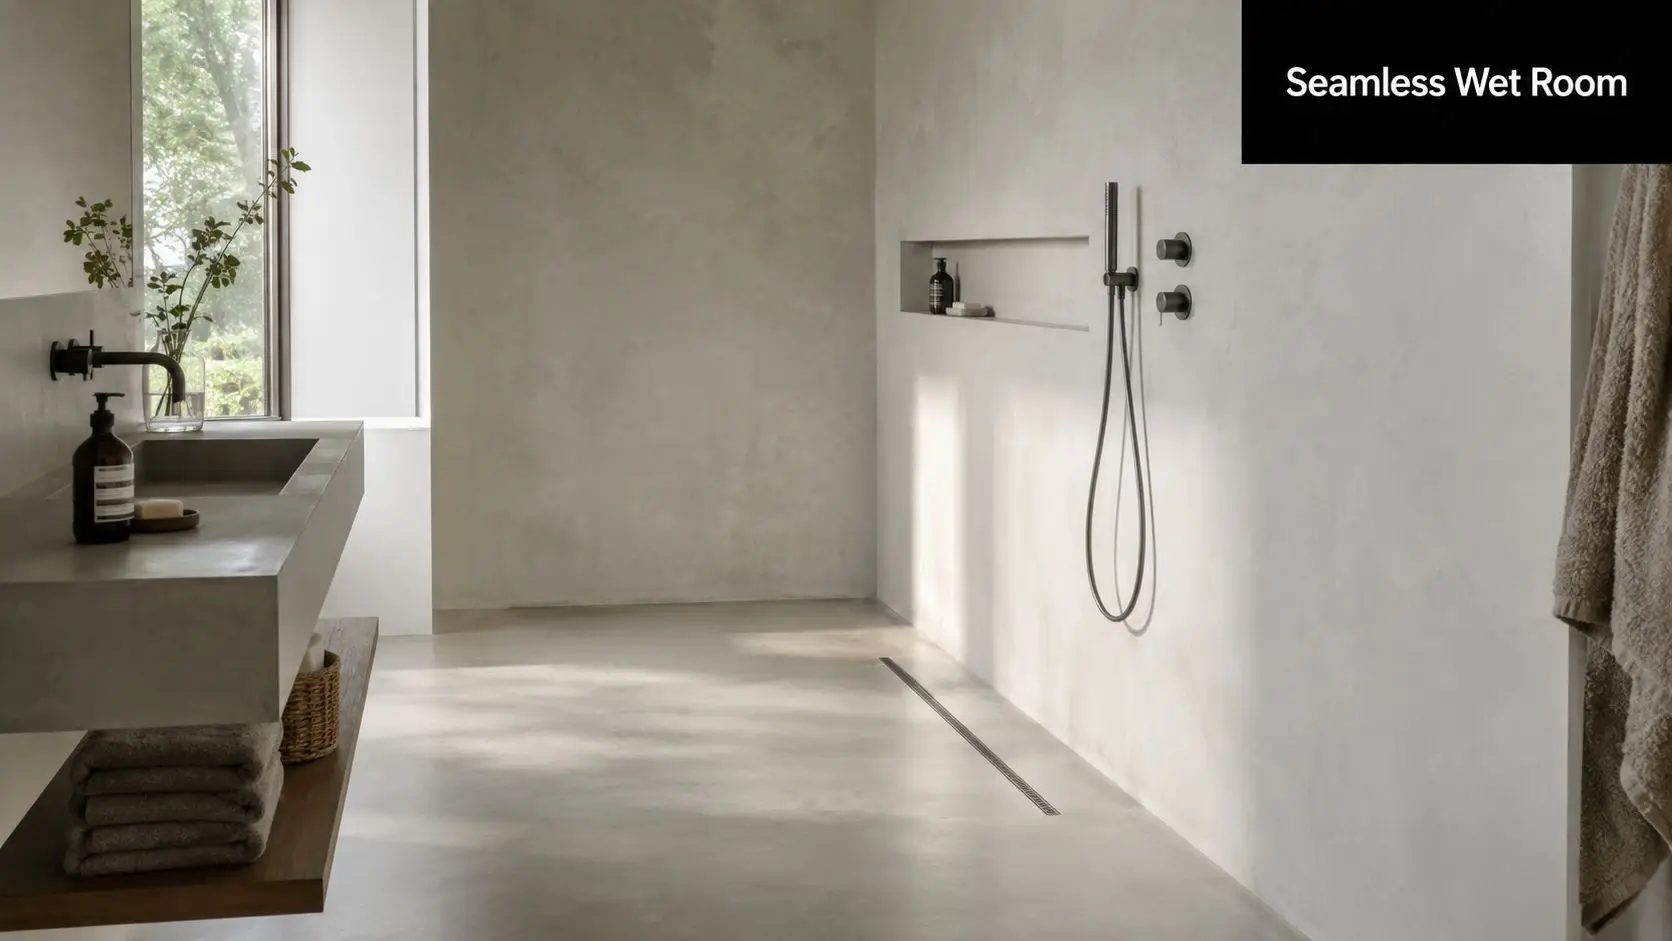
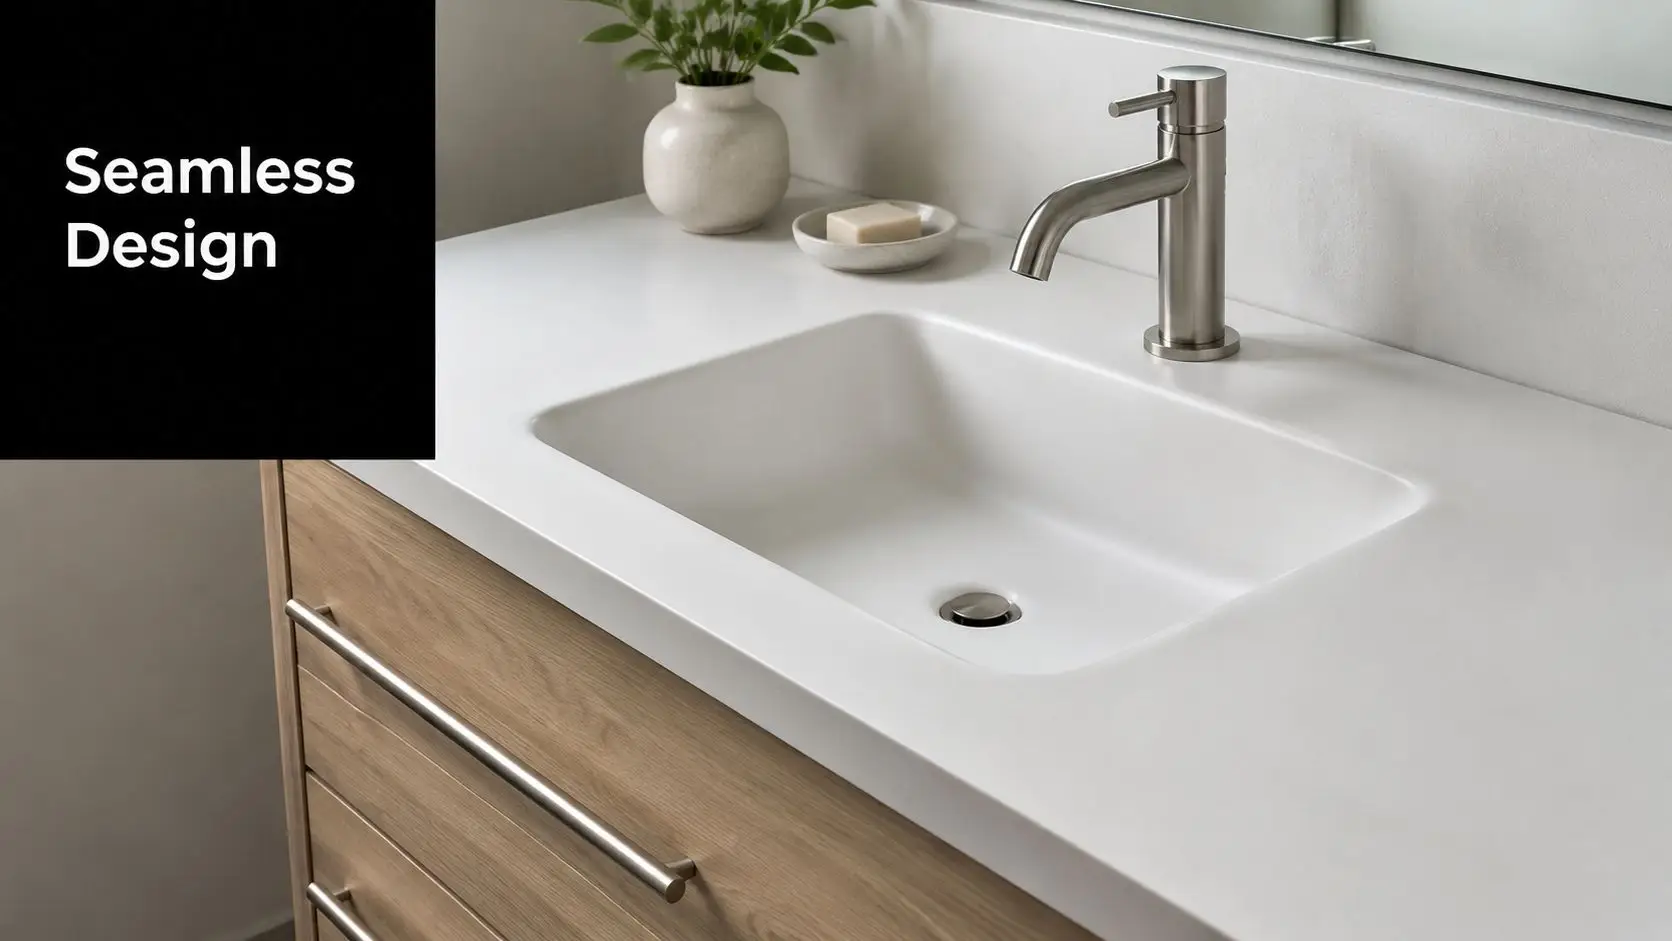
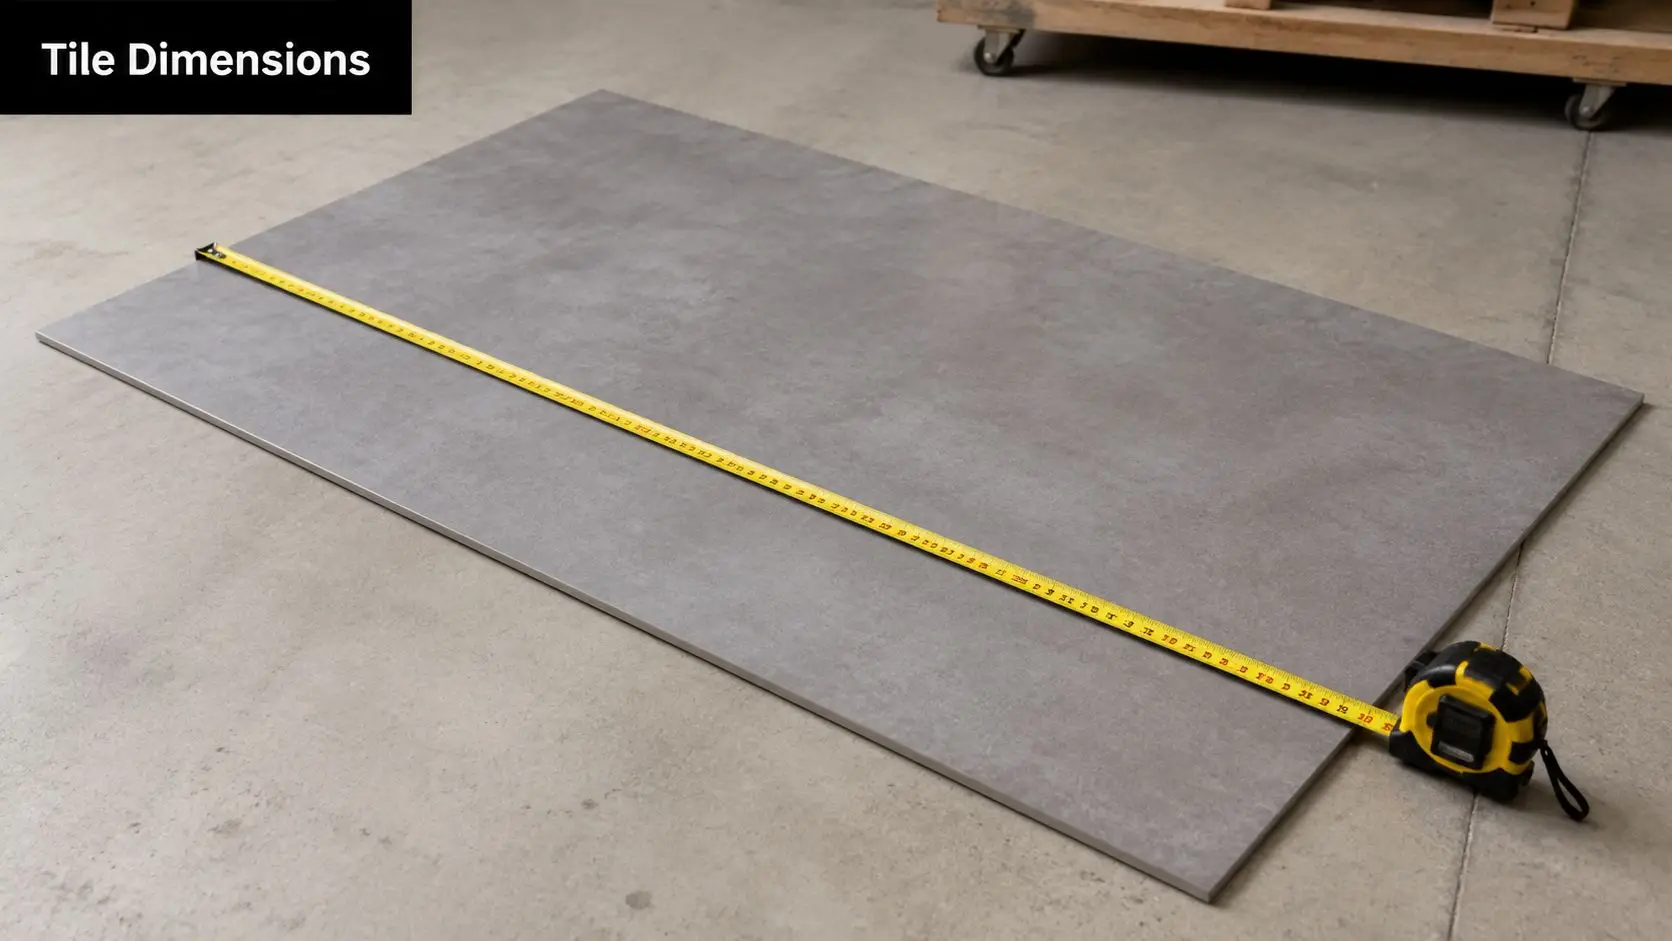
For a high-impact, low-cost upgrade, this guide to small budget bathroom planning in Australia recommends wall-mounted or floating vanities, large-format tiles such as 600x300mm, and frameless glass shower panels to maximise visible floor area, reduce grout lines, and improve light flow.
Each of those choices does more than look current.
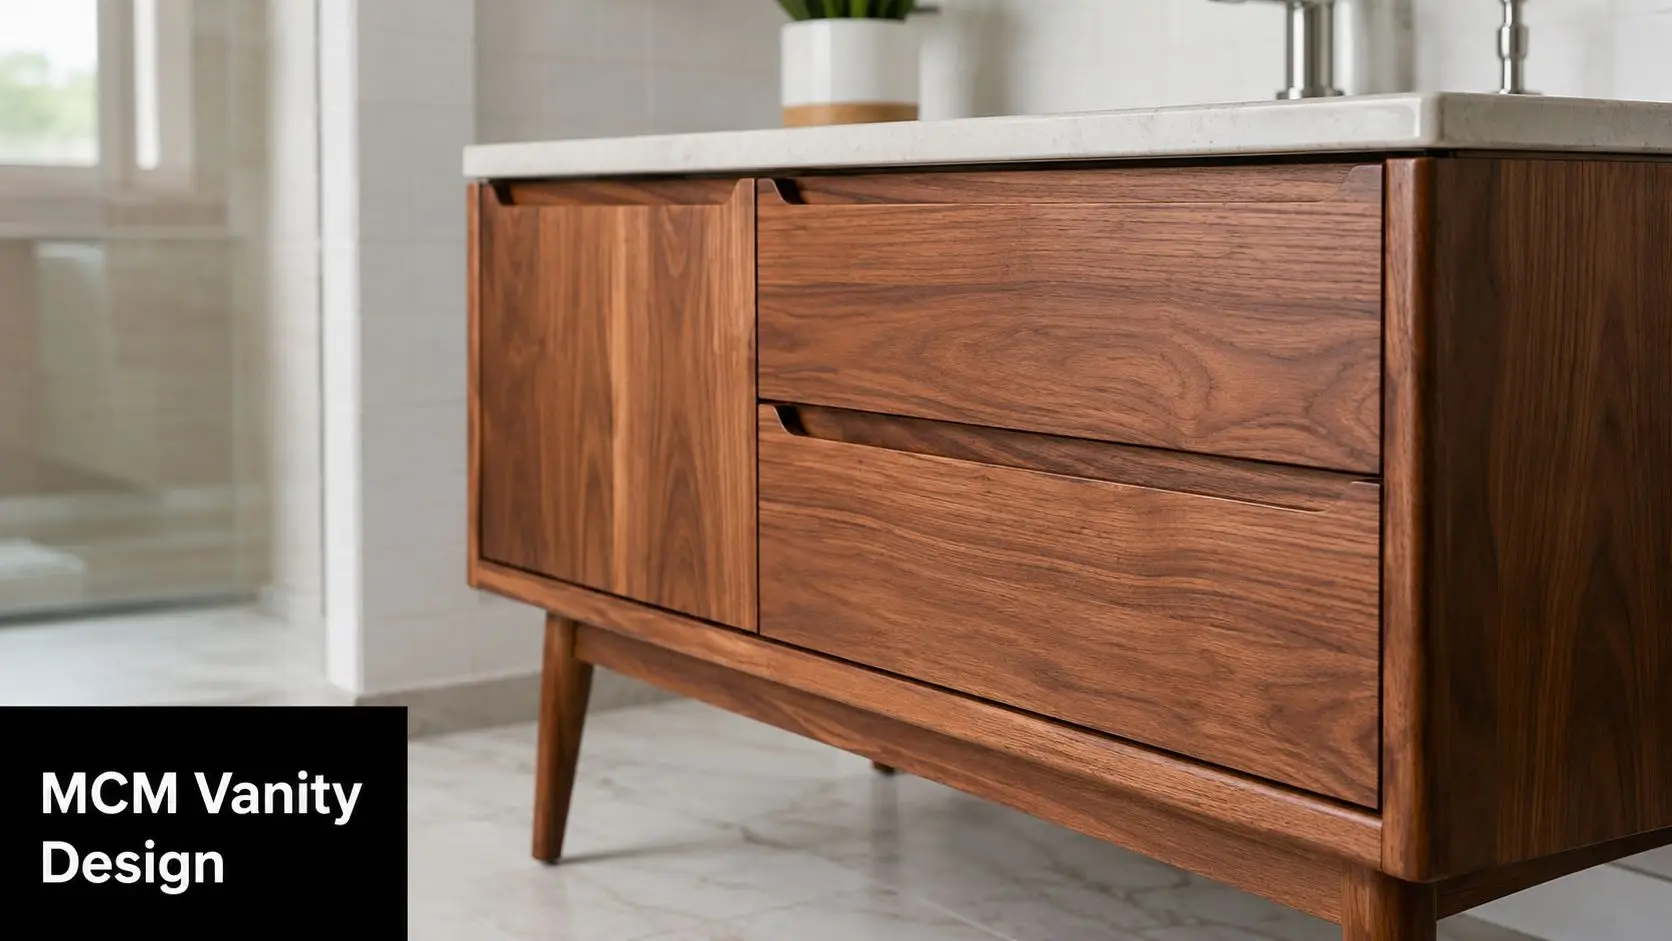
Floating vanity
It exposes more floor, which makes the room read larger at a glance. It also gives the joinery a lighter, less bulky presence.Large-format tiles
Fewer grout lines means less visual noise. In compact bathrooms, that matters more than people expect.Frameless glass
It keeps sightlines open. The room feels less boxed in because your eye travels further.
If you're collecting small bathroom ideas in Australia, focus on combinations of these moves rather than one-off styling features.
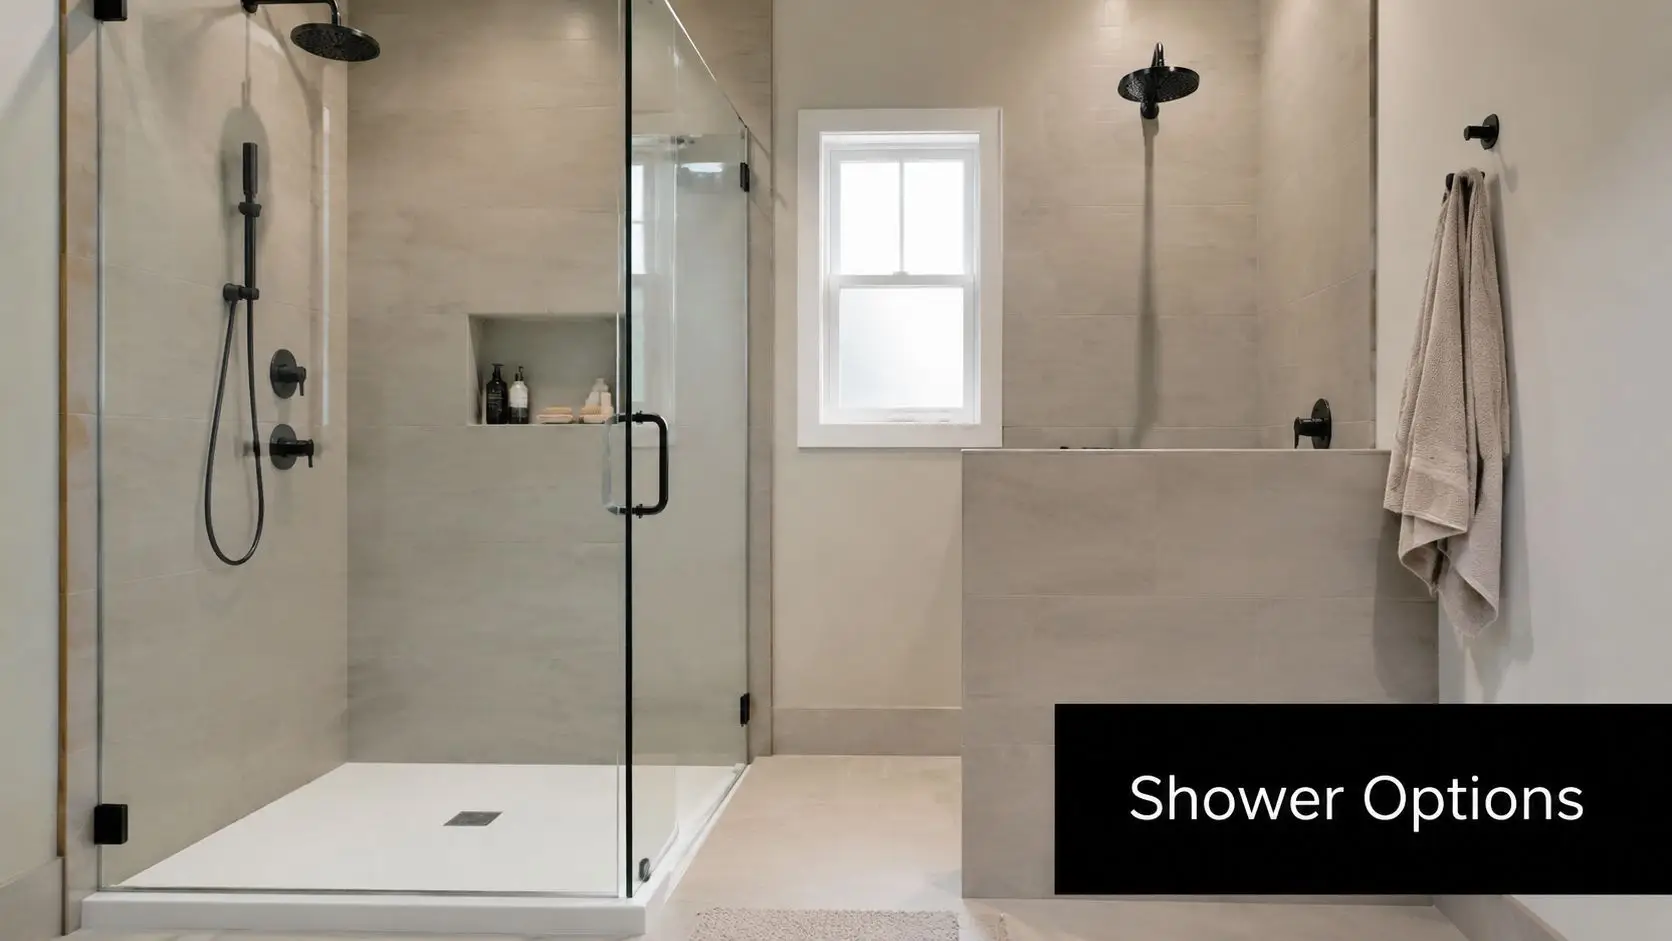
Build one focal point, not five
Budget rooms usually fall apart when every finish tries to be the hero. If the vanity has a bold timber grain, the mirror is oversized and sculptural, the wall tile is patterned, the tapware is dramatic, and the lighting is decorative, the room shrinks visually.
A better approach is restraint.
Choose one statement element that lifts the rest of the room. It could be:
- A distinctive mirror with a soft curve
- Feature lighting beside the mirror
- A single tile feature area inside the shower recess
- A refined vanity finish with simpler surrounding materials
Good design in small bathrooms is often about what you leave out.
Light, reflection and storage
Lighting changes how a bathroom feels more than almost any decorative finish. A single harsh ceiling light tends to flatten the room and create shadows at the mirror. Layered lighting works better. Overhead light covers the room, while mirror or wall lighting gives better function where you stand.
Storage matters too, but it needs to stay visually quiet. Recessed niches, mirrored cabinets, and practical vanity drawers keep clutter off benches. That's one reason some budget bathrooms still feel polished while others don't. The successful ones don't ask everyday items to become part of the décor.
For homeowners chasing fresh new bathroom ideas, the upgrade isn't adding more. It's making fewer elements work harder.
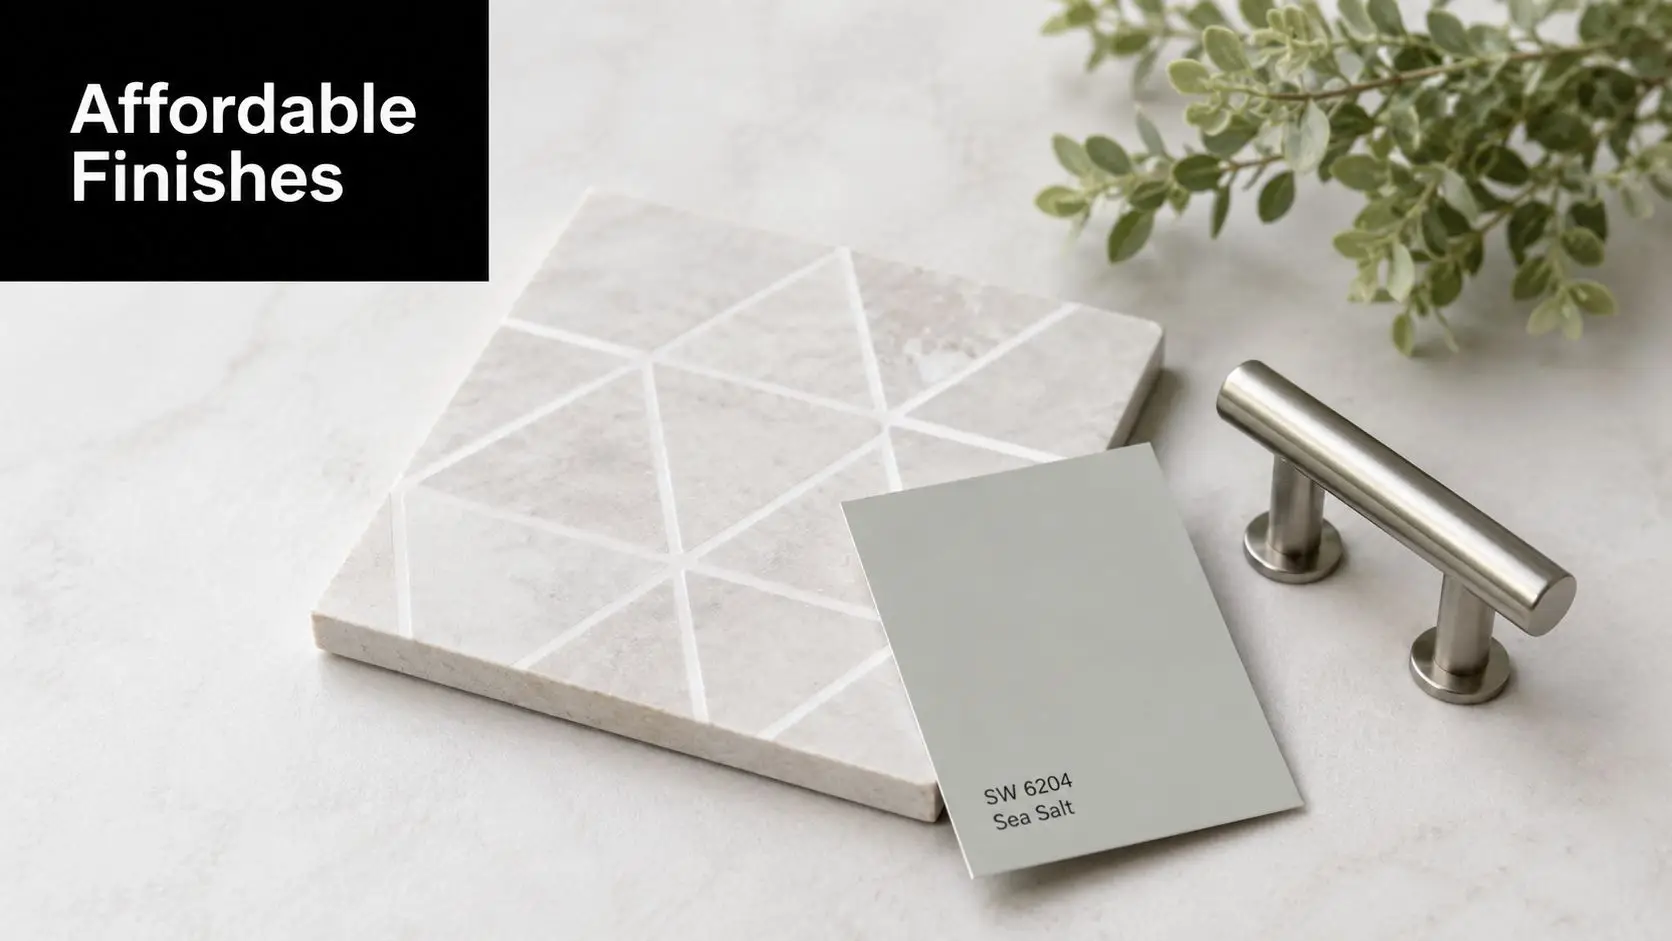
Choosing Affordable Materials and Finishes
Budget-friendly doesn't mean disposable. The best material decisions come from knowing where appearance matters most, where durability matters most, and where a lower-cost finish can still give you a clean result.
In many small bathroom projects, the smartest spend is not full replacement. It's selective renewal.
Where low-cost updates work well
According to this budget bathroom makeover guide for Australian homeowners, a visually impressive result is possible for as little as $5,000 when the job focuses on economical cosmetic upgrades. The same source notes that tile paint can cost around AU$90 and that new cabinet knobs can cost as little as $2 to $20 each, making a simple hardware update possible for under $100.
That points to a useful rule. If the existing surfaces are sound and the room doesn't need major corrective work, surface-level improvements can go a long way.
Compare the common choices
| Finish choice | Higher-cost route | Budget-conscious route | Best use case |
|---|---|---|---|
| Wall tiles | Full tile removal and replacement | Tile paint where existing tiles are stable | Cosmetic refresh without layout change |
| Vanity look | Custom joinery | Simple vanity with upgraded handles | Clean visual update |
| Splash of style | Full feature walls | One focal area or standout mirror | Controlled statement |
| Hardware refresh | Full cabinet replacement | New knobs and pulls | Quick aesthetic lift |
Some trade-offs are worth making. Others aren't.
Worth saving on
Handles, mirrors, paint, selected accessories, and the extent of decorative tile.Usually not worth cutting too hard
Wet area prep, waterproofing, substrate correction, and core plumbing work.
A practical way to choose finishes
Use this filter before buying anything:
Will this finish be exposed to constant moisture?
If yes, durability matters more than trend.Is the current surface structurally sound?
If yes, refinishing may be smarter than replacing.Will anyone notice the upgrade immediately?
If yes, small-cost visual items can deliver strong value.
A budget bathroom looks expensive when the visible details are tidy and the hidden work is done properly.
This is why some affordable rooms feel sharper than bigger spends. They don't chase every premium finish. They choose a few materials that look clean together, modernise the obvious dated elements, and avoid spending the whole budget where it won't be seen.
The DIY vs Registered Builder Decision
DIY can absolutely help on a budget. Painting, installing simple accessories, or assembling furniture-style components can trim labour spend. But bathrooms have a hard boundary where enthusiasm needs to stop and licensed trades need to take over.
The biggest risk area is waterproofing.
What homeowners can usually handle
Safe DIY tasks are generally the low-risk cosmetic ones:
- Painting dry area surfaces if the preparation is right
- Swapping cabinet handles and other simple hardware
- Styling storage with baskets, mirrors, and accessories
- Flat-pack assembly where it doesn't interfere with plumbing or waterproofed zones
That kind of work can improve the room without exposing you to compliance trouble.
Where the line needs to be drawn
Many online budget guides blur the legal and technical difference between refreshing a room and rebuilding a wet area. That's where projects get expensive.
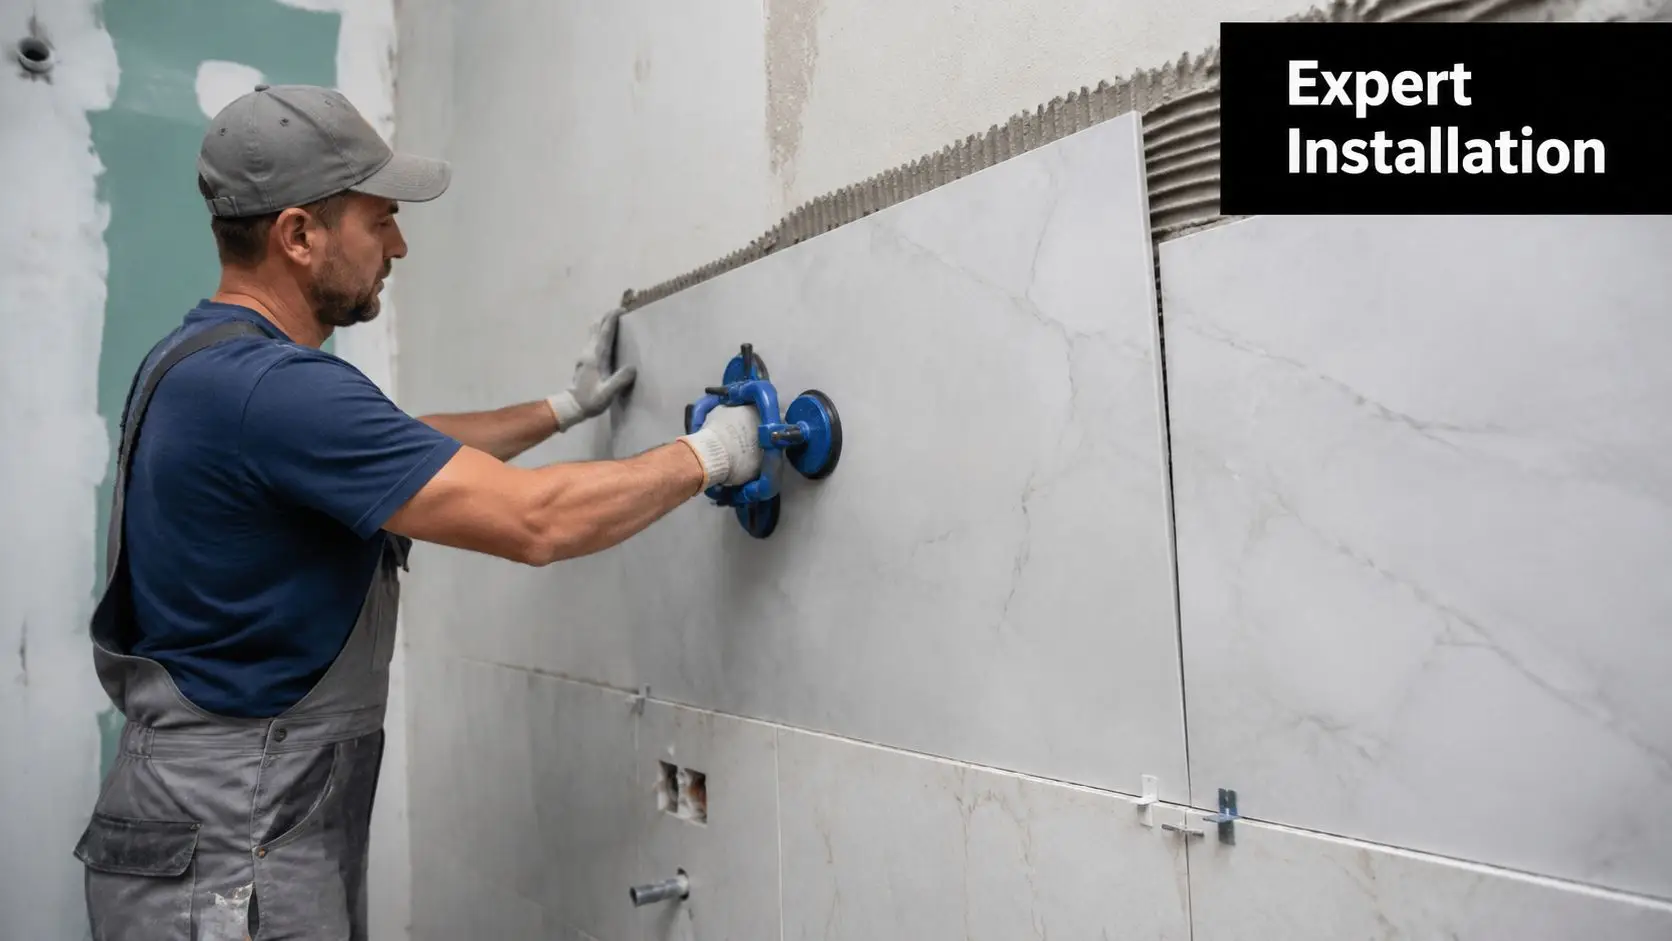
According to this Australian guide on budget bathroom renovation compliance, shower recesses must be professionally waterproofed to meet Australian Standard AS 3740, and 42% of DIY bathroom renovations in Australia failed waterproofing inspections in 2025.
That matters for cost, legality, and risk. Once waterproofing fails, the damage usually doesn't stay neatly inside the shower area.
Non-negotiable: If the work touches the wet zone system, it needs professional handling and proper certification.
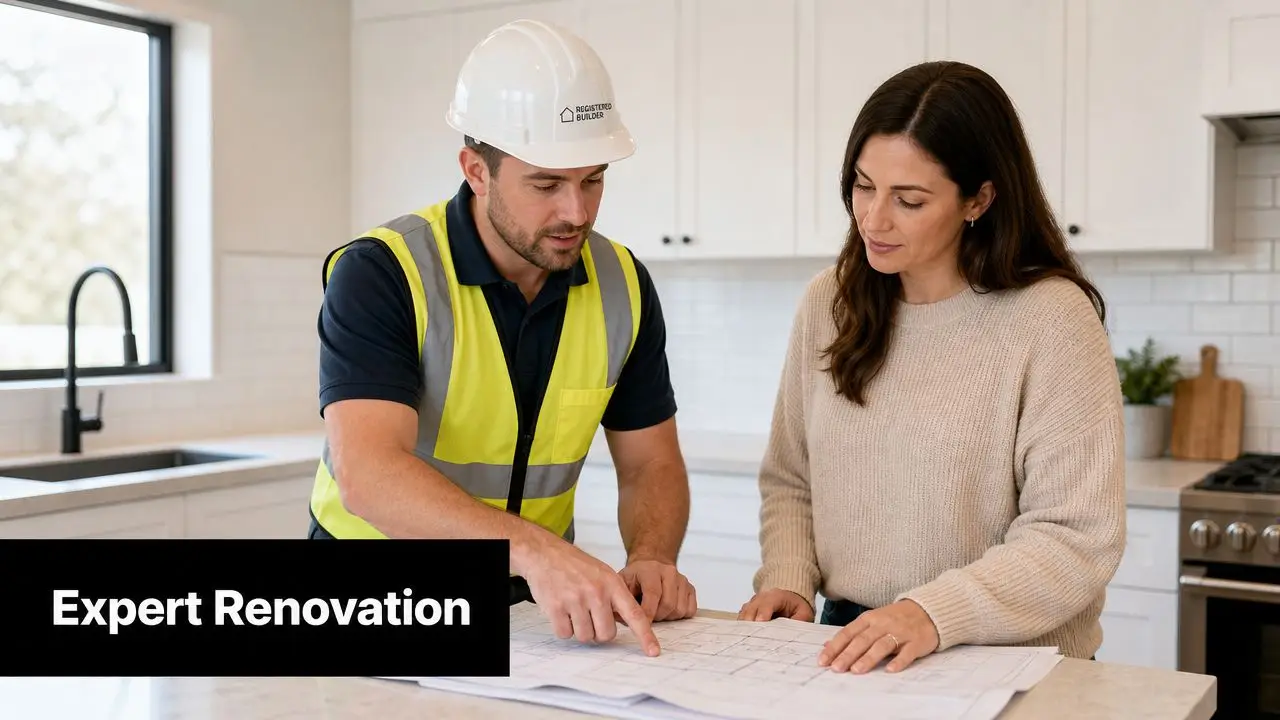
The role of registered builders unlimited and the right licensed trades is paramount. Not because every small bathroom needs a deluxe project team, but because the wrong shortcut in a wet area can undo every saving you thought you made. If you want the compliance side explained clearly, this guide on why using a registered builder matters for your bathroom renovation is worth reading.
A smart budget renovation uses DIY selectively. It doesn't use DIY emotionally. If the task affects waterproofing, plumbing, drainage, or electrical work, the cheap option often becomes the most expensive one.
Your Project Plan and Getting Expert Help
Once your scope is clear, turn it into a simple action list. This keeps the project moving and stops last-minute decisions from blowing the budget.
A straightforward planning checklist
Confirm the scope
Write down what stays, what gets replaced, and what must be repaired before finishes go in.Lock the layout early
Keeping plumbing points stable usually makes a small bathroom remodel on a budget more achievable.Choose materials in one pass
Select tiles, vanity, screen, lighting, and hardware together so the room feels cohesive.Check approvals and documentation
If permits or compliance paperwork apply, organise them before demolition starts.Book the critical trades first
Waterproofing, plumbing, and electrical work need to align properly with the rest of the sequence.Keep a written allowance list
If something changes mid-project, compare it against the original allowance instead of deciding on the spot.
What good planning feels like in practice
A well-run bathroom job doesn't feel rushed, even when the room is small. Materials are chosen before they're needed. Trades know the sequence. The budget has room for surprises. The visual upgrades support the layout instead of fighting it.
That's how compact bathrooms end up both practical and attractive. It's also how homeowners avoid the common cycle of spending carefully on finishes, then losing control when hidden issues or compliance gaps appear.
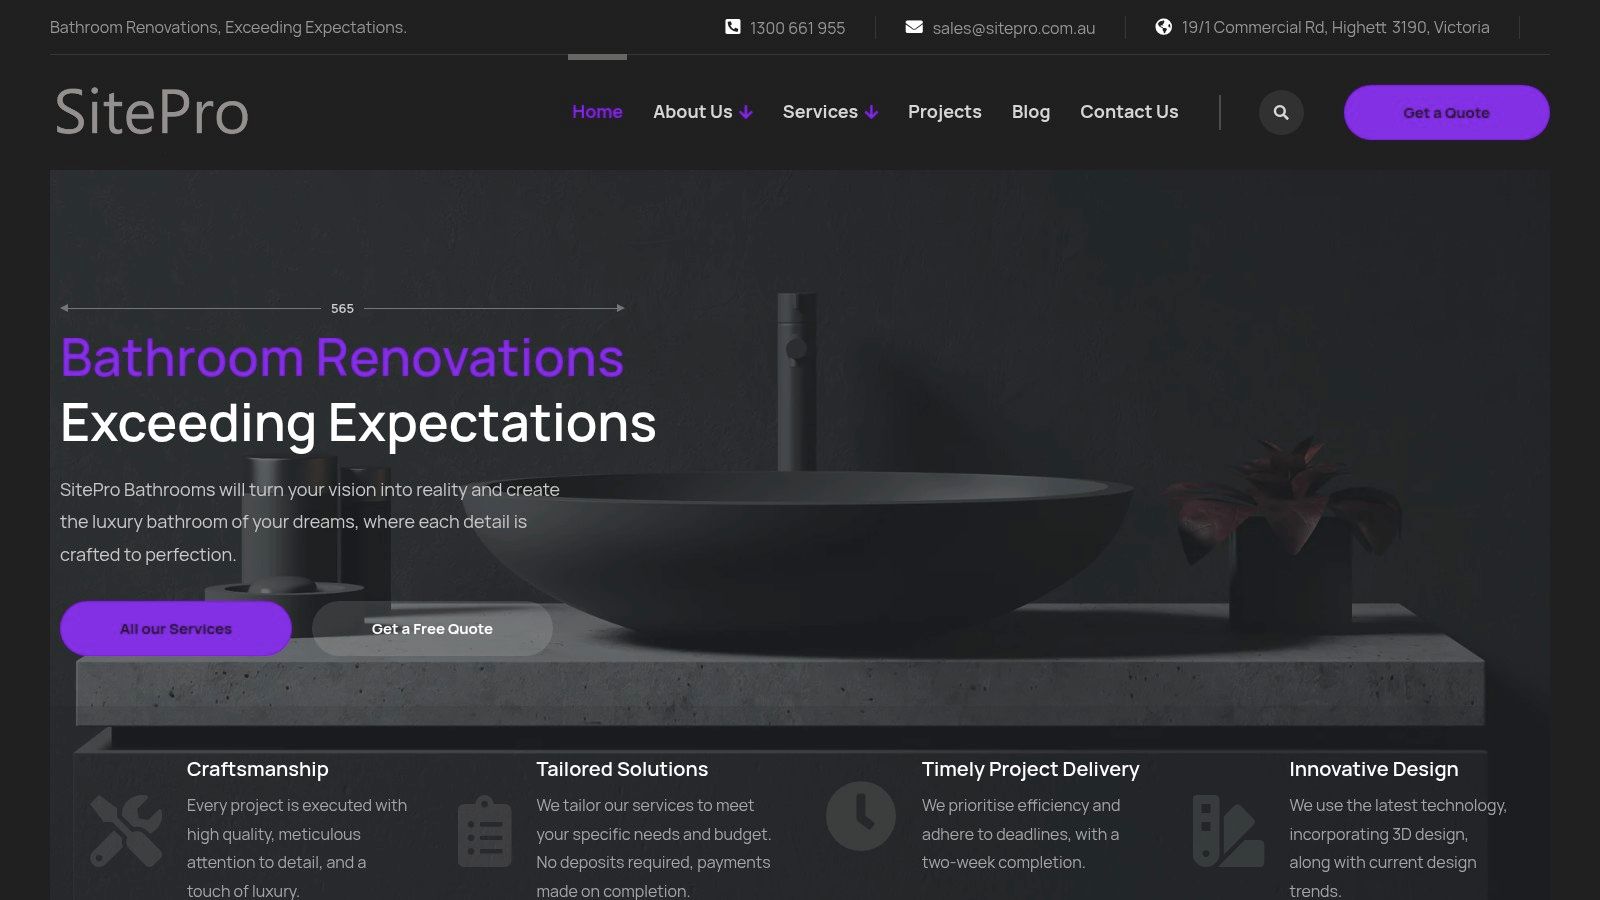
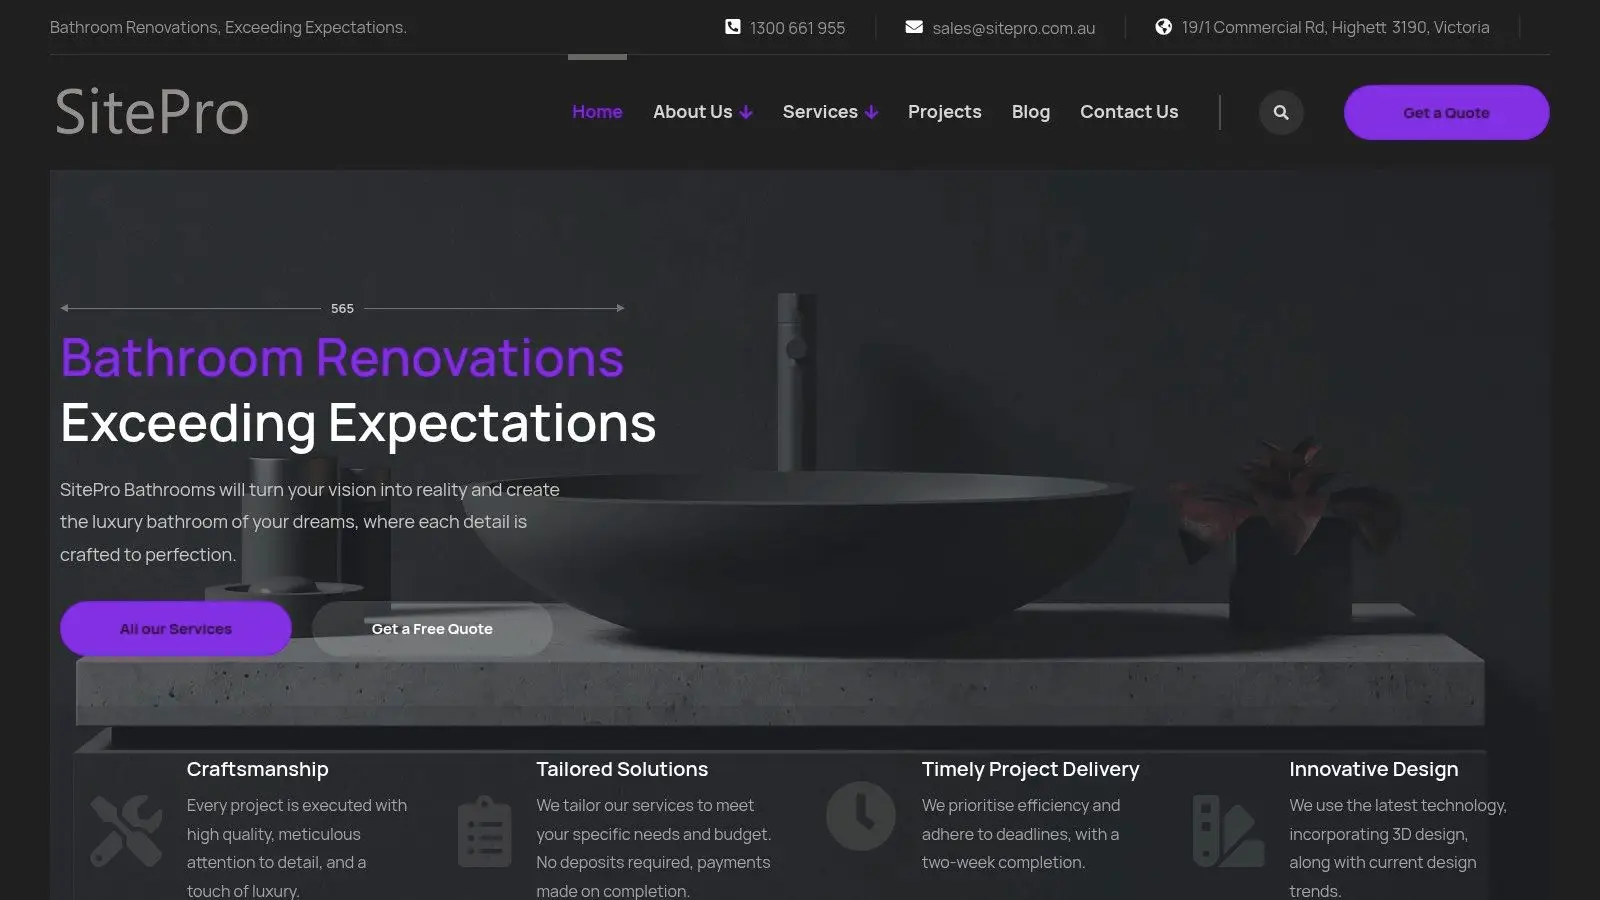
If you're ready to turn your ideas into a buildable plan, SitePro Bathrooms can help with the full process from concept and 3D design through construction and handover. For homeowners in Highett and across Victoria who want bathroom renovations handled properly, the team focuses on practical layouts, clear communication, and finished spaces that feel polished without losing sight of real-world budgets.
If you want expert help planning your small bathroom remodel on a budget, contact SitePro Bathrooms to discuss your project and request a customized quote.