3D Bathroom Planner Free
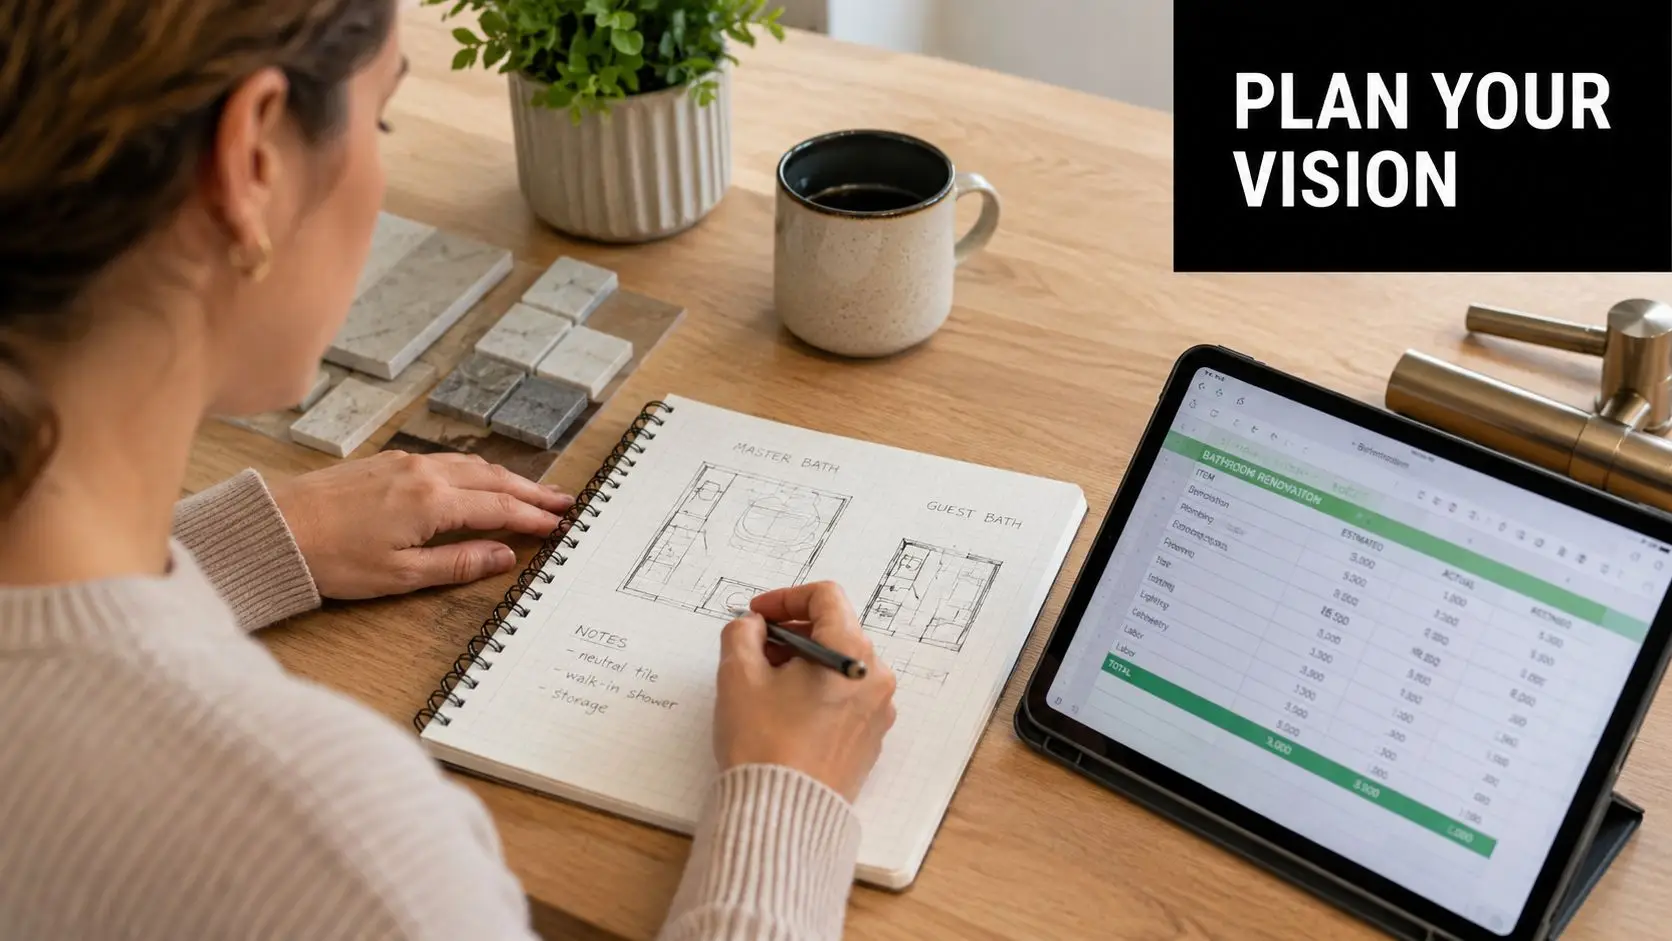
You're probably at the stage where you've saved a folder full of new bathroom ideas, compared tapware finishes, and started wondering whether a wall-hung vanity will fit once the door opens. That's where a free 3D bathroom planner earns its keep. It helps you move from vague inspiration to something you can test on screen before anyone starts removing tiles or shifting plumbing.
That matters more than ever in Australia, where renovation activity is substantial. The ABS reported that in the 2021 to 2022 financial year Australians completed around 239,000 renovation jobs, and bathrooms were among the most commonly upgraded rooms in owner-occupied homes, as noted in this RoomSketcher bathroom design software roundup. For homeowners in Victoria, especially in older homes with compact wet areas, that early visual planning can save a lot of second-guessing.
Free tools are now a mainstream first step, not a niche design trick. Browser-based planners have made it much easier to try layouts, fixture placement and finishes before speaking to a builder, as discussed in this Planner 5D bathroom planner overview. Used properly, they're useful for budget updates, modern bathrooms, and even early concepts for more ambitious designer bathrooms.
They also have limits. A pretty render doesn't tell you whether the room is buildable, compliant, or worth the cost of moving services. That's the line this guide focuses on. These are the free planners worth trying, what each one does well, and when it's time to stop designing and bring in professionals for your bathroom renovations.
1. Planner 5D
Planner 5D suits homeowners who want quick visual feedback without wrestling with technical modelling tools. You can sketch the room in 2D, drop in fixtures, then switch to 3D to see whether the vanity feels oversized, whether the shower recess is crowding the toilet, or whether your “simple” layout is awkward.
For a Highett homeowner preparing for bathroom renovations, that's usually enough to get a solid concept together before a consultation. It's also a practical way for property investors to test whether a cosmetic update will look fresh and functional rather than pieced together.
Where Planner 5D works best
Its biggest strength is accessibility. If you've never used design software before, the interface feels closer to moving furniture around than drafting. That makes it useful for ensuites, family bathrooms, and rental property planning where speed matters more than technical depth.
It's also a good fit if you want to hand over clearer reference material to a renovation team. A saved view of your preferred layout communicates far more than a mood board full of detached product images.
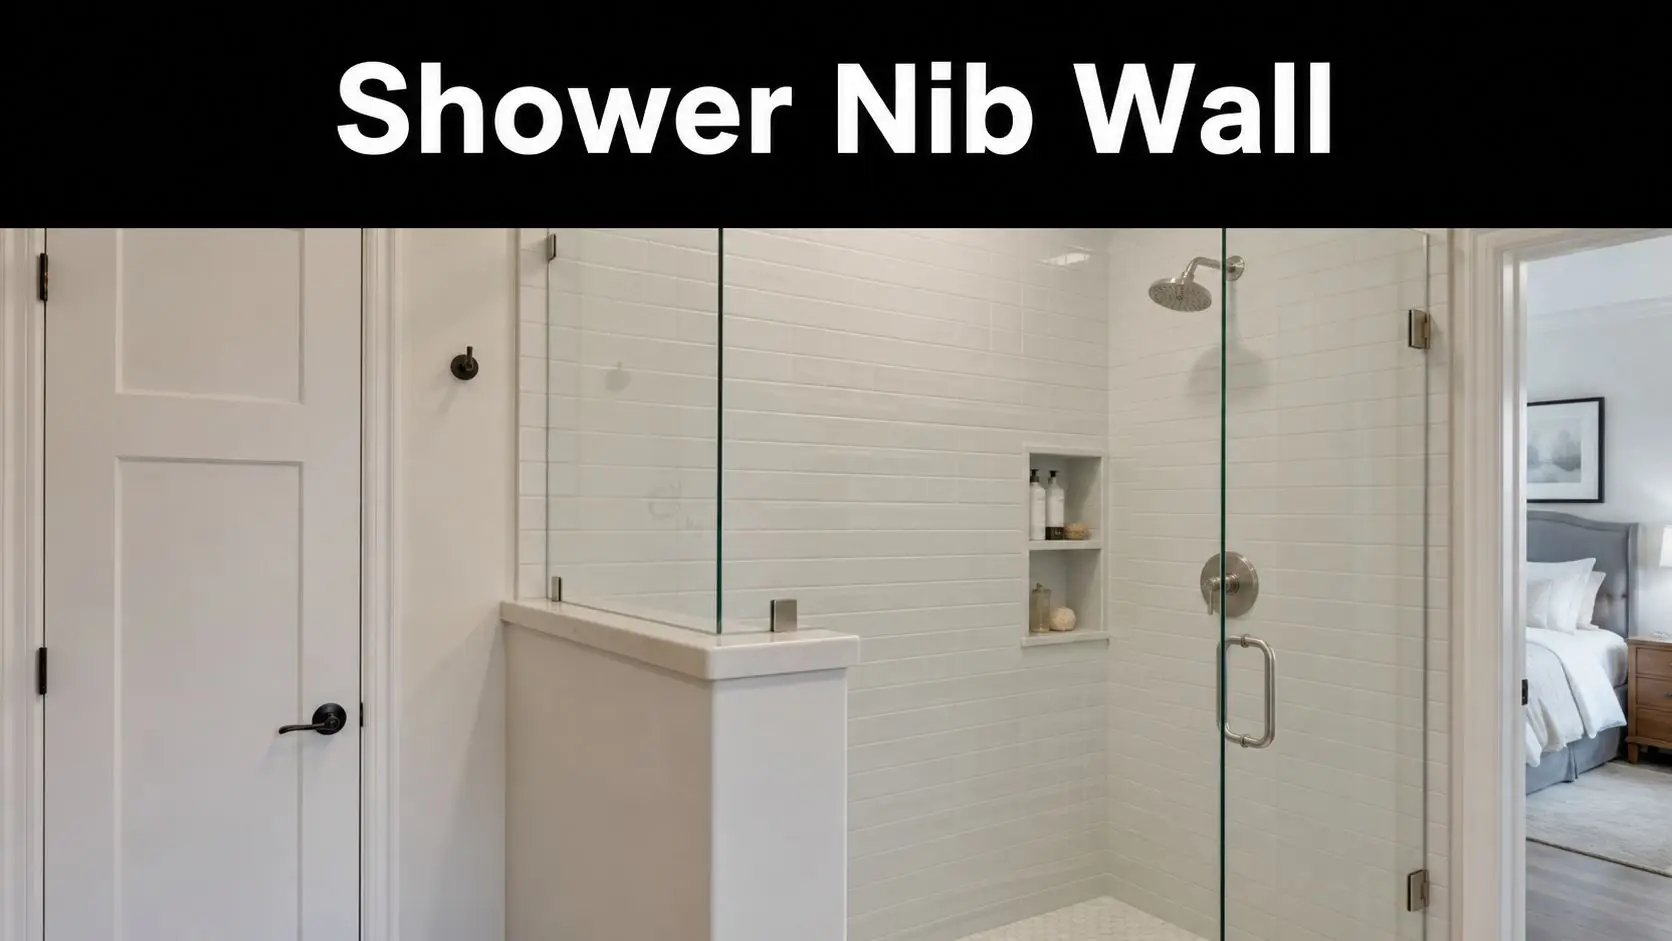
Practical rule: Enter the room exactly as it exists first. Walls, windows, door swing, nib walls, bulkheads, and current plumbing points. Redesigning from an inaccurate shell wastes time.
A practical workflow is to start with the existing room, duplicate it, then create alternatives. One version might keep plumbing where it is. Another might enlarge the shower. A third might test a floating vanity and mirrored shaving cabinet. That gives you real trade-offs instead of a single “dream” option.
- Measure before you click: If your dimensions are rough, your conclusions will be rough too.
- Use 3D to test movement: Look at how someone enters, turns, and uses the room.
- Export your preferred views: Those images are useful when discussing scope with a builder.
If you're still at the concept stage, this guide on how to plan a bathroom renovation helps turn those early layouts into a workable brief.
2. RoomSketcher
RoomSketcher is one of the better options if you want simplicity first. It's less about flashy experimentation and more about getting a clean floor plan down quickly, then checking it in 3D before you become attached to the wrong idea.
Busy homeowners often prefer that. If you've got limited time and you want to answer a straightforward question like “can we fit a larger shower without making the vanity feel cramped?”, RoomSketcher gets there fast.
Best for quick layout decisions
This is a practical tool for compact bathrooms, apartment bathrooms and straightforward reconfigurations. It's especially helpful when you're comparing several functional options and want to keep the process organised rather than overly creative.
For example, a body corporate facilities team planning an ensuite refresh might use it to compare a like-for-like replacement against a revised storage layout. A landlord might use it to assess whether changing the vanity width improves usability without moving plumbing.
The main value is speed. You can create multiple versions of the same room and compare them side by side. That helps when you're balancing storage, circulation and fixture placement in a tight footprint.
Small bathrooms punish bad assumptions. In compact rooms, even a modest change to vanity depth or shower screen position can alter how the whole room feels.
Use the measurement tools carefully, but don't treat them as a substitute for site verification. On paper, a toilet may appear to fit neatly beside a vanity. On site, door architraves, wall set-out and out-of-square corners can change the outcome.
- Draft more than one option: Don't stop at your first workable layout.
- Check the 3D view often: Flat plans can hide pinch points.
- Bring practical inspiration into it: If you're planning a tighter room, these small bathroom ideas for Australian homes can help you avoid layouts that look good but function poorly.
3. SketchUp Free Web Version
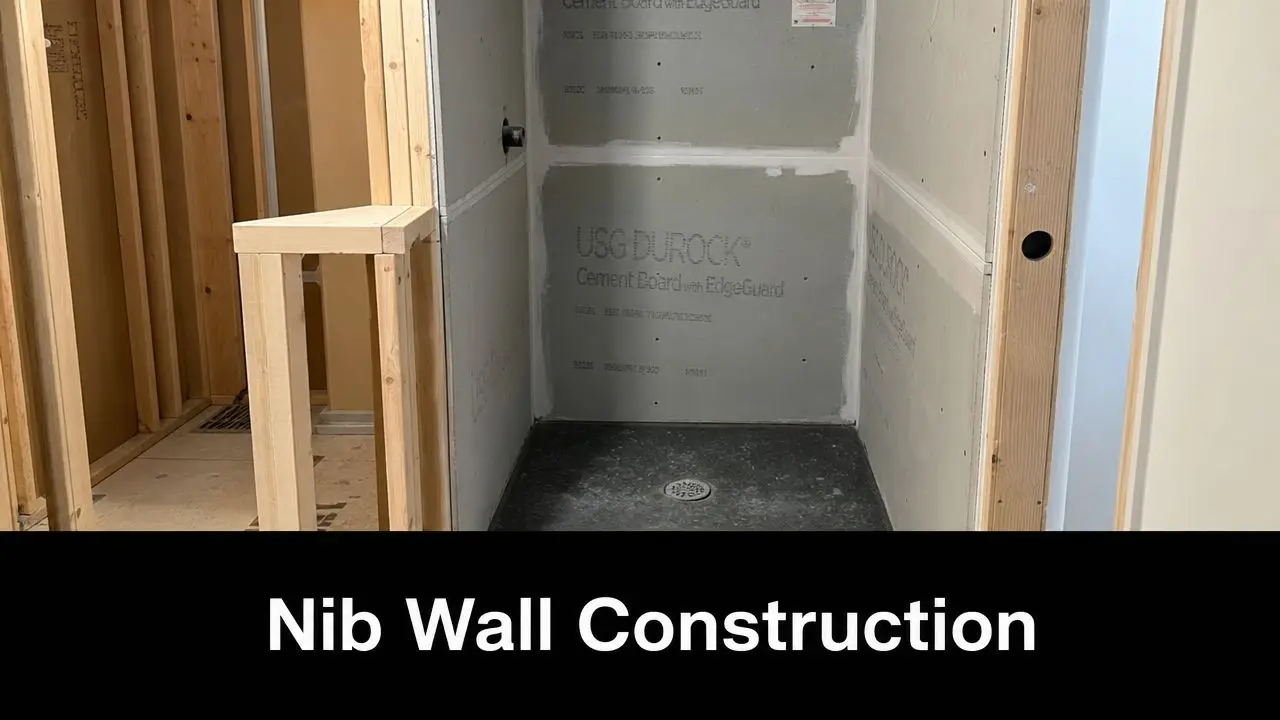
SketchUp Free is the option for people who want control. Not just drag-and-drop convenience, but the ability to model custom nib walls, recessed shelves, odd ceiling lines, bespoke joinery, and non-standard room geometry.
That makes it powerful, but it also means it isn't the easiest place to start. If Planner 5D and RoomSketcher are good for getting ideas moving, SketchUp is better when you already know the room deserves a more detailed test.
When extra control is worth the learning curve
Custom bathroom renovations benefit most here. Think period homes with awkward corners, loft conversions, or designer bathrooms where the cabinetry, tile set-out and visual lines matter as much as basic fixture placement.
A discerning homeowner might use SketchUp Free to model a room before speaking with a renovation specialist. A developer might use it to test repeated bathroom layouts across several units. The web version is capable, but it rewards patience.
The trade-off is obvious. You get flexibility, but you'll spend more time learning the tool. If you're only trying to choose between two vanity widths, it's more than you need. If you want to model a shaving cabinet recess aligned with tile joints and wall lights, it starts making sense.
If you use SketchUp, keep scale disciplined from the first wall you draw. Once dimensions drift, every later decision becomes less reliable.
A good method is to build the shell first, then add fixed elements, then finishes. Don't begin with accessories. Start with walls, openings, ceiling height and structural quirks. From there, layer in the shower, vanity, toilet and storage.
- Use pre-made components carefully: They save time, but check their dimensions.
- Group elements as you go: It keeps the model editable.
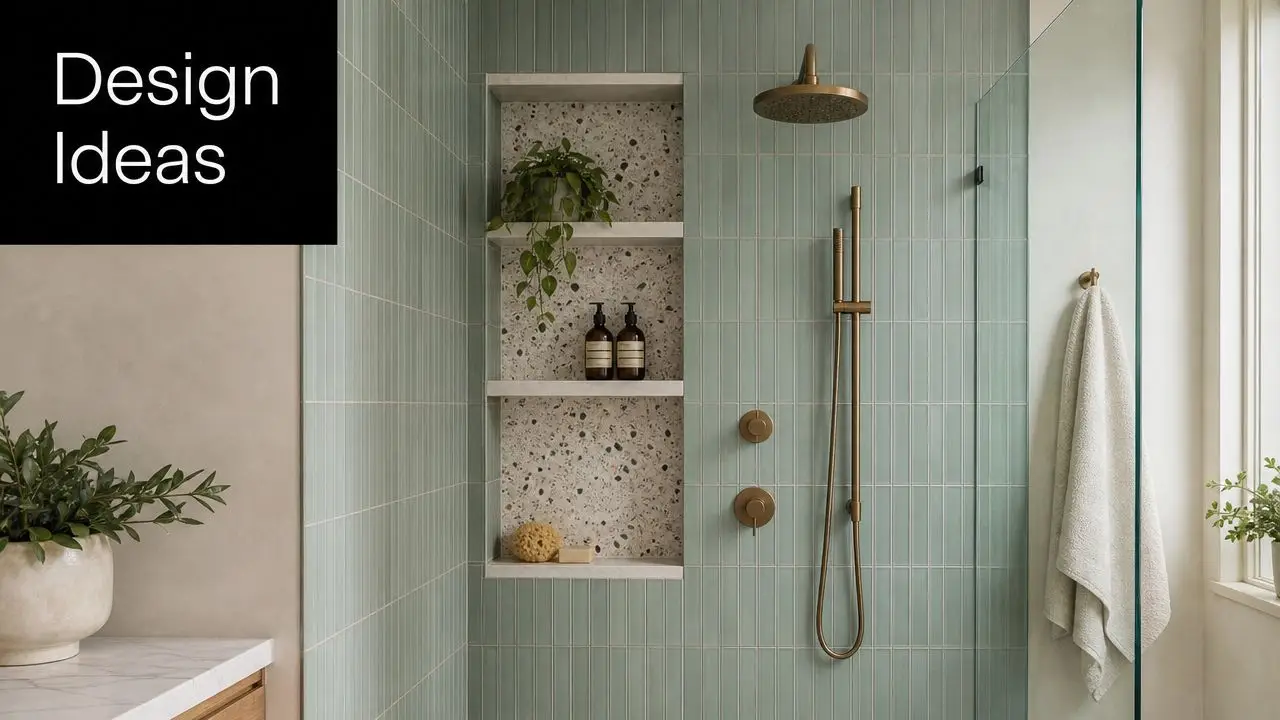
- Think about finishes early: Tile size and pattern can shape the room's feel as much as fixture selection.
If tile direction, texture and visual weight are part of your design thinking, this guide on how to choose bathroom tiles is worth reviewing alongside your model.
4. Homestyler
Homestyler is strongest when you're still shaping the look and feel of the room. If your problem isn't “where does the toilet go?” but “what style suits this home?”, it can help you sort through competing ideas quickly.
That makes it handy for families split between preferences, or homeowners trying to narrow down whether they're after soft contemporary, minimal modern bathrooms, or a more layered designer bathrooms look.
Better for style direction than hard planning
Homestyler can generate polished-looking concepts fast. That's useful when you want to compare timber-look warmth against a cleaner stone-and-white palette, or see whether brushed brass feels elegant or overdone in your space.
For a Highett homeowner, it's a good way to collect references that are more specific than saved social media images. Instead of showing a renovation team fifteen unrelated inspiration photos, you can point to one or two generated directions that reflect your preferences more clearly.
Its weakness is that attractive output can create false confidence. A room can look resolved on screen while still ignoring practical site issues like existing windows, exact plumbing locations, or how much clearance a vanity drawer needs.
Use it to identify patterns in your taste. If every version you save includes light wall tiles, warm timber and frameless glass, that's useful information. If every design you like uses a freestanding bath but your room is compact, that's also useful because it helps you separate inspiration from what should be built.
- Track recurring preferences: Save what you like and compare the common elements.
- Use it for mood, not approvals: Don't treat AI-generated styling as a final design.
- Show your contractor specifics: “I like this vanity proportion and this tile tone” is far more helpful than “I want something modern”.
5. Ikea Home Planner
Ikea Home Planner is a practical option for homeowners focused on modular storage, budget-conscious updates and straightforward vanity-led changes. It's not the best tool for full structural bathroom redesign, but it can be surprisingly useful for planning around real products with known dimensions.
That makes it relevant if your project is more about replacing tired furniture, improving organisation and making the room feel cleaner without trying to reinvent the entire footprint.
Useful for budget-first bathroom planning
This tool is well suited to apartments, rental properties and younger households trying to get more function from a modest bathroom. A landlord might use it to plan a durable vanity-storage combination. A homeowner might test whether a mirror cabinet and compact base unit can improve usability without crowding the room.
The benefit of product-linked planning is clarity. You can see whether a modular vanity concept suits the room and whether the storage solution feels realistic. It also keeps impulse choices in check because you're working with actual furniture dimensions rather than vague wish-list items.
The limitation is equally clear. Bathrooms aren't furnished the same way living rooms are. Plumbing, waterproofing, existing waste points and wall conditions still decide what's feasible. A unit that fits visually may still create problems once basin position, trap location or service access are considered.
Free planners are best at helping you choose what the room should feel like. They're much less reliable at confirming what trades can build without compromise.
If you use Ikea Home Planner, work backwards from the room's fixed conditions. Keep the plumbing points in mind. Check vanity depth against circulation space. Be realistic about how much room the door takes when opened.
- Treat cabinetry as one piece of the puzzle: It has to work with plumbing and waterproofing, not just floor space.
- Write down product dimensions: They're useful in later discussions with trades.
- Blend high and low thoughtfully: A modular vanity can work well in a room with more premium tapware, tiles or lighting if the proportions are right.
6. Cedreo
Cedreo sits in an interesting middle ground. It feels more polished than many beginner planners, but it doesn't demand the same modelling commitment as something like SketchUp. If you want presentation-quality visuals without going fully technical, it's a strong option.
That makes it attractive for homeowners preparing for a serious renovation consultation, and for professionals who want something more visual than a sketch but lighter than full CAD workflow.
Strong visuals, but don't confuse them with a buildable plan
One of the biggest gaps in free bathroom planning content is the difference between inspiration software and renovation-ready documentation. Cedreo's own bathroom planner positioning reflects that broader issue. These tools are good at drag-and-drop layout and 3D visualisation, but they usually don't answer the Australian question homeowners need answered. Will this design comply with local plumbing, waterproofing and spacing rules before money is committed? That limitation is discussed in this Cedreo bathroom planner overview.
For Melbourne and wider Victoria, that distinction matters. A visual concept can create confidence while still leaving unresolved issues around exact dimensions, buildability and trade coordination. In older homes especially, hidden site conditions often decide whether a nice concept survives contact with construction.
Cedreo is still useful. Its rendering quality helps homeowners explain what they want with more precision. Lighting, material combinations and room mood come across clearly. For someone weighing different new bathroom ideas, that can shorten the gap between “I think I like this” and “this is the direction I want”.
Use it when presentation quality matters. Don't use it as proof that the room is ready to price and build.
- Render multiple directions: Compare a conservative option against a more ambitious one.
- Use dimensions, not just visuals: Nice images can hide poor clearances.
- Ask the next question early: Once the design looks right, find out what's possible on site.
7. Floorplanner
Floorplanner is a good middle-of-the-road choice. It's simpler than advanced modelling software, but often a bit more structured than style-led tools. If you want a clean room layout, quick 3D viewing, and enough flexibility to test several arrangements, it does the job well.
That balance is why many homeowners find it useful during the early brief stage. It's practical without being too stripped back.
Best when you want to compare options fast
For a family deciding between keeping a bath or enlarging the shower, Floorplanner makes side-by-side thinking easy. For an investor assessing whether a dated bathroom deserves a full reconfiguration or just a smarter fixture update, it provides enough visual clarity to make that judgement.
It also suits people who think by iteration. You might create one version that leaves all plumbing in place, another that rotates the vanity wall, and another that adds a nib to create a recessed shower. Seeing those alternatives in 3D usually reveals what a flat sketch misses.
The main caution is that ease of use can encourage casual planning. That's fine at the start, but before any serious quoting, the room should be checked against actual site measurements. Many bathrooms, especially in older Victorian housing stock, aren't perfectly square or perfectly straightforward.
A smart approach is to use Floorplanner as a decision filter. Rule out what doesn't work. Highlight what appears promising. Then pass the strongest concept to a renovation specialist who can test it against the actual room.
- Use duplicate versions: Keep one conservative plan and one aspirational plan.
- Focus on circulation: If movement through the room feels cramped in 3D, it usually is.
- Use colours and textures sparingly: Enough to communicate style, not so much that you lose focus on layout.
8. Wayfair Room Planner
Wayfair Room Planner is best treated as a finishing and product-coordination tool, not a full bathroom layout solution. If you're trying to visualise accessories, mirrors, lighting and vanity styles, it can help. If you're trying to decide whether to move a shower wall, it's the wrong tool.
That distinction matters because many homeowners mix up furnishing a bathroom with redesigning one. They're related, but they aren't the same task.
Good for selections, limited for renovation planning
This tool is most useful later in the early planning phase, once the rough layout is already settled. A homeowner might use it to compare mirror shapes over a vanity, coordinate wall lights, or check whether a black-framed mirror complements the tapware and cabinetry direction.
It also helps when a bathroom renovation includes a lot of visible product decisions. That's often the case with modern bathrooms, where the room's success depends as much on restraint and product coordination as on layout. For rental properties, it can also help investors choose practical, unfussy items that look cohesive.
Its limitation is structural blindness. Product planners tend to assume the room itself is already solved. They don't tell you whether the vanity suits the wall depth, whether the plumbing aligns, or whether a chosen fitting introduces installation complications.
That's why Wayfair Room Planner works best when paired mentally with another tool. Use a floor planner for the bones of the room. Use Wayfair to pressure-test the visual package.
- Use it for visual coordination: Mirrors, vanity style, lighting and accessories.
- Cross-check dimensions manually: Product scale still matters.
- Don't let styling outrun layout: A well-selected mirror won't rescue a bad room plan.
Top 8 Free 3D Bathroom Planners Comparison
A homeowner usually reaches this point with two different questions in mind. Which free planner is easiest to start with, and which one is reliable enough to test a real renovation idea before speaking to a builder or designer?
The earlier reviews give the detail. What matters here is choosing the right type of planner for the job, because free tools vary far more in purpose than many homeowners expect. Some are best for fast layout sketches. Some are better for finishes and product selection. Others suit people who want tighter dimensional control and are willing to spend more time learning the system.
A simple way to sort them is by use case.
For a quick bathroom refresh, start with an easy drag and drop planner that lets you test vanity size, shower position, and circulation without much setup. That approach works well for cosmetic updates, rental improvements, and early budget planning.
For a bathroom that needs more precise layout work, use a planner with stronger measurement control and clearer floor plan tools. That matters if you are checking door swing conflicts, wall lengths, or whether a separate bath and shower can fit without making the room cramped.
For a style-led renovation, use a planner that handles finishes, fixtures, and visual coordination well. These tools help you compare surface combinations and get closer to the look you want, but they still need manual checking against the room's real dimensions and services.
For a full redesign, free software is still only the first pass. It can help you test ideas, narrow your direction, and avoid obvious layout mistakes. It does not confirm waterproofing details, drainage falls, ventilation, compliance, or the practical cost of moving plumbing and electrical points.
That distinction saves time.
I usually tell homeowners to judge free planners against four decision points:
- Speed: Can you get a workable draft together in one sitting?
- Layout control: Can you place fixtures accurately enough to test the room properly?
- Visual clarity: Will the output help a partner, builder, or consultant understand your intent?
- Renovation risk: Are you using it for ideas only, or making decisions that affect construction cost?
If your project is a straightforward update, a free planner may be enough to shape the brief. If you are relocating fixtures, opening walls, improving storage in a tight footprint, or aiming for a polished designer result, the planner should feed into professional review rather than replace it.
That is the essential comparison. The best free option is not the one with the longest feature list. It is the one that helps you make the next good decision, then shows you clearly when expert input from a renovation specialist such as SitePro Bathrooms will save money, prevent rework, and improve the final room.
From Free Planner to Flawless Renovation
A free 3D bathroom planner is one of the best ways to start. It gives structure to your ideas, helps you compare layouts, and makes it easier to explain what you want. That's valuable whether you're planning a modest update, exploring new bathroom ideas, or trying to shape a more refined designer bathrooms concept.
It also fits the way people now plan renovations. The broader online bathroom design service category was estimated at USD 906.6 million in 2025 and is projected to reach USD 2.422 billion by 2033, with a projected 13.2% CAGR, according to this online bathroom design service market report. The practical takeaway isn't just market growth. It's that digital visualisation has become a normal part of pre-construction decision-making.
Still, homeowners need to understand what free tools can and can't do.
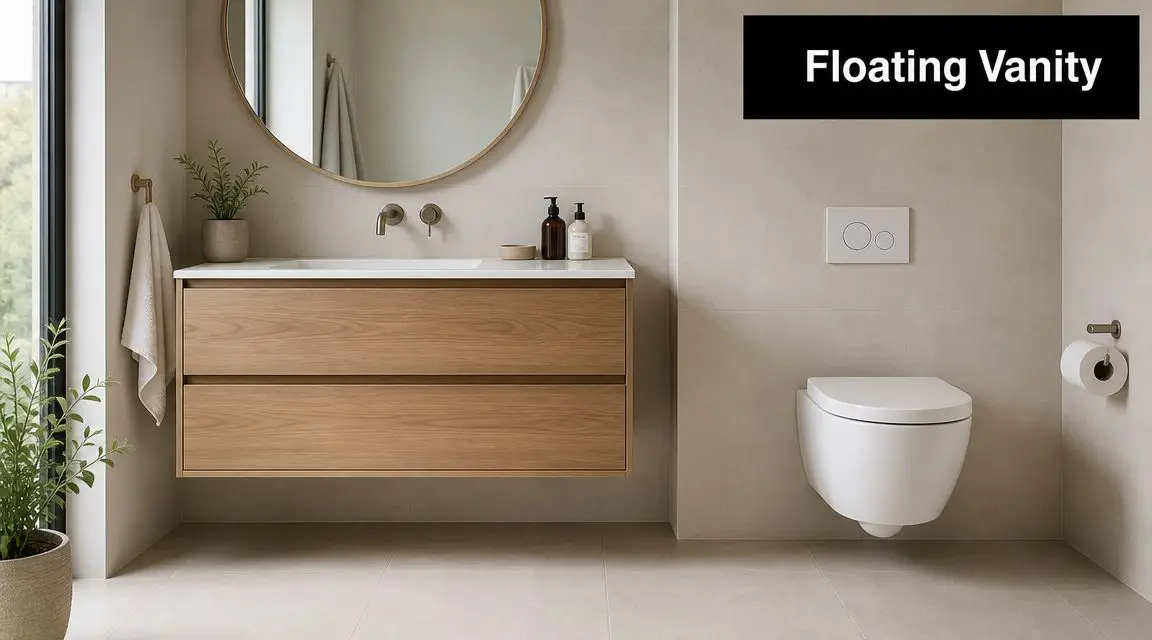
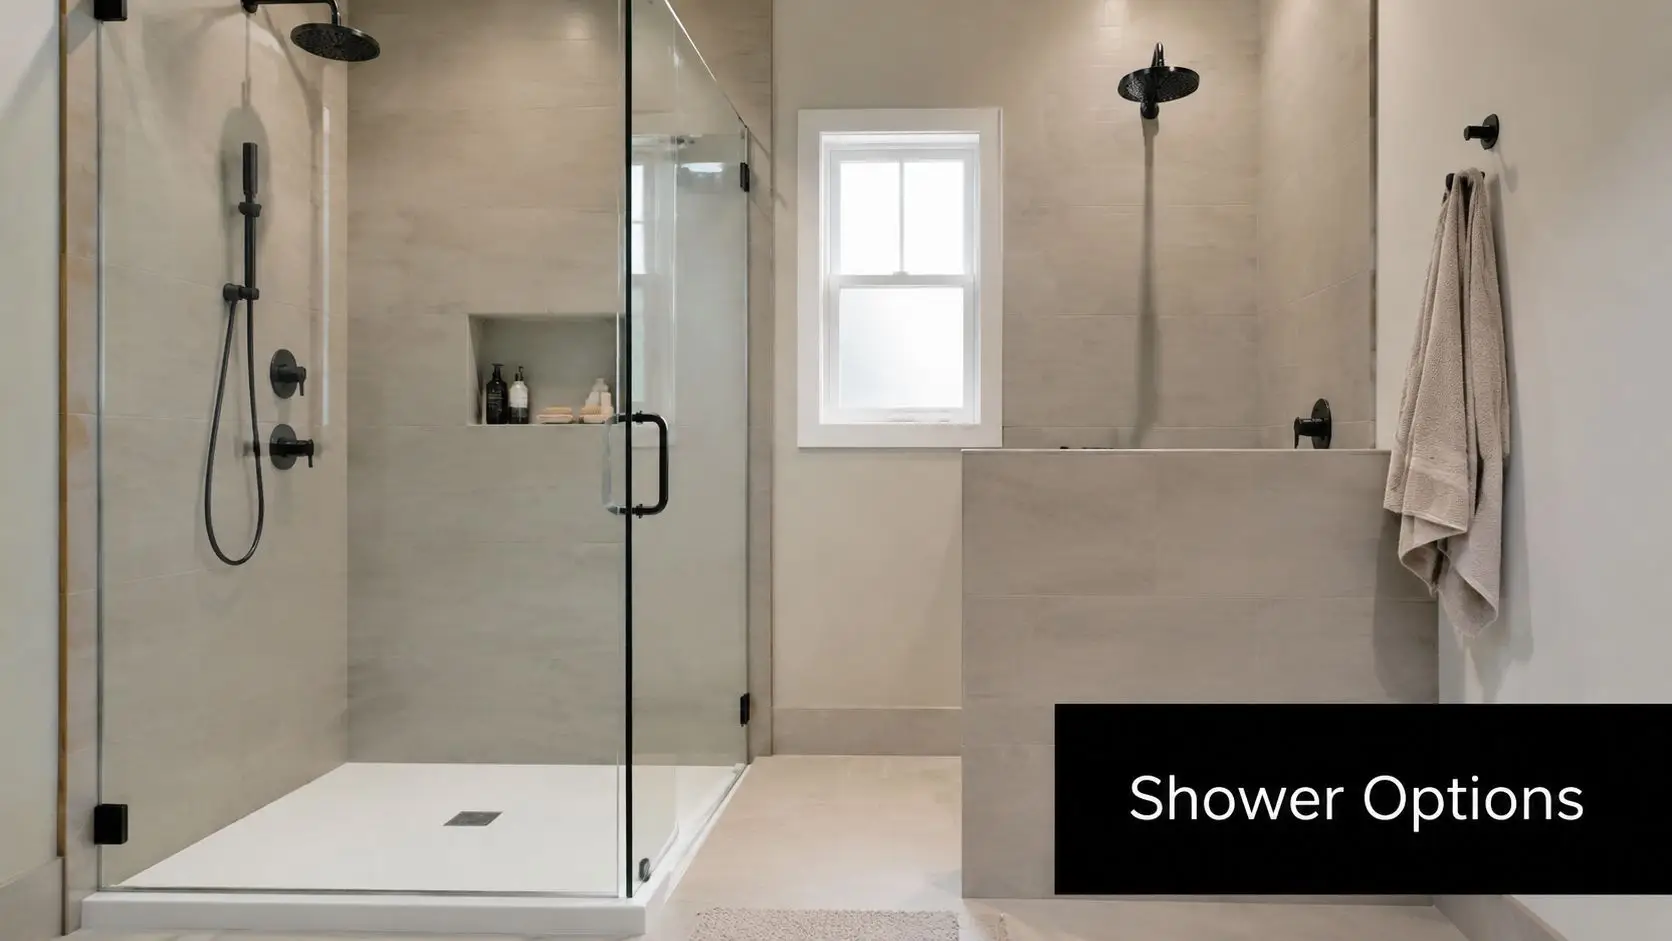
They can help you test whether a wall-hung vanity feels lighter than a floor-mounted one. They can help you compare a walk-in shower against a shower-over-bath layout. They can help you choose between warm and cool finishes, and they can absolutely improve the quality of the conversation when you speak with a renovation specialist.
What they can't do reliably is confirm compliance, site conditions, waterproofing details, service coordination or the hidden consequences of moving plumbing. That's where many DIY plans run aground. The render looks finished, but the build hasn't really been thought through.
For straightforward cosmetic changes, a free planner may be enough to get your direction clear. For more involved bathroom renovations, especially where plumbing moves, electrical work, waterproofing or structural changes are involved, you need professional guidance. That's where specialist renovation teams and registered builders unlimited in capability within their licensed scope become essential. They turn an idea into a project that can be delivered cleanly, safely and in line with requirements.
A firm like SitePro Bathrooms bridges that gap well. Homeowners can arrive with screenshots, rough layouts and style references from these planners, then have those ideas refined into professional 3D design and a coordinated renovation plan. That process matters because a successful bathroom isn't just attractive. It has to function well, suit the home, and be built properly.
Use the free tools to explore. Use them to get clearer on layout, style and priorities. Then hand the strongest version of your idea to professionals who know how to turn a digital concept into a bathroom you'll still be happy with long after the screen is closed.