• siteprobathrooms

Overhead Kitchen Cabinets: Design, Install & Maintain

Overhead kitchen cabinets are commonly specified at 300–350 mm deep, with the underside positioned 500–600 mm above the benchtop. These measurements protect head space, preserve useful preparation room and leave practical clearance for everyday appliances.

But is filling every available section of wall with cupboards really the best way to make a Victorian kitchen work? A cabinet can add storage and still create dead space, awkward reaching, poor lighting or a dangerous habit of climbing a stool. The right design starts with the people using the kitchen, the tasks they perform and the room's actual measurements, not with a standard row of doors.

For Australian renovation context, cabinetry deserves careful attention. The 2023 Houzz Australia Kitchen Trends Study found that 90% of renovating households updated their kitchen cabinets, while 72% chose semi-custom or custom cabinetry. That preference makes sense in Highett homes, Melbourne apartments and family kitchens where walls, windows, splashbacks and appliances rarely line up perfectly with a generic module.

Understanding Overhead Cabinet Dimensions

Australian overhead cabinets are commonly 300–350 mm deep, while the space between the benchtop and cabinet underside is usually 500–600 mm. The depth keeps plates, glasses and pantry goods within reach without pushing the cupboard face too far into the room. It also reduces the chance of striking your head while leaning over the bench.

The vertical clearance has two jobs. It creates a comfortable working zone for food preparation, and it leaves room for countertop appliances such as a kettle, toaster or coffee machine. A cabinet mounted too low may interfere with appliance lids, door swings and sightlines. One mounted too high may turn daily storage into a step-stool task.
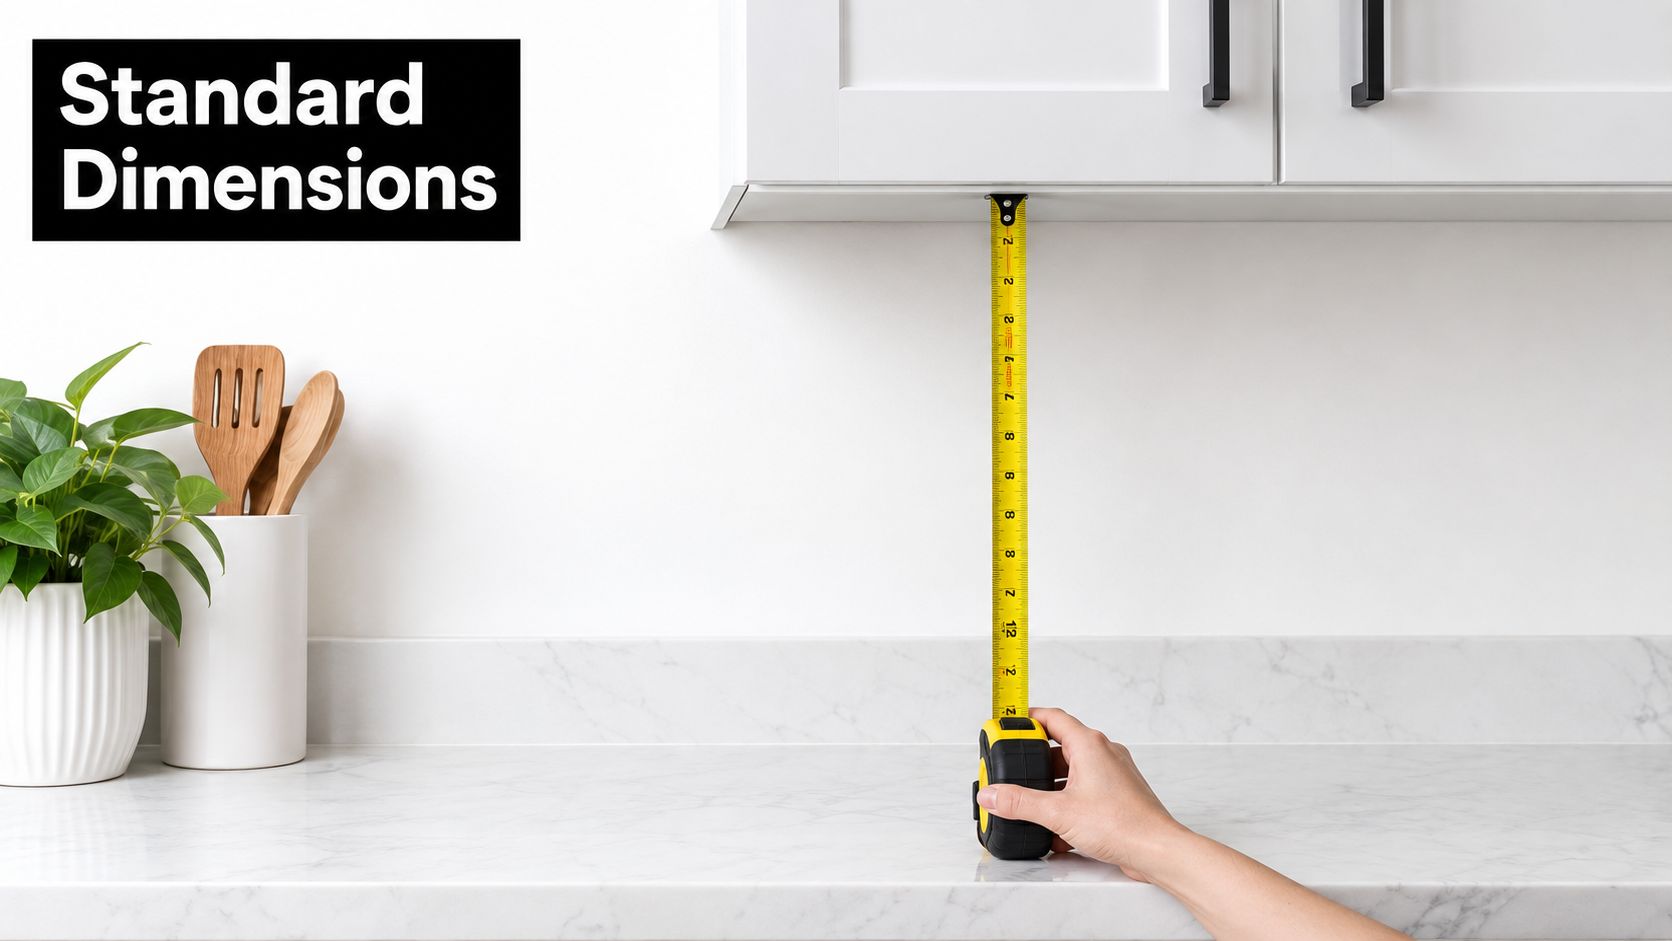
A hand uses a yellow tape measure to measure the distance between a kitchen countertop and cabinet.

Height should follow the room

A 720 mm-high wall cabinet is a frequent Australian configuration. A 600 mm unit may suit a smaller storage requirement or a room where visual openness matters, while a 900 mm unit can take advantage of a high ceiling or help create a more continuous full-height composition. These choices only work when measured against the finished floor, benchtop, splashback, ceiling and any bulkhead.

Australian cabinetry guidance identifies approximately 900 mm as a conventional benchtop working height, so a 600 mm overhead clearance places the cabinet underside near 1,500 mm above finished floor level. The relationship affects who can reach the lower shelf, where under-cabinet lighting can sit and whether tall appliances remain usable on the bench. Use the overhead cabinet height guide as a planning reference, then confirm the final dimensions on site.

When standard dimensions need adjustment

A compact Highett kitchen may need shallower cupboards beside a doorway to protect circulation. A tall household might prefer a slightly higher installation, while a household planning for ageing in place may need the daily-use shelf lower or fitted with pull-down hardware. Neither choice should be made from cabinet height alone.

Measure the actual appliance elevations before ordering. If the benchtop, splashback or ceiling changes during construction, the cabinet layout may need to change with them. A senior cabinetmaker checks these relationships together because a tidy elevation drawing can still produce an uncomfortable kitchen if the physical reach zones are ignored.

Choosing Cabinet Materials and Styles

Material choice changes more than appearance. It affects how the doors respond to steam, fingerprints, sunlight, cooking residue and repeated cleaning. In a busy Victorian kitchen, an attractive finish that demands constant polishing may become frustrating, while a quieter surface can remain practical for years.

White remains a strong preference. Australian renovation research recorded white as the selected cabinet colour for 62% of kitchen updaters in the 2023 study, as reported in the Australian kitchen renovation findings. White can reflect light in a narrow room, but the exact result depends on sheen, splashback colour, benchtop pattern and natural light direction.

Compare the construction choices

Cabinet Material Durability Maintenance Cost Range
Timber veneer Warm appearance and repairable character, with finish quality affecting longevity Wipe spills promptly and follow the maker's care advice Varies from moderate to premium
Engineered wood with laminate or melamine Consistent, practical surface suited to everyday use Usually simple to wipe, with care needed at exposed edges and joins Usually economical to mid-range
Painted board Broad colour choice and a tailored appearance May show chips and marks more readily, especially on busy doors Mid-range to premium
Acrylic Smooth, contemporary appearance and strong colour impact Fingerprints and surface marks can be more visible depending on sheen Premium
Glass-fronted doors Adds visual depth and helps display organised items Requires regular cleaning and disciplined shelf presentation Mid-range to premium

Engineered wood with a well-finished laminate or melamine surface often suits a rental, family kitchen or practical renovation. Timber veneer brings warmth to a traditional or country setting, but it should be selected with an understanding that natural grain varies. Acrylic and glass can support a modern or designer kitchen, though they draw attention to every object and reflection.

Use finish to control visual weight

Gloss fronts can bounce light around a compact kitchen, while matt finishes tend to soften reflections and fingerprints. A two-tone arrangement can place a darker colour on lower cabinets and a lighter colour overhead, making the wall units feel less imposing. Glass-fronted overheads can break up a long run, but they work best when the contents are deliberately organised.

For a Victorian home with timber floors and period details, painted doors may connect the new kitchen with the existing architecture. In a contemporary apartment, flat-panel fronts, restrained handles and a consistent edge detail can make the room feel calmer. Read the guidance on kitchen cabinet materials before choosing samples, and view them beside the actual benchtop and splashback rather than in isolation.

Practical rule: Choose the door finish for the way your household cooks and cleans, not only for how it looks in a showroom.

Planning Your Cabinet Layout and Storage

A well-planned kitchen follows the cook's movement. The sink, cooktop and refrigerator should form a short, practical sequence, while overhead cabinets should hold items near the task they support. Store plates near the dishwasher or dining area, cookware near the cooktop, and mugs or breakfast supplies where morning traffic does not cross the main preparation zone.

Cabinet volume matters less than useful location. The 2023 Houzz Australia Kitchen Trends Study recorded 53% of kitchen updaters installing built-in pantry cabinets and 27% creating space for a walk-in pantry. That supports a sound planning principle: overhead cupboards suit reachable daily items, while a pantry or tall cabinet can carry bulk goods and less frequently used stock.

Put useful items in the useful zone

Place plates, glasses and serving bowls where they can be lifted out without reaching across a hot surface or interrupting another person's work. Reserve higher shelves for occasional baking equipment or servingware only when someone in the household can retrieve it safely. A cabinet that looks spacious on the elevation may become dead storage if its contents are difficult to see or return.

Pull-down fittings can bring an upper shelf within easier reach. Full-extension drawers and pull-out pantry shelves reduce bending elsewhere, creating a better balance between wall storage and base storage. Corner carousels can improve access in awkward corners, provided the doors have enough clearance and the shelves are loaded by use rather than appearance. An appliance garage can conceal a toaster or small machine, but its doors, power points and ventilation must be resolved before manufacture.

Treat lighting as part of the cabinet plan

Under-cabinet lighting should illuminate the benchtop, not the cook's head or the cabinet doors. Give the electrician the final cabinet layout early, so wiring, switches and power points do not end up behind a fixed panel. Internal lighting can help with deep cupboards, but a clear shelf arrangement still matters. Light should make storage easier to find, not justify an oversized cabinet.

In a Highett kitchen with limited bench space, a shallow overhead run may preserve a continuous preparation area while a tall pantry stores bulky goods. In a Melbourne apartment, removing one section of wall storage may improve sightlines, though every displaced item needs a practical home. Review these kitchen cabinet storage ideas against the household's actual workflow, reach and cooking habits rather than copying a decorative arrangement.

Accessibility and Safety Considerations

More cabinet volume doesn't automatically mean more usable storage. If nobody can safely reach the upper shelf, that space becomes dead storage, and daily reliance on a step stool introduces unnecessary risk. The better question is not how many cupboards fit on the wall, but how much of the contents each person can see, reach and return without strain.

Map the reach zones before finalising the elevation. Put everyday plates, cups, oils and cooking tools in the comfortable zone for the main users. Move occasional servingware higher, and consider drawers, a full-height pantry or pull-down mechanisms for items that would otherwise demand repeated stretching.
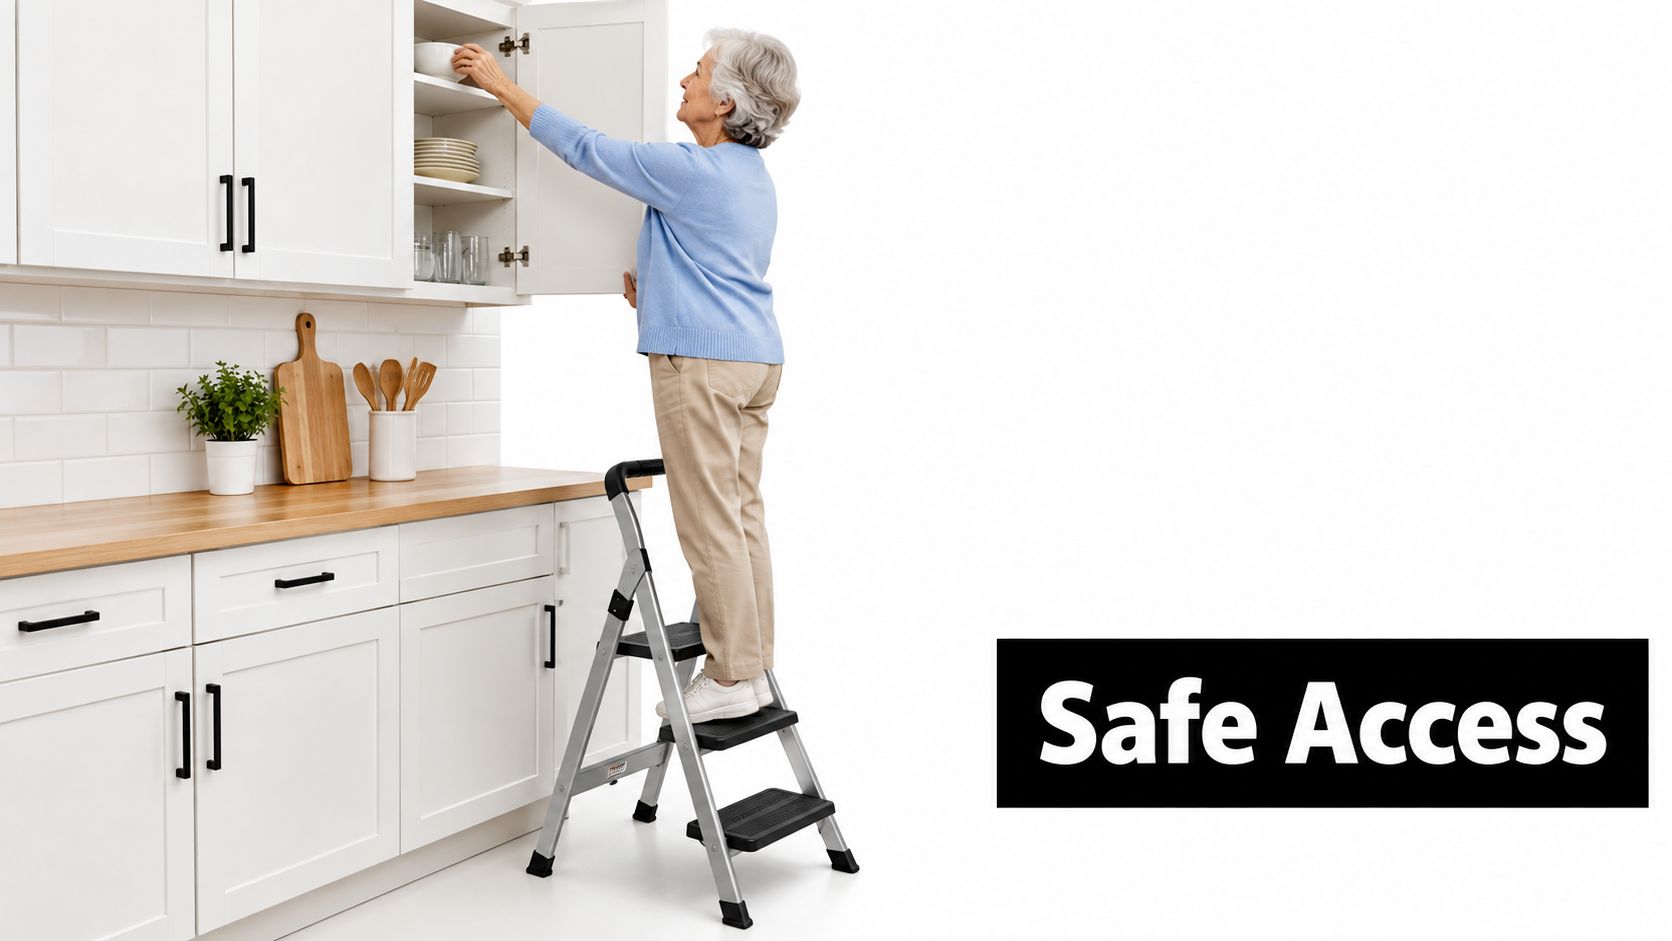
An elderly woman safely stands on a folding stepladder to reach items inside an overhead kitchen cabinet.

Design for changing needs

Older residents, people with mobility limitations and anyone with reduced balance may not use a high shelf in the same way as a younger, fully mobile person. Australian accessibility guidance discusses pull-down or motorised mechanisms for upper cabinets, alongside full-extension runners and pull-out pantry shelves that reduce bending and reaching. The Australian kitchen accessibility guidance also supports thinking about comfortable reach rather than assuming one standard height suits every household.

Families need a different form of planning. Keep knives, cleaning products and breakable items out of unsupervised reach, and avoid placing frequently handled goods above a cooktop where a child may be tempted to climb or stretch. Rounded edges, stable mounting and clear floor space reduce the consequences of hurried movement.

Decide whether every wall needs a cupboard

In a narrow Melbourne kitchen, deep or low overheads can close down sightlines and make the room feel crowded. Open shelving may create visual relief, but it exposes contents to grease and requires consistent organisation. Omitting upper cabinets can work when a pantry, drawers and generous lower storage replace their function. It fails when the result is food and appliances permanently covering the benchtop.

A minimalist kitchen isn't automatically an accessible kitchen. The strongest layout is the one that keeps essential items visible, reachable and safe.

Installation Requirements and Professional Help

Overhead cabinets carry significant weight once loaded with crockery, glassware and pantry goods. A secure installation starts with identifying suitable wall framing or structural fixing points, selecting fixings for the wall construction and creating a level reference line. Cabinets should be joined and supported according to their construction system, rather than just screwed into plasterboard and left to carry the load alone.

The wall may also need preparation. Uneven surfaces, old splashback adhesive, weak plaster or a hidden service can affect the fixing method and final alignment. A small error at the first cabinet can continue across the whole run, leaving uneven reveals, doors that drift out of line and a visible gap at the ceiling.

Coordinate the trades before the doors arrive

Electricians need the final cabinet plan for under-cabinet lighting, appliance outlets and any changes to existing wiring. Rangehood installers need the selected hood, ducting route and manufacturer clearances before a cabinetmaker closes the wall around them. Australian guidance commonly places cabinetry about 600 mm above an electric cooktop and approximately 650–750 mm above a gas cooktop, subject to the appliance instructions, as explained in this cooktop and rangehood clearance guidance.

Don't manufacture the cooking-zone cabinets from a guessed dimension. Check the appliance manual, rangehood requirements, ducting, splashback and door operation together. In a body corporate property, confirm whether approvals or documentation apply before work begins.

Know where kitchen work meets bathroom renovations

Victorian projects often involve more than cabinetry. If the same renovation includes bathroom renovations, a new wet area, relocated plumbing or structural changes, building approval and plumbing compliance need separate attention. A building permit may be required when a bathroom is created outside an existing wet area, walls are removed or fixtures move, while a licensed plumber must complete regulated plumbing connections and provide a Certificate of Compliance, as outlined in this Victorian bathroom permit guidance.

A domestic building practitioner is generally required for building work valued at $5,000 or more, and internal bathroom, kitchen and laundry work may fall within Domestic Builder: Limited registration when it stays inside the existing external walls, floor and ceiling. A registered builder with Unlimited registration covers a broader scope, so verify the current registration class and permitted work before signing.

Budget Planning and Cost Considerations

A useful cabinet budget starts with the specification, not a guessed total. Door material, cabinet internals, hinges, drawer runners, handles, end panels, fillers, lighting, installation and site preparation all affect the final result. Two kitchens with similar-looking doors can differ substantially once one includes custom dimensions, integrated appliances and specialist access hardware.

Separate the visible and hidden costs

Ask for the quote to identify each major component. The following items often change the price or programme:

  • Cabinet construction: Stock modules may limit fit, while semi-custom and custom cabinetry can respond to unusual walls, ceilings and appliance positions.
  • Hardware: Soft-close hinges are only one part of the decision. Pull-down fittings, lift-up doors and specialised internal accessories add function but also complexity.
  • Site preparation: Removing old cabinets, repairing walls, adjusting skirting and disposing of materials can sit outside a basic supply price.
  • Electrical and ventilation work: New task lighting, relocated outlets and rangehood ducting may require separate trades.
  • Installation conditions: A level, accessible room is simpler to fit than a home with uneven walls, tight access or occupied rooms.

Because verified pricing varies by material, supplier, room size and installation scope, treat any unitemised figure cautiously. A transparent quote should state what is included, what remains provisional and which selections could alter the amount.

Spend where daily use depends on quality

Hardware deserves priority in the areas opened repeatedly. A durable runner or accessible pull-down fitting can provide more practical value than a decorative upgrade that offers no functional benefit. Save by limiting unnecessary panels, avoiding overly complex door arrangements and choosing a finish that doesn't require specialist upkeep.

For a staged renovation, complete measurements and appliance selections before ordering overhead kitchen cabinets. Delaying a cabinet run is usually less disruptive than manufacturing it around an unconfirmed cooktop, rangehood or splashback.

Working with Professional Renovators

Professional renovation support is most valuable when several decisions interact. A good designer can test cabinet depth, reach zones, appliance clearances, lighting and finishes in a measured 3D design before construction begins. That visual check helps a Highett homeowner spot a bulky wall run or an inaccessible shelf while changes are still drawings, not demolition.

Ask how the renovator measures the room, records existing services and confirms appliance specifications. Request a written scope that separates cabinetry, installation, electrical work, plumbing, approvals, finishes and exclusions. You should also understand who coordinates the trades and who responds if a site condition changes.
Screenshot from https://siteprobathrooms.com.au

Ask better questions at the consultation

  • Reachability: Which shelves suit daily use for every person in the household?
  • Appliance coordination: Have the cooktop, hood, ducting and countertop appliances been included in the elevation?
  • Installation: What wall structure and fixing method will support the loaded cabinets?
  • Registration: Which domestic builder registration class applies to the work?
  • Wet areas: How will waterproofing, plumbing certificates and inspections be documented if bathroom renovations are part of the project?

The same planning discipline applies to new bathroom ideas, modern bathrooms and designer bathrooms. Attractive finishes still need sound waterproofing, workable storage and correctly coordinated services. In Victoria, wet-area waterproofing is governed by AS 3740, and shower waterproofing generally reaches at least 1,800 mm above the finished floor, or 2,100 mm where the recess is less than 1,000 mm wide, according to this Australian wet-area waterproofing guidance.

For homeowners wanting one coordinated process, SitePro Bathrooms provides measured kitchen planning, 3D design, cabinetry configuration, construction and finishing in Highett and greater Victoria. Book a consultation with your room measurements, appliance details and a list of the items that must remain within easy reach, then ask for a cabinet layout that proves the storage will be safe and usable before you approve manufacture.
  • siteprobathrooms

Your Guide to Kitchen Cabinets Materials in 2026

You’re probably standing in your kitchen right now noticing the same things most homeowners notice before a renovation starts. The storage doesn’t work. The doors feel tired. The layout might still be serviceable, but the finishes date the whole room. Then the material choices begin, and that’s where a lot of projects go off track.

Cabinet colour is easy to picture. Cabinet material is harder. Yet it’s the material decision that usually determines how well the kitchen holds up, how much maintenance it needs, and whether the renovation still feels like money well spent years later. The same logic applies when people start thinking about bathroom renovations, new bathroom ideas, modern bathrooms, or designer bathrooms. Surface style matters, but substrate and construction matter more.

Starting Your Kitchen Renovation Journey

The initial consideration often focuses on aesthetics. Images are saved of shaker doors, warm timber finishes, flat-panel white kitchens, or darker joinery with stone tops. Then, upon getting quotes, it becomes clear that two cabinets looking similar on day one can behave very differently after a few winters, a few summers, and a few years of steam, spills, and daily use.

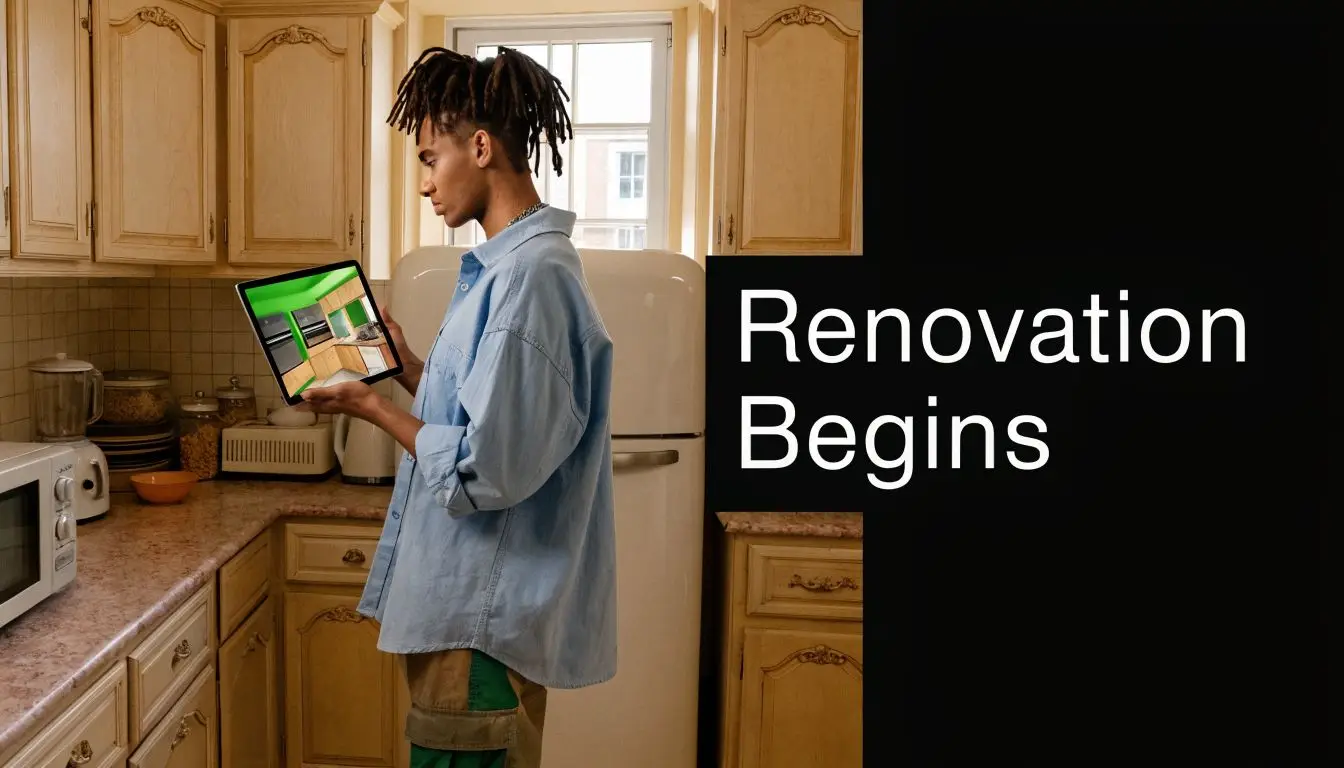
A young man holding a tablet with a kitchen redesign plan inside an old-fashioned kitchen.

That’s why kitchen cabinets materials should be one of the first decisions, not one of the last. In Australia, wood materials hold approximately 60% market share in 2025, reflecting strong buyer preference for durability and appearance in variable climates like Victoria’s, according to Australian kitchen cabinet market data.

What homeowners usually get wrong

The common mistake is treating cabinetry as one material choice. It isn’t. The cabinet box, the doors, the drawer fronts, the shelves, and the frame can all be made from different materials. A smart renovation often mixes them on purpose.

For example, a homeowner might want the warmth of timber but not the movement and upkeep that comes with full solid timber construction. In that case, a practical build could use a stable cabinet box and reserve the premium finish for the visible door fronts. That approach protects budget without cheapening the job.

Practical rule: Pick materials based on where they sit and what they have to survive, not on what sounds premium in a showroom.

A good early step is to look at complete kitchen renovation services in Highett and assess your project as a full system. The cabinet material has to suit the room, the layout, and the way your household lives. A young family, a downsizer, and an investor won’t all make the same choice, and they shouldn’t.

Understanding the Anatomy of a Cabinet

A cabinet only looks simple from the outside. In practice, it’s a group of parts doing different jobs. If you understand those parts, the material decisions become much clearer.

The cabinet box

The cabinet box, also called the carcass, is the structural shell. It carries the load, supports the shelves, anchors the hinges and runners, and takes the pressure of everyday use. You don’t usually notice it once the kitchen is installed, but it does most of the work.

Structural performance matters more than showroom appeal. If the box swells, racks, or loses screw-holding strength, the whole kitchen starts to feel tired long before the doors look old.

Doors and drawer fronts

These are the visible faces of the kitchen. They determine most of the visual style and much of the cleaning routine. A painted profile door, a timber veneer panel, and a laminate flat panel can all suit the same layout, but they won’t behave the same way over time.

This is also where people often overspend on appearance while underspending on the box behind it. That usually works in reverse of what’s best for long-term value.

Frames, shelves, and hardware fixing points

Some cabinetry includes a front frame. In framed construction, that frame adds rigidity and helps with alignment and hardware retention. The standard of that joinery matters. High-quality cabinetry standards specify 3/4" solid hardwood front frames using mortise and tenon joinery, a method that spreads stress and helps prevent fastener pull-out, according to cabinet construction standards guidance.

A simple way to think about cabinet anatomy is this:

  • Box: Carries weight and handles moisture exposure.
  • Door fronts: Deliver the look and take the hand contact.
  • Shelves: Need stiffness so they don’t sag under plates, appliances, or pantry items.
  • Frame and fixing zones: Need to hold screws, hinges, and runners reliably.

If the box is weak, expensive doors won’t save the kitchen.

Why this matters for budgeting

Smart budgeting means putting money where failure would be expensive. A door can often be replaced later. A failing cabinet box usually means deeper rectification work.

That’s why many well-planned renovations prioritise structural materials in the unseen areas first, then match the external finish to the design brief. The same thinking applies in bathrooms. In modern bathrooms and designer bathrooms, what sits behind the finish often determines whether the room still performs properly years later.

A Detailed Comparison of Common Cabinet Materials

Not all kitchen cabinets materials suit the same job. Some are best for structure. Some are chosen for paint finish. Some are strictly budget options. If you compare them side by side, the trade-offs become easier to judge.

Plywood

Plywood has become the default recommendation for many cabinet boxes for a reason. In Australia, plywood is the preferred material for cabinet boxes in 65% of custom kitchen projects by 2025, valued for stability and moisture resistance in climates like Victoria’s, according to Australian custom cabinetry statistics.

Its strength comes from layered construction with alternating grain direction. That makes it more resistant to warping and movement than many single-material sheet products. In practical terms, it’s a strong choice for cabinet boxes, pantry internals, and shelving where moisture and load both matter.

It isn’t the cheapest option, but it tends to be one of the most balanced.

Solid wood

Solid wood still has a place, especially for doors, feature panels, and homes where natural grain is part of the design language. It looks better with age than many synthetics if it’s well chosen and properly finished.

The downside is movement. Timber reacts to the environment. In a stable internal space that’s manageable. In rooms with fluctuating moisture, it needs more care in species selection, detailing, sealing, and placement. Used well, it’s beautiful. Used carelessly, it can become a maintenance issue.

MDF

MDF is popular because it gives a smooth, consistent surface for painted finishes. If you want crisp modern profiles, detailed routed doors, or a very even painted look, MDF can do that well.

Its weakness is water. Once moisture gets through a damaged edge, failed paint line, or compromised joint, the board can swell and degrade. That doesn’t mean MDF is always a bad choice. It means it needs the right application, proper sealing, and realistic expectations.

Particleboard

Particleboard usually sits at the lower end of the market. It can be acceptable in dry, low-demand settings when budgets are tight, but it has less tolerance for moisture and repeated wear. Once it takes on water, it tends to deteriorate quickly.

For an investment property with a very tight budget, it may still appear in the discussion. For a long-term family kitchen, it’s rarely the first recommendation where durability is the goal.

Laminates and thermoformed finishes

Laminate-style finishes work because they’re practical. They offer a broad design range, wipe clean easily, and can suit very contemporary spaces. For flat-panel kitchens, they often give a clean and controlled result without the upkeep of painted timber.

The trade-off is repairability. Once a synthetic face is significantly chipped, lifted, or heat-damaged, repair options are usually more limited than with natural materials.

Veneers, acrylics, metal, and glass accents

These are usually finish decisions rather than full-construction decisions. Veneers can bring timber character with more control than solid wood. Acrylic-style faces can suit sharp, modern schemes. Glass and metal are often best used selectively, not across every elevation.

The key is restraint. Accent materials can lift a kitchen, but too many different finishes can make it feel busy and date it faster.

Kitchen Cabinet Material Comparison

Material Cost Range (per linear metre) Durability Pros Cons
Plywood AUD 150-500 High Strong, stable, better moisture resistance, good for cabinet boxes Dearer than entry-level board options
Solid wood AUD 200-700 High when detailed well Natural character, can be refinished, premium appearance Higher cost, can move with humidity
MDF Qualitative only Moderate Smooth for painted finishes, clean modern look Vulnerable if water penetrates
Particleboard Qualitative only Lower Budget-friendly, widely available Poor moisture tolerance, shorter service life
Laminate-faced board Qualitative only Moderate Easy cleaning, broad finish range, practical for modern kitchens Harder to repair once damaged
HDP composites Qualitative only High in humid conditions Low maintenance, strong moisture performance in coastal settings Not always the first material homeowners consider

Don’t choose a single “best” material for the whole kitchen. Choose the best material for each cabinet part.

Engineered vs Natural Materials What You Need to Know

The material debate usually comes down to this. Do you want the character and repairability of natural products, or the consistency and lower-maintenance performance of engineered ones?

Where natural materials win

Natural materials, especially timber-based options, have a tactile quality that engineered boards often imitate but rarely match. Grain variation, depth, and the way the surface matures can give a kitchen warmth that feels less manufactured.

They also tend to be more forgiving when damaged. A scuffed solid timber door may be repaired or refinished. A veneered or painted natural product can often be refreshed if the underlying construction is sound. That matters if you plan to stay in the home for a long time and want the kitchen to age well rather than just survive.

Natural products also make sense in homes where the cabinetry is part of a broader architectural story. In period homes or warmer contemporary interiors, they can anchor the room.

Where engineered materials win

Engineered materials are usually about control. They offer more consistency from panel to panel, a broader range of repeatable finishes, and fewer visual surprises. That’s useful if you want a sharp painted scheme, a uniform texture, or a very clean contemporary line.

Plywood sits in an interesting middle ground. It’s engineered, but timber-based, and structurally very capable. Its cross-laminated construction resists warping and bending under load and is well suited to cabinet boxes in high-moisture zones, as outlined in guidance on long-lasting kitchen cabinet materials.

MDF and similar products also have a place, especially for painted doors where movement in solid timber can telegraph through the finish. But when those surfaces are severely damaged, repair often becomes replacement rather than restoration.

The practical trade-off

For most Victorian homes, the most balanced result isn’t fully natural or fully engineered. It’s mixed.

  • Use structural materials where water and load matter most. Cabinet boxes, sink units, and wide shelves need stability first.
  • Use decorative materials where appearance drives the brief. Doors and feature panels can carry the visual style.
  • Match the maintenance level to the household. A busy family kitchen and a lightly used entertainer’s kitchen won’t wear the same way.

The best joinery isn’t the most expensive on paper. It’s the one that still opens, closes, and looks right after years of normal use.

Choosing the Right Material for Your Highett Home

Highett homes have a specific challenge that generic renovation advice often ignores. Moisture matters here more than many homeowners expect.

A close-up of wooden cabinet surfaces covered in water droplets with a blurred ocean background.

In coastal parts of Victoria such as Highett, average relative humidity sits around 65-75% year-round, and that can accelerate warping in solid timber cabinets by up to 30%. The same data notes that high-density polymer composites outperform traditional laminates in these conditions, making them a strong low-maintenance option in salt-laden coastal humidity, according to Victorian humidity and cabinet material guidance.

What tends to work better locally

In this part of Victoria, material selection should start with moisture exposure, not colour. That doesn’t mean every kitchen needs synthetic finishes, but it does mean you should be cautious about using movement-prone materials in the wrong places.

A practical Highett specification often leans toward:

  • Plywood cabinet boxes for structural stability in working zones
  • Carefully sealed painted fronts where the design calls for a refined finish
  • HDP composites in areas where low maintenance and moisture resistance are high priorities
  • Timber used selectively on feature elements rather than across every component

The bathroom connection matters too

This climate logic doesn’t stop at the kitchen. It carries directly into bathroom renovations, especially if you’re planning modern bathrooms or exploring new bathroom ideas that include timber-look joinery. Bathrooms punish poor material choices faster than kitchens do.

If a material struggles in a humid kitchen, it usually struggles more in a bathroom vanity, linen unit, or shaving cabinet. That’s why local renovation planning should treat kitchens and bathrooms as part of the same performance conversation, not separate style exercises.

Think beyond resale buzzwords

Homeowners often ask which material “adds value”. The better question is which material avoids looking tired too soon. In most cases, buyers and tenants respond to cabinetry that feels solid, stays aligned, and doesn’t show early moisture damage. Durability reads as quality, even when the buyer doesn’t know the substrate.

How 3D Design Helps You Visualise Your Materials

Material decisions are hard to judge from a small sample. A door swatch might look perfect in your hand and wrong across an entire wall. Grain, sheen, colour temperature, and shadow lines all change once the kitchen is built around them.

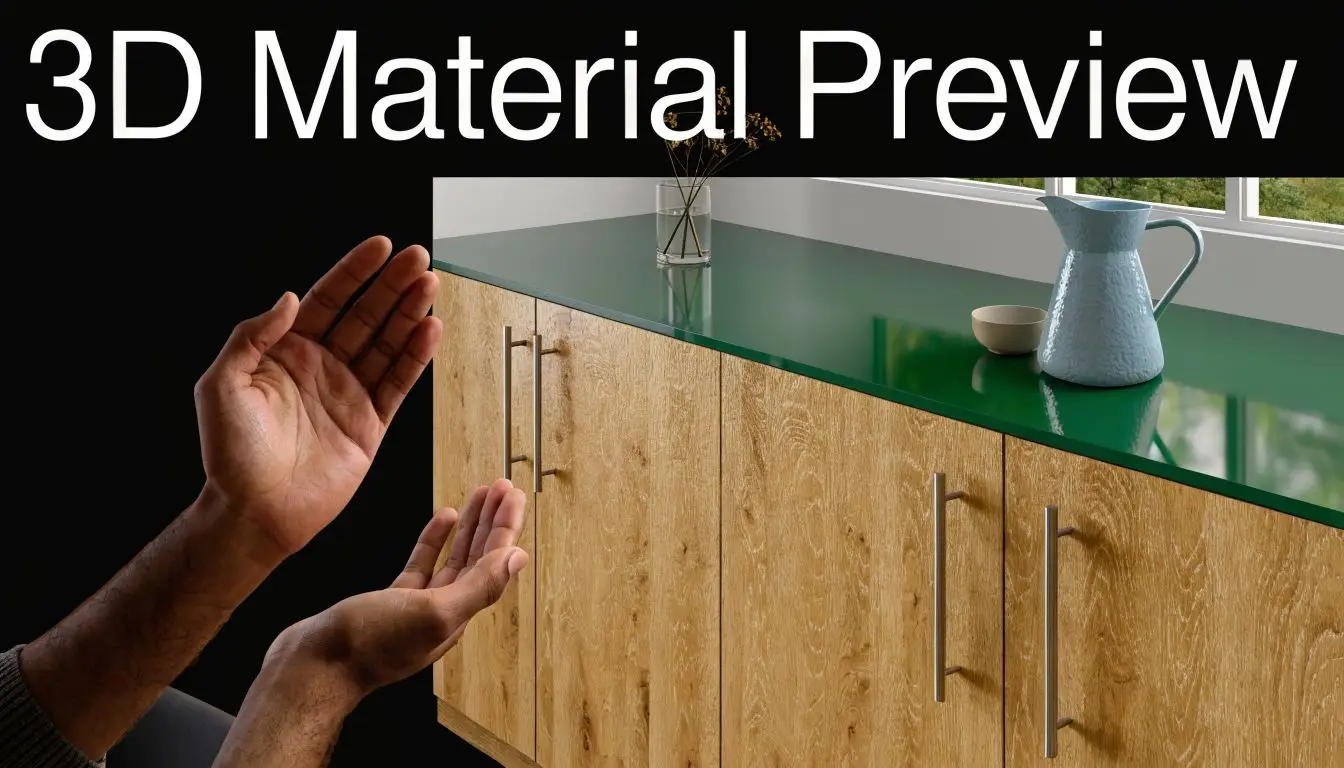
A 3D rendering showing a wooden kitchen cabinet with a green surface being presented by two hands.

That’s why 3D visualisation is more than a presentation tool. It’s a risk-reduction tool. It lets you test whether a timber tone makes the room feel warm or heavy, whether a matte finish softens the space, or whether a darker cabinet face closes the room in too much.

What 3D design solves

A useful rendering helps with decisions that are difficult to make from drawings alone:

  • Material balance: Whether the joinery, benchtop, splashback, and flooring sit well together
  • Scale: Whether a feature finish should cover one run of cabinets or the whole kitchen
  • Light response: How darker or reflective surfaces may read in your actual room
  • Consistency across rooms: Whether kitchen and bathroom joinery feel connected without looking copied

This matters just as much for designer bathrooms as it does for kitchens. A vanity finish that feels elegant in isolation can clash badly with tile tone, lighting, or wall colour once the room is complete.

A strong interior design and 3D visualisation process gives homeowners a chance to make material decisions before ordering, not after installation starts. That’s one of the simplest ways to avoid expensive regret.

Good design drawings don’t just show where cabinets go. They show whether the material choice still makes sense at full scale.

Finalising Your Choice Budget Longevity and Style

By this point, the right decision usually isn’t about finding the fanciest finish. It’s about matching the material to the life the kitchen will have.

Start with your absolute requirements.

A simple decision filter

  1. How hard will the kitchen be used?
    A busy family kitchen needs forgiving materials and strong cabinet boxes. A low-use apartment kitchen may allow more emphasis on appearance.

  2. How long do you plan to keep the kitchen?
    If this is your long-term home, repairability and structural quality deserve more weight. If it’s a shorter-hold improvement, balance durability with budget.

  3. How much maintenance will you realistically do?
    Don’t choose a material that requires care you know won’t happen.

  4. Does the material suit the location?
    In Victoria, climate and moisture exposure are not side issues. They’re core performance issues.

Don’t skip fire safety

Material choice also affects compliance and risk. In Victoria, 28% of kitchen fires originate near cabinets, so the material near appliance zones matters, according to Victorian kitchen fire safety guidance. Standard melamine-faced MDF may not suit bushfire-prone requirements in some settings, while intumescent-coated acrylics offer stronger protection.

That won’t drive every kitchen brief, but it should be part of the discussion, especially in homes where bushfire compliance or multi-unit fire spread is a concern.

The last check before you commit

Use this final shortlist:

  • Best structure first: prioritise cabinet box quality
  • Finish second: pick the visible material that suits your style and maintenance tolerance
  • Climate check: confirm it suits Highett and wider Victorian conditions
  • Installation standard: good materials fail when poor installation lets moisture in or hardware loosen
  • Whole-project budget: review the cost of a new kitchen in practical terms before locking premium upgrades

Registered builders unlimited in scope and experience matter here because installation quality determines whether the material performs as intended. The best board, timber, or finish won’t rescue poor detailing around sinks, appliances, corners, and service penetrations.


If you’re weighing kitchen cabinets materials for a Highett project and want clarity before you build, SitePro Bathrooms can help with practical planning, 3D design, kitchen upgrades, and bathroom renovations that suit Victorian conditions. For personalized advice on kitchens, modern bathrooms, designer bathrooms, and material selections that balance durability with style, get in touch through SitePro Bathrooms.