Best Splashback for Kitchen in 2026: Materials Compared
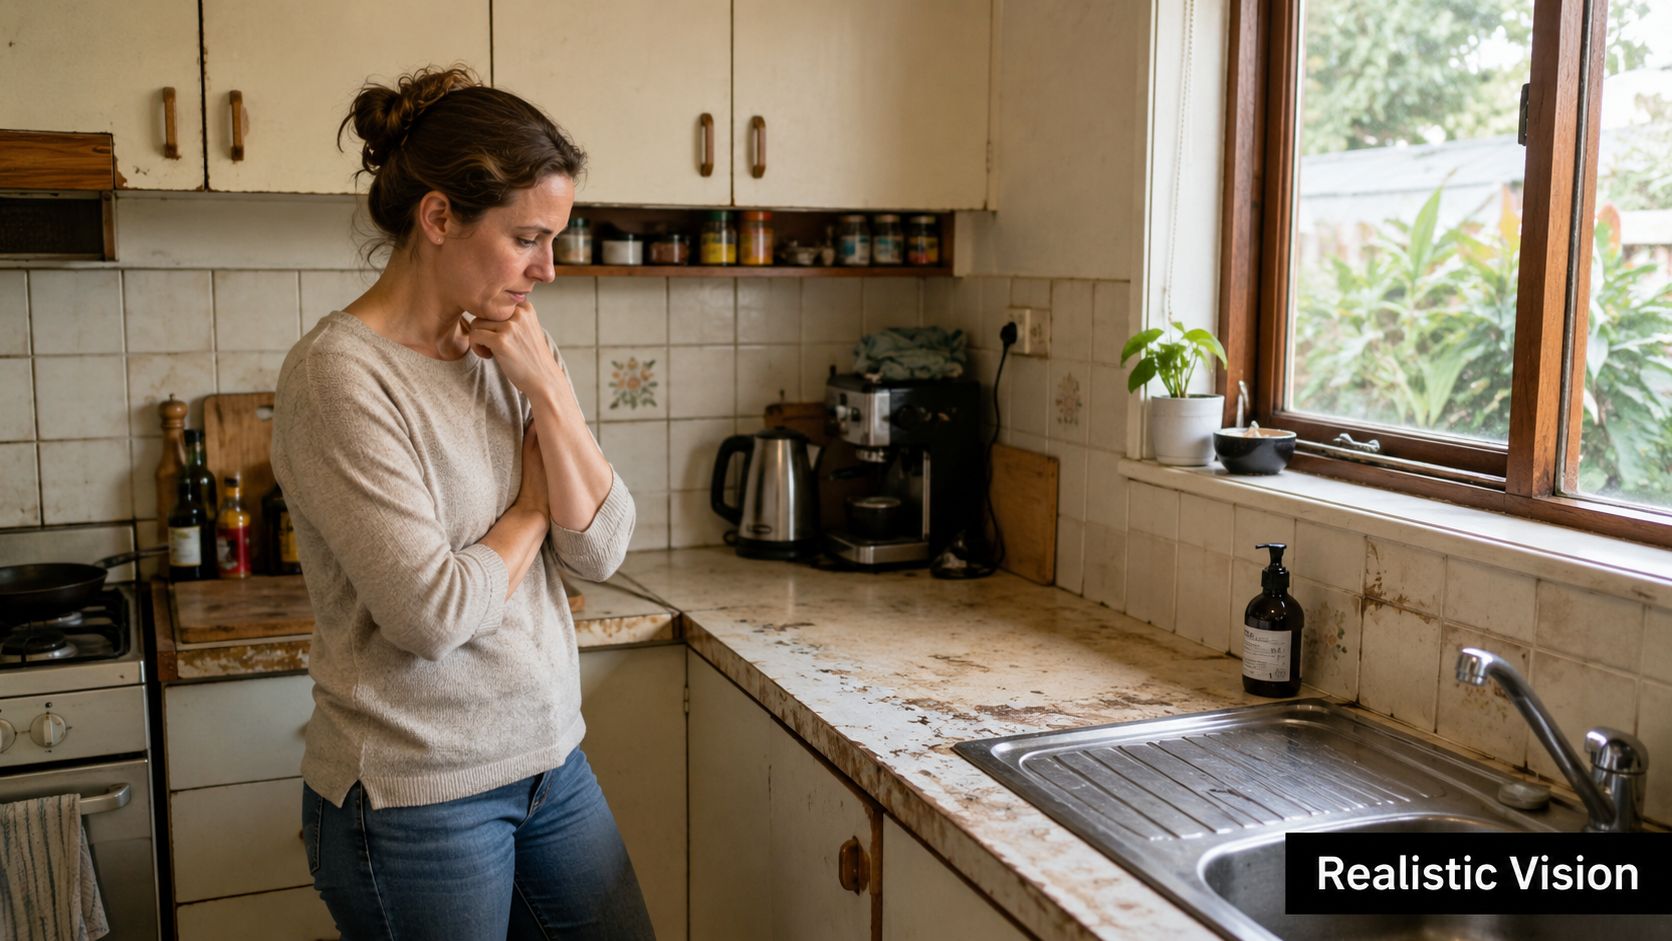
You've chosen the cabinetry, benchtops and appliances, and now the splashback seems like the easy decision. A dramatic full-height glass panel looks perfect in the render, the colour works with the stone, and it promises quick cleaning. Then someone asks how close the nearest gas burner sits to the wall, what's behind the plasterboard, and whether the proposed glass is suitable for that installation.
That's where many Victorian kitchen renovations become more complicated than expected. The best splashback for kitchen use isn't selected by colour alone. It must suit the cooktop, burner position, wall substrate, cleaning routine and the manufacturer's clearance instructions. A beautiful panel that needs to be removed, resized or replaced after installation is an expensive design mistake.
Why Splashback Choice Is More Than Aesthetic
A homeowner in Highett may start with a clear visual brief: a pale stone benchtop, warm cabinetry and a continuous glass splashback extending behind the cooktop. The designer may produce an excellent 3D concept, but the existing gas appliance can change the entire specification. If the wall contains combustible material, or the burner sits too close to it, the installer may need a different backing arrangement, greater clearance or another finish altogether.
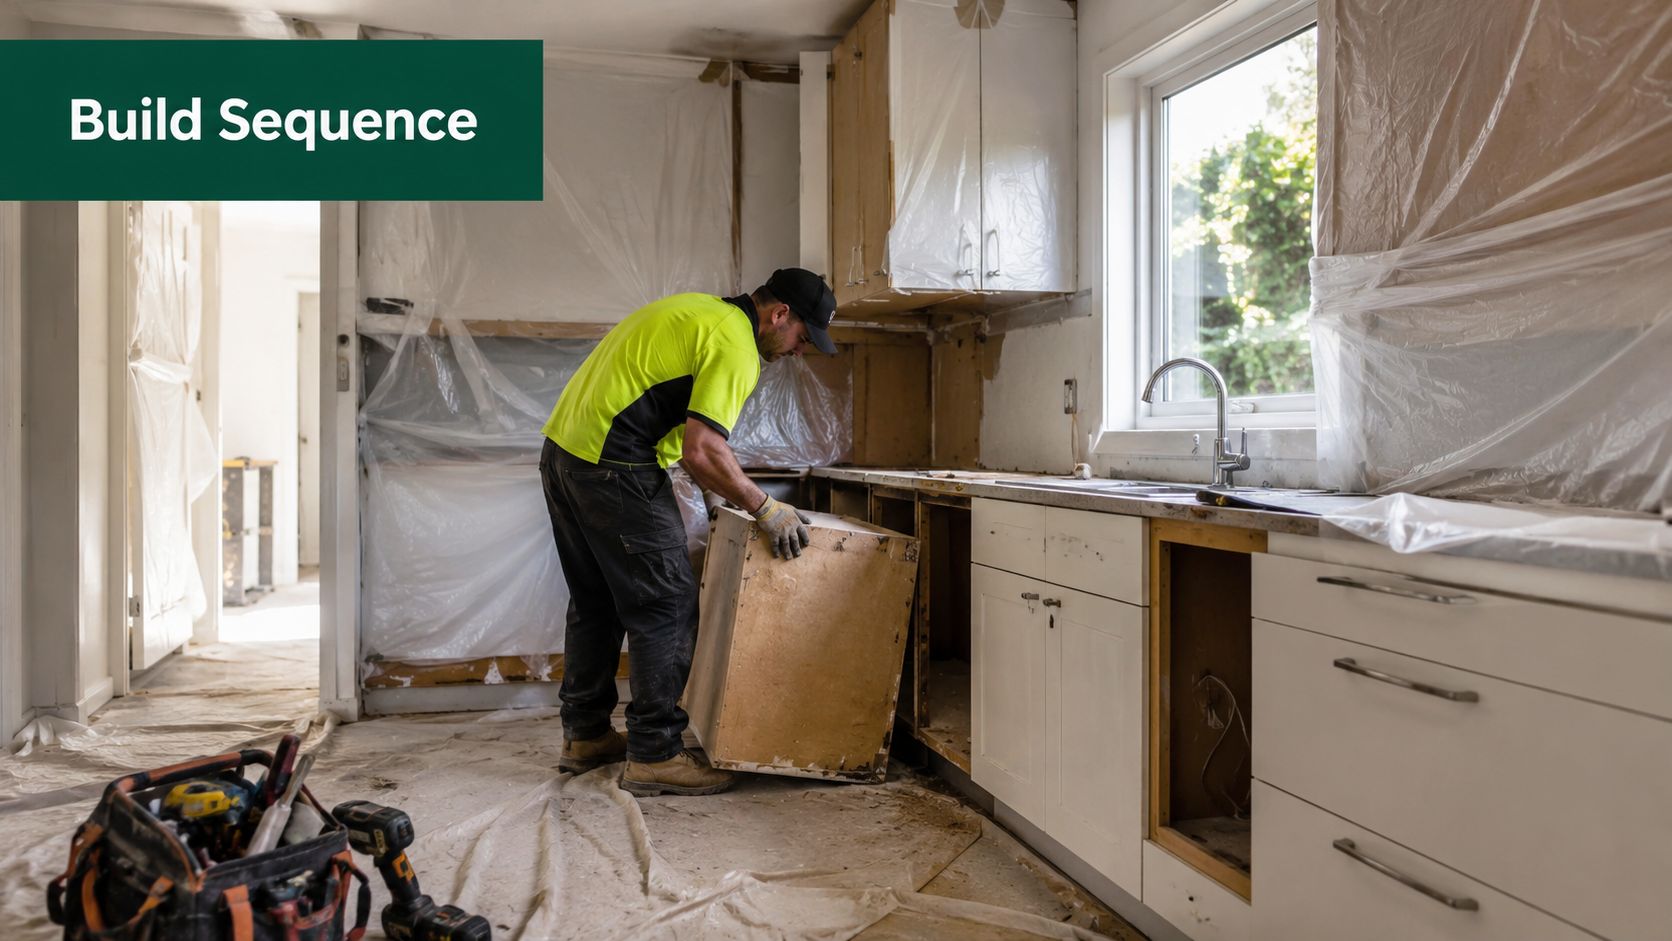
The problem usually appears late. Cabinets are already ordered, the wall has been prepared, and the homeowner is reluctant to abandon the feature they approved. At that point, changing to tile or stainless steel can affect the joinery, power outlets, rangehood position and budget.
Practical rule: Treat the splashback as part of the cooking appliance installation, not as a loose decorative panel.
A splashback protects the wall from grease, steam, water and impact, but its performance depends on the complete assembly. The facing material, adhesive, backing, exposed edges and distance from the heat source all matter. A glass panel over an unsuitable substrate isn't made safe just because the glass itself is marketed as heat resistant.
Australian kitchen upgrades commonly include splashbacks. The Housing Industry Association reported that splashbacks were replaced or added in 73% of surveyed kitchen upgrades, making them one of the most frequently changed kitchen features, behind benchtops, taps or plumbing fixtures and cabinets, but ahead of sinks (the HIA renovation data). That makes material selection a mainstream renovation decision, not a finishing detail to resolve after the kitchen has been designed.
The practical questions are straightforward:
- Is the cooktop gas, electric or induction?
- How far is the nearest burner from the wall?
- Is the wall backing combustible?
- Will the area behind the sink receive regular splashing?
- Can the surface be cleaned without maintaining vulnerable joints?
- Will a cracked or damaged section be repairable without removing the whole installation?
For a useful overview of the design side, see this guide to splashback and backsplash choices. The appearance still matters, but it should follow the safety and performance checks.
Understanding Compliance and Safety Standards
The National Construction Code provides the starting point for glass selection in Australian kitchens. Under the NCC 2022 Housing Provisions, glazing in kitchens and similar areas with a lowest sight line below 2.0 metres generally needs Grade A safety glazing. Panels or doors with an exposed edge must use toughened safety glass with a minimum nominal thickness of 6 mm (NCC glazing provisions).

Those requirements don't mean every kitchen needs the same glass specification. The NCC allows monolithic annealed glass in a specific protected arrangement, but the panel must be fully backed by and continuously adhered to a solid wall, fixed cabinet or bench. That protecting element must be at least 760 mm high, 300 mm deep, extend across the full splashback width and sit in front of the glass.
That exception is easy to misunderstand. A visible panel behind a cooktop may have exposed edges, interruptions or a backing arrangement that doesn't meet the protected configuration. If so, ordinary annealed glass isn't an acceptable shortcut.
Gas burners change the decision
Gas installations need a separate check against AS/NZS 5601. Australian guidance identifies the area within 200 mm of the nearest gas-burner edge as a potential combustion-risk zone. Where combustible wall construction is present, the combustible surface must not exceed 65°C above ambient, and the relevant protection must extend at least 150 mm above the periphery of the nearest burner in the applicable arrangement (Australian guidance on glass, fire and heat).
Energy Safe Victoria also explains that gas burners generally require 200 mm clearance from nearby walls or surfaces unless the surface is suitably protected (Energy Safe cooking guidance). Published Australian guidance identifies options such as minimum 5 mm toughened safety glass, at least 5 mm ceramic tile or sheet metal where the relevant conditions and substrates are satisfied.
The numbers alone don't approve an installation. The installer must check the cooktop manual, burner layout, substrate, rangehood clearances and the complete wall assembly. A glass panel over plasterboard or timber can remain unsuitable if the backing and protection haven't been assessed.
Bathroom work follows the same principle. Whether the project involves kitchen waterproofing requirements or broader bathroom renovations, the visible finish is only one part of a compliant build. A registered practitioner should confirm the construction beneath it.
Comparing Glass, Tile, Stainless Steel, Stone and Laminate
No single material wins every kitchen. The right choice depends on how much heat, cleaning, impact and future disruption the surface must handle.
| Material | Heat Resistance | Maintenance Level | Installation Complexity | Best Suited For |
|---|---|---|---|---|
| Toughened glass | Strong when correctly specified and installed | Low, with few joints | High, due to templating, edges and backing | Carefully checked gas or electric cooktop installations |
| Ceramic or porcelain tile | Strong, with suitable tile and installation | Moderate, mainly due to grout | Moderate | Heat-exposed walls and repairable renovations |
| Stainless steel | High and practical around cooking heat | Low, though fingerprints show | Moderate | High-use kitchens and robust cooking zones |
| Natural stone | Generally good heat performance, depending on the stone | Moderate to high, with sealing | High, due to weight and fabrication | Design-led kitchens prepared for ongoing care |
| Laminate | Limited near sustained heat and moisture | Low at first, but vulnerable if edges fail | Low to moderate | Low-heat areas away from direct cooking exposure |
Toughened glass
Glass delivers the cleanest visual line. A large panel has minimal joints, reflects light and wipes down quickly. It's particularly effective where a homeowner wants a strong colour, a quiet neutral or a continuous image-like finish.
The weakness is that glass demands accurate planning. Templating must account for sockets, corners, cabinetry and appliance positions. A crack can turn a low-maintenance surface into a difficult replacement job, especially when the panel is bonded across a large area. The glass grade, nominal thickness, edge treatment and backing must also be confirmed rather than assumed.
Ceramic and porcelain tile
Tile is often the more forgiving option around heat. Ceramic and porcelain can provide a fire-resistant surface, and a damaged tile can usually be replaced without removing an entire wall panel. Smaller pieces also accommodate irregular walls and complex corners better than a single sheet.
The trade-off is grout. Joints collect grease and require more attention, particularly behind a cooktop. Fully glazed tile with a durable, properly sealed grout system performs better than an open, poorly finished joint layout. Large-format tile can reduce joint density, but it increases the importance of substrate preparation and precise cutting.
Stainless steel
Stainless steel is the practical workhorse. It handles heat well, has a smooth impervious face and avoids extensive grout maintenance. It suits busy family kitchens, frequent cooks and layouts where the splashback needs to function more like commercial equipment than a feature wall.
Brushed finishes can show fingerprints and fine scratches. Sheet metal can also expose dents if the wall receives hard impacts, so the gauge, support and edge detailing need consideration. Its appearance is deliberately functional, which some homeowners love and others find too industrial.
Natural stone and laminate
Natural stone can create a premium, integrated look, especially when it relates to the benchtop. Its performance depends on the specific stone, finish and sealing routine. Porous surfaces can absorb oils and discolour, while complex veining may make repairs or replacement difficult to match.
Laminate keeps the initial visual decision simple, but it's a poor choice close to sustained cooking heat or repeated moisture exposure. Heat can affect the surface or adhesive, and moisture can enter vulnerable edges. It may be reasonable in a low-heat zone after the manufacturer's limitations are checked, but it shouldn't be treated as interchangeable with tile, stainless steel or compliant glass behind a gas cooktop.
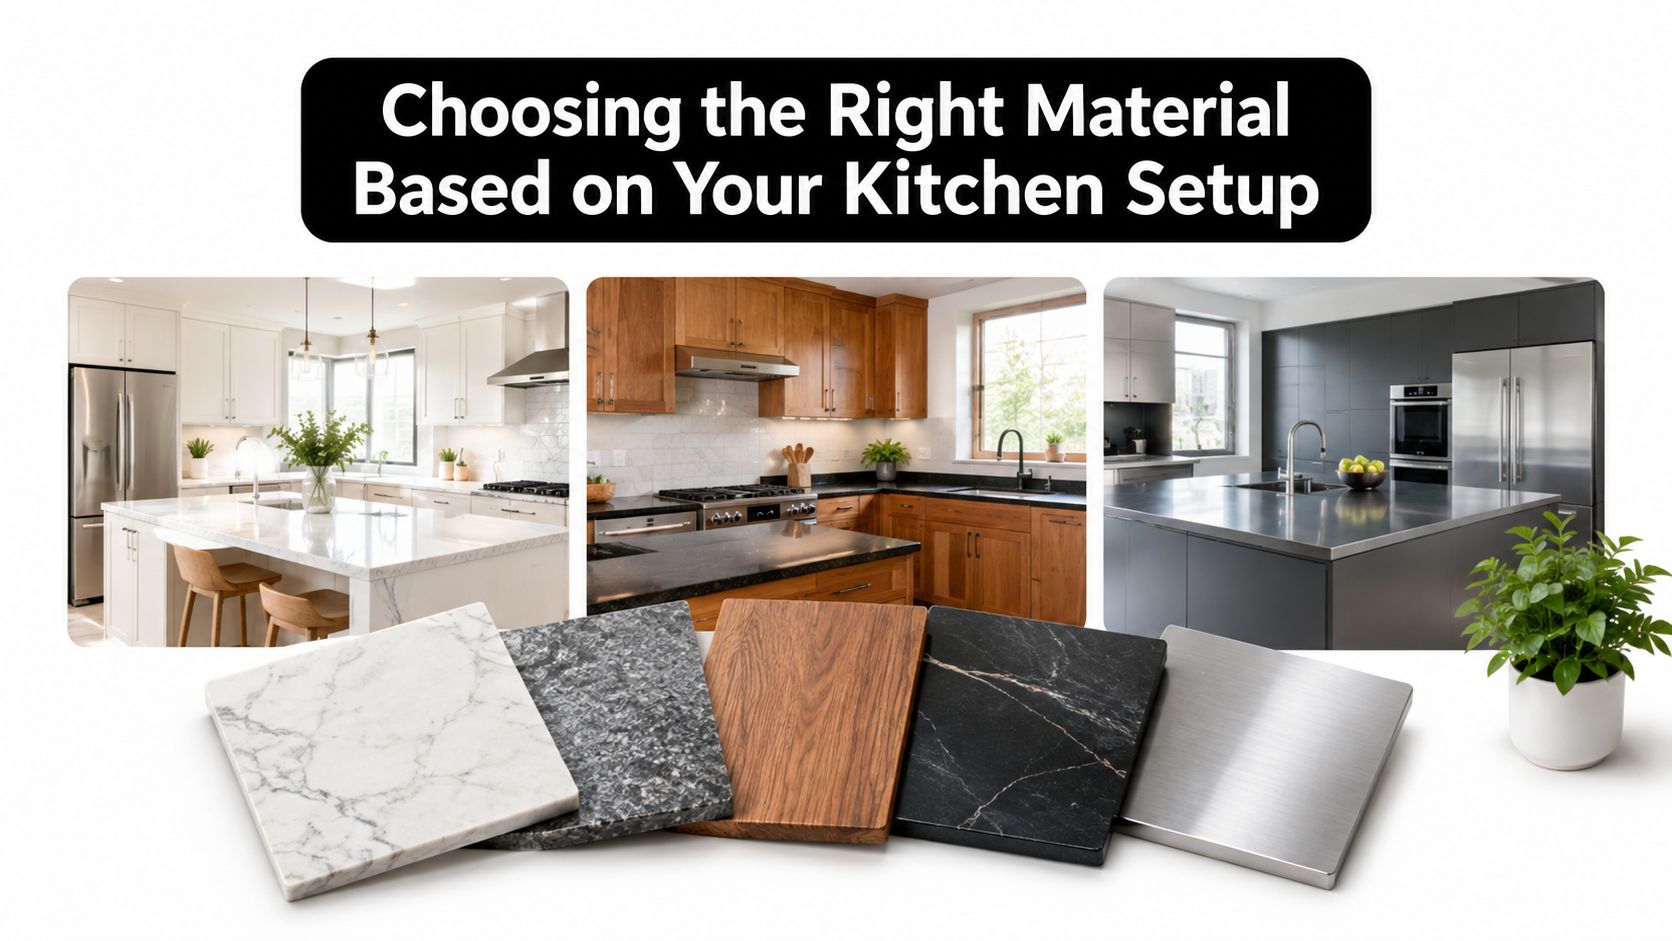
Choosing the Right Material Based on Your Kitchen Setup
Start with the appliance, not the colour board. A measurement-led assessment will usually narrow the material options before design preferences enter the discussion.
1. Measure the heat zone
Record the distance from the nearest gas burner edge to the wall or proposed splashback face. Don't measure from the centre of the cooktop. The nearest burner is the point that controls the risk assessment.
For gas, identify whether the wall is within the 200 mm zone and whether the cooktop manual requires a greater clearance. The manufacturer's instruction can be more demanding than a general minimum, so the final quote must reflect the actual appliance rather than a generic appliance category.
Electric and induction cooktops still need sensible heat planning. They don't create the same gas combustion issue, but the supplier's instructions, adjacent cabinetry and surface limitations still apply.
2. Identify the substrate
Find out what the splashback will be fixed to. Plasterboard, fibre-cement sheet, masonry and cabinetry don't behave the same way under heat or load. A surface that looks flat may contain damaged plasterboard, old adhesive, movement cracks or hidden services.
If the substrate is combustible and the splashback sits close to a gas burner, the installer may need a compliant protective system rather than a decorative panel placed directly over the existing wall. A tile or stainless-steel solution can become more practical in this scenario than a glass design that requires extensive reconstruction.
3. Check the surrounding layout
Confirm rangehood clearance, overhead cabinets, power outlets, switches, corner returns and the final benchtop position before fabrication. A full-height panel is only clean if every opening and termination has been planned accurately.
Behind a sink, prioritise a continuous, impervious surface and sealed interfaces. Victorian food-preparation guidance recommends splashbacks that can be effectively cleaned and resist grease, food particles and water, with suitable finishes including tile and stainless steel (Victorian food-premises guidance).
4. Match the material to the consequence of failure
A rental property may benefit from tile because a local repair is simpler. A high-use family kitchen may favour stainless steel because cleaning and heat exposure matter more than an unbroken finish. A carefully documented glass installation can work well where the substrate, clearances and appliance instructions all support it.
SitePro Bathrooms provides coordinated kitchen and bathroom renovation services that can include concept development, 3D design, construction and finishing. The important point is coordination. Whoever manages the project should record the burner measurement, wall construction and proposed material before fabrication begins.
Real Cost and Long-Term Value of Each Splashback Type
The cheapest quote is rarely the same as the lowest whole-of-life cost. Australian renovation coverage places splashbacks at roughly $500 to $5,000, while overall kitchen renovations are commonly reported at $15,000 to $40,000. Those broad ranges are useful for context, but they don't tell you what your particular installation will cost after templating, cut-outs, backing repairs and compliance checks.
A glass panel may have a high fabrication cost, but its low joint count can reduce routine cleaning. The financial risk appears if the panel cracks or an outlet position changes. Replacement can involve re-templating, fabrication, removal and disruption across the kitchen rather than a small patch.
Tile spreads the work across individual units. That makes partial repair more manageable, especially when spare tiles are retained. Over time, however, grout cleaning and resealing may consume more effort, and a poorly prepared substrate can cause cracked joints or loose tiles.
Stainless steel can cost more than a basic tile or laminate finish in some layouts. It earns its value through heat tolerance, minimal joints and straightforward cleaning, particularly where the kitchen is used heavily. A dent or deep scratch can still be visually obvious, so sheet detailing and protection during the rest of the renovation matter.
Natural stone brings fabrication and sealing costs, along with the possibility that a replacement piece won't match the original pattern. Laminate can reduce the initial outlay, but heat or moisture damage at edges may lead to earlier replacement.
Build the quote around the work, not the label
Ask the contractor to separate:
- Preparation: removal of the existing finish, wall repairs and substrate replacement.
- Fabrication: templating, cut-outs, edge finishing and corner details.
- Compliance: confirmation of appliance clearances, backing and installation requirements.
- Installation: adhesive, mechanical fixing where relevant, sealing and protection.
- Future disruption: likely access problems if the panel or tiles need replacement.
The household also affects value. An owner-occupier may accept a premium finish for a long-term visual result. A landlord may prefer repairability and low downtime. A busy family may value a surface that needs less daily attention, even if the initial material price is higher.
The same budgeting discipline applies when planning future bathroom renovations. A coordinated renovation should identify hidden work before the final finish is selected, rather than treating the visible material as the entire project cost.
When to Prioritise Durability Over Design
A splashback should match the way the kitchen is used. Families who cook frequently, landlords managing rental properties and homeowners with young children usually benefit from surfaces that tolerate cleaning, heat and everyday knocks.

A single stainless-steel panel is often a strong choice for a high-use cooking zone. Fully glazed porcelain or ceramic tile can also work well where heat exposure is significant and the owner accepts the grout maintenance. Decorative stone and intricate mosaics may suit a careful, design-led kitchen, but they introduce more joints, sealing obligations or replacement complexity.
Victorian food-preparation guidance sets a useful performance benchmark. Splashbacks should be effectively cleanable and impervious to grease, food particles and water, while cracks, crevices, gaps and exposed fixing points should be avoided because contaminants and pests can gather there (Victorian cleanability and impervious-surface guidance).
That principle is relevant beyond commercial settings. Body corporate kitchens, short-term accommodation and rental properties all benefit from fewer vulnerable joints and a surface that can be restored quickly between occupants.
Design doesn't need to disappear. Use colour, sheen, tile arrangement and the relationship with the benchtop to create character, while keeping the construction simple. White remains the leading splashback colour in Houzz Australia's 2023 Kitchen Trends Study, selected by 38% of respondents, so a white tile or glass surface can provide a bright, adaptable base (Houzz Australia kitchen trends data). Darker or patterned finishes can create stronger contrast, but they may show grease, water marks and changing style preferences more clearly.
Practical Next Steps for Your Renovation
Before approving a material, put the installation on paper. A reliable pre-quote checklist should include:
- Record the cooktop type and model. Keep the manufacturer's installation instructions with the renovation documents.
- Measure from the nearest burner to the wall. Don't rely on the overall cooktop width.
- Confirm the substrate. Identify plasterboard, fibre-cement, masonry, cabinetry or any damaged backing.
- Mark every opening. Include power points, switches, rangehoods, corners and cabinetry returns.
- Choose the surface for the workload. Compare cleaning, repairability, heat exposure and joint complexity.
- Request a complete quotation. It should cover preparation, templating, cut-outs, backing, installation, sealing and compliance checks.
- Obtain written confirmation. Ask the installer to confirm that the proposed assembly meets the relevant glazing, gas and appliance requirements.
The best splashback for kitchen use is the one that works safely with the appliance, suits the wall behind it and remains manageable after years of cooking. Glass may be the right answer, but it isn't automatically the safest or lowest-cost option. Tile or stainless steel can deliver better value where clearance, substrate or repairability makes a large panel impractical.
For a new kitchen, bathroom renovations, modern bathrooms or designer bathrooms, use the same planning standard. Ask who is coordinating the trades, whether the relevant practitioner is registered for the work and how the final installation will be documented. “Registered builders unlimited” isn't a substitute for checking the practitioner's actual registration class, scope and responsibility for the proposed renovation.
Measure the burner-to-wall distance, photograph the existing substrate and gather your appliance manuals before requesting quotes. Contact SitePro Bathrooms to discuss a coordinated Highett or greater Melbourne renovation, including kitchen design, splashback selection, 3D planning and construction, with the specification built around safety, durability and the way your household actually uses the space.