
Kitchen Design 3D: What It Shows and How It Works
A kitchen render can look convincing on screen, yet feel cramped once the fridge, oven and island are installed. Door swings, clearances, service routes and everyday movement can change how the room works.
Use kitchen design 3D to test cost, clearance and service conflicts before ordering cabinetry or starting demolition. The model helps you check how the planned layout will function, while a render mainly shows how it may look.
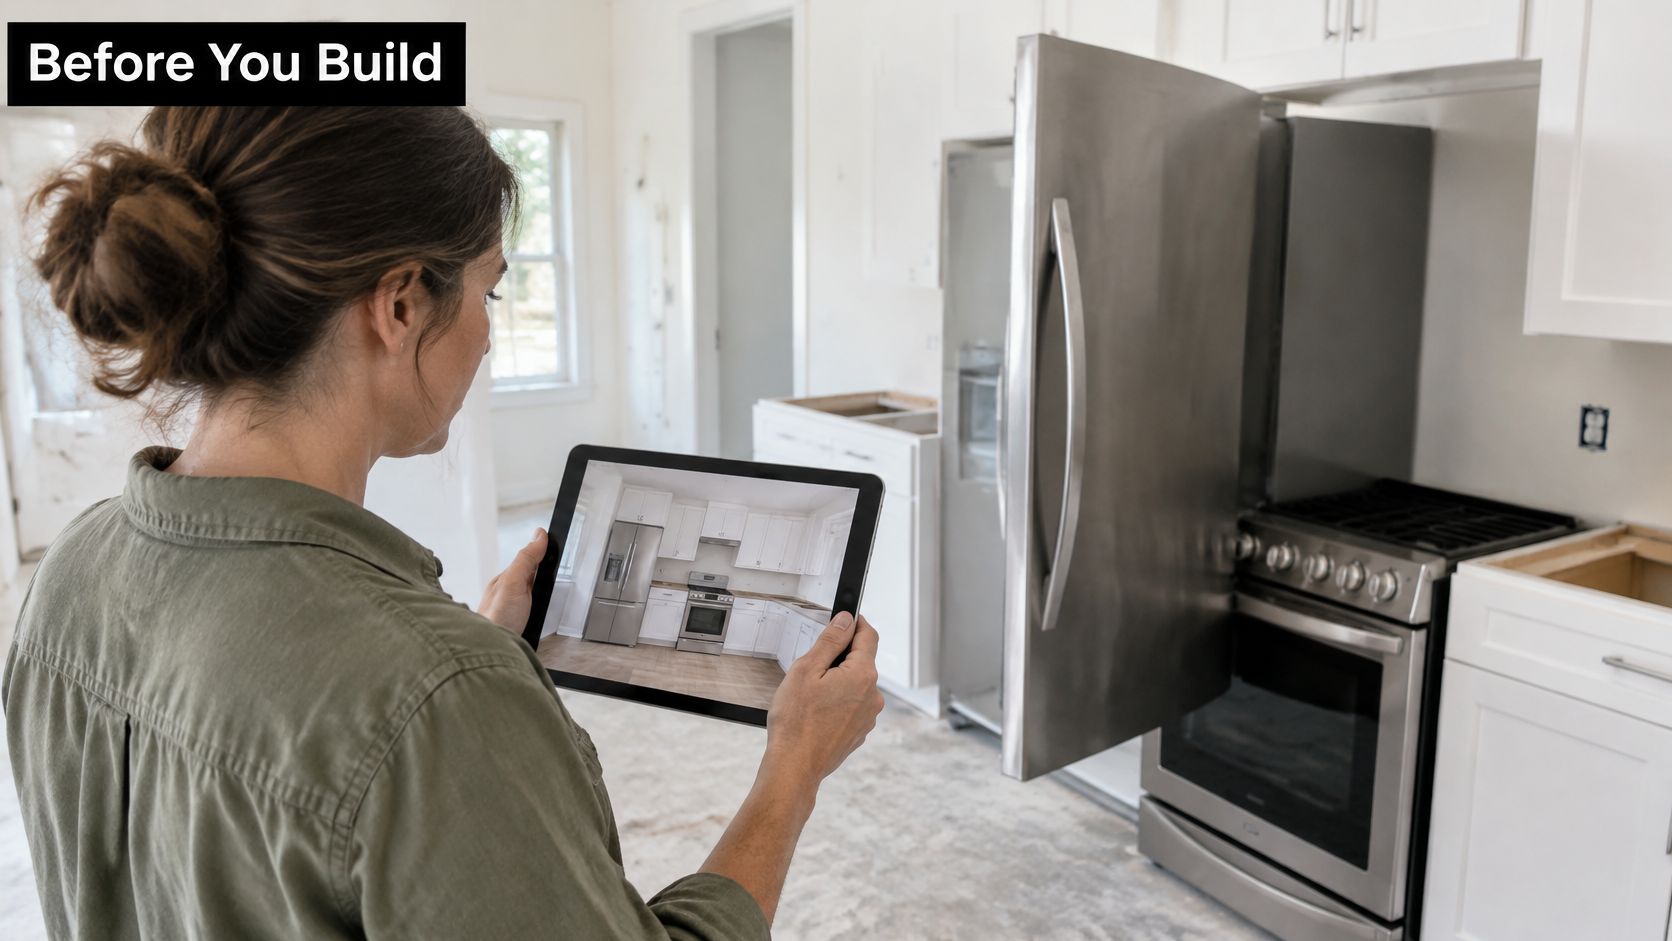
What 3D Kitchen Design Shows Before You Build
A homeowner might approve a beautiful rendered kitchen, only to discover after installation that the fridge door blocks the oven. A properly measured 3D kitchen design can expose that clash while it's still a simple drawing change.
The model represents the room with its dimensions, finishes, appliances and service points. You can test where cabinets sit, whether drawers open, and how a change to the island affects the route between the sink and cooktop. That matters in a country where renovations are a regular part of home ownership: dentsu Intelligence AU's Sweethome Transformations report found that 14% of Australians had completed a renovation in the previous 12 months in 2024, while another 8% were undertaking renovations.
Think of the model as a rehearsal space. Before demolition, you can open doors, pull out drawers and check whether the tap, appliance and cabinet positions work together. A useful design presentation should make the important decisions easy to understand; this guide to how to structure your client design presentation offers helpful context on organising design information for review.
Compare the formats before approving a design
A 2D plan, a render and a coordination model each answer different questions. A walkthrough can help you judge movement through the room, but no format replaces checking dimensions and compliance.
What each kitchen design format shows and where it falls short
| Format | What it shows | Best use | Main limit |
|---|---|---|---|
| 2D floor plan | Walls, doors and rough footprint | Early checks of room layout | No height, depth or materials |
| 3D render | Finishes, colours and lighting | Choosing the overall look | Can hide clearance and service gaps |
| 3D coordination model | Dimensions, clearances, appliance envelopes and service points | Ordering cabinets and planning trades | Depends on accurate site measurements |
| 3D walkthrough | How the space feels to move through | Testing circulation and sightlines | Does not replace compliance checks |
A render helps you picture the finished room; a coordination model helps you decide whether it can be built as drawn. A useful model is a coordination tool first and a picture second.
Why 3D Models Cut Renovation Surprises and Costs
A cabinet order can turn a small layout error into an expensive change. If an island leaves too little passing space or a cabinet blocks a window, the problem may require redesign, replacement parts and extra labour. A 3D model lets you check these conflicts before ordering.
The model also helps reveal what a polished render may leave out: plumbing routes, rangehood ventilation, wiring and the space appliances need to operate. Moving a sink to another wall can mean additional plumbing work. An unplanned rangehood route may affect cabinetry or ceiling details, while assumptions about existing conditions can lead to surprises during demolition.
Australian kitchen renovations had average budgets of AUD 35,000–45,000 in 2024, according to Mordor Intelligence's Australia Kitchen Furniture Market report. A design check cannot guarantee savings, but it can help identify avoidable changes while they are still on screen.
The Housing Industry Association's renovation research summary found that common kitchen pain points included outdated, small spaces and awkward layouts (44%), outdated finishes (43%) and inadequate storage (29%). The same HIA renovation research reported an average upgraded kitchen size of 14 square metres. It also found that benchtops (78%), taps or plumbing fixtures (76%), cabinets (75%), splashbacks (73%) and sinks (71%) were the components most frequently replaced or added. Use the model to check how each planned change fits the actual room before demolition.
Decisions that can change the scope
Review these choices with the designer. Each can affect the work required or the quote:
- Service relocations: Moving plumbing or electrical points may add trade work.
- Ventilation routes: The rangehood needs a workable route to discharge air.
- Appliance sizes: A niche that does not fit the selected appliance may require cabinet changes.
- Lighting: New light positions can affect wiring and cabinetry details.
- Storage: Adding drawers or tall cabinets can change the layout and cabinet schedule.
A model can only test what it includes. To set a realistic project allowance, use this kitchen renovation budget guide.
What to Prepare Before Your First 3D Design Session
The first model will only be as useful as the information behind it. If measurements, appliance sizes or household priorities are missing, the designer may need to revise the concept before it reflects how you'll use the kitchen.
Bring a short, organised checklist. You don't need every decision finalised, but you should be clear about the constraints and priorities that shape the room.
Measurements and site records
- Room dimensions: Record wall lengths, ceiling height and any changes in wall depth. These establish the model's basic geometry.
- Openings: Note the positions and sizes of windows and doors, plus window sill heights. These determine what can fit around them.
- Service locations: Photograph existing outlets, plumbing runs, the meter board and the rangehood duct if there is one. These can affect cabinet placement and the cost of changing the layout.
- Appliances: List what you'll keep, replace or add, with dimensions for each. The model needs real appliance envelopes, not approximate placeholders.
Household needs and budget
- Who uses the room: Note the number of cooks, storage needs, children's reach and any mobility or accessibility considerations. These details help test whether everyday tasks feel comfortable.
- Future plans: Say whether you expect to stay, sell or rent the home in the near term. A design that suits one household may not suit another.
- Priorities: Rank your must-haves, such as more storage, a larger prep area or space for two people to cook. A ranked list helps the designer make trade-offs deliberately.
- Budget range: State what your figure is meant to include, such as labour, permits and waste. That gives the designer a clearer basis for discussing scope.
If the kitchen tap is still undecided, it helps to understand how different styles work with the sink and its intended use. This practical guide to finding the right tap for your sink can help you arrive with a more focused preference.
Before paying a deposit, ask the firm whether the model includes clearances and services, how revisions are priced, and who coordinates permits and licensed trades. Get the answers in writing.
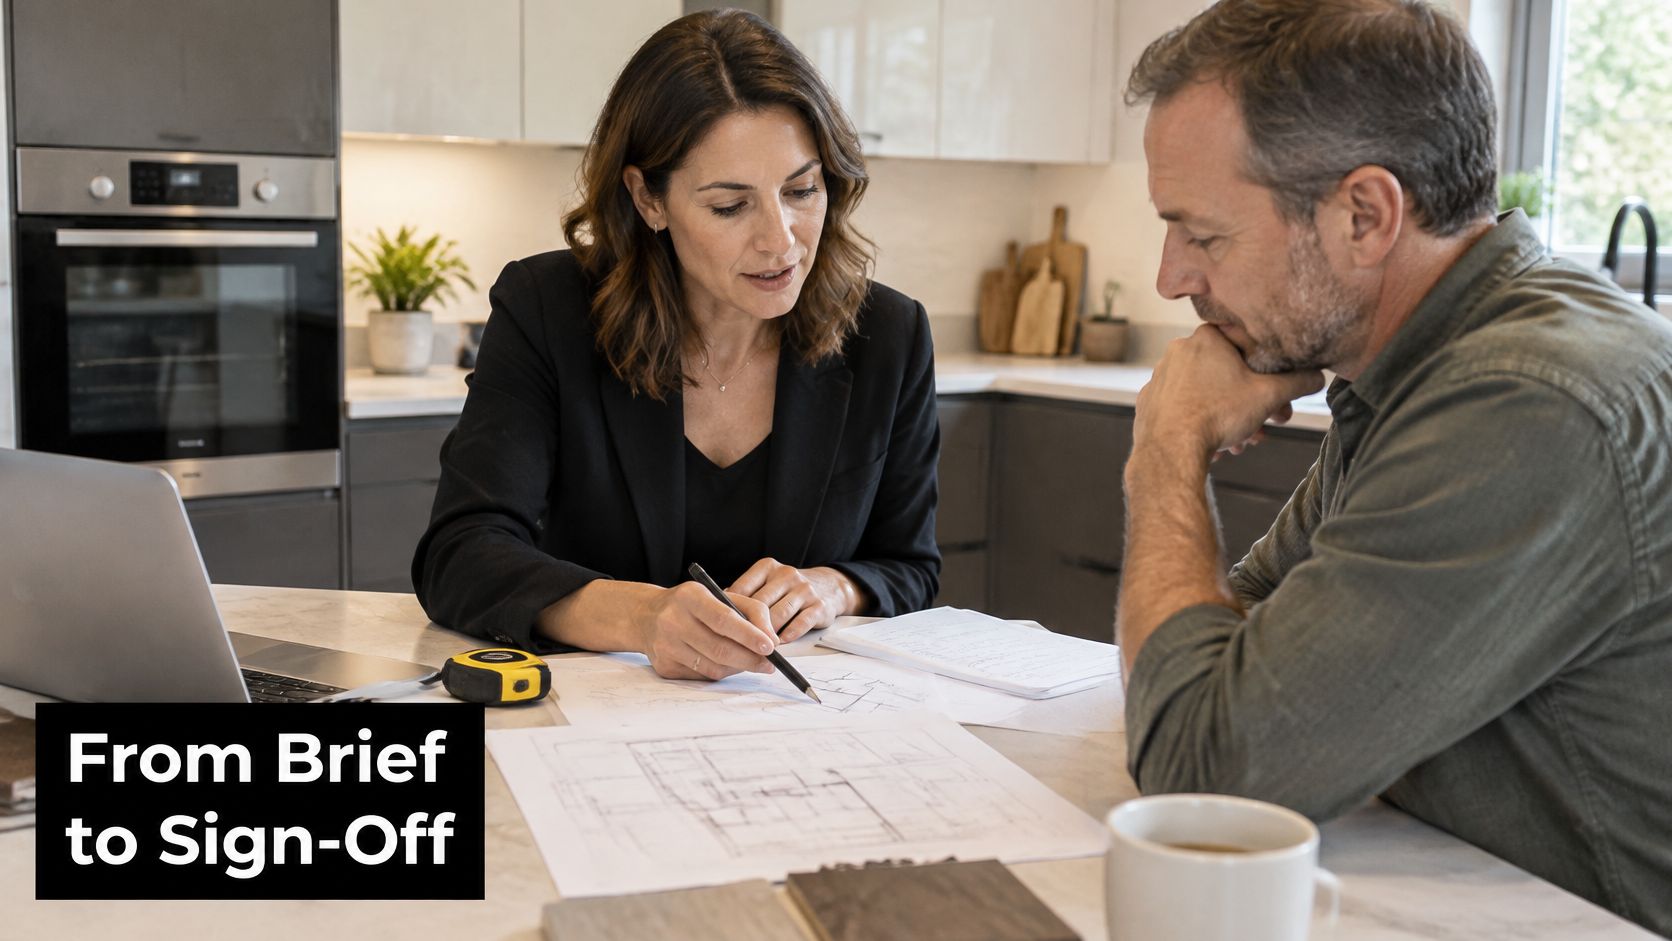
The Typical 3D Kitchen Design Process From Brief to Sign-Off
A pendant light can appear in the render while being absent from the quote. To prevent that kind of handover gap, move through the design in stages and confirm that each decision carries into the next.
- Brief: Discuss how your household uses the kitchen, your budget range and what must stay. The designer uses these priorities to shape the layout.
- Site measurement: Record walls, windows, doors, ceiling heights and existing services. Small measurement errors can affect whether cabinets fit.
- Concept layouts: Compare two or three options side by side. Review how each handles storage, circulation and appliance positions before choosing a direction.
- Build the 3D model: Add cabinetry, appliances, benchtop thickness and door-swing arcs. Use actual dimensions so the model reflects the room and its key items.
- Check clearances and services: Review appliance access, outlets, ventilation and rangehood ducting with applicable NCC requirements in mind. Ask the designer to identify any unresolved coordination issues.
- Select materials and finishes: Compare the render with physical samples. Screen colours can differ from how finishes look in the room's actual light.
- Review revisions: Check that each change appears in the model and costing. Before approving an alteration, confirm how it changes the agreed scope.
- Sign off: Confirm that the approved design is the basis for quoting, ordering and scheduling. Compare the written quote with the model, including visible items such as lighting, cabinetry and appliances, and clarify any differences before approval.
Keep the handover clear: the builder, designer and trades need to work from the same approved version, including agreed changes. The model is the visual plan; the quote and construction documents must carry those decisions into the work.
Dimensions a 3D Model Must Get Right
A few millimetres can change whether a drawer clears a handle or an appliance door opens fully. A kitchen model should coordinate dimensions and check clearances against the room, so the plan can guide decisions about cost, services and daily use.
Kitchen dimensions and benchmarks a 3D model should test
| Dimension | Benchmark | Why it matters |
|---|---|---|
| Finished benchtop height | About 900–920 mm | Sets a working height for food preparation and cooking |
| Clear walkway between opposing runs | 900 mm minimum | Helps prevent collisions and blocked appliance doors |
| Back-to-back working zone | 1,200 mm preferred | Gives two people room to work without blocking each other |
| Natural ventilation opening | At least 5% of floor area | Indicates the openable area required under the NCC, subject to applicable provisions |
| Example: 12 m² kitchen ventilation area | About 0.6 m² | Shows the 5% benchmark applied to a 12 m² room |
| Rangehood and cooktop clearances | Manufacturer specification | Accounts for installation requirements that a visual scale alone cannot show |
| Outlets and service points | Clear of fixed appliances and accessible after installation | Keeps power points usable once the kitchen is fitted |
Model the finished floor, appliance envelopes, door swings and circulation zones together. A narrow aisle can make collisions more likely or stop an appliance door opening fully. An overly wide gap can make routine movement between the sink, cooktop and fridge awkward.
Ventilation affects the layout too. Under the NCC provisions for natural ventilation, an openable area of at least 5% of the kitchen floor area is generally required; in a 12 m² kitchen, that is about 0.6 m², subject to the applicable provisions and project conditions. Show the opening, rangehood, duct route, ceiling penetrations and external discharge point in the model. That makes it easier to spot a cabinet or bulkhead that could obstruct the planned solution.
Verify these details on site
- Finished dimensions: Check wall lengths, floor levels, ceiling height and opening positions.
- Appliance requirements: Confirm cooktop and rangehood clearances against manufacturer specifications.
- Services: Verify outlet and plumbing positions, including whether a fixed appliance would block access.
- Open-plan movement: Check how furniture and circulation affect the route between the kitchen, dining and living areas. The Pinnacle Property Media open-layout advice can help you consider how those adjoining spaces connect.
- Cabinet fit: Compare cabinet dimensions with the room and required clearances using this guide to kitchen cabinet sizes.
Three Kitchen Outcomes a 3D Model Can Reveal
A household planning new finishes, cabinets or a changed layout faces three different levels of work. Comparing them in a 3D model shows how each option affects daily use and what may need to change behind the visible surfaces.
A cosmetic refresh keeps the existing cabinet footprint while changing fronts, benchtops, splashback and lighting. The model lets you compare finishes in the same room and check where under-bench lighting will sit.
A same-layout renovation replaces cabinets and appliances without changing the main footprint. The model can show whether appliances fit, doors open fully and drawers remain usable beside neighbouring cabinets.
A reconfigured layout moves the island, widens a path or relocates the sink. In this option, the model can expose plumbing, ventilation and electrical work before demolition begins. The right shape depends on the room; an L-shaped kitchen layout is one option to compare.
| Scenario | Scope | What the 3D model reveals |
|---|---|---|
| Cosmetic refresh | Cabinet fronts, benchtops, splashback and lighting | Colour and finish clashes, under-bench lighting gaps |
| Layout unchanged | Same footprint with new cabinetry and appliances | Appliance fit, clear door swings, usable drawers |
| Reconfigured layout | Moved island, widened path, relocated sink | Service routes, ventilation route, plumbing and electrical impacts |
Costs depend on the scope and site conditions. Relocating a sink, for example, may require changes to plumbing as well as cabinetry, so ask the designer to show the proposed service route and have the work included in the project quote. The model helps identify that scope early, while a render alone may show only the finished surfaces.
Book a Site Measure and Confirm the Design
A kitchen can look spacious in a render and feel cramped once people are moving through it. Book an on-site measure before committing to cabinetry or a construction date. Accurate room dimensions give the designer a reliable basis for checking the layout against the actual space.
Before approving the design, confirm that the measured plan accounts for room dimensions, openings, appliance sizes and clearances. Check that the proposed ventilation route, outlets, plumbing and other service points suit the layout. Clarify who coordinates permits and trades, and who confirms measurements before items are ordered.
In Victoria, domestic building work worth more than $10,000 requires registration with the Building and Plumbing Commission, and structural work and certain other work can require registration regardless of value. Confirm the builder's status and the work covered using the registered building practitioner checklist. Check whether Domestic Builder, Unlimited registration is appropriate for the project and whether the registration covers the trades involved.
SitePro Bathrooms, based in Highett, provides concept development, detailed 3D design, construction and finishing for kitchens, as well as bathroom renovations. If both rooms are part of your plans, discuss how their layouts and services will work together. You can explore the company's past projects and testimonials before requesting a customized quote.
Send site photos and your appliance list with your enquiry so the first measure can be planned around the room and the equipment you intend to use.