

The usual advice for a small kitchen renovation is to choose pale colours, add clever storage and keep the appliances compact. That can improve appearances, but it won't rescue a room where the dishwasher blocks the fridge or the sink relocation consumes the cabinetry budget. Start with the scope, not the finishes. A smaller kitchen still needs design, demolition, service connections and installation, so removing floor area doesn't remove the expensive parts of the job.
Three Scope Pathways and What They Cost
A compact kitchen isn't automatically the cheaper renovation. Trades still need to attend, cabinets need accurate measurements, and someone must coordinate the plumbing, electrical work and installation. The useful budget question is therefore which scope solves the daily problem without buying unnecessary construction?
Choose between retaining the footprint, reconfiguring inside the walls and altering the structure. These are different jobs, not interchangeable versions of a kitchen makeover.
Match the budget to the work
Small kitchen scope pathways and indicative spend
| Pathway | What changes | Indicative spend (AUD) | Disruption | Stop or go |
|---|---|---|---|---|
| Retain footprint | Doors, hardware, paint, splashback and possibly the benchtop; services stay | Cosmetic updates are quoted at $8,000–$20,000 in the Australian cost coverage summarised by Canstar's kitchen renovation cost guide | Localised work, with interruptions when surfaces and appliances are disconnected | Go if the cooking, cleaning and refrigeration positions already work |
| Reconfigure inside the walls | New carcasses, taller storage and appliance changes; plumbing mostly stays | Use a measured cabinetry and installation allowance, rather than treating a small-kitchen average as a quote | The kitchen becomes unavailable during removal, rough-in and installation | Go if storage and landing space fail but the walls can stay |
| Structural alteration | Changes to walls, doors or bulkheads, potentially with relocated services | Broad national kitchen coverage includes $15,000–$40,000, but this isn't a structural-work allowance or a ceiling | Approval-dependent work, followed by building work and kitchen installation | Go only when the circulation improvement justifies the additional scope |
The national range in the structural row comes from the same Canstar cost coverage. It describes kitchen renovations generally, not the price of removing a particular wall.
For a historical size-specific benchmark, the 2018 Houzz Australia Kitchen Trends Study defined small kitchens as under 10 square metres and reported average spending of $14,600, compared with $22,600 for kitchens of at least 10 square metres, an overall average of $19,300, and 59% of renovating homeowners increasing their kitchen's size.
Keep that older benchmark separate from the 2023 AU Houzz & Home Renovation Trends Study, which found kitchens were a priority in 33% of renovation projects and recorded a $30,000 median spend across kitchen sizes. Neither study prices your property.
Set a stop point before upgrading
Retain sound carcasses when their dimensions and positions suit the household. Replacing doors won't fix swollen panels, failing hinges with damaged fixing points, or shelves that prevent useful appliance storage.
Reconfigure when drawers, pantry access and usable preparation space will make the room work better without moving its boundaries. Structural work earns consideration when a doorway or wall creates an unavoidable bottleneck, not just because an open-plan image looks appealing.
Say a Highett apartment keeps its services along the existing wall. That supports a contained scope, although the cabinet condition still matters. Opening the kitchen into the living room introduces structural and approval questions that need surveyor advice before design decisions are locked.
Use our guide to the cost of a new kitchen to organise the allowances you'll need to compare.
Budget stop point: If a quote moves into a more disruptive pathway, identify the specific daily task that becomes easier. If there isn't one, reconsider the upgrade.
Layouts That Keep Two People Moving
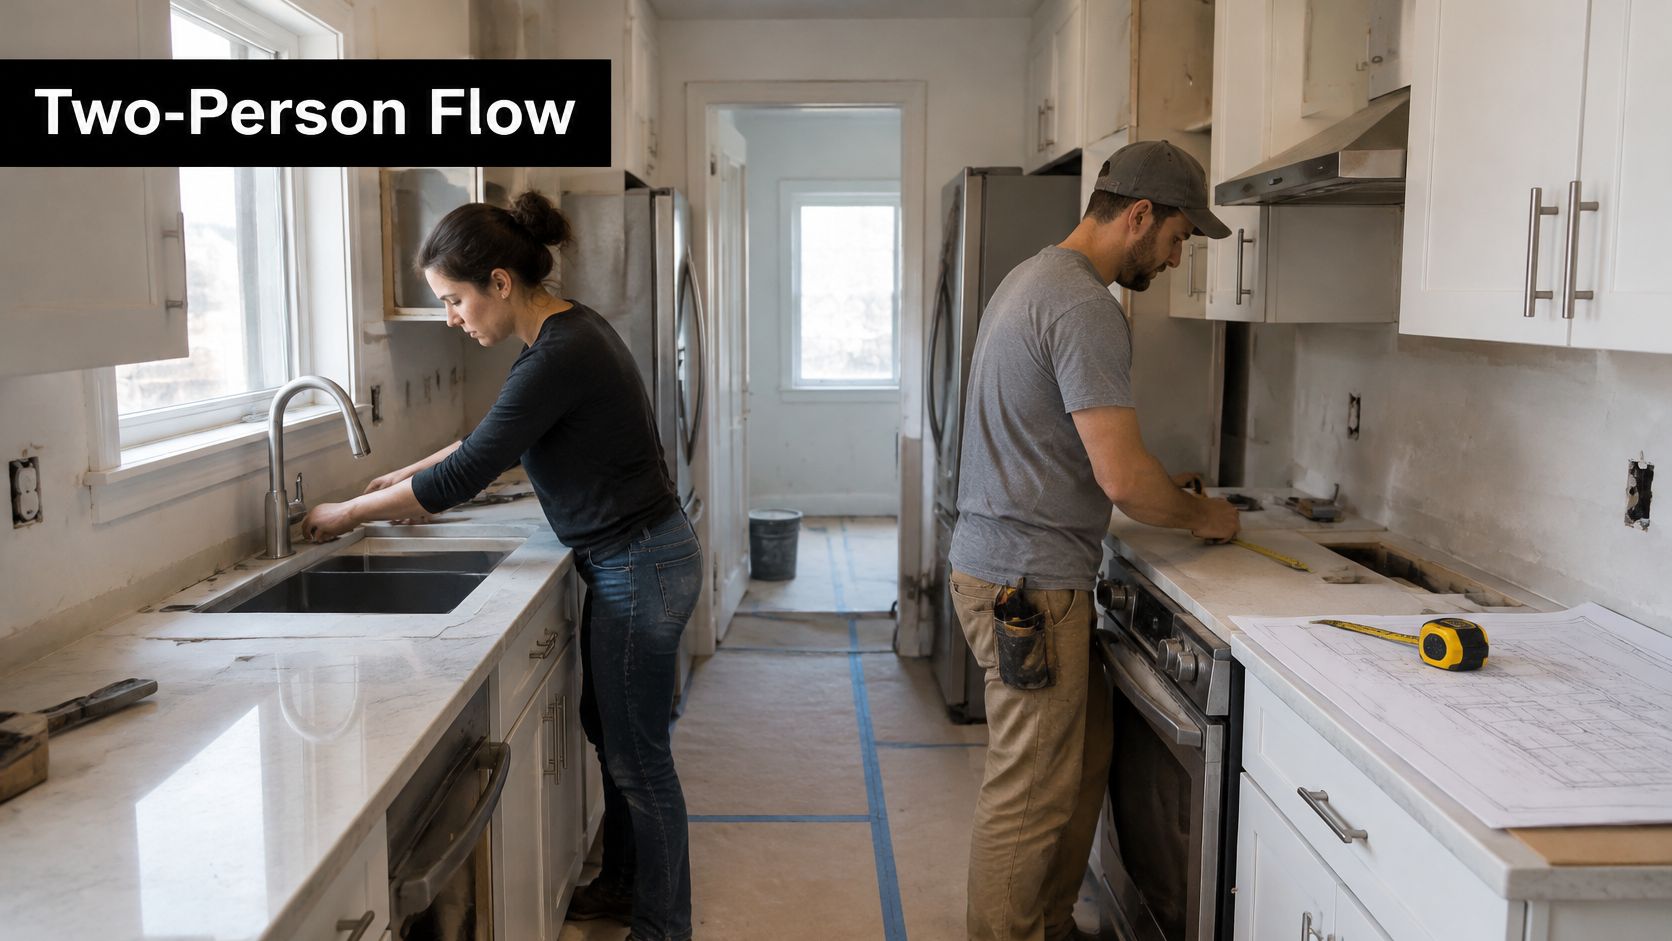
A useful kitchen lets someone cook while someone else washes, unloads groceries or gets a drink. A room can look open in a photograph and still fail that test.
Start with a measured floor plan showing finished cabinet faces, handles and appliance doors. Then model the room in use, not just with everything closed.
Give each layout a working test
A galley needs separate working positions. In a narrow Melbourne kitchen, placing the sink and cooktop along one run and refrigeration opposite may work, provided the fridge user doesn't occupy the cook's preparation position. Draw the dishwasher open and check whether someone can still leave the room safely.
A single-wall kitchen needs an uninterrupted preparation zone. For a Highett studio, test a sequence of fridge, preparation space, sink and cooking zone. Keep wet dishes out of the only chopping area, and don't add an island merely to reproduce a larger kitchen's appearance.
A peninsula needs a clear end route. In a compact family home, it can provide a landing surface and a place to sit without requiring circulation around every side. Check that a seated person won't block access to the fridge or become an obstacle between the kitchen and living room.
An island should survive the same test with doors open, stools occupied and someone carrying a hot tray. Reject it if the remaining route requires another person to step aside.
Draw the awkward moments
Use these checks before ordering cabinetry:
- Appliance doors: Show the fridge, oven, dishwasher and pantry fully open, including handles and adjacent drawers.
- Landing surfaces: Provide somewhere beside refrigeration and cooking equipment to put groceries, utensils and hot dishes.
- Waste handling: Place the bin within easy reach of preparation and scraping, rather than across the main passage.
- Family visibility: Test sightlines towards children's activities without placing seating beside hot cookware.
A tall pantry door that hits the fridge is a planning failure, not something to solve later with different hinges. Our kitchen designs for small spaces can help you assess the arrangement before concentrating on its appearance.
Skip a scullery in a small room unless the measured plan proves its value. The Australian modern kitchen design guide identifies an additional cost of roughly AUD 8,000–$20,000, alongside the circulation space it consumes.
For visual selections, Everti's discussion of modern kitchen materials and finishes is a useful companion to a functional plan. Use it to compare the look you want without allowing a finish or cabinet profile to dictate an unsuitable layout.
Finally, trace a complete meal on the drawing: retrieve ingredients, rinse, prepare, cook, serve and clear away. Have another household member trace their movements at the same time. Reject any arrangement that only works when everyone else stays out.
Storage Appliances Lighting and Benchtops
The first failures in a compact kitchen are often mundane: a saucepan drawer that won't open past the oven handle, a dark preparation bench, or a replacement fridge that doesn't fit its enclosure. Specify those details before spending on decorative features.
Storage should match the contents you keep. Empty the existing cupboards and group cookware, crockery, food and small appliances before deciding how much joinery to order.
Buy accessible storage rather than extra doors
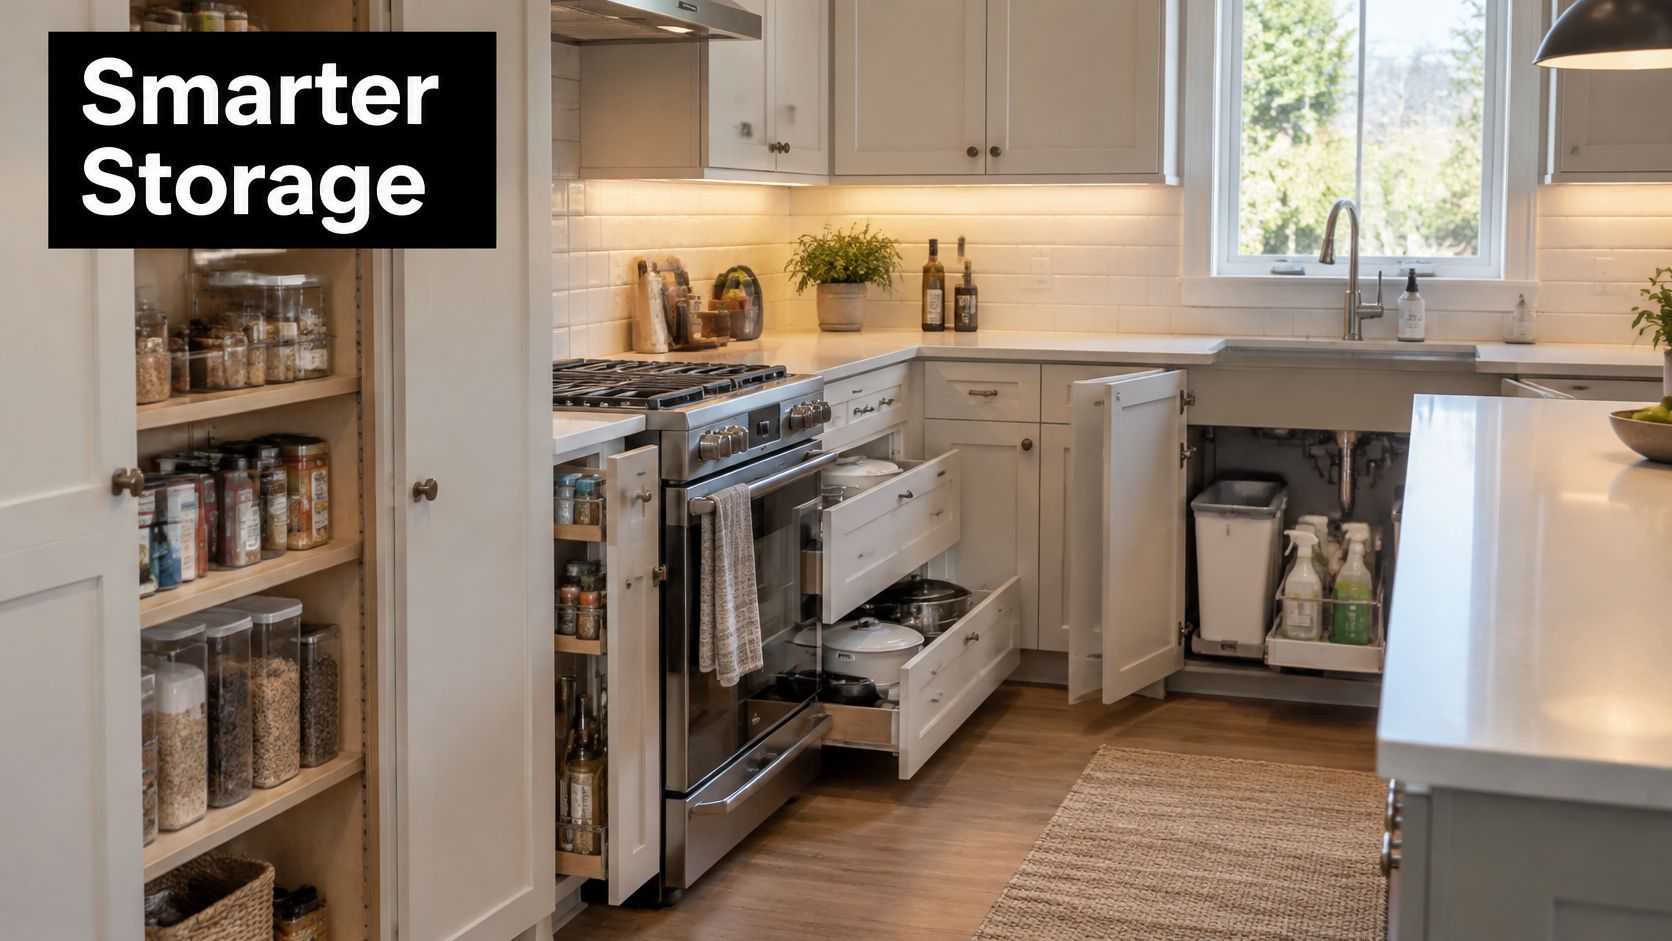
A full-height pantry with usable internal fittings can be more practical than scattered shallow cupboards. Deep drawers bring pots towards you; narrow vertical compartments keep trays accessible without stacking everything together.
Keep everyday plates between comfortable hip and shoulder reach. Reserve high cupboards for light, infrequently used items, and check drawer load ratings before allocating heavy cookware.
An under-sink pull-out needs clearance around the trap, hoses and isolation valves. Draw those services inside the cabinet rather than assuming the storage fitting will somehow fit around them.
Appliances require the same discipline:
- Dishwasher: Choose capacity around the household's washing habits, then check the open door against the passage.
- Cooktop: Compare pan positions and control access, including whether reaching the controls takes an arm over hot cookware.
- Fridge: Allow for ventilation and the door opening needed to remove internal drawers.
- Integrated appliances: Check replacement dimensions and panel compatibility, especially for a rental where straightforward repairs matter.
Choose surfaces for the repair you can manage
Benchtop materials after the engineered-stone ban
| Material | Best pathway | Check before ordering |
|---|---|---|
| Laminate | Retain footprint | Confirm edge detailing, joins and protection around wet areas |
| Porcelain | Reconfigure inside the walls | Confirm cabinet support, substrate requirements and edge vulnerability |
| Natural stone | Any pathway with a sealer plan | Agree on sealing, stain care and ongoing upkeep |
| Solid surface | Retain footprint or reconfigure where repairability matters | Check heat limitations, specialist repair access and join placement |
Laminate is a sensible choice when the existing room works and the aim is a durable refresh. Porcelain needs careful fabrication and support; natural stone requires a maintenance routine suited to the particular stone. Solid surface can suit owners who value repair options, but it still needs protection from hot cookware.
Ask how a damaged edge would be repaired, not just how the sample looks under showroom lighting. For landlords, a readily understood cleaning and maintenance routine can be more useful than a delicate finish.
Lighting should illuminate hands and food, not cast your body's shadow across the bench. DLG Electrical's guide to installing under cabinet lighting in Brisbane offers useful planning context; installation in Victoria belongs with the appropriate licensed electrician.
Coordinate task lighting, appliance outlets and rangehood ducting before the splashback is selected. Specify ventilation for the cooking appliance and room conditions, rather than treating recirculation as an automatic substitute for an achievable exhaust route.
How to Phase the Renovation With Less Disruption
Compliance belongs at the beginning of design. It's much harder to resolve an exhaust route, shared service or structural question once cabinets are manufactured.
A household also needs a practical shutdown plan. Decide where food, dishes and appliances will go, how trades will enter, and which rooms must remain separated from dust.
Use a sequence with clear hold points
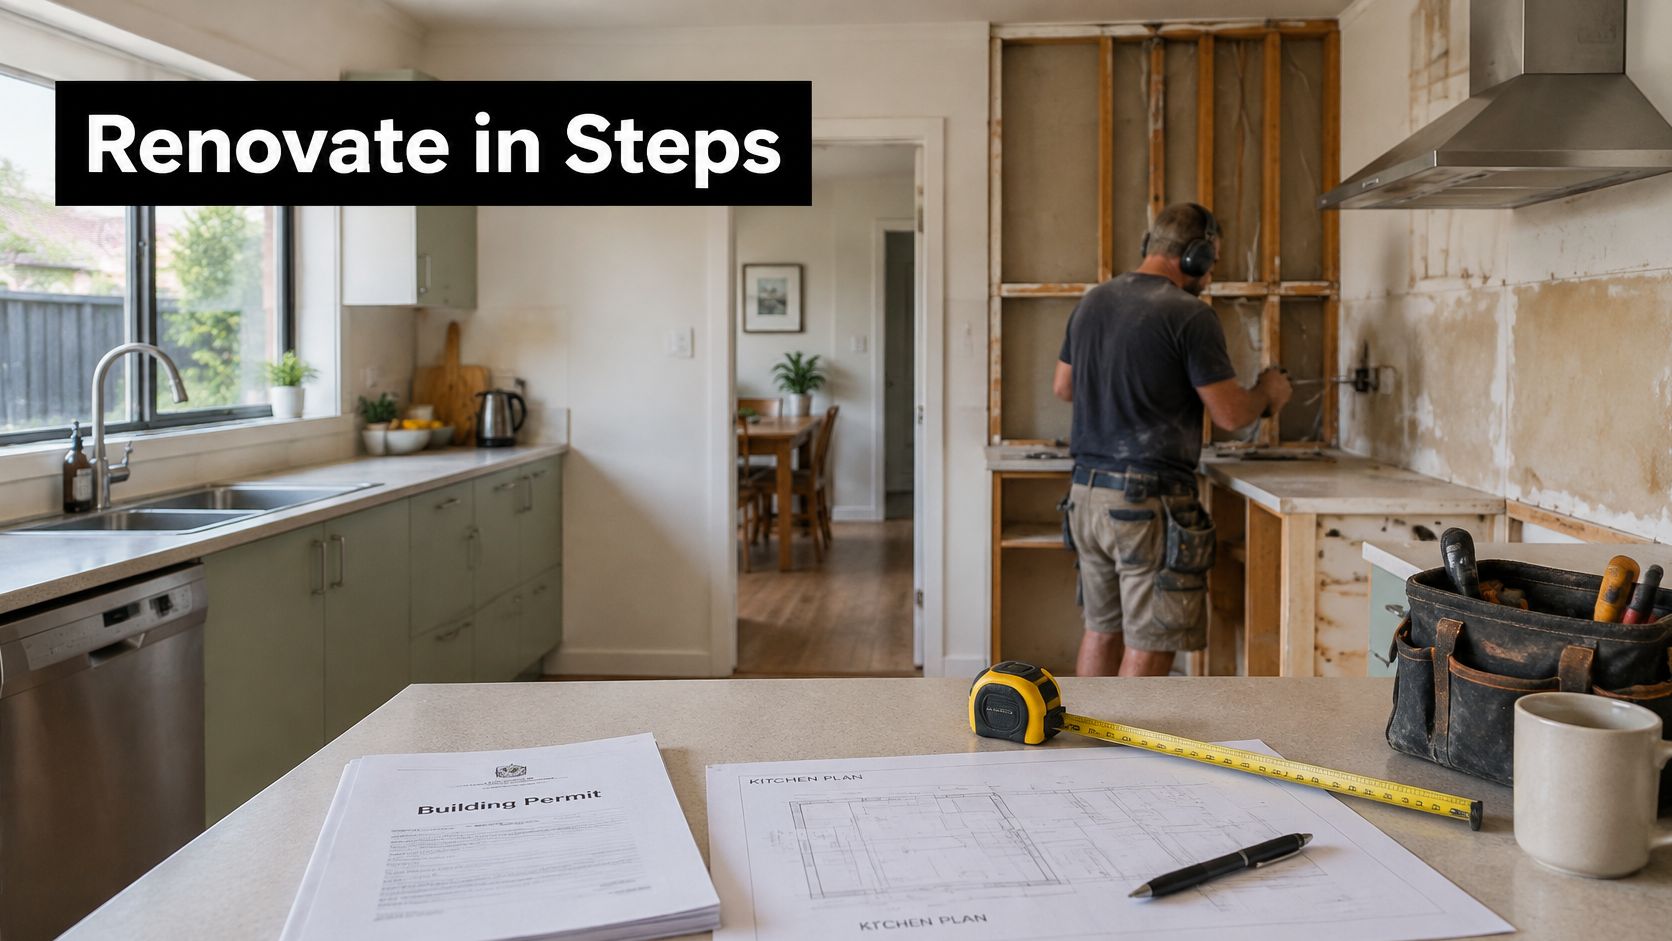
Measure and define the household requirements. Our personalised on-site consultation covers your vision, lifestyle requirements, budget and timeframe, with accurate measurements of the existing space. Include awkward corners, window reveals and existing appliance connections, not just the room's overall dimensions.
Mark every proposed building and service change. Identify walls, plumbing, gas, circuits, ventilation and structural elements before pricing joinery. Where required, our kitchen renovations include structural adjustments and upgraded or relocated plumbing and electrical systems to suit the new design.
Freeze the coordinated layout. Produce matching cabinet, appliance and services drawings. A tap position should be resolved alongside the sink bowl, waste fitting and drawer arrangement, not discovered when the splashback installer arrives.
Confirm the approval requirements. Have the building surveyor and relevant licensed trades establish which permits and inspections apply to the actual work. An owner-builder arrangement doesn't remove the need to resolve approvals, trade qualifications and completion documentation.
Obtain approvals, then isolate services. Confirm that the people disconnecting electrical, plumbing and gas installations are authorised to do so. Don't start demolition while a service remains unidentified or an approval affecting the work is unresolved.
Remove only what the chosen scope requires. Our demolition stage removes existing cabinetry, benchtops, splashbacks and flooring where required, then prepares the space for construction. Set up a temporary kettle and microwave station away from dust, with safe power access and a separate arrangement for washing dishes.
Inspect before concealing work. Verify framing, plumbing and electrical locations before lining walls. The plumbing permit guidance should be checked against the project's Victorian requirements with the responsible trades, including a plumbing Certificate of Compliance for applicable work costing $750 or more and a Certificate of Electrical Safety for electrical installation work.
Install, test and hand over. Sequence cabinetry, benchtop measurement and fabrication, splashback, appliance connections and lighting around the installers' requirements. Our kitchen renovations finish with a thorough final inspection and professional cleaning, ready for immediate use at handover.
Plan for the shutdown, not just the finish date
Staying home may be practical, but a rough-in stage without a functioning kitchen changes meals, washing up and access through the house. Discuss noisy work, dust separation and delivery access before the start date.
Use our kitchen renovation timeline guide to prepare questions about the sequence. Distinguish working time from waiting time for approvals, fabrication and inspections.
Never authorise wall linings simply because the next trade is available. Verify the concealed work first, or the finished surface may need to come off again.
For investors and body corporates, keep permits, trade certificates, appliance specifications and completion documents together. Shared exhaust routes, penetrations and common-property walls need particular attention because permission may extend beyond the apartment's interior.
Bathroom Work and Registered Builder Rules
For combined kitchen and bathroom renovations, registration comes before tile selection. Consumer Affairs Victoria's building-practitioner guidance states that registration is required for domestic building work worth more than $10,000, including labour and materials, and a major domestic building contract is required above that threshold.
Registration must be approved before work begins. The guidance also identifies registration requirements regardless of value for re-blocking, re-stumping, demolishing or removing a home.
Check the class as well as the registration
The phrase registered builders unlimited refers to the Domestic Builder (Unlimited) registration class, not a general promise that someone can perform every licensed trade.
The Building and Plumbing Commission's domestic builder class guidance describes responsibility for carrying out, managing and arranging all components of eligible domestic building work on Class 1, Class 2, Class 4 and Class 10 buildings. That distinction matters when a contract combines demolition, carpentry, cabinetry, plastering, tiling and waterproofing coordination.
A suitable registration class supports management of the building scope. It doesn't replace the specialist licensing required for plumbing or electrical work.
Check the practitioner's current registration through the commission's search service, and make sure the contract identifies who is responsible for the complete job. Don't assume that a collection of individual trade quotes gives you the same coordination as a clearly defined building contract.
Choose bathroom changes that relieve household pressure
The most useful new bathroom ideas address access, cleaning and competing routines. A decorative feature won't help if someone has to wait outside while another household member uses an unrelated fixture.
The Australian Government's YourHome minor home upgrades guidance recommends the highest available WELS star ratings, step-free showers, non-slip flooring and lever taps, and suggests considering a two- or three-way bathroom layout to separate household functions.
Translate those ideas into the actual room:
- Step-free shower: Coordinate the floor build-up, drainage and waterproofing before committing to the visual detail.
- Accessible fittings: Check reach, grip and operating effort rather than selecting tapware from appearance alone.
- Separated functions: Test whether dividing the toilet, shower and vanity resolves queues without adding another complete bathroom.
- Manageable surfaces: Consider grout, screen hardware and cleaning access alongside colour and texture.
Modern bathrooms and designer bathrooms still need accessible maintenance points and fixture positions that suit everyday use. A concealed cistern or wall-hung vanity should include a workable servicing arrangement, not just a neat elevation.
For a compact home, I'd question a feature bath before reducing useful kitchen storage to pay for it. Allocate the combined budget according to the household's actual frustrations, and keep bathroom waterproofing records in the property file alongside the other renovation documents.
Lock the Scope Before Demolition
Write the chosen pathway into the scope before placing orders. Name what stays, what changes and what would require written approval as additional work.
That definition should be specific enough to settle disagreements. Retaining the sink location, for example, is different from retaining every existing pipe and connection regardless of its condition.
Make the quotation testable
Our kitchen renovation clients receive an itemised quotation covering labour, materials, fixtures, finishes and a projected timeline. Use those categories to check whether the design and the priced work describe the same room.
Look for clear treatment of the following:
- Retained components: Identify cabinets, flooring and appliances that need protection during construction.
- Service work: Separate necessary upgrades from relocations chosen for the new layout.
- Selections: Record the actual fixtures and finishes, rather than leaving important decisions as vague allowances.
- Exclusions: Identify approval fees, unforeseen repair work and any tasks outside the agreed scope.
- Timing: Distinguish the proposed construction sequence from items awaiting confirmation.
Bathroom work within the same project should have its own defined scope and quoted amount. Use that project-specific figure for the household budget rather than applying a broad bathroom price band to an unmeasured room.
Use the design freeze to prevent rushed decisions
Treat the coordinated design approval as a purchasing checkpoint. Cabinetry finishes, benchtop material, splashback, sink, tapware, appliances and hardware should be selected together so that fixing requirements and dimensions agree.
Clear cupboards before demolition and label anything being retained. If managing that pack-down alongside work and family commitments is difficult, House Moving Melbourne's information can help you compare packing and unpacking options before deciding whether outside assistance is worthwhile.
Bring body corporate restrictions into the discussion early, including access, delivery and common-property conditions. A workable apartment renovation needs an agreed route for people, materials and waste, not just a finished kitchen drawing.
Before you sign: You should be able to explain what the renovation will improve, what you're paying to retain, and which decisions could change the price.
Book a personalised on-site consultation with SitePro Bathrooms in Highett. Bring your existing plan, appliance shortlist, budget and any body corporate conditions so we can measure the space and develop an itemised scope. Our services include Kitchen Renovations, Bathroom Renovations, 3D Design, and Construction and Renovations, giving you a coordinated next step from layout decisions to handover.