

Veneer Kitchen Cupboards Compared: Costs and Durability
Choosing veneer kitchen cupboards by timber species and colour is popular advice, but it starts at the wrong surface. A beautiful oak face won't compensate for an unsuitable board, an undocumented adhesive system or an unsealed cut edge beside the sink.
The better comparison starts with the core, bonding system and edge protection, then considers appearance. That approach also makes costs easier to judge: you're comparing complete cupboards rather than paying for a finish whose supporting construction remains unknown.
Veneer Kitchen Cupboards Against the Main Alternatives
A veneer cupboard, a laminate cupboard and a solid-timber cupboard can all present the same oak-coloured face in a showroom. What separates them sits inside the door.
Kitchen cupboard materials compared
| Material | Construction | Moisture tolerance | Repairability | Typical cost position |
|---|---|---|---|---|
| Timber veneer | Thin real-timber face on MDF, particleboard or plywood | Good when edges are sealed; absorbent cores can swell if water enters | Light refinishing where thickness permits; deep damage needs refacing | Mid to high |
| Laminate | Decorative paper-based sheet or film bonded to particleboard | Good on flat faces; seams and edges are weak points | Limited; damaged panels are usually replaced | Low to mid |
| Melamine | Melamine-faced particleboard or MDF | Good on flat faces; edge banding needs protection near sinks | Limited; chips are hard to blend | Low to mid |
| Solid timber | Solid hardwood or softwood doors and frames | Good with a suitable finish; humidity changes can cause warping or cupping | Can be sanded and refinished repeatedly within material limits | High |
These are relative cost positions, not installed-price estimates. Custom fabrication and finishing can change the order.
Australian kitchen cabinetry commonly combines particleboard or MDF carcasses with a matching timber veneer, while solid timber is often reserved for doors and drawer fronts. The timber you see on the face therefore isn't necessarily the material carrying the hinges or supporting the cabinet.
What the comparison means
Veneer provides genuine grain without full solid-timber construction. Its repair advantage is real but limited: a thin face can't tolerate the aggressive sanding possible on solid timber.
Laminate and melamine generally suit cost-led projects, though an invisible chip repair is difficult on either. Solid timber offers the greatest refinishing scope, alongside higher cost and movement as humidity changes.
For finish planning, our guide to timber kitchen cabinets helps distinguish construction choices. If repainting existing cupboards is another option under consideration, the Painters North Shore cabinet spraying guide provides useful preparation context when weighing that route.
Buying rule: Choose veneer for timber character and repairable faces, then verify the board underneath before you compare quotes.
What Sits Beneath the Timber Face
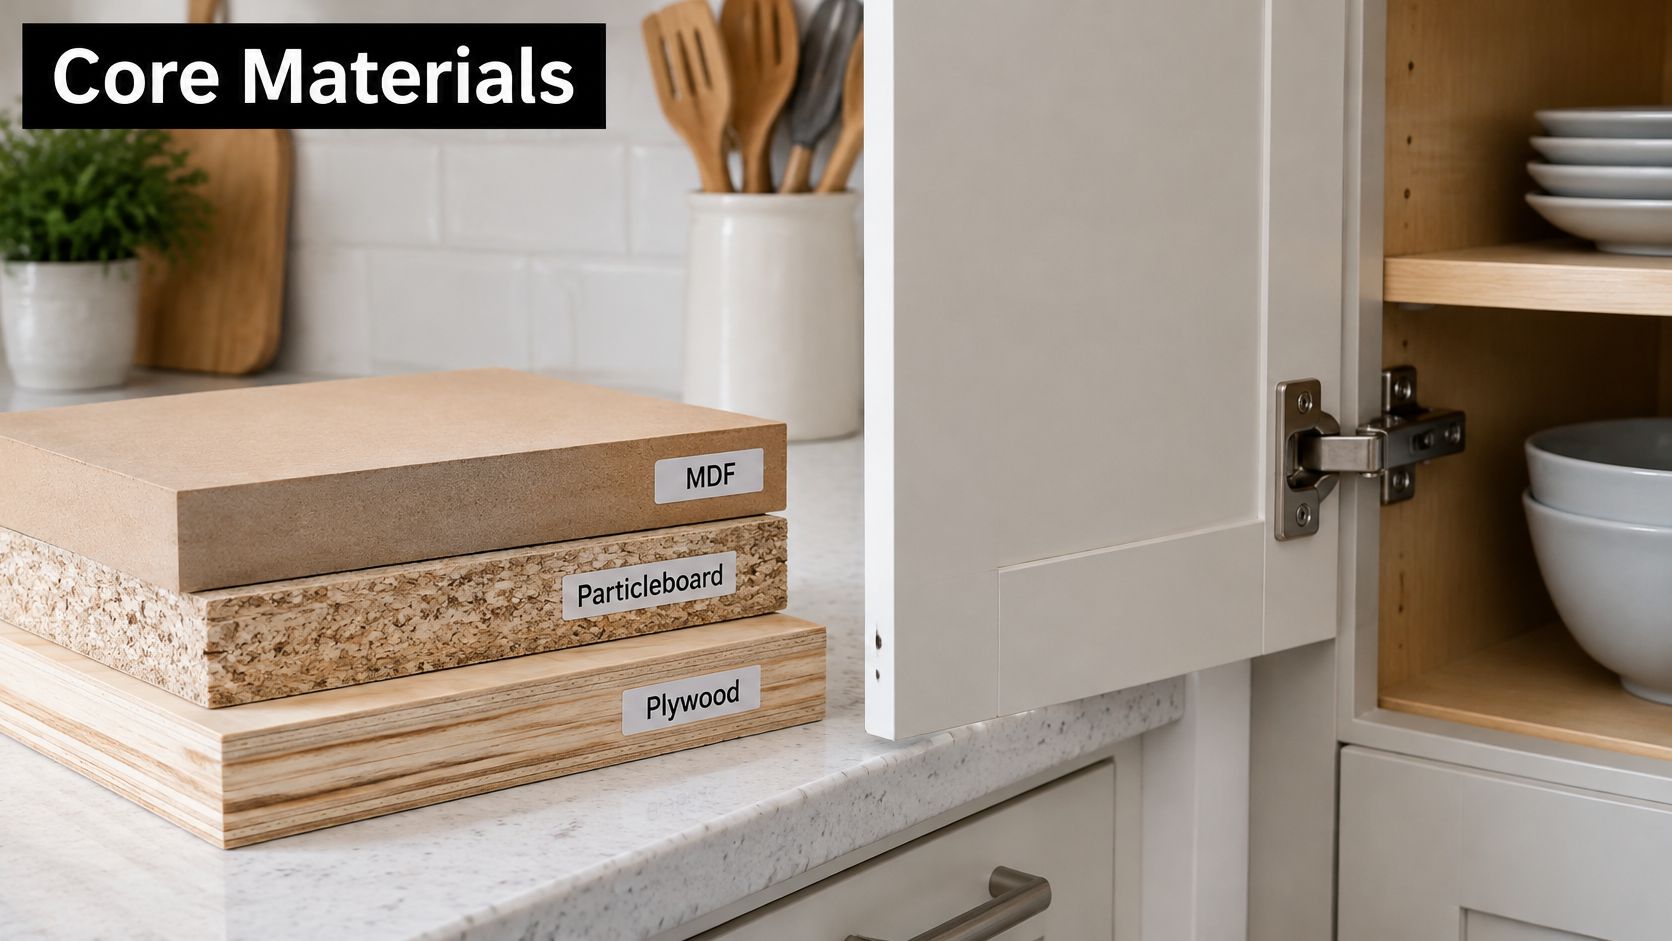
A natural-looking face tells you little about board quality or emissions. The substrate underneath does the structural work. MDF, particleboard and plywood each have different structures, and suitability turns on product grade, moisture classification and fixing requirements.
MDF provides a uniform surface for fabrication and machines cleanly. Particleboard calls for careful edge fixings, while plywood's layered construction grips fasteners differently. A board name covers a whole family of products; the grade, density and resin system inside that family decide whether a given panel suits the cabinet it will become.
Read the certificate, not the colour sample
Resins used in engineered boards can release formaldehyde over time. The Australian Government's YourHome indoor-air-quality guidance recommends checking for low-formaldehyde-emission certification such as E1 or E0, and warns that some imported products may have higher emissions.
The E0 category in the South Australian Government environmental specification sets limits of no more than 0.5 mg/L in the cited test framework and no more than 0.041 mg/m³ for the listed air concentration. The two figures measure different things, so a certificate quoting only one leaves the other question unanswered.
That specification excludes timber veneers themselves. The certificate that matters is the substrate's, sitting beneath the decorative face. E0, E1 and E2 describe emission categories, with E0 lower than E1, and a like-for-like comparison still needs the test method behind each label.
Adhesive and edge sealing deserve the same scrutiny as the core. Ask which glue bonds face to substrate and how each cut edge is sealed; a veneer lasts only as well as the bond beneath it and the edge protecting the core.
Build these questions into the quotation request:
- Board manufacturer: Who makes the specified product, and where is it manufactured?
- Core type: What board and grade will each component use?
- Emission class: What classification does the product carry?
- Test method: Which procedure supports that classification?
- Certification reference: Can the product declaration be supplied?
- Coverage: Does it cover the actual doors, panels and carcasses being ordered?
Our kitchen cabinet materials guide provides context for comparing these assemblies. For edge detailing, Neasden Hardware's oak edging for furniture makers illustrates a separate component to identify alongside the face veneer; the edging still needs a suitable bond and finish.
Ventilate during and after installation, and run kitchen extraction that discharges outdoors. Product-level evidence beats descriptions such as natural or eco, especially where a large amount of cabinetry shares the household's living space.
How Veneer Holds Up to Moisture and Daily Wear
Start the inspection at the sink base, dishwasher surround and panels beside the cooktop. These positions expose weaknesses that aren't obvious on a showroom door: plumbing penetrations, steam paths, vulnerable joints and appliance clearances.
AS 4386:2018, Cabinetry in the built environment, covers cabinetry design, manufacture, materials, hardware, strength, durability, safety and installation, including applications near water sources. Specify the complete assembly against that benchmark, rather than treating a premium veneer as a durability certificate.
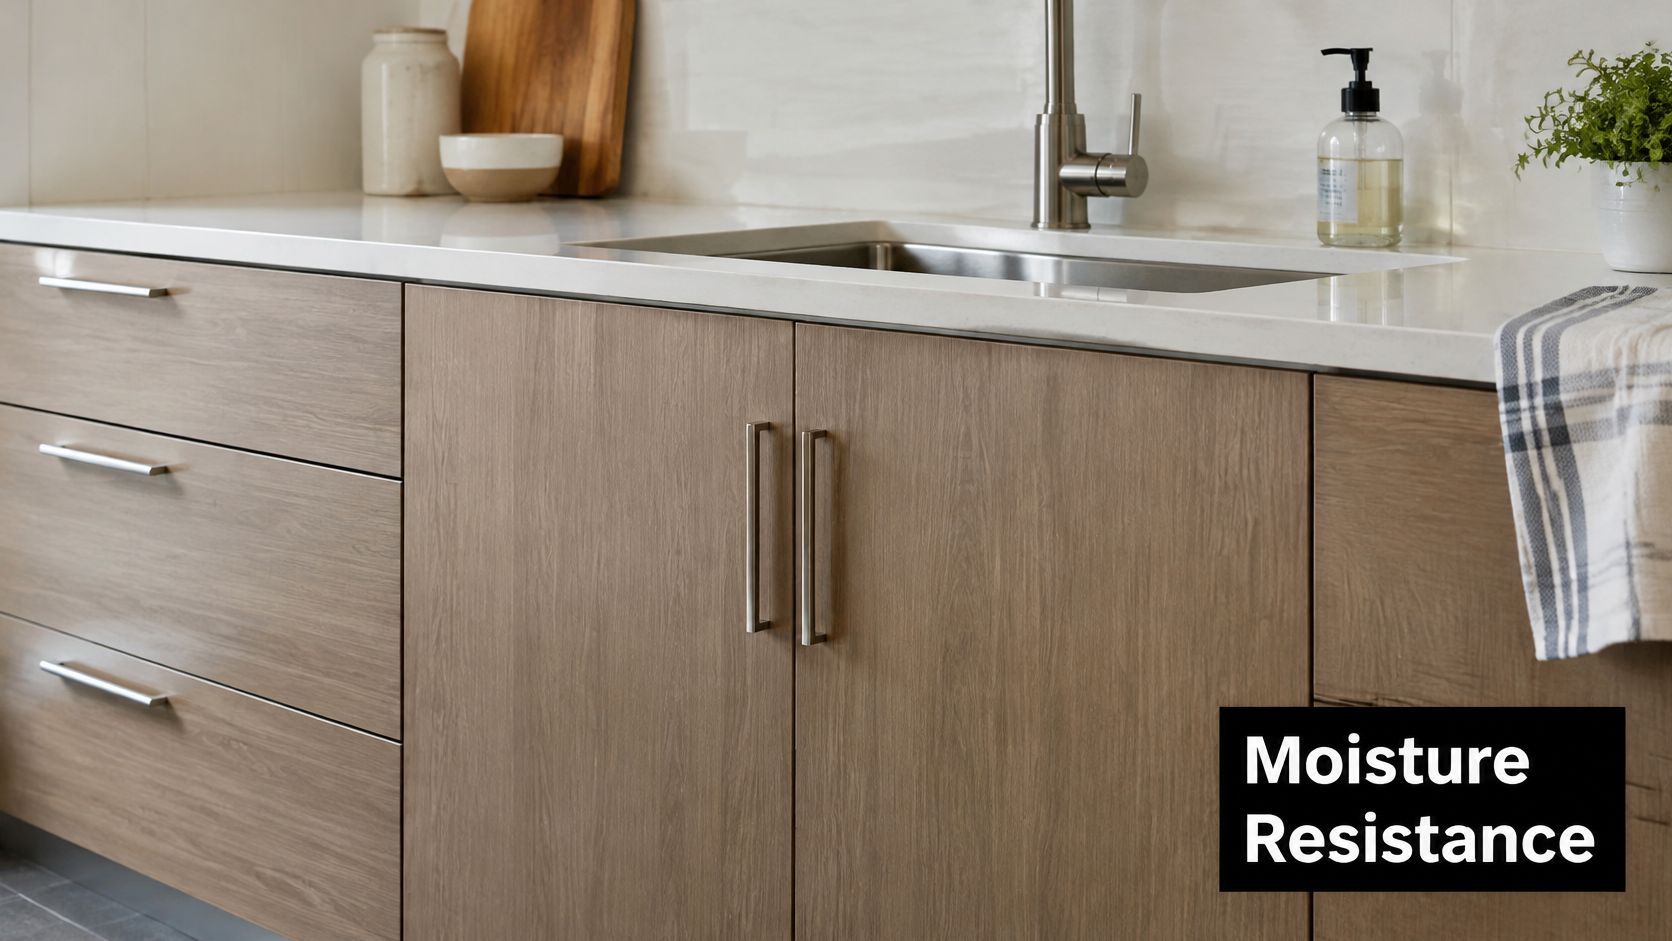
Require the moisture-resistance classification in writing and identify who seals every exposed cut edge. That includes holes made on site for pipes and appliances, not just factory-finished door edges. Water entering an absorbent MDF or particleboard core can cause swelling that no decorative face can conceal.
Match the repair to the damage
Veneer cupboard damage, repairability and fixes
| Damage | Repairable? | Usual fix |
|---|---|---|
| Surface scratches and wear | Yes, within veneer and finish limits | Touch up with matching stain, or sand lightly and refinish after checking thickness |
| Chipped edge | Usually | Fill small chips with matching filler and re-seal the edge |
| Lifting veneer at an edge | Yes, if caught early | Re-glue with compatible contact adhesive and clamp as the adhesive system requires |
| Swollen core from water | No reliable cosmetic repair | Replace the door or panel and fix the water source |
| Sun fading on exposed faces | Partly | Refinish the face; older faces may not match new work |
For superficial scratches, test the touch-up on a concealed area before treating the visible face. A chipped edge needs its protective finish restored, not merely colour-matched filler.
Catch lifting veneer before it breaks. Dry the area, remove loose contamination without tearing the timber, introduce an adhesive compatible with the original assembly, then press it flat between protected clamping blocks. Contact adhesive needs the correct application and flash-off procedure; clamping alone won't correct a poor bond.
A swollen panel needs replacement, while fading requires a whole-face colour assessment. Spot treatment can leave a more noticeable patch.
A repair is only durable when the installer also removes the cause, whether that's a leak, escaping dishwasher steam or an unsuitable joint.
For daily care, wipe spills promptly with a soft cloth and dry the surface. Avoid standing water at benchtop joins, run the rangehood while cooking, and check hinge alignment annually so doors don't rub through their edge finish.
Matching Veneer Cupboards to Budget and Home
The tier a kitchen belongs in depends on what sits under the face: the core board, the adhesive system and how completely the edges are sealed. Two cupboards with the same timber look can belong to different budgets entirely.
Veneer cupboard options by budget tier
| Budget tier | Typical build | Best fit | Main trade-off |
|---|---|---|---|
| Tight budget | Melamine or laminate carcass and doors | Rental properties or a quick refresh | Limited repair options and less timber character |
| Mid budget | Veneer-faced MDF or plywood carcass with timber-veneer doors | Family homes with a long holding period | Needs sealed edges and a documented board class |
| Higher budget | Solid timber doors on a veneered or plywood carcass, or bespoke work | Heritage or high-end finishes | Higher cost and potentially longer fabrication lead times |
A cupboard price without a construction schedule isn't a useful comparison. Layout, board classification, region, supplier and finishing requirements all affect the quotation, so a universal dollar allowance would hide more than it explains.
Compare itemised quotes, not totals. The guide to the cost of kitchen cabinets gives a starting point for organising the budget, but the specification still has to identify what each allowance buys.
Order the budget by what failure would cost
Review cost drivers in this order:
- Board class and certification: Establish the baseline material before comparing decorative upgrades.
- Door profile and veneer species: Include grain matching, edge details and finishing labour.
- Hardware: Identify hinge and drawer systems, including soft-close requirements.
- Layout changes: Separate new cabinetry from demolition and room alterations.
- Service relocation: Show plumbing and electrical changes independently.
- Benchtop type: Keep fabrication, cut-outs and installation visible in the budget.
The order follows how disruptive each item is to fix later, rather than any fixed ranking of prices. It stops a decorative upgrade from consuming money needed for a suitable carcass.
An unknown core can make a low quote poor value if the owner later has to replace the assembly. Equally, paying for veneer inside every concealed cupboard may add little to the result. Specify carcasses first, doors second and hardware third, then decide where premium finishes deserve their cost.
Choose for the way the property will be used
A family home with a long holding period. Mid-tier veneer earns its cost where you want genuine timber and the possibility of future surface restoration. Prioritise accessible hinges, replaceable components and a finish sample you're comfortable maintaining. An assumed resale premium is a weak justification; judge the upgrade by its usefulness and appearance.
An investment property. Melamine or laminate is a sensible starting point when straightforward cleaning and controlled replacement costs matter most. Veneer can still suit a higher-specification rental, provided the upgrade matches the property's presentation standard rather than an expectation of higher rent.
A compact or period home. Timber veneer can support traditional styling through colour and grain, while flat-panel fronts and concealed hardware suit a restrained modern kitchen. In a small room, decide where the timber will be visible from adjoining spaces before covering every surface. A coordinated feature run reads as more deliberate than an unrelated collection of timber tones.
A heavily exposed sink wall. Specify a moisture-tolerant carcass, sealed edges and protected service penetrations before paying for elaborate grain matching. Solid timber isn't automatically the answer, and plywood isn't automatically waterproof; the specified product and installation detail must suit the exposure.
Spend where failure would force dismantling, then spend where the finish improves how you use and enjoy the room.
Households renovating a kitchen alongside a bathroom should treat the rooms as separate specifications, since shower exposure and waterproofing demands differ from anything a kitchen cabinet faces. The Australian Government's water-use guidance recommends efficient fixtures and notes that even apparently minor bathroom changes may need approval when waterproofing or plumbing layouts are affected. YourHome's minor-upgrade guidance identifies licensed plumbing and electrical work and professional structural assessment as requirements relevant to these alterations.
The overall choice is straightforward: favour veneer when timber character, restoration potential and long-term enjoyment justify it, and choose a less expensive composite finish when initial cost and uncomplicated replacement take priority.
Reface or Replace Your Existing Cupboards
Assess the existing cabinetry before assuming demolition is necessary. The Australian Government's renovations and additions guidance identifies building and renovation waste as about 35%, around 7 million tonnes, of Australia's landfill waste each year, supporting a retain-and-reuse approach where materials remain serviceable.
Inspect before choosing the finish
- Check the carcasses. Empty the cupboards and inspect sink corners, bottom edges and backs for swelling, delamination, water staining and failed fixings. Investigate staining before deciding that a cabinet is dry and sound.
- Check fit and function. Confirm that hinge locations and carcass dimensions can accept replacement doors. Test whether the layout still works for cooking, storage and appliance access.
- Compare equivalent scopes. Price new doors and exposed panels against replacement using comparable board, edging and hardware requirements. Include removal, finishing and installation in both options.
Refacing or replacing by condition
| Condition | Refacing | Full replacement |
|---|---|---|
| Carcasses sound with no water damage | Reface doors and panels | Not needed solely for appearance |
| Layout still suits daily use | Reface in place | Replace if a layout change is wanted |
| Swollen particleboard or water staining | Not suitable until damage is assessed; swollen boards need removal | Replace damaged carcass and fix the water source |
| Carcasses cannot take new hinges or fixings | Not suitable | Replace carcass |
Refacing makes sense when the structure is sound and the layout stays. Replacement is more defensible when new faces would conceal damaged boards, unreliable fixings or an arrangement you already find frustrating.
For another explanation of the scope distinction, Home Pro's Remodeling & Repairs cabinet guide is a useful companion when comparing refacing and replacement proposals. Local material and installation requirements should still govern the work.
Specify reversible fixings where practical so future removal doesn't unnecessarily destroy adjacent components. Before demolition, get written answers about which doors, panels and carcasses will be retained, which can be reused, and how the remainder will be recycled or disposed of.
Confirm the Specification Before You Order
Two quotations can both promise "timber veneer cupboards" and describe completely different products. Comparing them means pinning each supplier to a written specification before the colour gets chosen. Copy this checklist into the quotation request:
- Moisture performance: Documented board classification for the intended location.
- Hardware and installation: Hinges, fixings, appliance clearances and maintenance information.
- Sample-board approval: A physical sample of the actual veneer, signed off for colour, grain direction and sheen before production.
- Warranty terms: Cover period for doors, panels and hardware, plus exclusions such as unsealed site cuts or steam exposure.
- Variations: How changes after sign-off are priced, and what they do to the timeline.
- Handover documentation: Care instructions, warranty certificates and finish records needed to match repairs later.
- Price breakdown: Separate carcasses, doors, hardware and installation, with a projected timeline.
Check the contract and registration
For Victorian domestic building work exceeding $10,000 including labour and materials, Consumer Affairs Victoria states that builder registration and a written major domestic building contract are required, including where the project is divided into smaller agreements. Registration can also be required below that threshold for specified work, including structural work or work requiring a building permit.
When comparing builders, check the actual registration class rather than relying on advertising language. The Building and Plumbing Commission's domestic-builder classification identifies Domestic Builder (Unlimited) as covering responsibility for carrying out, managing and arranging all components of domestic building work. Regulated plumbing and electrical tasks still need appropriately licensed trades.
Bring photographs, your existing layout and a list of storage problems to the consultation, and approve finishes only once the written specification matches what was quoted.
A proper site visit should produce every item on that list. Book a consultation with our Highett-based team at SitePro Bathrooms. We start with a personalised consultation covering your vision, lifestyle requirements, budget and timeframe, take accurate measurements of the existing space, and guide finish selections before providing an itemised quotation covering labour, materials, fixtures, finishes and a projected timeline.