
You're standing in the kitchen at 6pm with a tape measure in one hand and a folder of photos in the other. The benchtop is stained, the corner cupboard swallows plates, and two people can't pass without a shuffle. The temptation is to pick a colour and a tap and call that the design. It isn't. Kitchen renovation design is the step that fixes where water, power and gas run, how much the job will cost, and whether Tuesday night works. Get the layout wrong and the pretty splashback won't save the room.
Kitchen Layout Options Compared at a Glance
In a kitchen renovation design, the layout comes first because it locks the path of water, power and gas. Finishes can change on a sample board. A moved sink cannot.
| Layout | Best for | Main trade-off |
|---|---|---|
| Galley (two parallel runs) | One cook in a narrow room | Little room for a second person or seating |
| L-shape | Open rooms with dining nearby | Corner cabinets lose storage without good fittings |
| U-shape | Heavy cooking and storage needs | Closed on three sides, so light and flow suffer |
| Island | Entertaining and extra prep space | Needs clearances on every side and costs more |
| Peninsula | Separating kitchen from living area | Blocks walkways in small rooms |
Treat the usual room widths as starting points only. A galley often suits a room about 2.1 to 2.4 metres wide. An L-shape needs an open corner and a clear run to dining. A U-shape wants roughly 2.7 metres or more between facing runs. An island usually needs a room at least 3.6 metres wide once you leave walking space on every side. A peninsula can work in a slightly tighter room because one end stays attached to a wall. Door swings, windows and the route into the living area can rule a row out before any drawing is finished.
Layout change is ordinary, not a luxury extra. The 2021 Houzz Australia and New Zealand renovation study surveyed 2,471 Australian homeowners and found that, among those renovating kitchens, 54% changed the kitchen layout, 43% increased its size, and 33% reframed, moved or added walls. A new plan usually drags plumbing, wiring and cabinetry with it. An L-shaped kitchen layout is often the calm middle path when you want dining nearby without closing three walls.
Run three questions on your own sketch before you fall for a photo.
- How many people cook at once? One cook can live with a galley. Two cooks usually need an L, U or island.
- Does the room double as dining or homework? If it does, protect a landing bench that isn't the cooktop.
- Does the main household path cross the work area? If the back door dumps schoolbags through the sink-to-stove line, move the path or the appliances.
Practical rule: Sketch the current room to scale, then tick the layout row that fits the walls you actually have before you read on.
Working Zones and Clearances That Keep a Kitchen Moving
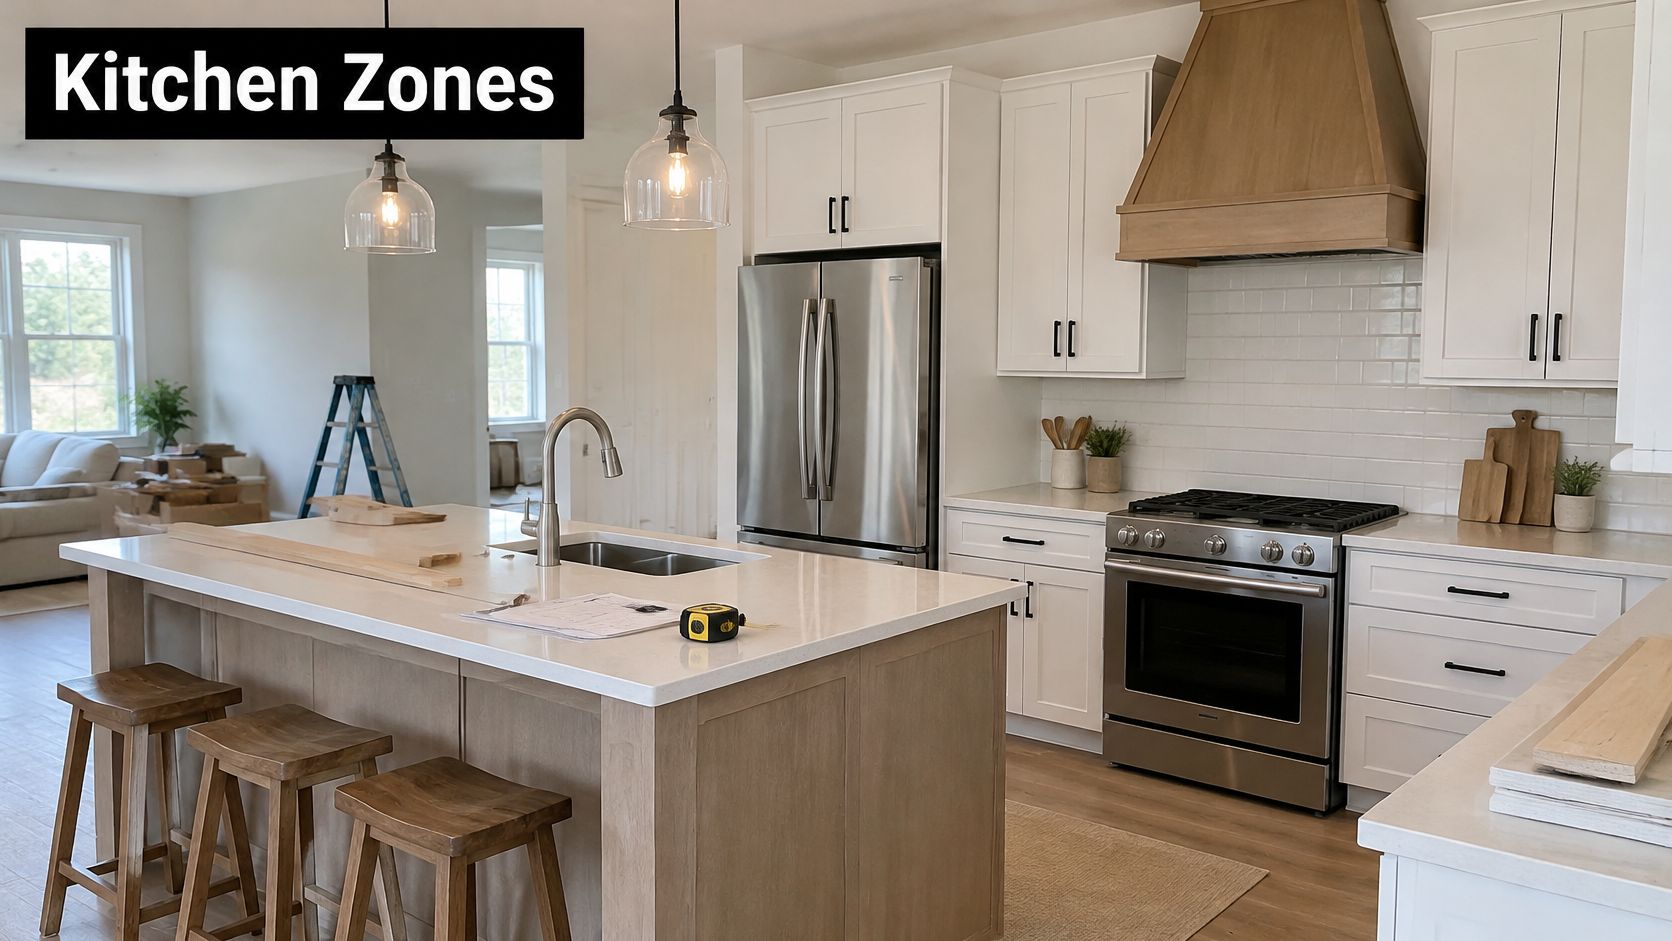
The classic work triangle joins the sink, the cooktop and the fridge so those three stops stay close. It still helps in a simple L or galley. In an open room it breaks down, because one triangle can't describe five jobs happening at once. Plan zones instead, and give each zone a neighbour.
A cooking zone holds the cooktop, oven and a bench landing on at least one side, so a hot pan has somewhere to go. The preparation zone sits between fridge and sink, with a clear stretch of bench, not a corner. The cleaning zone puts the dishwasher beside the sink, bins within a step, and the drain on the same wall as the existing stack if you can. Storage sits at the end of the prep run, not across a doorway. A landing or serving zone faces the table or living area so plates leave the kitchen without crossing the cook.
Clearances you can check on the plan
| Element | Why it matters |
|---|---|
| Benchtop height, 900 to 920 mm | Suits most adults for preparation without stooping |
| Bench depth, 600 mm | Fits standard base cabinets and appliances |
| Walkway, one cook, 1000 to 1200 mm | Allows passing without collisions |
| Walkway, two cooks, 1200 to 1500 mm | Lets two people work side by side |
| Island to bench, 1000 to 1200 mm | Keeps the work zone usable |
| Upper cabinet 450 to 600 mm above the bench | Keeps the bench clear while storing within reach |
Measure those gaps to the open face of doors and drawers, not to the cabinet carcass. An open oven door or a dishwasher drawer that sticks into a 900 mm gap will block the only path. The usual mistake is a fridge door that opens into a corner, so you can't pull the crisper while someone stands at the sink.
Those numbers only mean something against real walls. A kitchen renovation starts with a personalised on-site consultation covering your vision, lifestyle requirements, budget and timeframe, and accurate measurements of the existing space are taken. That's the moment to test an island, including seating overhangs, against the room rather than a mood board. Our notes on designing a kitchen island walk through the side clearances before you commit to extra bench.
Stand in the planned spot and open every door and drawer at once. If two of them collide, the drawing is wrong, not the tape.
Designing Around How Your Household Actually Uses the Kitchen
It's 7.30am in a compact Melbourne kitchen. Two people are making lunches, the dishwasher door is down, and the kettle sits on the far side of the island. Nobody is admiring the timber. They're waiting for a clear bit of bench.
Trend features are sold on how they look in a photo. Daily routines decide whether they help. A scullery or butler's pantry is the usual example. Canstar's kitchen renovation cost guide puts a typical complete kitchen renovation around AUD 35,000, while a scullery or butler's pantry can add approximately AUD 8,000 to 20,000. On a modest job that second room can swallow a large share of the money and a slice of the only window.
Test the feature, then the cheaper fix
Ask what problem the pantry is meant to solve. Mess on the bench, a crowded fridge run, or grocery overload each have a smaller answer.
- Deeper drawers: Pans and lids stack in one pull, so you stop crouching into a corner cupboard.
- Pull-out pantry units: Full-height storage on the existing wall, without a new doorway.
- Integrated waste sorting: Bins beside the dishwasher, open at the same time as the door.
- An appliance garage: Kettle and toaster off the bench, power inside the cabinet.
- A compact utility zone: One tall bank for broom, ironing and pet food, not a whole second kitchen.
Score every idea against the routines that happen: school-morning congestion, two people cooking, entertaining, unloading groceries, reaching the dishwasher, and being seen from the living area. Then weigh household size, floor area, how often you cook, a written storage inventory, and the budget. A family of four in a tight plan loses more than it gains if the extra room steals circulation or natural light.
A well-planned main kitchen often returns more than a second prep room. More kitchen is not automatically more useful.
List the three routines that happen most often this week. Rate each proposed feature against those three before you add a wall.
Future-Proofing the Kitchen for Mobility, Ageing and Resale
Will this kitchen still work with a sprained wrist, a new baby on one hip, a knee replacement or a bad back? Most plans never ask. They should, because aisle widths, bench heights, appliance heights, lighting and slip-resistant flooring are miserable to change once the cabinets are fixed. A renovation sits in the house for years. The layout has to survive more than the month you chose the handles.
A wall oven at bench height is safer than a low oven. You lift a hot tray forward, not up from the floor, and you aren't bending with a full dish. Seated preparation doesn't mean ripping out drawers. Leave one 800 to 900 mm stretch of bench with a clear knee space, and keep drawers on either side so you don't trade all the storage for one chair. Put the microwave between shoulder and waist, and keep the dishwasher controls on the top edge of the door rather than buried at the kick. Task lights under the uppers, aimed at the bench and shielded so they don't glare into eyes, beat one bright downlight in the middle of the ceiling.
Adaptable without looking clinical
You don't need a costly “accessible kitchen” package. Many of the useful choices cost little more than the standard ones, and they don't read as institutional. Recent Australian kitchen design coverage leans on integrated appliances and warmer materials, yet the same choices can support independent use if you place them carefully. Continuous flooring with no trip lip, lever or touch-latch hardware, a clear tone change between bench and floor so the edge reads in low light, wide clearances, and a few adjustable shelves cover most of it. Seeing universal design concepts in practice makes it easier to borrow ideas that still look like an ordinary family kitchen.
This isn't only for older occupants. Children, carers, someone on crutches for six weeks, and anyone carrying a heavy pot all use the same clearances.
- Check the narrowest aisle against a walking frame and against two people passing.
- Confirm one bench stretch allows a seated chop without losing the drawer bank.
- Place oven, microwave and dishwasher controls inside an easy reach, not at the floor or above your head.
- Pair task lighting with a matte splashback so the bench doesn't glare.
- Walk a seated use and a one-handed use on paper, or in a 3D model, before anyone orders cabinets.
Electrical and Structural Planning Before Cabinets Are Fixed
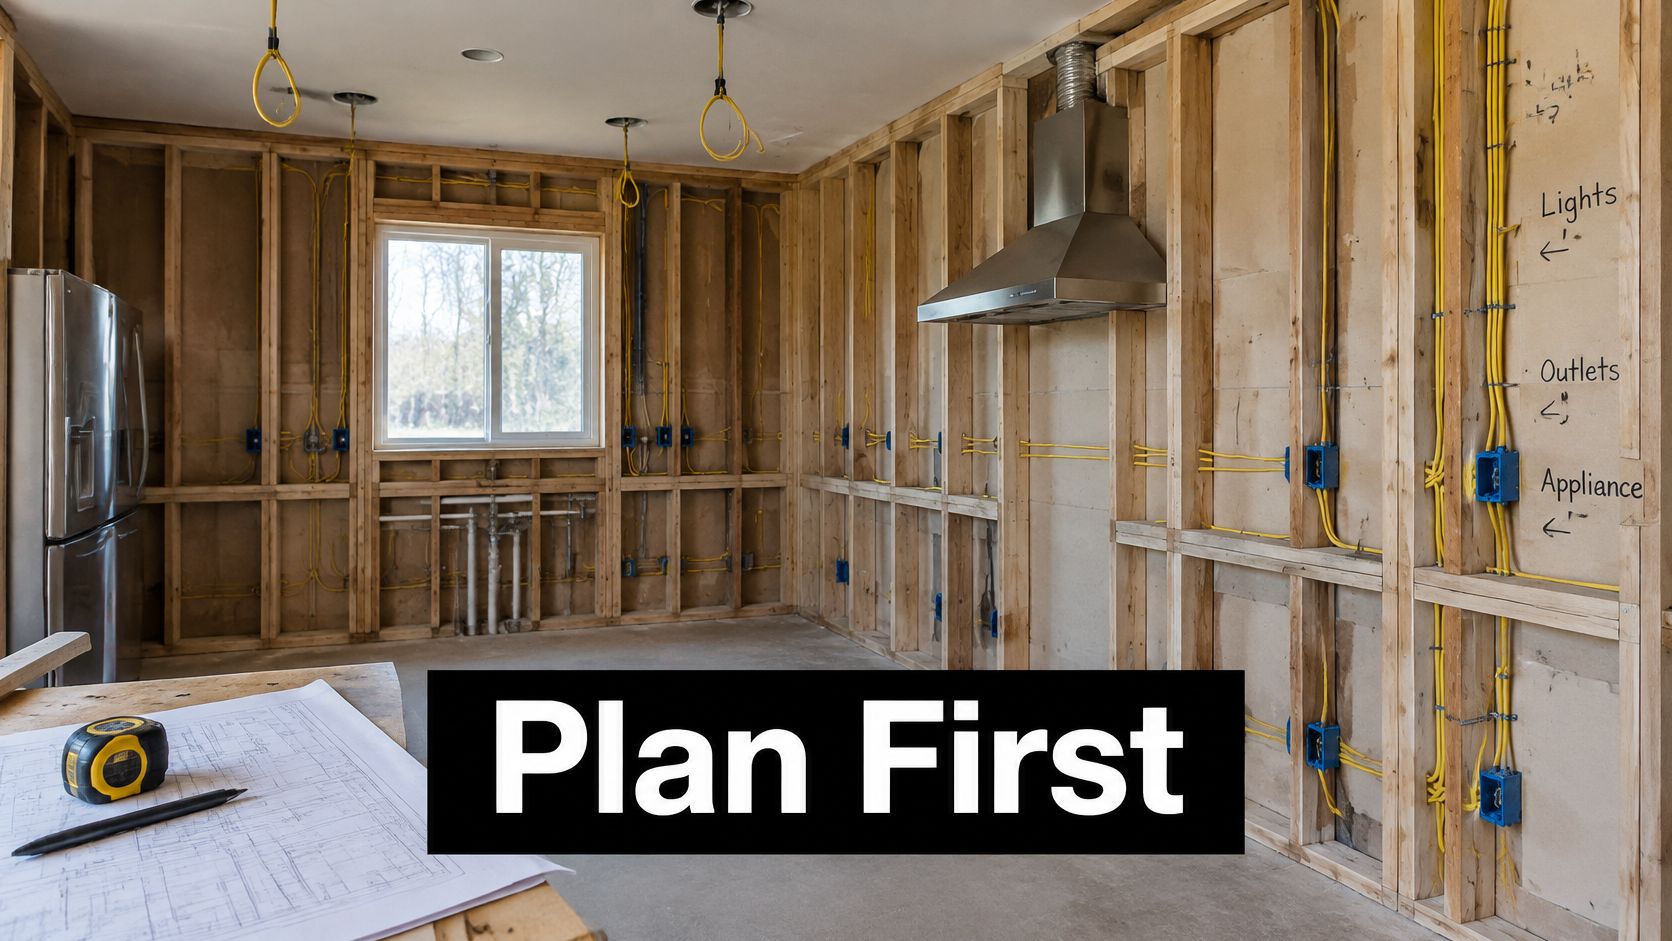
Moving or adding power points, lighting or appliance circuits is an electrical alteration, not a finishing task. The modified portion must comply with AS/NZS 3000:2018, and the existing installation has to be checked so the change doesn't leave protection unsuitable, as set out in NSW guidance on alterations to electrical installations. Where walls move, structural adjustments come first. Plumbing and electrical systems are upgraded or relocated to suit the new design, not patched around the old one.
The order that keeps rough-in honest
- List every appliance with its exact model and load, because the electrician designs to the sheet, not to a guess.
- Mark the sink, cooktop, oven, dishwasher and rangehood on the plan so services land where the cabinets will.
- Decide which items need dedicated circuits. High-load gear such as ovens, induction cooktops, dishwashers and rangehoods often does.
- Place outlets at benchtop and island edges, then locate lights. If you're unsure how many points a run can take, it helps to read how electricians add power sockets to your home before you freeze the drawing.
- Confirm the switchboard can carry the added load, because a late outlet can force new cabling and wall access.
Residential final sub-circuits generally need RCD protection with a maximum rated residual current of 30 mA, at the switchboard where the circuit starts. From 1 May 2023, Type AC RCDs must not be used on new installations, new final sub-circuits or relevant alterations. Western Australian electrical product guidance points to Type A, Type B or Type F instead, chosen for the connected equipment. Induction cooktops and inverter fridges can produce residual currents that a Type AC device doesn't see properly. Hard-wired ovens and air conditioners may not need RCD protection in some circumstances, while replacing the switchboard triggers wider requirements. Hand the electrician the model sheets before the board is designed.
In Victoria, a licensed electrician inspects and tests the work, including continuity, insulation resistance, polarity, circuit connection, earth-fault-loop impedance and RCD operation.
The deliverable is an annotated electrical plan showing every outlet, dedicated circuit, isolation point and intended load, approved before cabinetry is ordered. On that same drawing, fix the rangehood duct route and the sink and dishwasher supply and drain points. Those are rough-in decisions. Change them after the cabinets are built and you pay twice.
Budget, Registration and Locking the Design
Price the job as separate lines, not one round figure. Ask for design and drawings, demolition, structural work, electrical and plumbing, cabinetry, benchtops, splashbacks, appliances, tapware and finishes. Hold a contingency for what demolition uncovers, such as old wiring or framing that doesn't match the plan. If timber floors are part of the same visit, budgeting for new hardwood floors keeps that cost off the cabinet line. More detail sits in our kitchen renovation budget notes.
| Budget line | Typical amount |
|---|---|
| Complete kitchen renovation | Around AUD 35,000 |
| Scullery or butler's pantry add-on | AUD 8,000 to 20,000 |
| Contingency | 10 to 15 per cent of project |
| Design and drawings | A fixed fee agreed before demolition |
| Demolition | Priced to the strip-out you actually need |
| Structural work | Only where a wall or opening changes |
| Electrical and plumbing | Rough-in matched to the locked plan |
| Cabinetry, benchtops and splashbacks | Quoted from measured drawings |
| Appliances, tapware and finishes | The models you have already chosen |
Who is allowed to run the job
In Victoria, a builder must generally be registered with the Building and Plumbing Commission for domestic building work under a contract worth more than $10,000, including labour and materials. Consumer Affairs Victoria also requires a major domestic building contract before work starts when more than one trade is involved and the value exceeds $10,000. Tiling alone, plastering alone, electrical work alone or plumbing alone can sit outside that registration rule. A full kitchen does not.
Registered builders unlimited means a Domestic Builder (Unlimited) registration. That class can carry out or arrange every component of domestic building work. A limited registration may only cover bathroom, kitchen and laundry work that stays inside the existing walls, floor and ceiling. A kitchen and bathroom done together, with a wall moved, usually needs the unlimited class. Ask for the registration class in writing.
Bathroom renovations follow the same logic. New bathroom ideas, modern bathrooms and designer bathrooms still need waterproofing, falls and a registered builder once the contract crosses that threshold. Planning both rooms with one builder avoids two demolitions and two sets of temporary services. SitePro Bathrooms, based in Highett, provides kitchen renovations alongside bathroom, laundry, building and home renovation work. Clients receive an itemised quotation covering labour, materials, fixtures, finishes and a projected timeline.
Do this in the next week, in order.
- Measure and sketch the room to scale.
- Choose the layout row that fits the room and the household.
- Run the clearance checks to open doors, not to carcasses.
- Rate each feature against the three routines you repeat.
- Send appliance models to the electrician with the annotated plan.
- Confirm the registration class and whether a major domestic building contract applies.
- Request the itemised quote and compare it line by line.
Lock the design before cabinetry is ordered. Late changes to outlets and walls cost the most, because the cabinet maker, the electrician and the plumber all have to come back.
If you're in Highett or greater Victoria and the sketch is still a mess of pencil lines, book an on-site measure with SitePro Bathrooms. Bring the layout row you've ticked, the three routines you refuse to compromise, and the appliance models. We'll check clearances against your walls, map the services, and give you an itemised quote before a single cabinet is ordered.