

Curved Wall Tiles: A Practical Guide for Renovators
You're standing in a Melbourne bathroom with a sketch of a rounded shower niche, a curved vanity and a sample board that looks perfect in the showroom. On site, however, the wall has framing joints, waterproofing, tile tolerances and plumbing to accommodate. That gap between the drawing and the finished surface is where curved wall tiles succeed or fail.
A curve can make a compact bathroom feel calmer, soften a hard corner and give modern bathrooms a custom designer finish. It can also expose a wavering substrate, complicate waterproofing and push a simple renovation into regulated building work. The right decision depends less on fashion than on radius, tile format, substrate quality, installation skill and the Victorian requirements attached to the renovation.
What Curved Wall Tiles Really Are and Why They Catch Attention
The homeowner's rounded shower niche usually begins as a design gesture. A straight recess feels ordinary, while a curved back wall catches light differently and makes the shower zone feel more architectural. The tile isn't laid over a flat wall with flexible grout. Curved wall tiles are ceramic, porcelain or stone pieces manufactured or cut so their faces follow an arc.
A concave tile face curves inward, like the inside of a bowl. A convex face pushes outward, like the outside of a column. The radius describes the size of the circle from which that curve is taken. A large radius creates a gentle sweep, while a smaller radius produces a tighter bend and places greater demands on the tile, adhesive and backing.
Most domestic installations don't use one large tile bent around the wall. Standard ceramic and porcelain tiles are rigid, so installers generally create the curve with small-format mosaics, tapered pieces, purpose-made curved units or carefully cut sections. A mosaic sheet can follow a changing line because its individual pieces move across the backing, even though each piece remains relatively rigid.
Practical rule: Measure the finished substrate radius before ordering tiles. A drawing can show a curve, but only the built wall confirms whether the selected format will follow it cleanly.
The appeal is strongest in designer bathrooms, where the curve becomes part of the room's identity rather than a decorative afterthought. It can frame a shower, round a vanity front or create a visual transition between wet and dry zones. Homeowners exploring bathroom tile patterns for a modern renovation will find that tile direction, joint rhythm and grout colour matter as much as the tile itself.
Australia's ceramic-tile market provides a broader context. It was valued at US$1,873.6 million in 2025 and is projected to reach US$2,849.5 million by 2034, implying a 4.63% CAGR from 2026 to 2034, according to Australian curved-wall tile market context. Curved applications remain niche, but they sit within a growing wall-tile ecosystem that supports specialist formats, custom runs and installation guidance.
Materials, Manufacturing Methods, and Australian Tolerance Standards
The manufacturing method determines how confidently a tile can follow a curve. Dust-pressed porcelain begins as compacted powder formed under pressure, then fired into a dense, rigid piece. Extruded ceramic is formed through a die, which can make specialised profiles more practical. Natural stone is cut from slabs or blocks, while some custom products use a backing or segmented construction to create controlled flexibility.
Manufacturers may produce a curve in several ways:
- Moulded arcs are formed to a specified radius, producing a consistent factory profile.
- Waterjet-cut pieces are cut from rectangular blanks to create tapered segments or repeating shapes.
- Ribbed or segmented backings allow smaller faces to move across a curve without forcing one large rigid body to bend.
Porcelain handles moisture well and offers a clean, contemporary finish, but its density makes cutting and drilling demanding. Glazed ceramic is often easier to cut and suits many bathroom applications, although the glaze and body still need checking before installation. Marble and limestone bring natural variation and a premium appearance, yet their calcium-based surfaces need gentler cleaning and careful sealing. Terrazzo can create a strong visual statement, but its weight, edge treatment and manufacturer tolerances need to be confirmed before it reaches a curved substrate.
Curved Tile Materials at a Glance
| Material | Typical Manufacturing Method | Best Suited Radius | Tolerance Behaviour |
|---|---|---|---|
| Porcelain | Dust-pressed and fired, or cut into shaped pieces | Gentle to moderate curves, depending on format | Rigid, so substrate accuracy and full bedding are critical |
| Glazed ceramic | Dust-pressed or extruded, with a surface glaze | Gentle curves and segmented layouts | Easier to cut than porcelain, but glaze alignment remains visible |
| Natural stone | Cut from slab or block, sometimes waterjet-shaped | Broad, controlled curves | Natural variation can disguise minor differences, but thickness varies |
| Terrazzo | Cast or pressed composite, then cut and finished | Broad curves using smaller pieces | Weight and edge consistency require careful substrate support |
Australian technical benchmarks make these differences visible on site. For dust-pressed ceramic wall tiles with water absorption above 10%, allowable curvature can be +0.5%, not exceeding 2 mm, or -0.3%, not exceeding 1.5 mm under the relevant framework described in Australian ceramic tile market and tolerance guidance. First-quality ceramic tiles may also have up to 0.5% allowable curvature, meaning a 600 × 300 mm tile can curve by as much as 3 mm and still meet first-quality requirements.
Those tolerances sound small until a strong bathroom light runs across a curved wall. A minor deviation can become obvious lippage, uneven joints or a broken visual rhythm. Tighter radii therefore demand better factory sorting, more careful dry-laying and, in some cases, a minimum order because the supplier needs enough matching pieces from a controlled run.
For a broader guide to selecting finishes, compare the practical considerations in how to choose bathroom tiles.
Where Curved Wall Tiles Look Best in Modern Bathrooms
Curves earn their place when they improve how the room feels or functions. A rounded shower alcove can soften the visual weight of plumbing walls and create a more generous entry path, particularly in a compact Melbourne ensuite. A curved rear wall also catches overhead light across the tile faces, giving a small wet zone more depth than a flat, heavily jointed wall.
Niches need particular care. A tight internal curve can be attractive, but it leaves less room for standard shelves, plumbing penetrations and cleaning access. A broad arc often works better than a dramatic bend because it provides the design effect without forcing every fitting to become custom.
The strongest room zones
A rounded vanity front works when the joinery and wall line share the same geometry. The curve can flow into bench seating or a wall return, making the vanity feel built into the room rather than pushed against it. In a narrow bathroom, that softer edge can reduce the boxed-in feeling created by parallel walls.
Freestanding bath surrounds are another strong application. A tiled curve behind the bath creates a feature without requiring a busy pattern, especially with vertical rectangular pieces or a restrained natural texture. The result suits modern bathrooms that rely on shape, shadow and material contrast rather than ornament.
Archway transitions can connect an ensuite with a hallway or dressing area. Here, the tile may stop at the wet-zone boundary, while the plaster or painted finish continues the form. That distinction matters. A tile curve should have a clear termination, not fade into an awkward cut line where the wall changes material.
Fluted curves, soft minimalism and hotel-style wet rooms have made rounded forms more familiar in contemporary Australian interiors. The curve still needs to solve a spatial problem, though. If it blocks a door swing, reduces usable vanity width or creates a difficult shower screen junction, it's a costly flourish rather than a useful design move.
Installation Considerations, Substrate Limits, and Common Challenges
A curved wall should be treated as a system, not a tile pattern. The installation starts before waterproofing and follows the geometry through framing, lining, membrane, adhesive and grout.
Verify the wall before choosing the tile
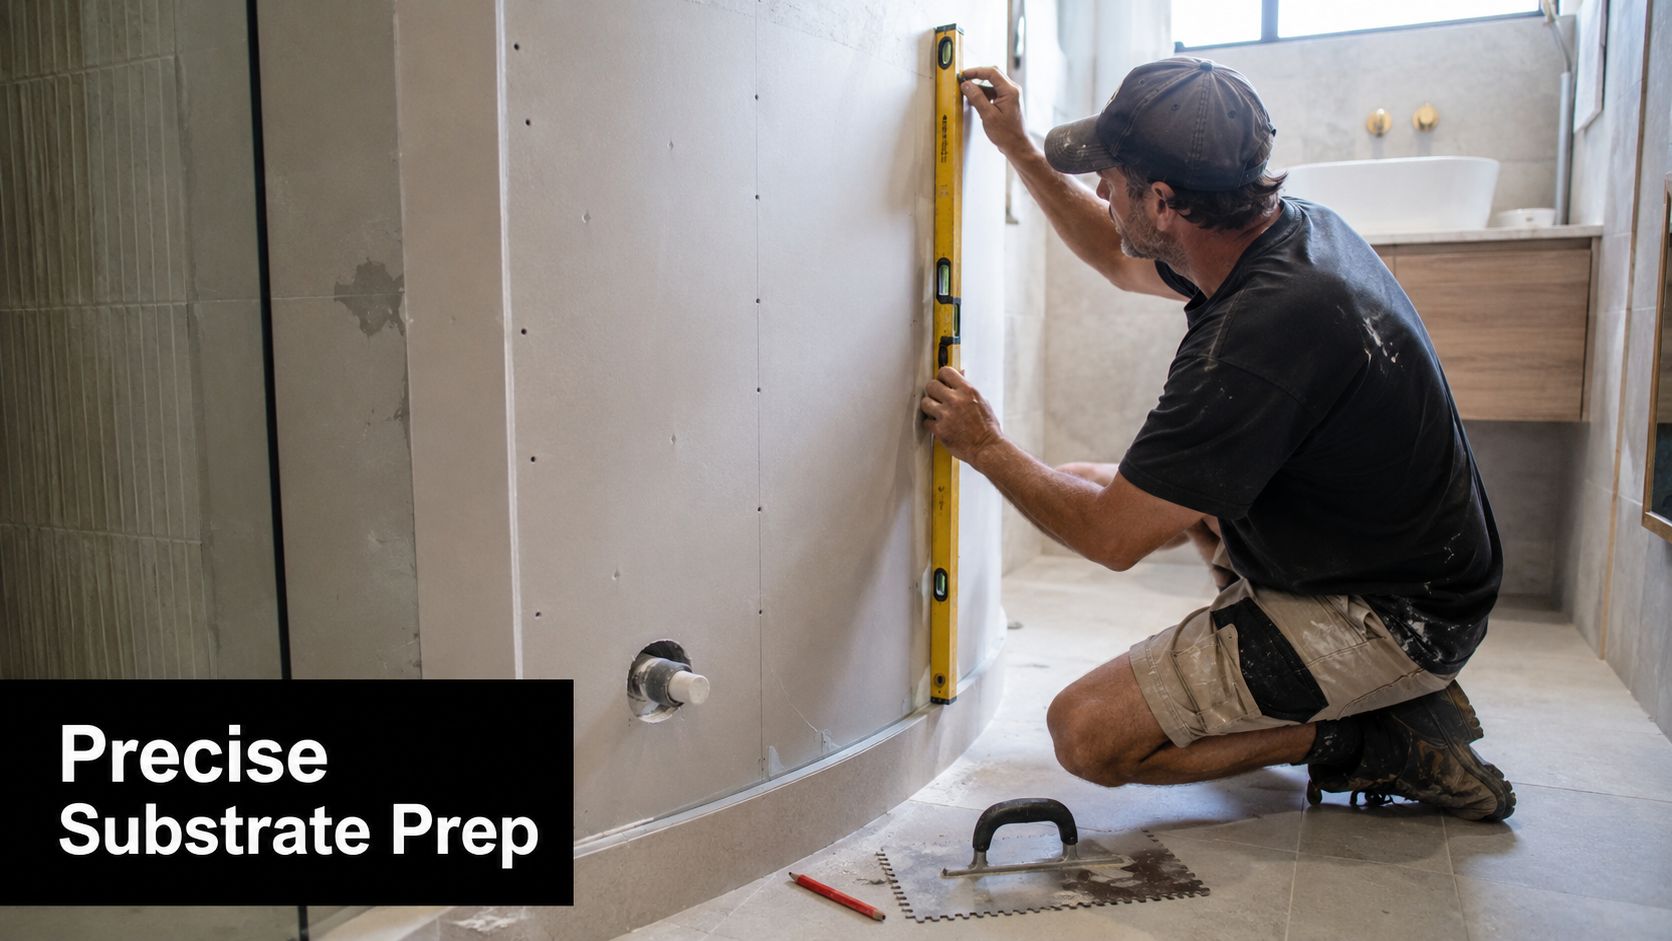
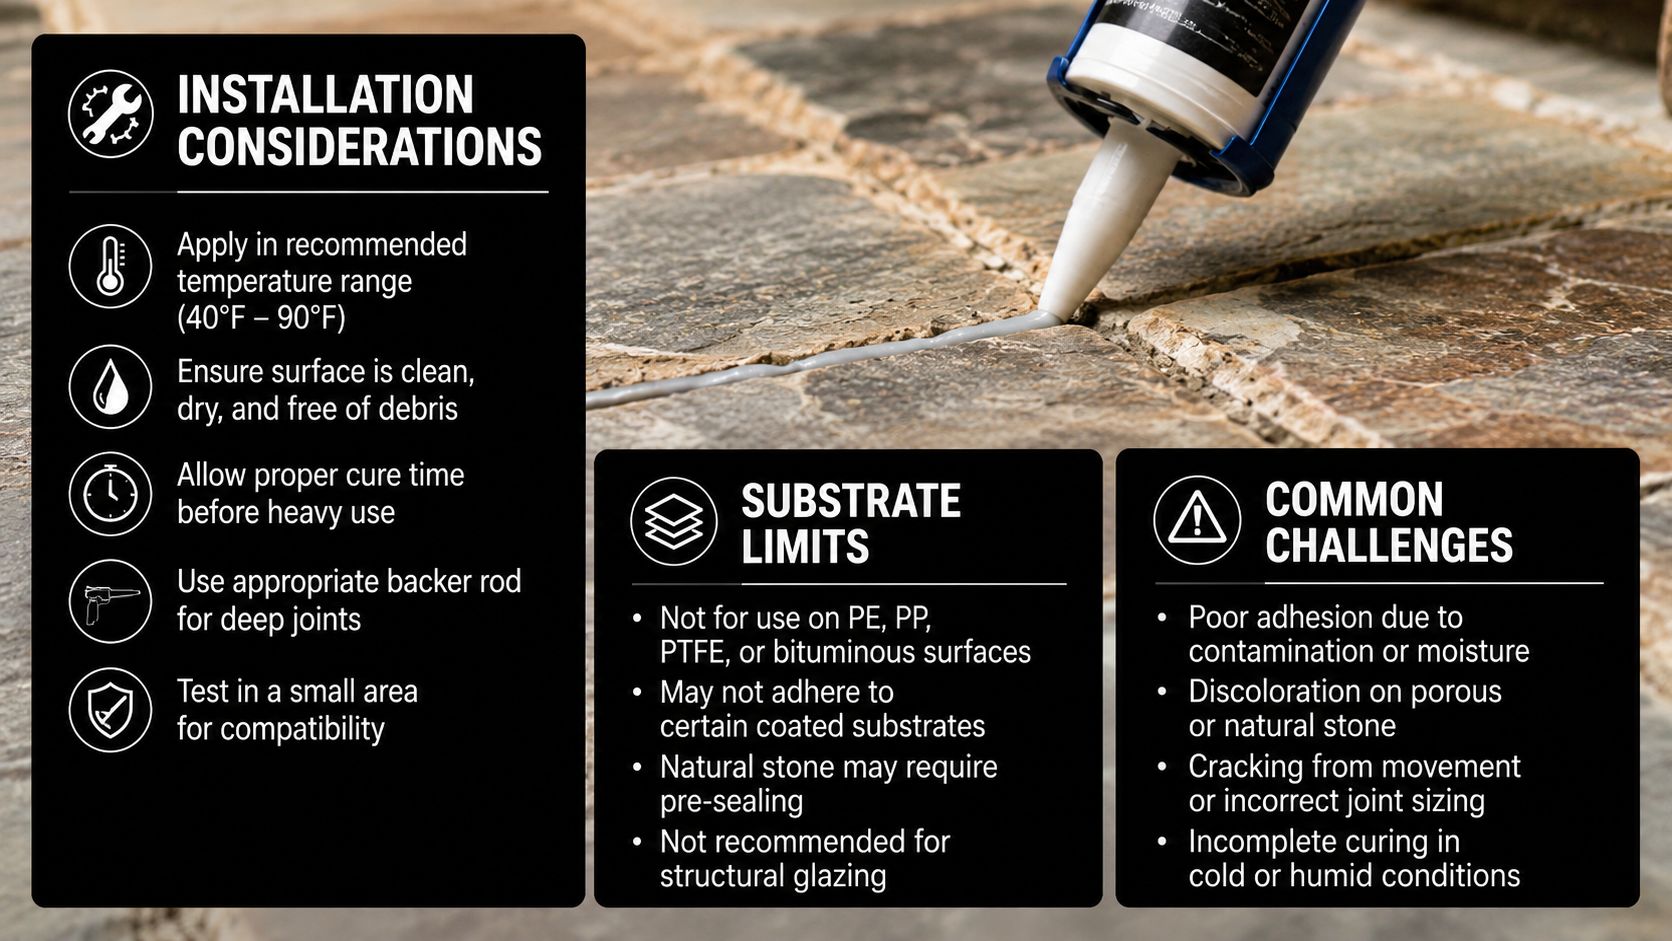
First inspect the existing framing, lining type and wall condition. Wider stud centres can allow flex, and that movement may show through as lippage on a curved face. Where the curve needs a cement-based tile underlay or another rigid lining, the framing must support the sheet edges and maintain the intended radius.
Australian training recognises tiling curved walls, columns, circular walls and arches on solid and sheet substrates as a specialised skill, as shown in the curved-surface tiling training component. That classification reflects the practical reality. The installer must plan the curve before applying adhesive or mortar, not improvise after the wall is waterproofed.
Sheet manufacturers also impose radius limits. One Australian technical guide allows lining boards on curved walls down to a minimum radius of 1,000 mm, while corner beads can be used down to 500 mm, as set out in curved-wall lining guidance. Tighter curves need closer support and mechanical fixing. Another manufacturer guide specifies nails or screws rather than adhesive for curved-wall sheets and requires framing to support every sheet edge.
Site observation: If the substrate feels springy before tiling, the finished wall won't become rigid because tiles have been added. Fix the wall first.
Build the finish in sequence
- Confirm the radius. Check the built curve at several points with templates, straightedges and a long level. A smooth arc matters more than a nominal dimension on the plan.
- Prepare the lining. Use a suitable tile underlay where the curve and wet-area requirements call for it. Fix sheets mechanically as specified and eliminate drummy or wavering sections.
- Maintain waterproofing continuity. The membrane must follow the bend without thinning at the inside of a concave curve or splitting at transitions.
- Dry-fit the layout. Establish verticals, centre lines, feature edges and termination points before mixing adhesive.
- Use suitable adhesive. A flexible, polymer-modified cement adhesive generally suits ceramic and porcelain curves, subject to the tile and substrate manufacturer's requirements.
- Achieve full-bed coverage. Voids behind curved pieces create weak spots and can leave tiles rocking under movement.
- Allow movement at transitions. The common failure occurs where a flat wall meets a curved return. Without movement allowance, the grout cracks along that junction.
Standard pressed tiles become risky on tight curves. Curves tighter than roughly 600 mm external radius generally call for purpose-made pencil tiles or mosaic formats rather than forcing a large rigid tile to bend. Large-format porcelain also needs more planning, and the large-format porcelain installation guide is relevant when the design includes substantial rigid panels.
Cost Implications and Victorian Renovation Thresholds
Curved tile work costs more because nearly every stage carries additional risk. The tile price is only the starting point. Purpose-made curved or pencil tiles can cost two to four times the equivalent standard line, while curved layouts commonly require 15% to 20% waste because an off-cut from one section rarely fits the next section. These figures are planning allowances, not guarantees, and the final result depends on tile format, supplier availability and the shape of the wall.
Labour is the larger lever. A curved wall can demand three to five times the tiling hours of a flat equivalent because each piece may need dry-fitting, individual bedding and alignment checks. A small mosaic can reduce cutting, but it still requires a clean substrate and careful sheet manipulation. A large custom panel may reduce joints while increasing templating, handling and breakage risk.
Curved vs Flat Tile Wall Cost Driver Comparison
| Cost Driver | Flat Wall | Curved Wall |
|---|---|---|
| Tile supply | Standard ranges are widely available | Specialist, custom or purpose-made formats may be needed |
| Waste | Off-cuts can often be reused elsewhere | Curved off-cuts rarely match the next section |
| Substrate | Straight framing and lining | Radius accuracy, edge support and stiffness require more preparation |
| Labour | Repeating layout with simpler bedding | Dry-fitting and continuous alignment checks add time |
| Waterproofing | Broad flat runs are easier to membrane | The membrane must remain continuous through bends and transitions |
| Defects | Easier to identify and replace individual tiles | Radius inconsistency and lippage are more visible |
Victoria's regulatory framework determines whether the curve is merely a tiling choice or part of a larger regulated renovation. A Domestic Builder Unlimited registration is the highest residential building class and allows the practitioner to carry out, manage or arrange all components of domestic building work. A Domestic Builder Limited registration covers specified classes, including bathroom, kitchen and laundry renovation, according to the Victorian registration framework.
The Victorian Building Authority application for a Domestic Builder Limited registration requires project evidence, a technical referee report, qualifications, a criminal history check, photo identification, declarations and payment. The published fee is $765.40 where the applicant isn't registered in another domestic building class, or $612.30 where they are, as stated in the VBA application form.
Victorian guidance differs in the stated renovation threshold, with one source referring to work above $10,000 and another identifying $16,000 and over as requiring a registered builder, as outlined in Victorian renovation guidance. Confirm the applicable threshold and building pathway before signing a scope. Structural framing changes, waterproofing alterations and plumbing relocation shouldn't be treated as informal tiling work.
Maintenance Tips for Long-Lasting Curved Surfaces
A curved surface needs the same cleaning discipline as a flat wall, but its geometry creates places where moisture and residue behave differently. The inside of a concave curve can restrict airflow, especially behind a shower screen, so soap film and mould can appear first along the lower grout lines and transition joints.
Grout selection matters from the start. Epoxy or polyurethane grout is often considered for its moisture resistance and flexibility, subject to compatibility with the tile and manufacturer instructions. Cementitious grout needs sealing and periodic renewal. In shower conditions, plan for a 12 to 24 month resealing cycle for cementitious grout, as recommended by the product system and site conditions, rather than waiting until water visibly darkens the joints.
A practical cleaning routine
- After each shower: Squeegee the curved wall, paying attention to the concave lower section where droplets collect.
- During weekly cleaning: Use a non-abrasive cleaner and a soft brush on grout lines. Avoid aggressive scrubbing that can wear a sealer.
- For natural stone: Don't use acidic descalers on marble or limestone. Their calcium-based surfaces can etch, even when the tile looks protected.
- For porcelain: Stronger compatible cleaners are generally more forgiving, but always follow the tile and cleaner instructions.
- At transitions: Inspect the flexible joint where the curve meets the flat wall. Cracked grout at this point often signals that movement has been forced into a rigid joint.
Lippage can become more noticeable over time if a tile rocks under movement. Run your fingers across high points along the radius during cleaning. If a piece moves, sounds hollow or catches a cloth, arrange an inspection before water reaches the adhesive bed or the grout begins to fail.
Run a quarterly check
Look for darkened grout, failed sealant, loose mosaic pieces, chipped edges and changes in the curve's reflected light. A strong side light can reveal waviness that overhead lighting misses. Record any changes with photographs, then have the installer or builder investigate rather than only applying fresh grout over the symptom.
Deciding If Curved Wall Tiles Suit Your Renovation
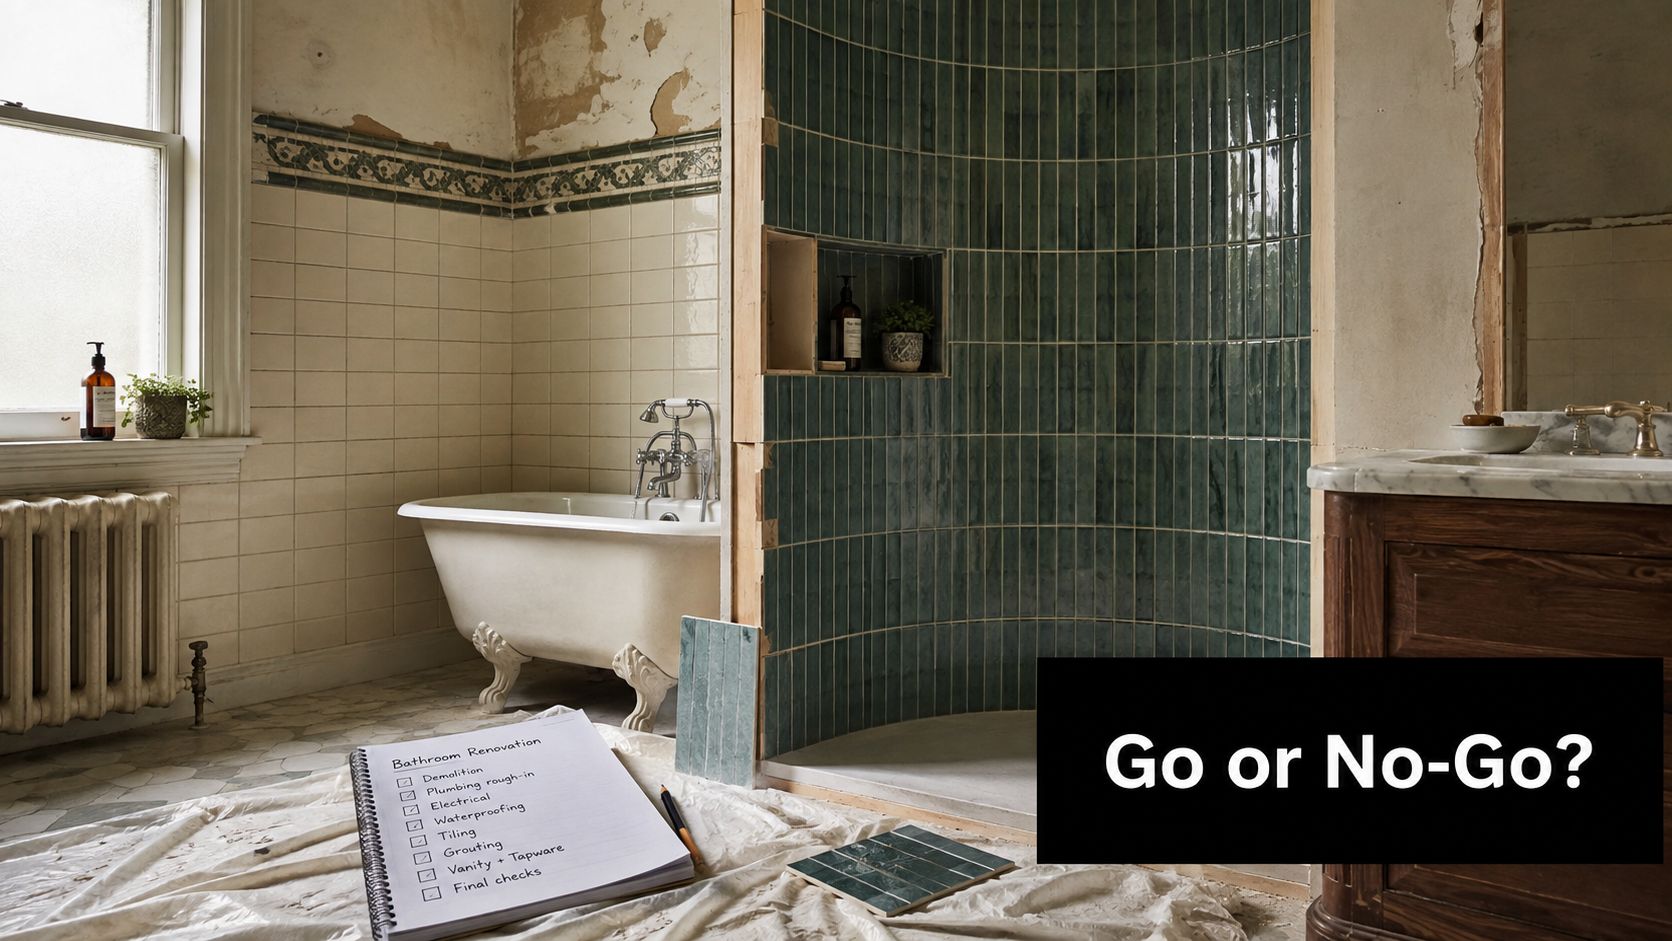
A curved wall earns its cost when the geometry improves the room and the construction team can control every layer behind the tile. Use three tests before demolition begins.
Project fit
Start with the physical wall. Is the existing framing capable of supporting the lining, waterproofing and tile load without flex? Does the curve improve circulation, create a useful niche or connect the vanity and bath into one composition? Check whether a heritage overlay or planning requirement applies to the property, particularly in older inner-Melbourne suburbs, before changing external or structurally significant forms.
Three conditions should stop the design until resolved:
- Slab movement joints cross the proposed curve. The tile layout can't bridge a movement joint.
- The shower base conflicts with the radius. The screen, waste position and waterproofing fall need to work with the wall geometry.
- Structural sign-off is required. Don't proceed with a decorative tile decision while the structural design remains uncertain.
Budget fit
Compare the curve with another feature upgrade that uses the same renovation allowance. A curved vanity return may deliver more value than a fully curved shower wall if it improves access and storage. If the wider bathroom scope approaches the Victorian registered-builder trigger, confirm the pathway early and decide whether a registered builder unlimited or a limited practitioner is appropriate for the work being arranged.
Timeline fit
Templated panels, custom arcs and imported formats can require different lead times. Small-format curved mosaics are usually more forgiving when the design needs adjustment, while large curved panels demand a verified template, prepared substrate and coordinated delivery. Never order the tile before the final radius, sheet system and plumbing positions are confirmed.
For a first curved project, choose small-format tiles, a generous radius and a straightforward termination. Reserve large-format curved panels for renovations where the substrate, budget, waterproofing plan and registered builder are aligned before demolition starts.
If you're planning bathroom renovations in Highett or greater Victoria, contact SitePro Bathrooms to discuss the geometry, compliance pathway and finish before work begins. Their team can coordinate concept development, 3D design, construction and finishing, helping you decide whether curved wall tiles will create a durable feature or an avoidable complication.