

Freestanding Bath with Shower: Design Ideas for 2026
A freestanding bath can absolutely double as a shower, but the Victorian setup must include proper splash containment, compliant waterproofing, suitable plumbing, and a safe floor waste. In Australia, the shower enclosure ranks as the most important bathroom product at 44%, ahead of baths at 35%, so the shower function shouldn't be treated as an afterthought. Reece's Australian bathroom insights help explain why this decision matters.
You may be standing in a Highett bathroom wondering whether that elegant sculptural tub can handle school-day showers, muddy feet, and regular cleaning. The answer isn't decided by the bath's shape alone. It depends on where the shower rose lands, how the screen catches spray, whether the floor drains properly, and whether the finished room satisfies Victorian building and accessibility requirements.
A freestanding bath with shower is a strategic compromise. It preserves the visual impact of a centrepiece bath while keeping the shower available for daily use. It can work brilliantly in a family bathroom, but it can also create a damp, awkward room if the design team treats it like a standard enclosed shower.
Can a Freestanding Bath Really Work as a Shower
In a Highett family bathroom, that sculptural freestanding bath may need to handle school-day showers, muddy feet, and constant cleaning. It can, but only if the shower is designed as the primary wet zone rather than added after the bath has been chosen.
A freestanding bath works with a wall-mounted, ceiling-mounted, or floor-mounted shower outlet. It also needs a screen or another barrier to direct spray back into the wet area. The floor waste must sit in a sensible position, with enough fall to prevent water collecting around the bath feet or travelling towards the doorway.
The exposed sides create the trade-off. A built-in bath benefits from walls or a tiled hob that contain water. A freestanding model leaves curved edges, exposed floor junctions, and more surfaces to clean after each shower. A fixed glass panel can catch the main spray path, but it will not provide the containment of an enclosed shower.
Practical rule: Design the shower first, then place the freestanding bath inside the protected wet zone.
For Victorian work, shower walls need waterproofing to at least 1800 mm above the floor substrate. The shower floor, junctions, and penetrations also require treatment under the National Construction Code. The NCC wet-area waterproofing provisions set out the 1800 mm wall requirement, which affects the shower rose, mixer, wall lining, screen position, and tile layout.
Drainage needs the same attention. Victorian practitioner guidance discusses shower-floor falls between 1:60 and 1:80, along with waterstops and boundary-control zones for unenclosed showers. The Victorian waterproofing guidance explains why placing a bath too close to an open shower increases the consequences of poor drainage.
Before ordering products, confirm the bath footprint, waste location, cleaning access, and screen swing. SitePro Bathrooms' freestanding bath installation guide outlines the practical checks that should happen before installation.
Design Options for a Freestanding Bath with Shower
There isn't one correct configuration. The right choice depends on whether you prioritise compact planning, visual openness, easy cleaning, or long-term accessibility.
| Option | Typical Space Needed | Splash Control | Screen Required | Best For |
|---|---|---|---|---|
| Wall-mounted shower with fixed glass panel | Compact to moderate | Good along the protected side, limited elsewhere | Yes, usually a fixed panel | Small family bathrooms and ensuites |
| Ceiling or rail rainfall shower | Moderate, with careful overhead positioning | Moderate unless paired with a wide screen | Usually yes | Design-led rooms where the bath must remain visually open |
| Curved or hinged screen with hand-held diverter | Compact to moderate | Better around the bath's curve | Yes | Rooms needing flexible rinsing and stronger splash control |
| Full wet-room layout with freestanding soaker | Larger, open planning | Depends on drainage and zoning | Optional, but often useful | Large family bathrooms and designer bathrooms |
Fixed glass beside the bath
A wall-mounted shower with a single fixed panel is usually the most sensible compromise. The wall carries the mixer and shower outlet, the panel catches the primary spray, and the bath can sit close enough to function without turning the entire room into a wet room. Keep the showering position aligned with the screen, not aimed across the room.
A deliberately open ceiling-fed shower
A ceiling or rail rainfall rose creates the cleanest freestanding appearance because the wall carries less visual hardware. It also demands accurate positioning. If the rose sits outside the bath's usable area, water will land on the floor, not in the tub. This look suits a larger room where a generous wet zone can be properly graded and waterproofed.
Curved or hinged protection
A curved or hinged screen works when the bath has a pronounced rim or when the user needs a hand-held shower for rinsing. It offers better control than a single narrow panel, but moving glass adds hinges, seals, and cleaning points. Don't choose it purely for appearance. Confirm that the screen can open without striking a vanity, toilet, or doorway.
The wet-room approach
A full wet room treats the floor as the shower basin and places the freestanding bath inside the broader wet zone. It offers the most flexible layout, but it also puts more responsibility on falls, membrane continuity, wall junctions, and waterstop detailing. The bath becomes the feature piece, while drainage and circulation determine whether the room works.
For a compact Highett ensuite, I'd usually start with a fixed panel and wall-mounted shower. For a larger family bathroom, a wet-room layout can be attractive, provided the homeowner accepts the extra waterproofing and cleaning demands.
Plumbing and Waterproofing Essentials for Victorian Homes
Freestanding bath plumbing looks tidy only after the floor has been opened and every pipe reaches its intended position. In a Highett renovation, the bath location, tapware, shower outlet, waste route, and floor structure must be resolved before finishes are chosen.
Set the rough-in before choosing the finish
Floor-mounted taps need hot and cold pipework to rise through an exact floor position. Wall-mounted fillers require a concealed valve and a cavity that can hold the pipework. A ceiling shower adds another route through the structure, while a wall rail keeps access simpler for future servicing.
The bath waste may need relocation. The new position could sit over a joist, fall too far from the existing connection, or fail to provide adequate drainage fall. Confirm the route before closing the floor. Tiling over an unresolved waste line turns a plumbing decision into demolition.
Treat the shower zone as a complete wet area
The shower floor requires full waterproofing, and the shower walls need treatment to at least 1800 mm above the floor substrate. Membrane continuity must cover wall and floor junctions, penetrations, the screen area, mixer, and waste. Follow the applicable Victorian requirements and the Australian waterproofing standards guide rather than relying on a product brochure.
The membrane must connect logically around the bath and screen. A freestanding tub does not reduce the shower's waterproofing obligations. Its exposed perimeter can create more junctions and allow water to reach surrounding flooring, especially where the screen leaves an open entry.
Drainage matters more than the bath photograph. A beautiful tub with a badly planned waste route becomes an expensive maintenance problem.
Before tiling, check substrate condition, membrane detailing, falls, and the location of every penetration. Photograph the work and retain the installer's documentation. These records help identify responsibility if moisture appears later.
Check the existing structure
Older Highett homes may contain timber subfloors, stumps, uneven levels, or previous plumbing alterations beneath the bathroom. A cast-iron bath places a different load on the structure from a lightweight acrylic model, particularly when filled and occupied. Have the builder inspect joists, bearers, supports, and the proposed waste route before delivery day.
A freestanding bath with shower succeeds when the drainage and waterproofing plan leads the design. Choose the sculptural finish after the structure, falls, and service routes are confirmed.
Safety, Accessibility, and Livable Housing Rules
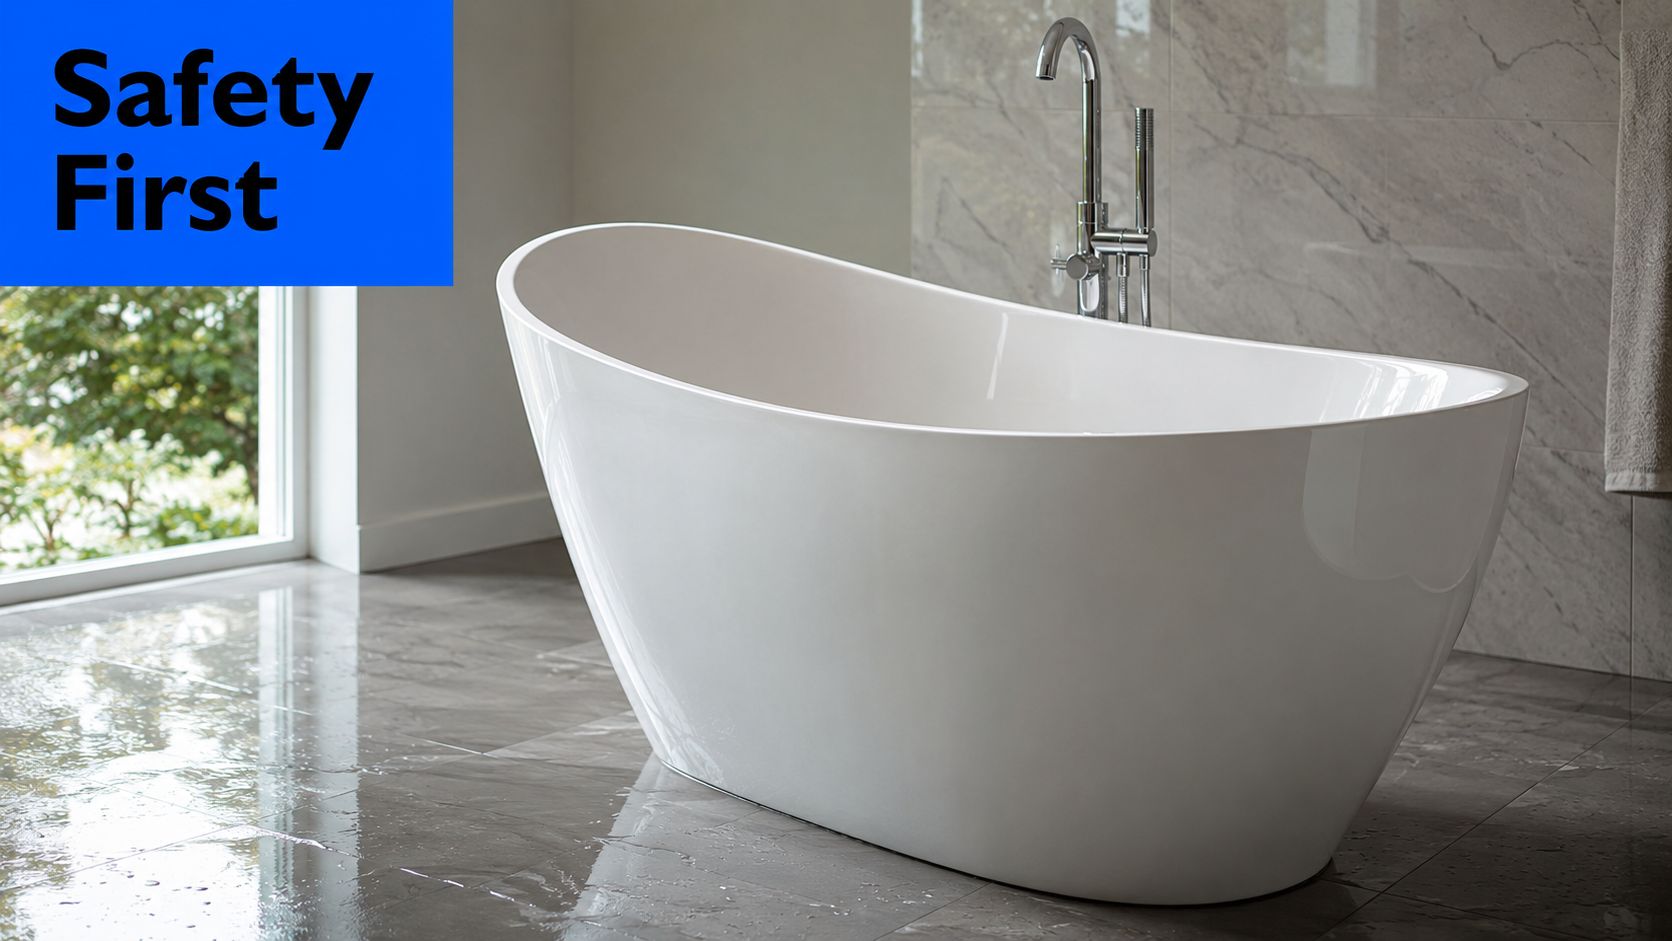
A freestanding bath with shower can look open and calm while creating a less forgiving place to enter, stand, turn, and clean. Curved slipper profiles reduce the flat standing surface available to a shower user, and water on a polished floor increases the slip risk. The safest design starts by deciding whether the room must support ageing in place, limited mobility, or future grabrail installation.
The hobless issue
The Livable Housing Design Standard requires at least one shower to be hobless and step-free. A freestanding bath can obstruct that objective because the user may need to step over the bath rim to reach the shower. A screen that meets the floor and properly contains water can help define a compliant shower area, but the bath itself remains a physical barrier.
The freestanding bath also creates a grabrail problem. It has no adjoining walls for fixings, so it is specifically excluded from the grabrail rule that applies to certain supported bath arrangements. If a household may need rails later, install suitable structural backing in the walls and keep circulation clear rather than assuming the finished room can be adapted easily.
Make daily use safer
Use anti-slip treatments and stable, easy-to-operate lever taps. A thermostatic mixing valve should keep delivered water below 50°C, and the hand-held shower should be reachable without leaning across a wet, curved rim. Provide enough clear space to approach the shower, transfer safely, and dry without standing in the main splash path.
The design shouldn't rely on a freestanding bath's visual lightness. Smaller, softer-oval, shallower profiles can make compact rooms feel less crowded, but they don't automatically solve entry, drainage, or grabrail access. If universal access is a serious goal, compare the bath's appearance with a step-free shower before signing off the layout.
Cost, Timeline, and Permit Triggers in Victoria
Homeowners often price the bath first and discover the budget later. The bath is only one part of the job. Waterproofing, exposed tapware, screen design, ceiling access, waste relocation, structural work, permits, and trade coordination can change the total substantially.
The specific bath, exposed or wall-mounted tapware, screen, ceiling-fed shower, and labour should each appear as separate lines in the quote. For broader planning, bathroom addition and renovation considerations can help identify which decisions increase scope before construction begins.
| Component | Typical Cost (AUD) | Time Required | Permit/Trades Required |
|---|---|---|---|
| Freestanding bath | A$1,500 to A$8,000+ | Product lead time plus installation | Builder and plumber |
| Exposed or wall-mounted tapware | Product-specific | Rough-in and fit-off | Licensed plumber |
| Shower screen | Product-specific | Measure, manufacture, install | Glazier or bathroom contractor |
| Ceiling-fed shower | Product-specific | Ceiling rough-in and fit-off | Licensed plumber, builder if structure changes |
| Waterproofing | A$800 to A$2,500 for a standard 6 m² bathroom | Preparation, membrane, inspection and cure time | Registered builder or appropriate contractor |
| Labour and coordination | Scope-dependent | Demolition through handover | Registered builder, licensed trades |
The A$1,500 to A$8,000+ bath range and the A$800 to A$2,500 waterproofing range for a standard 6 m² bathroom are planning allowances, not promises. The Victorian Building Authority waterproofing fact sheet reinforces why shower waterproofing creates technical work beyond the visible fittings.
Permits and registration
In Victoria, domestic building work valued over A$16,000 generally must be carried out by a registered builder, as set out in the Victorian Building Regulations registration provisions. A bathroom, kitchen and laundry renovation is a specific registration class, and plumbing must be completed by a licensed plumber with the relevant compliance documentation.
Permit requirements depend on scope. Structural changes, moving plumbing fixtures, converting a non-wet area into a bathroom, and significant electrical work can trigger a building permit, while cosmetic updates and like-for-like replacements often don't. Victorian renovation permit guidance explains why the same-looking bathroom may have a different approval path depending on what moves behind the walls.
Planning Your Renovation from First Idea to Build
A successful freestanding bath project begins with a measured brief, not a product purchase. Write down who uses the bathroom, whether the shower is the everyday fixture, whether future accessibility matters, and what you refuse to compromise on. Then test the wish list against the room's doors, windows, waste locations, ceiling, storage, and floor structure.
Use a six-stage workflow
Brief and wishlist: Decide whether the bath is a feature, a practical family fixture, or both. Select the preferred shower arrangement before choosing a tub.
Site measure and feasibility: Record room dimensions, doorway widths, stairwell access, ceiling height, existing waste routes, and floor construction. Measure the route the bath must travel through the house, not only the room where it will sit.
Three-dimensional concept design: Review the bath, screen, shower drop, vanity, toilet, lighting, and tile proportions together. A 3D view exposes conflicts that a flat sketch can hide.
Product selection and specification: Lock the bath model, waste, tapware, screen, shower hardware, tiles, and accessories. Confirm lead times before demolition.
Quote and contract: Require the scope to identify waterproofing, inspections, permits, structural checks, rubbish removal, protection of existing finishes, and compliance documents.
Build and handover: Sequence demolition, framing, plumbing rough-in, electrical rough-in, waterproofing, tiling, fit-off, testing, and final inspection.
The floor waste position, ceiling shower height, screen type, and bath model must be fixed early. Each choice affects pipe routes, membrane detailing, tile set-out, ceiling or truss modifications, and the order in which the builder, plumber, waterproofer, tiler, and electrician work.
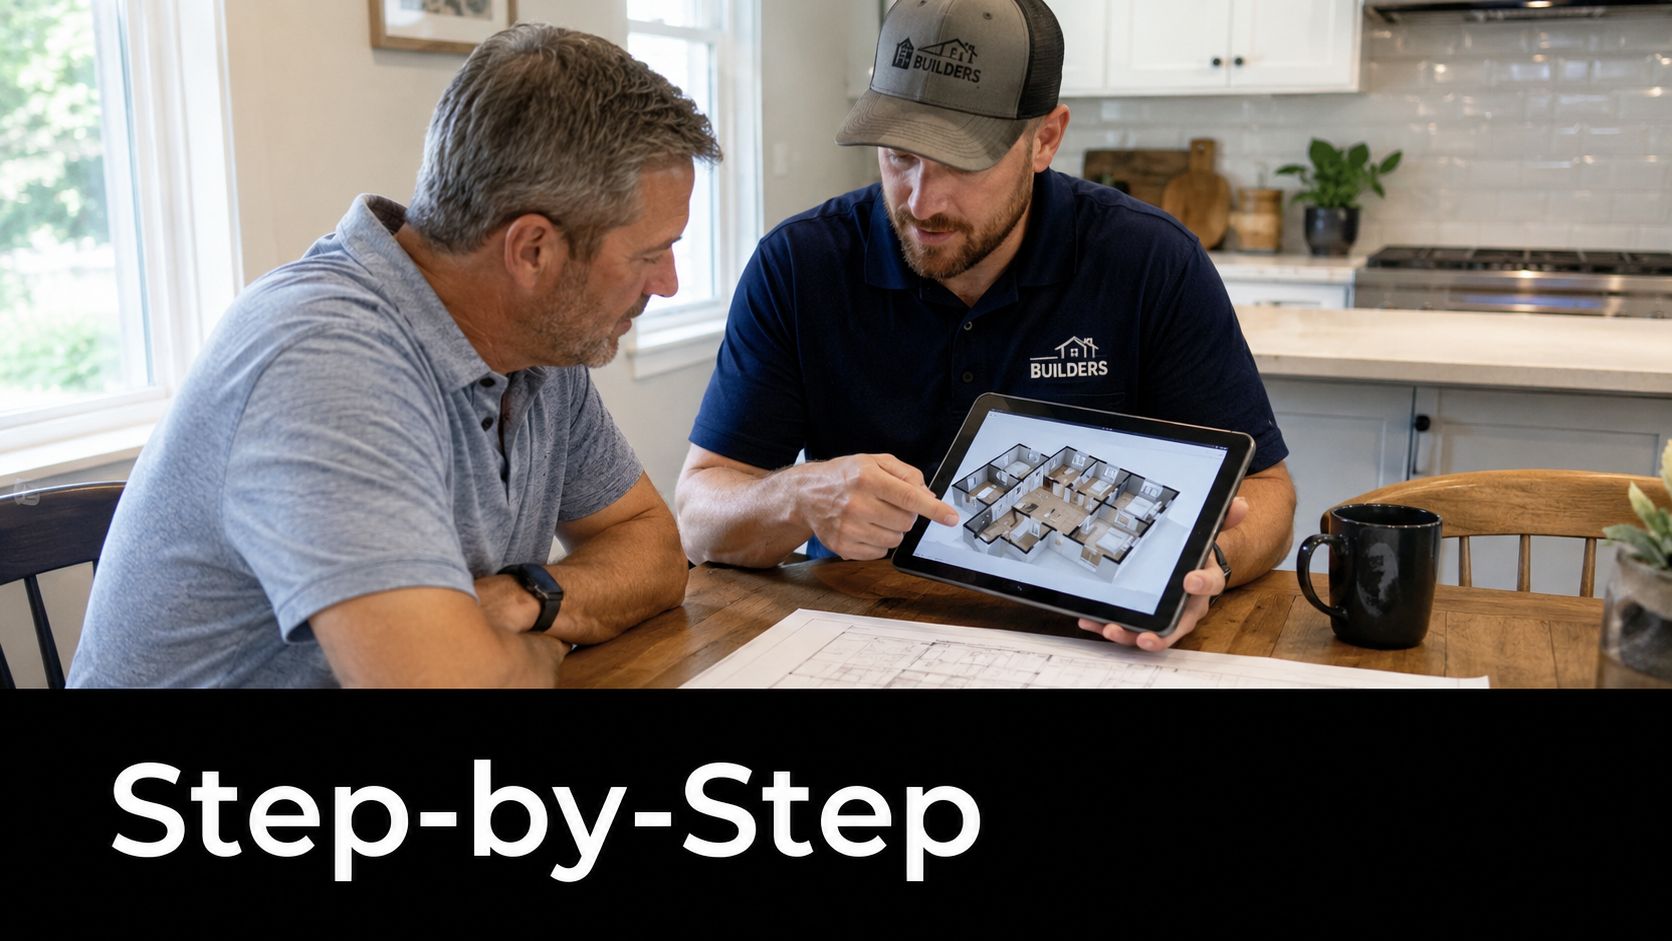
Before the first tool enters the room, confirm product delivery access, storage, floor protection, tile quantities, bath weight, and inspection timing. Victorian consumer guidance says homeowners should complete building plans first, check planning and building permit needs, and make sure required permits are obtained before work starts. The Victorian plans and permits checklist also makes clear that the homeowner remains responsible for ensuring the approvals are in place.
A Highett Renovation Walkthrough with SitePro Bathrooms
Consider a representative Highett project involving a 1990s ensuite. The homeowners wanted a freestanding bath with shower, but the original room couldn't safely fit a separate bath and shower without sacrificing circulation. The agreed direction was a wall-mounted shower, one fixed glass panel, and a hobless entry beside the bath.
The first visit focused on measurements and constraints, not finishes. The team checked the existing waste, wall construction, ceiling route, doorway access, and floor condition. During the 3D concept review, the homeowners could see the screen position, shower drop, bath clearance, vanity relationship, and tile arrangement before demolition.
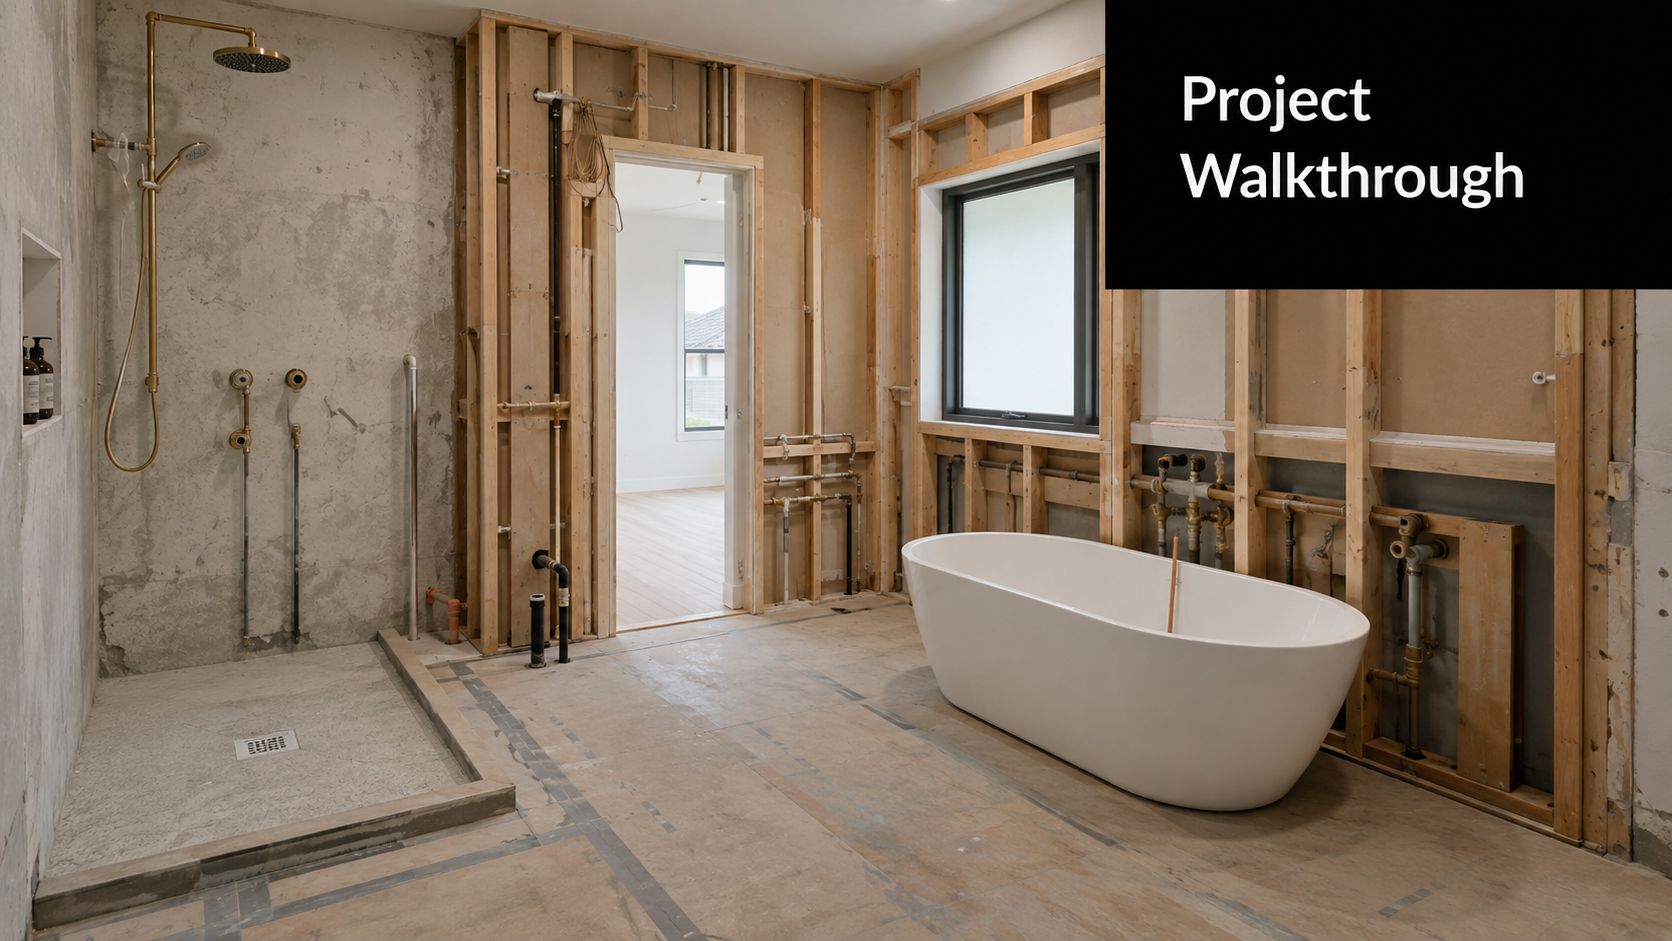
Once the products were approved, demolition exposed the substrate and plumbing routes. Framing and rough-in followed, with the plumber positioning the waste, mixer, and shower supply before the walls and floor were closed. The waterproofer then completed the wet-area membrane, with the work documented and certified before tiling began.
The final sequence included tiling, screen installation, bath and tap fit-off, electrical completion, testing, cleaning, and compliance sign-off. The builder-licensed team coordinated VBA documentation, the building permit process, inspection timing, and trade access rather than leaving the homeowners to chase each specialist.
SitePro Bathrooms offers concept development, 3D design, construction, and finishing through its Highett bathroom renovation service. A real programme depends on approvals, product availability, hidden conditions, and inspection scheduling, so the consultation should establish the actual sequence rather than promise an artificial deadline.
The right contact path is simple. Start with the room address, current photos, rough dimensions, and a clear statement that the project involves a freestanding bath with shower. Ask for an on-site feasibility review before selecting the bath.
Pros, Cons, and Smart Alternatives to Consider
The strongest argument for a freestanding bath with shower is visual. It gives a bathroom a centrepiece, creates a more open composition than a built-in tub, and can make a compact renovation feel more considered. It also preserves bathing while supporting the shower routine that most households rely on.
The compromises are equally real:
| Benefit | Compromise |
|---|---|
| Strong focal point | More exposed splash and cleaning |
| Bath and shower in one layout | Awkward screen design around curves |
| Flexible placement | Larger effective footprint |
| Premium, spa-like appearance | Harder grabrail planning |
| Works in selected compact rooms | Greater dependence on drainage and membrane detailing |
Don't choose this layout if the household needs effortless step-free access, quick cleaning, or straightforward future grabrail installation. A curved rim can become a daily obstacle, and an open screen can leave the surrounding floor wetter than expected.
Alternatives that often work better
A back-to-wall freestanding bath keeps some of the sculptural look while reducing exposed cleaning gaps and simplifying screen placement. A shower-over-bath with a tiled surround offers stronger splash containment, though it gives up the clean freestanding appearance.
A walk-in shower with a separate bath is the clearest choice for households with enough room. It separates the wet functions, improves accessibility planning, and makes each zone easier to detail. A wet-room conversion with a freestanding soaker gives the most design freedom, but the floor falls, waterstops, membrane continuity, and circulation must be engineered carefully.
Each alternative still needs to respect Victorian waterproofing and wet-area rules. None removes the need to consider the hobless shower requirement or Livable Housing objectives. The decision should reflect the home's structure, the household's routines, and the likely future use of the room, not only the image that first caught your attention.
If the freestanding bath remains the right choice after those tests, book a consultation with SitePro Bathrooms in Highett. Bring your measurements, photos, preferred style, and accessibility priorities, then ask the renovator to prove where the water will go, how the screen will work, and what approvals the project needs.
Book an on-site bathroom consultation before ordering a freestanding bath with shower. Ask for a measured layout, 3D design review, waterproofing and drainage plan, permit assessment, and itemised quote so your Highett renovation looks refined and works properly every day.