

How to Install Underfloor Heating in Your Bathroom
You're standing in a stripped-back bathroom in Highett, the vanity's gone, the old tiles are in the skip, and the floor finally looks bigger than it did yesterday. That's usually the moment people ask whether underfloor heating is worth folding into the renovation, or whether it's going to chew up floor height, complicate waterproofing, and turn a straightforward job into a mess of callbacks.
The honest answer is that how to install underfloor heating is never just about laying a mat or pipe. It's a renovation-system decision, because the floor structure, the waterproofing layer, the ceiling height, the subfloor access, and the finish all have to work together. Australia's NCC 2022 moved building requirements into a more explicit energy-efficiency framework, and the 7th Edition of NatHERS now uses a 0–10 star scale as set out in the market background on underfloor heating. In practical terms, that pushes heating decisions earlier, not later.
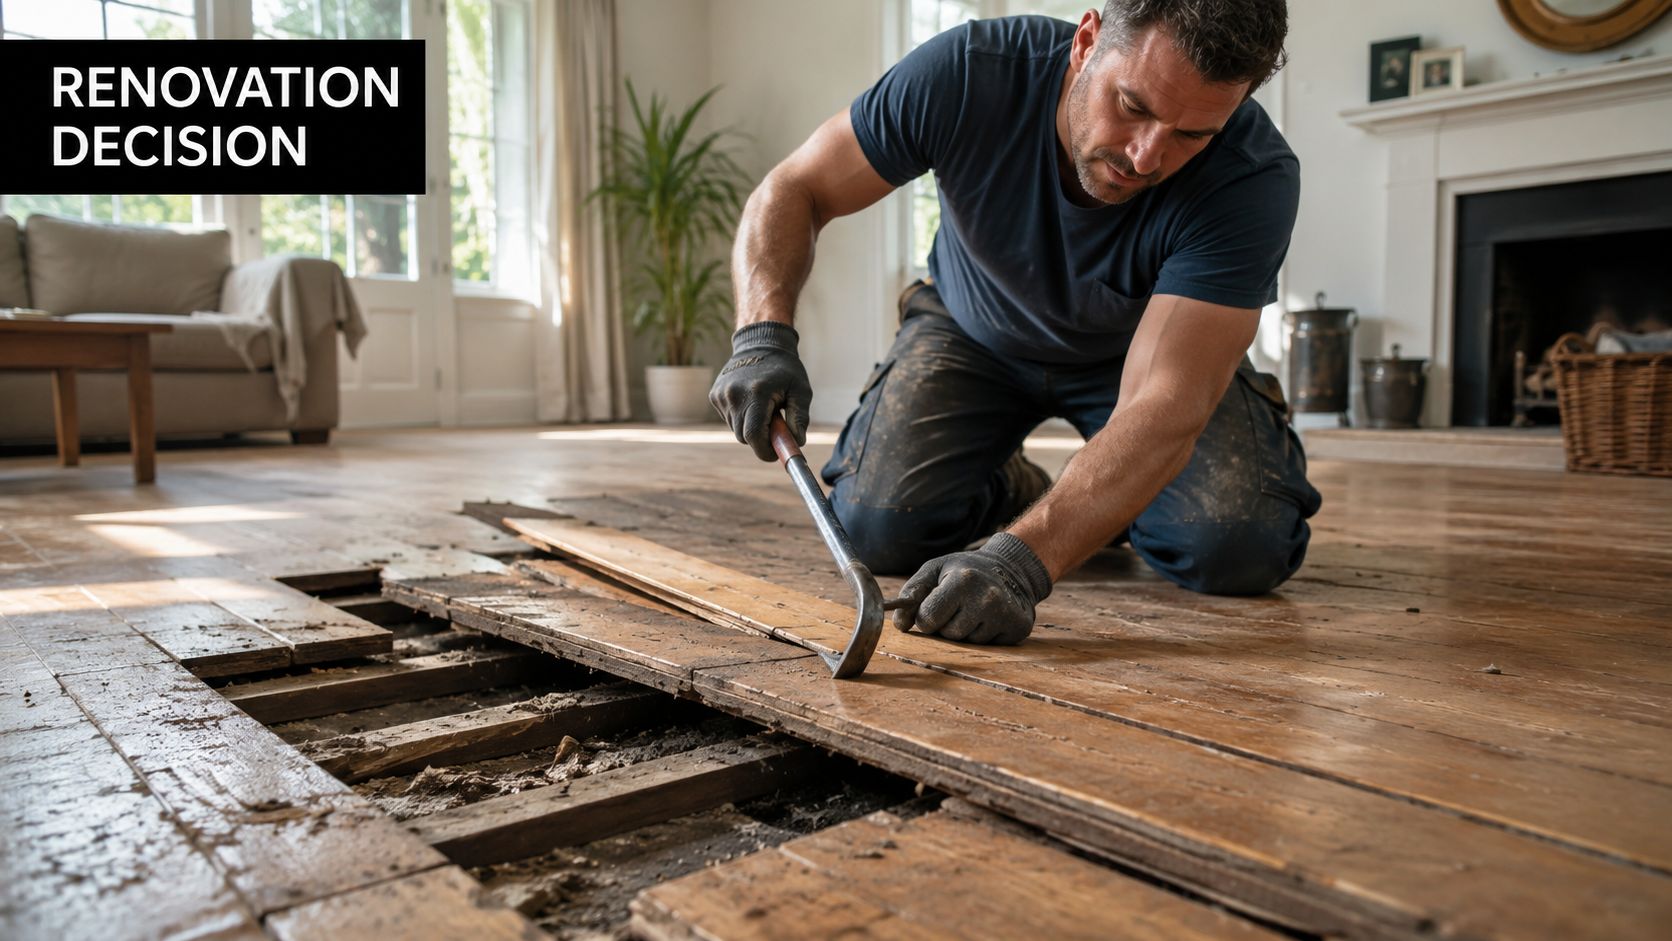
Why Underfloor Heating Is Really a Renovation Decision
A lot of homeowners start with the wrong question. They ask which heating product to buy, when the better question is whether the room can carry it without forcing the rest of the renovation to bend around the floor.
I've seen this most often in bathroom renovations where a Highett homeowner wants a warmer floor, but the room already has tight door clearances, a fixed shower fall, and not much spare height. If the subfloor isn't right, the heating element doesn't become a comfort upgrade, it becomes one more thing the builder has to work around. That's why underfloor heating works best when it's treated as part of the floor build-up, not as a last-minute add-on.
The Australian planning context matters here. The NCC 2022 energy-efficiency direction, together with the NatHERS 0–10 star scale, pushes designers to think about insulation continuity, moisture control, and floor structure before the finish goes down in the underlying market reference. That's not paperwork for its own sake. It changes the order of work on site.
Why the room, not the product, decides the outcome
The system choice has to suit the room's structure. A heated bathroom floor in a slab home behaves differently from one over timber framing, and a renovation in an older Victorian house can have more hidden constraints than the owner expects.
Practical rule: If the floor build-up hasn't been mapped before demolition finishes, the heating system is already at risk of being the wrong choice.
That's the reason good jobs begin with checks on the slab or subfloor, moisture barriers, insulation continuity, and finish height. Once those are settled, the installer can choose the right system and sequence the trades properly. That's also where registered builders unlimited come into the picture on more involved bathroom renovations, especially where structural changes, waterproofing coordination, and multi-trade sequencing all sit on the same floor.
Electric Mats Versus Hydronic Pipes in Australian Bathrooms
A bathroom in Highett does not give you much room to hide a poor heating decision. The floor build-up, the subfloor type, the waterproofing sequence, and the finish height all shape whether electric resistance mats or cables will suit the room, or whether hydronic systems with PEX pipe loops make more sense as described in the installation overview. Electric mats warm the floor finish directly. Hydronic systems move heated water through pipe loops set into a screed or slab layer, so the floor itself becomes part of the heat distribution surface.
Australian dwelling types push that decision in different directions. National housing mix varies enough that the same heating method can be a tidy fit in one renovation and a poor fit in the next. The census-linked summary shows a heavy share of detached houses alongside semi-detached homes, townhouses, flats, and apartments in the census-linked summary. Detached homes usually give more scope for access and floor build-up. Apartments and many townhouses often push the job toward electric because depth is tighter and access is harder.
| Factor | Electric Mats/Cables | Hydronic Pipe Systems |
|---|---|---|
| Floor depth | Usually slimmer and easier in tight bathrooms | Usually needs more build-up |
| Best fit | Ensuite, powder room, apartment bathroom, compact renovation | Detached homes, larger bathrooms, whole-floor comfort |
| Installation feel | Faster layout, simpler heating layer | More trades involved, more coordination |
| Floor structure impact | Suits low-profile retrofits | Better where the room can accept a deeper floor build-up |
| Typical finish pairing | Tile and stone are the natural match | Tile and stone are also the strongest match |
The trade-off is not just comfort. It is whether the room can take the system without hurting ceiling height, thresholds, or waterproofing details. If you are planning a compact ensuite or a quick bathroom refresh, electric often gives the cleaner path. If the renovation is larger and the floor depth can handle it, hydronic can still be the better long-term fit. For a room-by-room planning guide, the bathroom floor heating guide is a useful companion when you are comparing layouts.
Planning the Subfloor and Waterproofing First
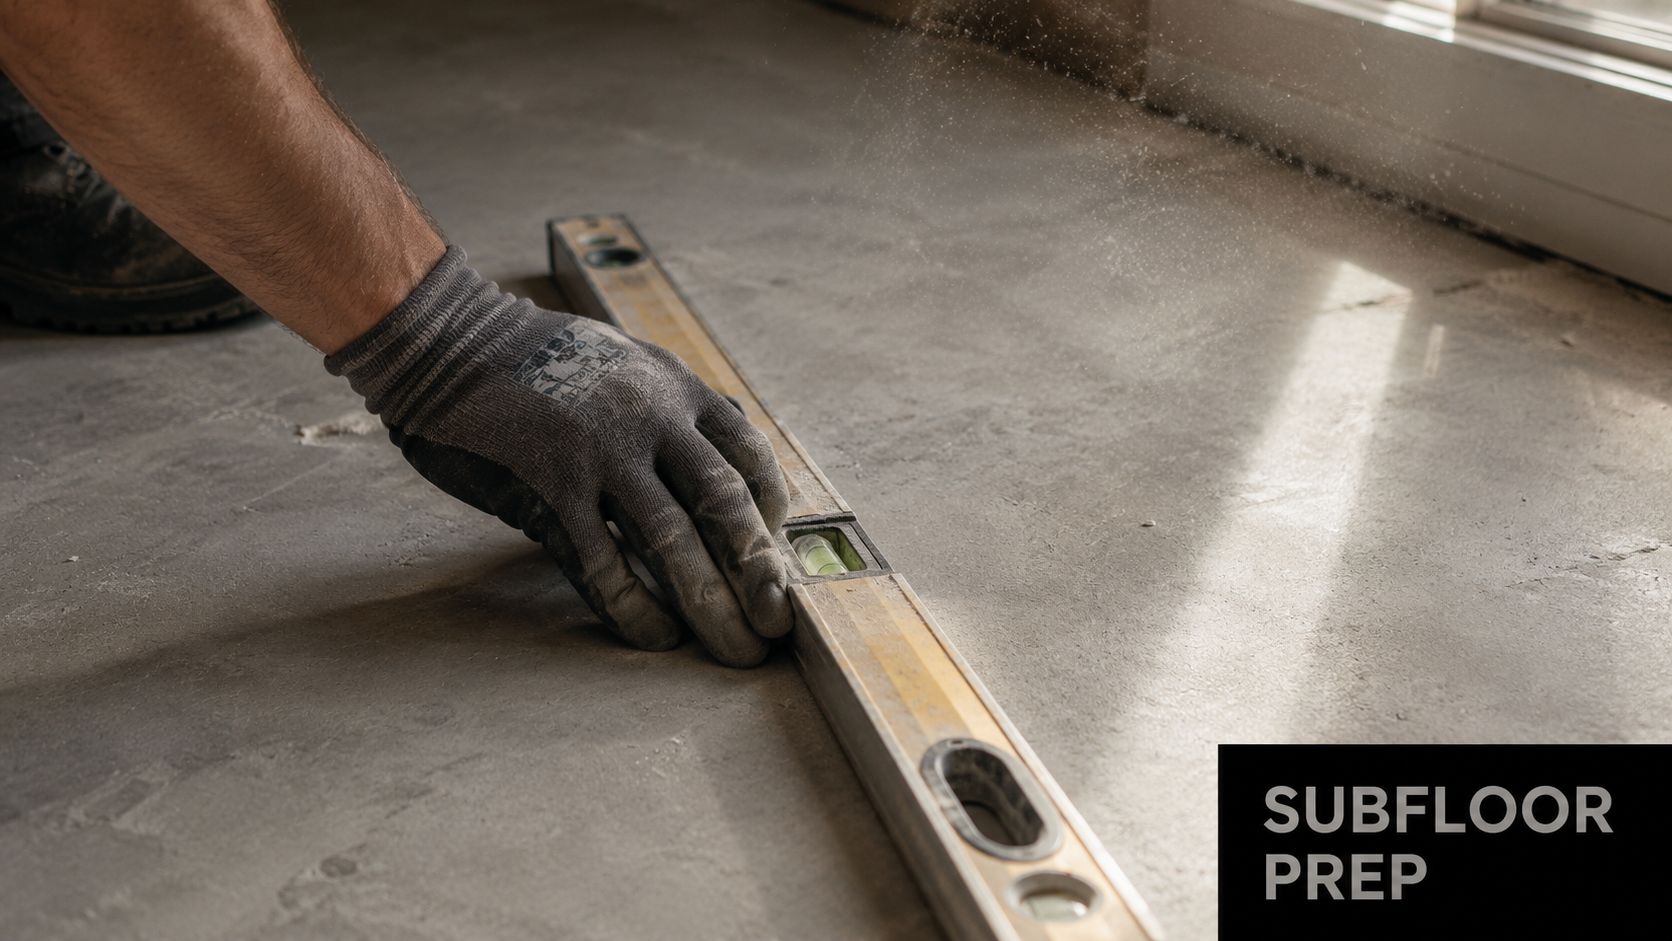
The floor has to be ready before any heating goes down. That means clean, dry, level, and free of the kind of defects that can wreck heat transfer or damage the system later. On a concrete slab, uneven patches, cracks, and moisture issues aren't cosmetic. They're the kind of problems that can pin a pipe, distort a mat, or create a failure you won't see until the floor is already finished as set out in the concrete-install guidance.
What has to be checked before the heating layer arrives
The preparation is more than sweeping the dust out. The subfloor needs to suit the system, the insulation needs to be continuous, and the floor build-up has to leave enough room for the waterproofing membrane, heating element, adhesive or screed, and final finish without creating a trip hazard or wrecking door clearances as noted in the floor-construction guidance.
A practical bathroom checklist looks like this:
- Confirm the base: Check whether the room sits on slab or timber framing, because the fixing method changes with the structure.
- Check flatness: A level base matters, because lumps and dips are where problems show up first.
- Handle moisture early: A wet slab or suspect subfloor can't be ignored, because waterproofing and heating both depend on a stable base.
- Plan the build-up: The finished floor height has to suit the shower entry, vanity kick, and door swing.
- Coordinate the membrane: In a wet area, the waterproofing layer needs to be planned with the heating layer, not treated as an afterthought.
Victorian waterproofing coordination is where many renovations go sideways, because the membrane, floor level, and tile finish all affect one another. If you're adding insulation or substrate boards, that has to be settled before the heating goes in, not patched around after the electrician or plumber has already been booked.
The cleanest installs happen when the room is still being built in layers, not when trades are trying to squeeze heating into a finished floor plan.
That's especially important in older Victorian homes, where the original subfloor may need adjustment before the bathroom can accept any new heating system. If the floor height hasn't been resolved on paper, it usually becomes an expensive site argument.
Installing an Electric Underfloor Heating Mat
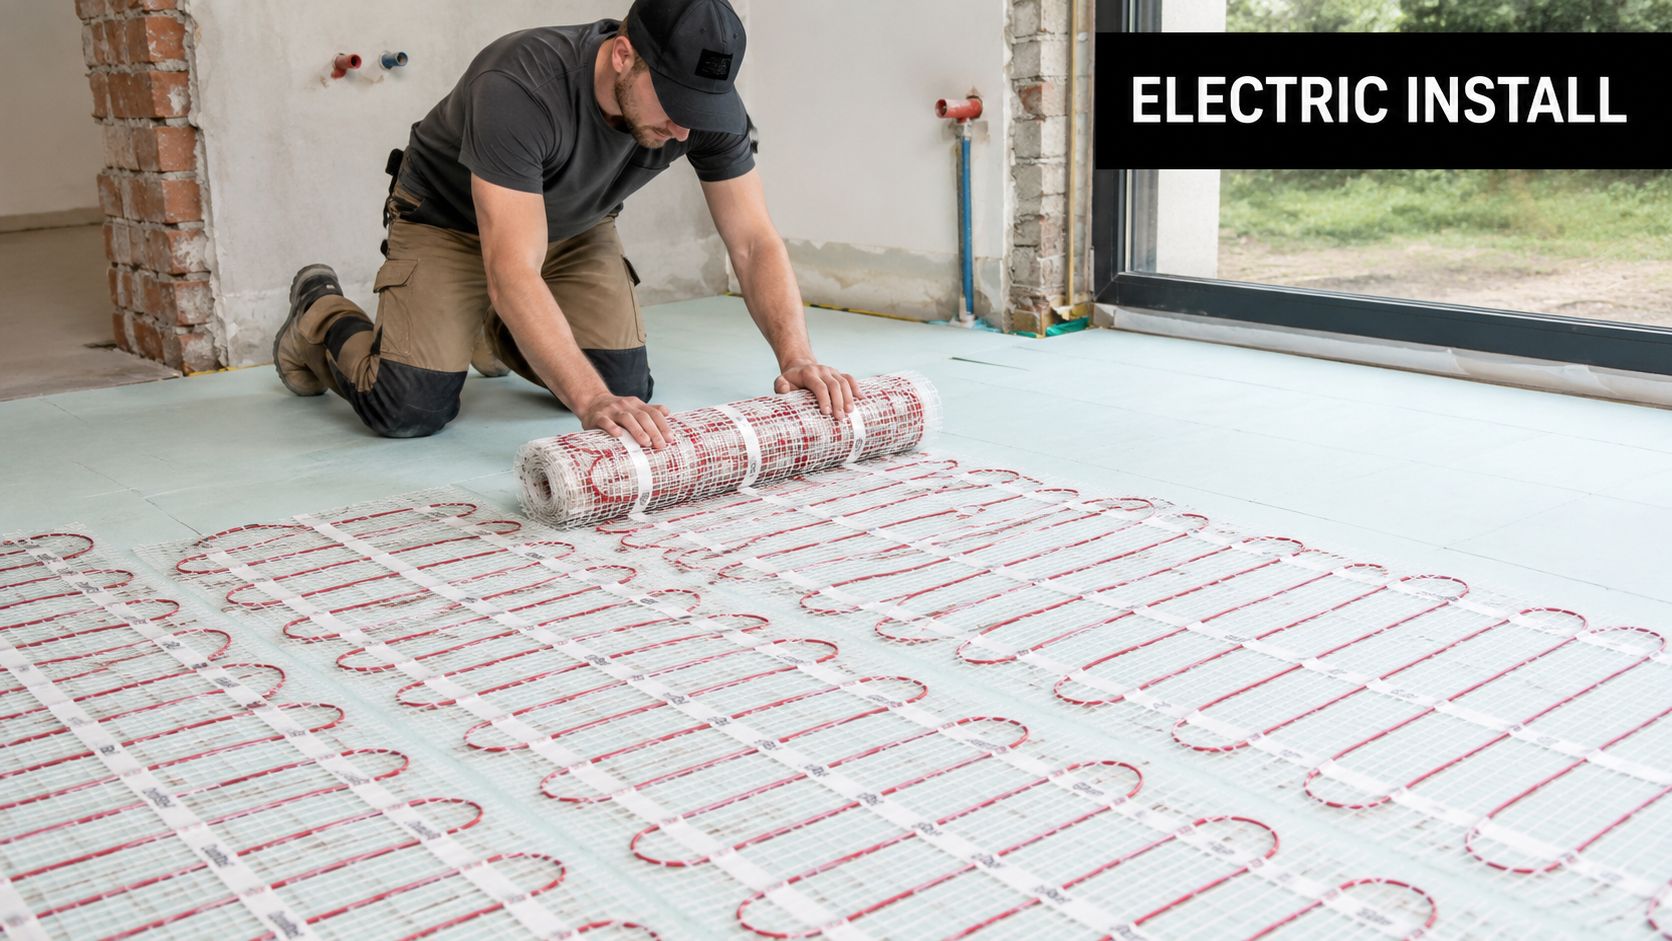
Electric underfloor heating is the compact option, but it still has to be treated as part of the whole bathroom build, not as a quick add-on. Once the subfloor is ready and the insulation boards are down, the mat or loose cable is laid so the heated zones sit where people stand, not under fixed furniture, cabinets, or waste points. In a Highett bathroom on a timber frame, that usually means planning around joists, waste lines, and the finished floor height before anyone starts unrolling cable.
Laying and testing the mat
Before the mat is fixed down, it gets checked with a multimeter. The measured resistance should sit within the manufacturer's expected range, and in the installation benchmark that range is about -5% to +10% as stated in the installation benchmark. That same resistance check is repeated again before the final covering and again at commissioning. If the reading changes, the fault has to be traced before the floor is buried, because once tile adhesive or leveller goes over the cable, access becomes the problem.
The mat is then embedded in tile adhesive or self-levelling compound, depending on the floor finish and the build-up already allowed for in the room. The floor sensor needs to sit in a sensible position, away from a hot patch and clear of anything that would make the thermostat read the room poorly. In a Victorian bathroom renovation, that often means setting the sensor line before waterproofing and tiling are locked in, so the electrician and tiler are not arguing over a chased groove after the membrane is already in place.
Once the floor is live, the floor limit should be set to 27°C, then brought up gradually by no more than 2°C every 24 hours to reduce thermal shock again, as stated in the installation benchmark. That slow start matters on tiled floors over slab, and it matters even more in older Victorian houses where the subfloor has a bit of movement and the surface build-up is already working hard.
What usually goes wrong
The common mistakes are small, but they cause expensive rework. The mat gets bent too tightly at a corner, the sensor lands in the wrong spot, the resistance is not checked after fixing, or the floor finish goes over the top before the electrician has signed off. A bathroom renovation gets messy when the waterproofing, heating, tiling, and electrical work are left to separate booking schedules instead of one build sequence. On site, that usually shows up as a tiler covering a cable path that still needed testing, or a plumber cutting across a mat because the waste location was never marked before the floor went down.
Good electric installs stay quiet. The cable lies flat, the readings match at each check, the sensor is where it should be, and no one has to open the floor again.
That is why electric underfloor heating suits modern bathrooms and higher-finish tiled rooms so well. It is not simpler because the work is trivial. It is simpler because the footprint is smaller, the sequence is clearer, and a registered builder can keep the renovation moving without the floor build-up turning into a site dispute.
Installing a Hydronic Underfloor Heating System
A hydronic floor is not just another heating product to lay in. On site, it is a plumbing and screeding sequence that has to fit the bathroom rebuild, the floor build-up, and the heating source already chosen for the house.
The hydronic sequence on site
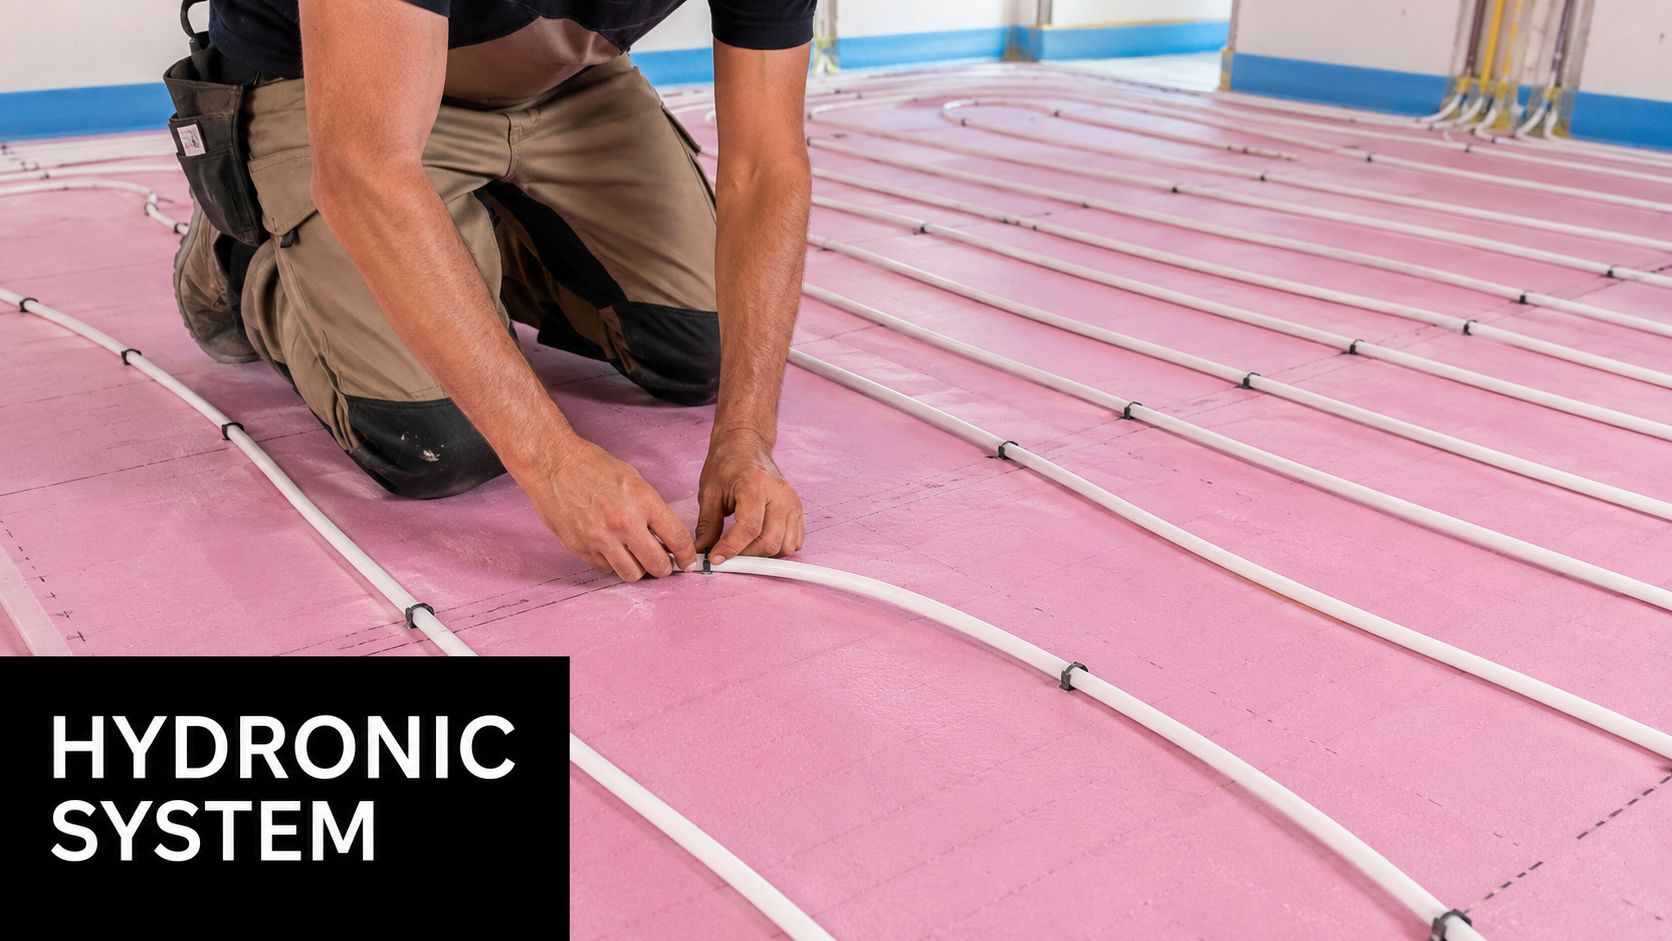
The job starts with a cleaned subfloor. From there, the team lays 50 mm rigid foam insulation, then fixes pipe-retaining panels or clips as shown in the hydronic installation guide. The PEX tubing runs in a planned loop pattern, returns to the manifold, and connects back to the heating source. Each loop has to sit flat and stay free of kinks, because bent pipe or uneven spacing will give you patchy floor temperatures later.
The pipe layout also has to suit the room, not just the drawing. On a Victorian bathroom floor with awkward walls, a drain change, or a tight doorway, the loop pattern often needs to be adjusted so the heat lands where people stand, not under fixed fittings or dead corners. That is where hydronic work differs from a simple mat install. The pipe run, manifold position, and floor build-up all have to work together before anyone commits to screed.
Before anything gets buried, the circuit is pressure-tested. The hydronic installation guide notes a test at about 6 bar for 30 minutes in the same hydronic guide. That test catches leaks, poor joints, or damage from handling while the pipes are still exposed and repairable. On a renovation, that is the stage that saves you from finding a problem after the floor has already been closed up.
Curing and commissioning
Once the pipework passes test, the screed goes down and has to cure. The same guide sets out a 4 to 6 week screed cure before commissioning in the same reference. Commissioning is the controlled first run, where the plumber, screeder, and tiler need to have done their work in the right order so the system starts properly without stressing the floor or trapping moisture where it should not be.
That timing matters in a bathroom renovation because the heating system is locked to the rest of the sequence. Waterproofing has to be right before the screed goes in, the screed has to be cured before the floor finish goes down, and the heating source has to be connected and signed off by the right trade. If the room is already short on height, or the bathroom is being rebuilt with little tolerance for a deeper floor, hydronic heating can make the renovation harder to fit than it looks on paper.
For homeowners choosing a warmer floor finish, a guide to timber floors in bathrooms is useful because the floor covering changes the whole build-up and the maintenance expectations around it.
Cost, Timeline, and Flooring Compatibility in Victoria
The cost question isn't really about the heating kit. It's about what the room needs around it.
For a Victorian bathroom renovation, electric underfloor heating usually makes sense when the bathroom is compact, the floor height is tight, and the rest of the room is already being rebuilt for tiles or stone. Hydronic is more involved because it brings pipework, manifold connection, and a screed layer into the mix. On a straight practicality basis, that means more trades, more sequencing, and more opportunities for a clash if the bathroom layout hasn't been settled early.
What the floor finish does to the project
The best-performing finishes are the ones that conduct heat well. Full-surface tile or stone are the natural match, especially in modern bathrooms and designer bathrooms where the goal is even warmth underfoot and a clean visual finish as noted in the flooring guidance. That same guidance also stresses testing before the final covering goes down, which is exactly the point where costly mistakes become hard to fix.
Engineered timber can be used in some bathroom-adjacent applications, but it tightens the decision-making. SitePro Bathrooms' timber-floors-in-bathrooms guide is worth reading if you're trying to understand how a warmer, softer look changes the build-up and why it isn't as forgiving as tile in a wet area.
What the timeline really looks like
On site, the sequence is usually demolition, subfloor correction, waterproofing coordination, heating installation, testing, then floor finish. That order matters because a heated bathroom isn't built as separate trades stacked randomly on top of one another. It's built as one layered floor assembly.
A competent homeowner can sometimes self-install a small electric mat in a simple ensuite or powder room if the slab is flat, the job doesn't need plumbing changes, and the electrical work stays within licensed boundaries. Once the job touches a new electrical circuit, any plumbing alteration, the waterproofing membrane, or structural changes to the subfloor, the line into licensed work has been crossed and a registered builder, licensed electrician, or licensed plumber needs to be involved.
Where DIY makes sense, and where it doesn't
- Possible DIY territory: Small electric mat, simple room layout, no pipework, no structural correction, no waterproofing alteration.
- Professional territory: Hydronic systems, slab corrections, any new plumbing connection, electrical circuit changes, and any wet-area rebuild that affects the membrane or floor structure.
- Best coordination model: A renovation team that handles design, construction, and finishing in-house can keep the floor height, waterproofing, heating, and tiling aligned from the beginning.
If the floor needs to be opened, rebuilt, and signed off by more than one trade, the project has already moved beyond a simple product install.
That's why the cheapest quote is rarely the cheapest project. A tidy install with the right sequence usually costs less than reopening a floor because the heating was buried too early.
Troubleshooting, Maintenance, and Common Questions
When a heated bathroom floor works, you shouldn't have to think about it much. When it doesn't, the clues are usually easy to spot if you know where to look.
Cold strips or patchy warmth usually point to a layout issue, a sensor problem, or damage that happened before the finish went down. On electric systems, the first check is the thermostat and the floor sensor, because a bad reading there can make the floor seem broken when the heating element is fine. On hydronic systems, pressure loss in a loop is the warning sign that needs a plumber's eye, not guesswork.
Annual care is simple. Keep the thermostat settings sensible, avoid drilling or cutting into the finished floor, and ask for the test readings to be handed over at the end of the job so future fault-finding starts with real data rather than assumptions. If the room was installed properly, maintenance is mostly about observation rather than intervention.
Common questions homeowners ask
Is underfloor heating worth retrofitting in a low-ceiling bathroom?
Sometimes, yes, but only when the floor build-up can be managed cleanly. If the insulation, waterproofing, and finish all eat too much height, the job becomes a compromise rather than an upgrade.
What flooring works best?
Tile and stone are the most natural match for heated bathroom floors, because they suit the heat-transfer style and the wet-area finish.
Can a DIYer handle the whole thing?
Not once plumbing, new electrical work, waterproofing changes, or subfloor alterations are involved. At that point, the job belongs with licensed trades and, in larger bathroom renovations, a registered builder.
What should a renovation company hand over at the end?
Clear test results, a clean commissioning process, and a floor that reaches the finish height without disturbing doors, drainage, or waterproofing.
If you're planning bathroom renovations in Highett or anywhere across Victoria and you want the floor heating integrated properly, talk with SitePro Bathrooms about the room layout, the subfloor, and the right install sequence before the demolition starts. The right call early saves a lot of rework later, and it's the difference between a bathroom that merely looks finished and one that performs the way it should.