
Steam Shower Waterproofing Guide
You're planning a bathroom that feels more like a private day spa, perhaps with a frameless glass enclosure, tactile stone-look tiles and a steam generator hidden behind the wall. The visible design is exciting, but the part that determines whether the room lasts is mostly invisible. Steam shower waterproofing must control vapour as well as liquid water, and that distinction affects the ceiling, corners, penetrations, screen line and every service installed inside the enclosure.
A standard shower can't just be upgraded with a steam outlet and treated as finished. The Australian wet-area framework provides a necessary baseline, but an enclosed steam environment needs a more continuous, carefully coordinated envelope. For homeowners planning bathroom renovations in Highett or greater Victoria, the safest approach is to settle the technical details before choosing the final tile or tapware.
The Hidden Risks Behind Luxury Bathroom Upgrades
A homeowner often starts with a simple wish: close the shower, add a steam function and create a comfortable retreat without changing the entire bathroom. The first drawings might show a clean glass box, a floating vanity and warm, natural finishes. It looks straightforward because the finished surfaces hide the complicated work behind them.
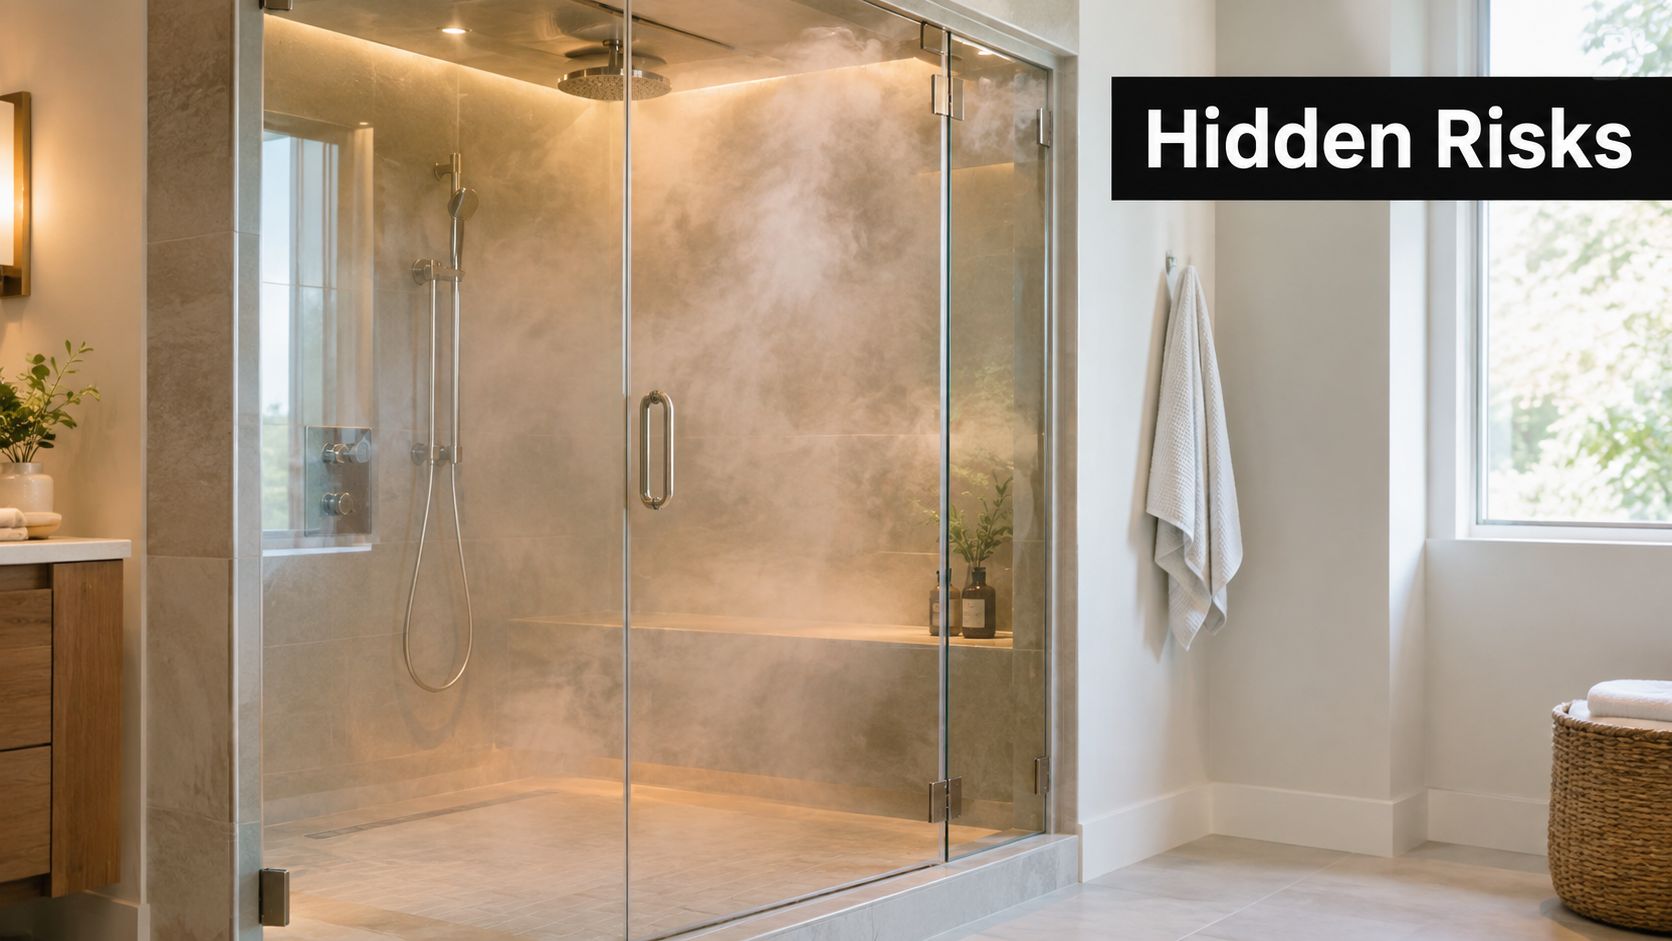
Liquid water behaves predictably. It splashes, collects on the floor and follows the fall towards the waste. Steam behaves differently. Warm vapour fills the enclosure, reaches cooler surfaces and searches out tiny openings around joints, corners, lights, controls, speakers and plumbing penetrations. If it enters the wall or ceiling assembly, it can condense where the structure has little opportunity to dry.
The failure usually starts out of sight
The tile surface may look perfect while moisture moves behind it. A missed seal around a pipe, an incomplete corner treatment or a poorly coordinated screen junction can create a route into framing, plasterboard or the subfloor. Over time, that hidden moisture can contribute to substrate decay, mould and tile or adhesive failure.
The membrane field is rarely the only concern. Corners and penetrations are where workmanship becomes visible through its consequences, because every change in plane and every service opening interrupts the continuous envelope.
Practical rule: If a steam enclosure is detailed like an ordinary shower, it may resist splashing while still allowing vapour migration.
Why the finished room can mislead you
A homeowner sees grout, porcelain and glass. The builder has to think about the assembly behind those finishes, including movement, condensation, sealant compatibility and the sequence of plumbing, waterproofing and tiling. Once the tiles are installed, a defect becomes difficult to identify without removing finishes.
That's why a premium steam enclosure isn't defined only by expensive fittings. The meaningful upgrade is the hidden construction. A reliable room keeps moisture on the intended side of the envelope and gives each trade a clearly defined responsibility before the first tile is fixed.
Australian Building Codes and Vapour Permeance Rules
A steam shower can meet ordinary bathroom requirements and still fail under repeated steam exposure. Australian domestic wet-area work begins with AS 3740:2021 and the National Construction Code. The Australian wet-area waterproofing guidance sets out the base treatment for shower floors, walls, junctions and penetrations. In a hobbed, step-down or level-threshold shower, the floor must be waterproof, while shower walls must be waterproof to at least 1800 mm above the floor substrate.
The NCC also requires wall junctions and joints to be waterproof for at least 40 mm either side of the junction. Wall-to-floor junctions within the shower area and service penetrations require waterproofing as well. Hobs and step-downs need compatible treatment so water cannot reach the framing or subfloor. These provisions establish the minimum liquid-water envelope for a wet area.
Compliance is the floor, not the ceiling
Steam introduces a separate performance requirement: limiting vapour movement through the enclosure. A membrane may resist liquid water yet permit enough vapour transmission to wet the structure behind a sealed steam room. Membrane manufacturers' steam-rated system documentation specifies a continuous bonded membrane with vapour permeance of 0.5 perms or less, sealed penetrations and a ceiling fall of 12 mm per 300 mm. Those figures belong to the selected, tested system and must be confirmed in its documentation, rather than treated as a universal substitute for design coordination.
The distinction matters in Victorian renovations. Standard shower waterproofing controls liquid water within the defined wet area. Steam-room construction must also slow vapour migration through walls, the ceiling, joints and service openings. A project can satisfy general shower minimums while remaining unsuitable for sustained steam exposure.
The NCC wet-area provisions reinforce requirements for floors, wall heights, junctions, waterstops and penetrations. They do not, by themselves, provide a complete steam-room specification. The membrane, lining, adhesive and ventilation approach must work as one documented assembly.
Coordinate the enclosure before tiling
Resolve the waterstop location, screen line, door, steam head, controls, lighting and speakers while the walls and ceiling remain accessible. Australian waterproofing standards for bathroom renovations provide useful renovation context, but a steam enclosure needs a project-specific system specification, substrate checks and a clear installation sequence.
A missing detail discovered after tiling is expensive. Isolating a concealed leak may require removal of glass, fixtures and finished surfaces. Good coordination prevents a room from passing a shower check while its vapour control remains inadequate.
Critical Enclosure Details and Penetration Sealing
A steam enclosure must function as one continuous three-dimensional envelope. Walls, ceiling, floor, corners and service openings all form part of that control layer. Standard wet-area waterproofing limits liquid water, while an enclosed steam room must also restrict vapour movement through joints, linings and penetrations. Treating those requirements as separate patching jobs leaves hidden paths for moisture.
Plan the complete enclosure before the tiler starts. Confirm the ceiling build-up, membrane termination, service locations and access requirements while the framing and substrates remain visible.
Shape the ceiling for condensate
Steam collects overhead, and condensation from a flat ceiling can drip onto the user. Set the ceiling fall out during framing, then verify the plane with a level before the lining is installed. The membrane can only follow a surface that has already been formed accurately.
The ceiling lining, membrane and tile adhesive must suit the selected system and the expected heat and moisture cycles. A tiler cannot create a reliable fall by varying grout or adhesive thickness. Any change made after lining may produce an uneven surface, weak coverage or poor drainage towards the walls.
Treat every change in plane as a movement point
Internal corners require continuous reinforcement. The same applies to wall-to-floor junctions, control joints and transitions around a hob or step-down. In the shower area, Australian requirements include a 40 mm waterproofing return on either side of internal wall junctions, giving the membrane a defined coverage zone at a vulnerable connection.
That return does not repair a torn membrane or make an incompatible sealant suitable. Use the reinforcing tape, preformed corners or sealant specified for the membrane system, and install them on clean, properly prepared surfaces. Movement must also be allowed for. A rigid tile finish can shift slightly while a brittle or poorly bonded waterproofing layer cracks or separates.
Seal penetrations before they disappear
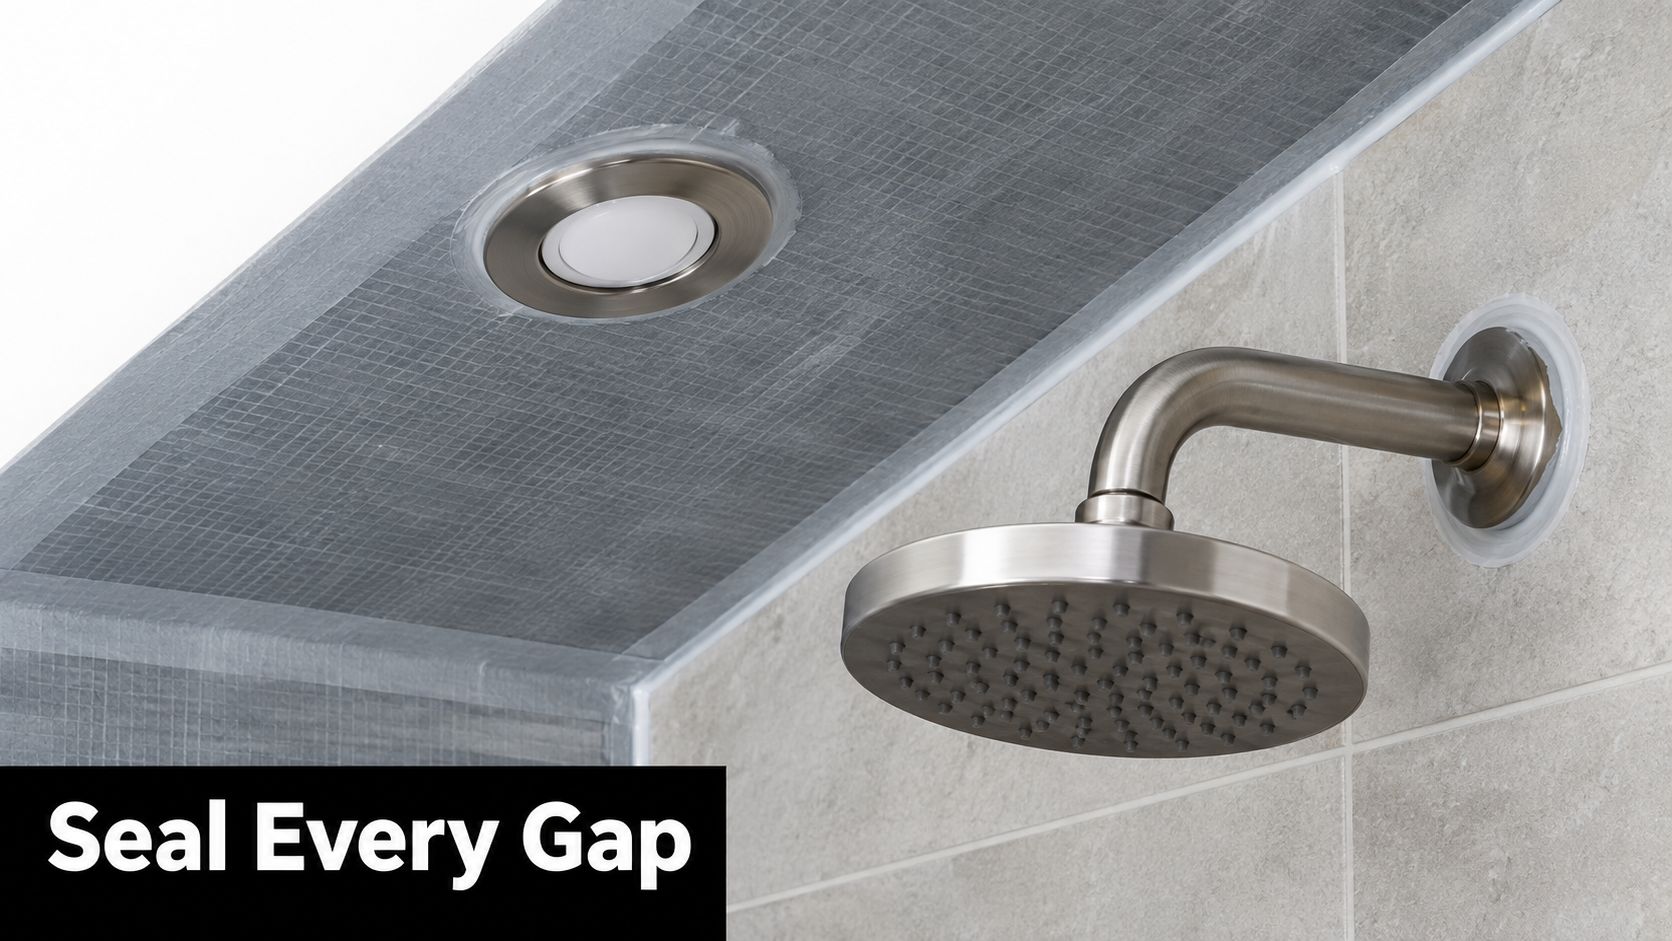
Lights, steam heads, speakers, controls, mixers, waste outlets and pipework interrupt both the waterproof and vapour-control layers. Each opening needs a compatible collar, gasket or seal that bonds to the membrane and remains stable through repeated heat and moisture cycles.
Use this site check before tiling:
- Mark every service: Compare plumbing and electrical layouts with the waterproofing plan.
- Inspect the substrate: Confirm that wall and ceiling surfaces are sound, clean and suitable for bonding.
- Detail each opening: Check collars, sealants and reinforcing components against the selected system.
- Photograph completed work: Record corners, penetrations, waterstops and ceiling coverage before finishes conceal them.
- Confirm the enclosure line: Ensure the door and screen arrangement matches the waterproofing termination.
Seal each penetration as part of the planned assembly, not after the finishes are chosen. The membrane installer, plumber, electrician, glazier and tiler must work from the same details. That coordination is what prevents a compliant-looking shower from becoming a poorly sealed steam enclosure.
Choosing the Right Membranes and Materials
The cheapest waterproofing bucket isn't automatically the correct choice for a steam room. Liquid-applied membranes can work well in ordinary wet areas when the substrate preparation, coating thickness, curing and junction treatment are correct. Steam exposure demands proof that the complete installed assembly controls vapour to the required level.
Sheet membranes and purpose-designed backer systems can make continuity easier to inspect, particularly across walls, ceilings, corners and penetrations. Cementitious boards may provide a stable tile substrate, but the board itself shouldn't be assumed to provide the vapour control needed for an enclosed steam environment.
Compare the system, not just the product
| Membrane Type | Primary Use Case | Vapour Permeance | Steam Suitability |
|---|---|---|---|
| Standard liquid-applied membrane | General bathroom and shower wet areas | Must be verified for the specific product and assembly | Suitable only when the complete system meets the required vapour performance |
| Bonded sheet membrane | Continuous waterproofing over an approved substrate | Must be verified as 0.5 perms or less for steam use | Suitable when specified, bonded and sealed as a complete system |
| Vapour-rated backer board with compatible detailing | High-moisture wall and ceiling construction | Depends on the full board, joint and penetration assembly | Suitable when the manufacturer's system documentation confirms steam use |
| Cementitious backer board without vapour-rated membrane | Tile substrate in wet areas | Not sufficient by itself for steam vapour control | Not suitable as a standalone steam enclosure envelope |
Ask for written compatibility
A proper specification identifies the membrane, substrate, primers, sealants, tapes, collars and corners as a coordinated assembly. It should also identify whether the system is intended for residential intermittent steam use and whether the manufacturer's documentation supports the claimed vapour performance.
Bond-breakers and flexible sealants have a role at movement-prone junctions. They help accommodate minor structural movement without forcing the membrane to carry stress at a sharp corner. Randomly mixing components from unrelated systems is risky because the products may not bond, cure or move together as intended.
For a broader detail about sealing transitions, see this guide to bathroom waterproofing tape. The important point is simple: tape is only effective when it belongs to a compatible waterproofing system and is installed on a correctly prepared surface.
Integrating Waterproofing with Modern Design Trends
Technical performance doesn't require a bland bathroom. The strongest modern bathrooms conceal disciplined construction behind a deliberate visual language. Current Australian coverage of new bathroom ideas and contemporary bathroom design highlights warmer colour, material drenching, curved forms, floating vanities and earthy textures. Those ideas can work in a steam enclosure, provided the design team resolves the envelope first.
Large-format porcelain can reduce the number of grout joints across a wall, which simplifies cleaning and limits the amount of finished surface where moisture might enter. It doesn't make a poor substrate safe. The wall still needs to be flat, the corners still need membrane reinforcement and the ceiling still needs its planned fall.
Make the hidden geometry part of the design
Material drenching can create a calm, enveloping room by carrying one finish across several surfaces. In a steam enclosure, that means the designer must coordinate slab or tile joints with movement joints, controls, steam outlets and access panels. A visually uninterrupted wall can be technically complicated if services are placed without a clear penetration strategy.
Curved forms create a similar trade-off. A curved nib, seat or feature wall can soften a room, but each curve adds substrate preparation and may complicate sheet membrane installation. A designer finish works best when the shape is built into the framing and the waterproofing detail is resolved before the surface material is ordered.
Choose a theme that supports maintenance
Australian bathroom design coverage also identifies themes such as Art Deco, Day Spa, Hamptons, Hotel Experience and Modern Australian as directions for designer bathrooms, as outlined by Australian bathroom style guidance. A steam room can borrow from any of them, but the practical choices differ.
- Day Spa: Use restrained earthy textures and concealed services, while keeping junctions accessible during construction.
- Art Deco: Plan feature lines around the enclosure rather than cutting through critical corners and penetrations.
- Modern Australian: Combine warm stone-look surfaces with simple, clean drainage and carefully aligned joints.
- Hotel Experience: Treat the door, screen and controls as part of the waterproofing layout, not just decorative hardware.
SitePro Bathrooms provides concept development, 3D design, construction and finishing as part of its renovation scope, which can help coordinate visible design decisions with the concealed wet-area work. The goal isn't to make the waterproofing noticeable. It's to prevent the aesthetic brief from forcing rushed technical compromises.
Why You Need Registered Builders Unlimited
A steam retrofit involves more coordination than a simple shower refresh. The plumber needs to position the steam head and controls, the electrician must plan suitable fittings, the waterproofer must seal every service, and the tiler must preserve the finished falls and movement details. If those trades work from separate assumptions, one person's installation can damage another person's work.
In Victoria, a Domestic Builder, Unlimited, or DB-U practitioner may personally carry out, manage or arrange subcontractors for all domestic building work. That registration class is particularly relevant to full bathroom renovations rather than minor trade-only work, according to the Victorian registered building practitioner framework.
One person must own the sequence
The builder's value isn't limited to holding a registration. The project needs someone accountable for the order of operations and the evidence that each stage is ready for the next.
A coordinated sequence commonly includes:
- Design resolution: Confirm the enclosure size, ceiling slope, door, screen, controls, steam head, lighting and access requirements.
- Strip-out and inspection: Expose the existing structure and identify substrate, framing, plumbing and drainage conditions.
- Rough-in coordination: Place services so penetrations can be sealed without awkward patches or last-minute relocations.
- Substrate construction: Build sound walls and ceiling planes that can receive the specified membrane.
- Waterproofing inspection: Check the floor, walls, ceiling, corners, waterstops and penetrations before tiling.
- Finishing and handover: Install tiles, fixtures and glass without cutting or puncturing the completed envelope.
A trade-only approach may suit limited work where the scope is clearly contained. It's a poor fit for a complex steam retrofit that changes the enclosure, services, structure and finishes together.
Credentials protect the decision-making
A registered builder can manage subcontractors under the appropriate domestic building framework and keep the scope, responsibilities and documentation organised. Ask who will supervise the waterproofing, what membrane system is specified, how vapour performance is verified and what records you'll receive before the walls are closed.
The cheapest quote often removes coordination first. That saving disappears quickly if the plumber shifts a penetration after waterproofing, the tiler cuts the membrane for a fitting or the builder can't identify who was responsible for a concealed defect.
Planning Your Steam Shower Renovation Successfully
The common assumption is that the tile is the waterproofing. It isn't. Tile, grout and silicone form the finished surface, while the membrane and its detailing protect the structure behind it. In a steam enclosure, the membrane must also control vapour movement, so a standard shower specification may leave an important gap.
Before construction begins, require clear answers to these questions:
- What is the vapour specification? Confirm that the proposed continuous bonded membrane and complete assembly meet 0.5 perms or less where the system is intended for steam use.
- How is the ceiling formed? Make sure the design includes the planned 12 mm per 300 mm slope and that the waterproofing follows the slope.
- Where are the penetrations? Mark every light, control, speaker, steam head, mixer, pipe and waste before the membrane is installed.
- How are corners treated? Confirm the junction returns, reinforcing components, movement accommodation and wall-to-floor detailing.
- Who coordinates the trades? Identify the registered builder or project lead responsible for protecting the completed waterproofing.
- What will be recorded? Request photographs and product documentation before tiling conceals the work.
Don't trade structural protection for a visible saving
A failed membrane can damage framing, linings and subfloors behind expensive finishes. It can also make the source of a leak difficult to isolate because water or vapour may travel away from the original defect before becoming visible.
A successful renovation combines the technical baseline in steam shower room design guidance with a realistic design brief, compatible materials and disciplined supervision. Choose the tiles and fittings you love, but approve the waterproofing assembly before committing to them.
For homeowners in Highett and across Victoria, the next step is a site assessment with a builder who can review the existing bathroom, map the enclosure and explain the membrane specification in plain language. Contact SitePro Bathrooms to discuss your steam shower, confirm the design and construction sequence, and request a customized renovation consultation before any demolition begins.