Bathroom Renovation DIY: What to Know Before You Start
You're in Highett, the renovation shows are on, and the existing bathroom looks simple enough to strip out over a weekend. The vanity is dated, the shower screen is tired, and a new tile colour seems capable of solving everything. Then the wall comes open, the floor feels damp, the waste sits in the wrong position, and your “quick” bathroom renovation DIY becomes a compliance problem with tiles waiting on the other side.
The sensible question isn't whether you can renovate a bathroom yourself. It's which stages you can own without compromising legality, insurance, waterproofing or resale. In Victoria, painting and demolition can save real money. Unlicensed plumbing, electrical work and poorly documented waterproofing can erase those savings fast.
Why Most DIY Bathroom Renovations Blow Out
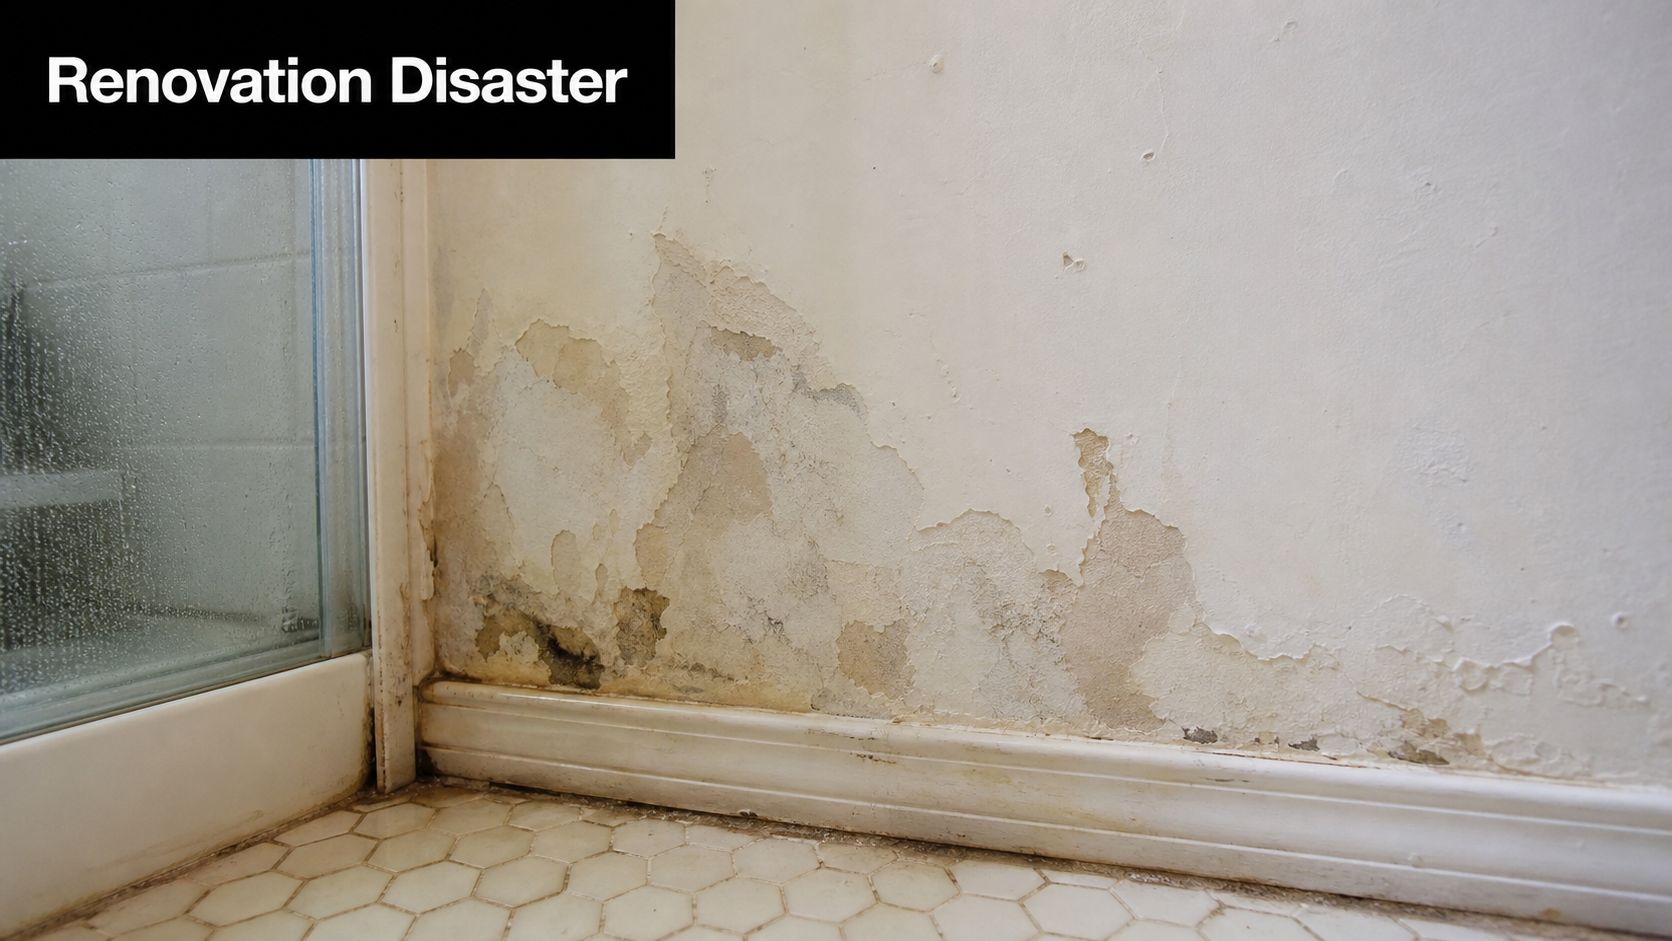
A Victorian bathroom can look manageable until the first wall or floor comes up. Behind a small footprint sit demolition, carpentry, drainage, waterproofing, tiling, electrical connections, ventilation, cabinetry and certification. A mistake hidden behind finished surfaces can damage framing, flooring, adjoining rooms or another apartment. It can also create an insurance and resale problem.
The cost pressure is understandable. Housing Industry Association analysis reported that DIYers and small-scale renovators spent approximately A$14.4 billion at hardware, building and garden-supply retailers between March and September, a 26% rise on the prior year. Total Australian home-improvement expenditure was estimated at A$38.5 billion for the financial year, with bathrooms and kitchens among the areas homeowners commonly considered for renovation. These figures include non-bathroom projects and small professional jobs, so they are context, not a bathroom price guide. They show how much household money is flowing into improvement work. (Australian home-improvement spending analysis)
Renovation participation is broad, but regulated work still belongs with qualified trades. A separate survey reported that approximately 8.4 million Australian homeowners, or 62% of the country's 13.6 million homeowners, had undertaken some form of renovation during the preceding 12 months. The comparison was 7.5 million, or 57%, three years earlier. It also found that 3.4 million homeowners paid for plumbing work and a similar number paid for electrical work. (Australian renovation participation and trade-work findings)
The weekend-budget trap
The same survey of planned Easter DIY activity recorded an average intended spend of A$852, while about 10% expected to spend more than A$2,000 on a significant project. That may suit a short activity, not a coordinated bathroom refurbishment involving services, waterproofing, permits and finishing work.
Set separate budget lines for fixtures, labour, waterproofing materials, substrate preparation, waste removal, tile cutting, ventilation, permits, inspections and unexpected repairs. A list containing only tiles, a vanity, toilet and tapware is a shopping list, not a project budget.
My rule: DIY the visible work you can redo without opening the building. Pay licensed trades for concealed work that determines whether the room stays dry, legal and insurable.
Savings vanish when completed tiling must come out to investigate a leak, electrical work needs redoing, or certificates are missing at sale. A bathroom can photograph well and still have incorrect floor falls, unsealed penetrations or uncertified plumbing. In Victoria, cosmetic work is where DIY earns its keep. Waterproofing, plumbing and electrical work determine whether the renovation remains saleable.
Planning, Budgeting and the $10,000 Permit Threshold
A bathroom that looks like a simple replacement can become a regulated building project as soon as you move a toilet, alter a wall, change drainage or create a walk-in shower. Draw the existing room before visiting a showroom. Mark every fixture, waste, window, door and service point, then decide whether each item stays in place. Cosmetic changes usually carry less risk than concealed work that affects legality, insurance and resale.
Build a budget that reflects the sequence
Use four budget groups:
- Fixtures and finishes: vanity, basin, toilet, tapware, shower fittings, screen, bath, tiles, grout, trims and accessories.
- Construction work: demolition, framing, substrate repairs, waterproofing, screeding, tiling, cabinetry installation and painting.
- Services and approvals: plumbing, electrical work, ventilation, certificates, building-surveyor involvement and applicable permits.
- Risk allowance: damaged framing, uneven floors, disposal, replacement pipework and materials wasted through incorrect cuts.
For a 5sqm Victorian bathroom, fixtures and finishes can consume a large part of the budget before labour begins. Add demolition and disposal, substrate repairs, waterproofing, tiling, plumbing, electrical work, ventilation and approvals, and a project that began with modest purchases can pass A$10,000 through combined goods and services. Price the complete scope, not only the items you plan to install yourself.

Treat the threshold as a project issue
In Victoria, domestic building work exceeding A$10,000 generally requires the relevant registered practitioner and contract arrangements, subject to exemptions. Splitting invoices does not change the substance of the renovation. Painting, plastering, installation and related work may still be assessed as one project. The threshold is therefore a planning issue from the first quote, not a target to avoid through paperwork.
Check the builder or tradesperson's registration through the Victorian Building and Plumbing Commission register. Request a written scope naming responsibility for demolition, structural work, plumbing, electrical work, waterproofing, substrate preparation, tiling, waste removal, inspections and handover documents. Use the Victorian building permit requirements guide with advice from the relevant building surveyor before committing to the layout.
Keep the signed scope, variations, invoices, product specifications, warranties, permit material, certificates and photographs in one project folder. These records support inspections, future repairs, insurance discussions and a sale.
Set the programme around dependencies: design and ordering, contractor availability, permit checks, demolition, substrate repairs, service rough-ins, waterproofing, curing, inspection, screeding, tiling, grout, fit-off and final testing. If the budget cannot support that sequence, reduce the scope before demolition rather than stopping with an exposed room.
Waterproofing Rules That Shape Every Design Choice
Waterproofing isn't a layer you add after choosing the tiles. It determines the shower footprint, waste location, floor levels, wall build-up, screen position and the viability of an open or hobless entry.
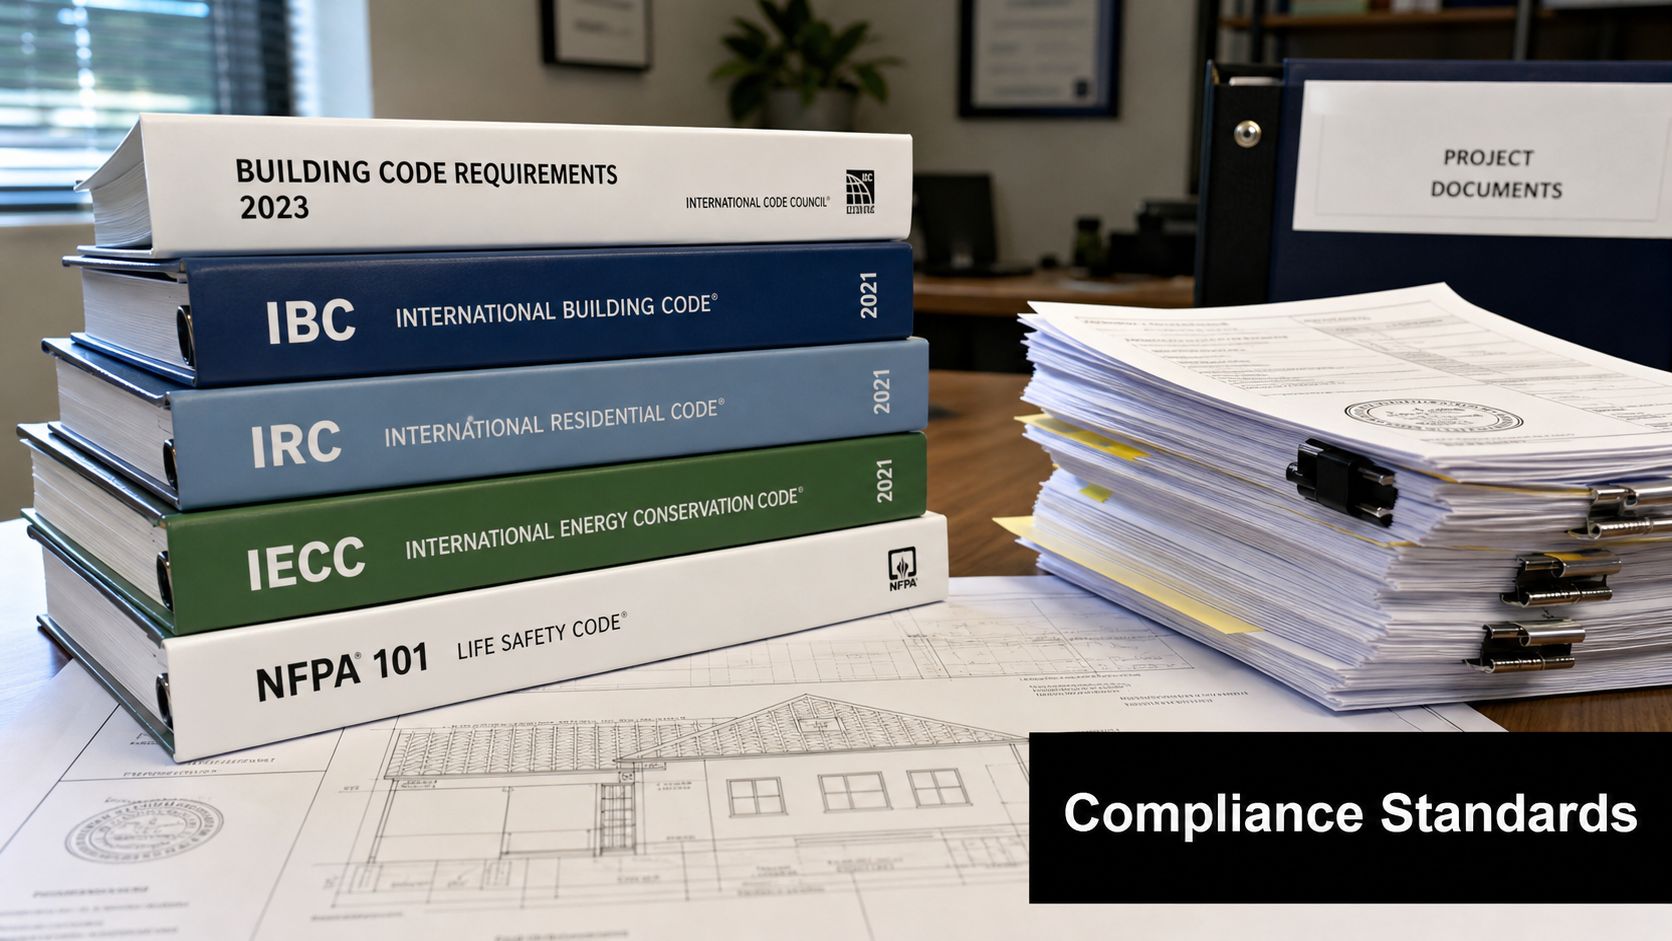
The National Construction Code Housing Provisions generally require shower walls to be waterproof to at least 1,800 mm above the finished floor. An unenclosed shower also requires a waterstop extending at least 1,500 mm horizontally from the shower rose, measured from the rose itself. The same provisions protect shower floors, wall junctions, wall-to-floor junctions and penetrations. (NCC wet-area waterproofing provisions)
For an Australian bathroom, the membrane system must comply with AS 3740. The practical inspection points are straightforward, but none is optional.
| Element | Requirement |
|---|---|
| Shower walls | Waterproof to at least 1,800 mm above the finished floor |
| Unenclosed shower | Waterstop at least 1,500 mm horizontally from the shower rose |
| Floor waste falls | Between 1:80 and 1:50 toward the drain |
| Timber floor | The room floor must be waterproof |
| Concrete or fibre-cement floor outside the shower | Water-resistant treatment may be permitted under the applicable provisions |
| Wet-area interfaces | Protect junctions, penetrations, wastes and movement joints |
Design around water movement
A walk-in shower needs more than a clean glass line. It needs controlled falls, a correctly positioned waste, a compatible waterstop, a membrane that reaches the required zones and a screen arrangement that limits splash. A freestanding bath still needs the surrounding floor and junctions planned for cleaning water and overflow risk.
Timber subfloors deserve particular attention because the room floor requires waterproofing. Concrete and fibre-cement construction can have different treatment outside the shower area, but that distinction doesn't remove the need to protect the shower and all vulnerable interfaces.
The Australian bathroom waterproofing standards guide is useful for translating the technical requirements into a design conversation. Your builder, waterproofing practitioner or building surveyor must still confirm the system and application for the actual building.
Inspect before anything disappears
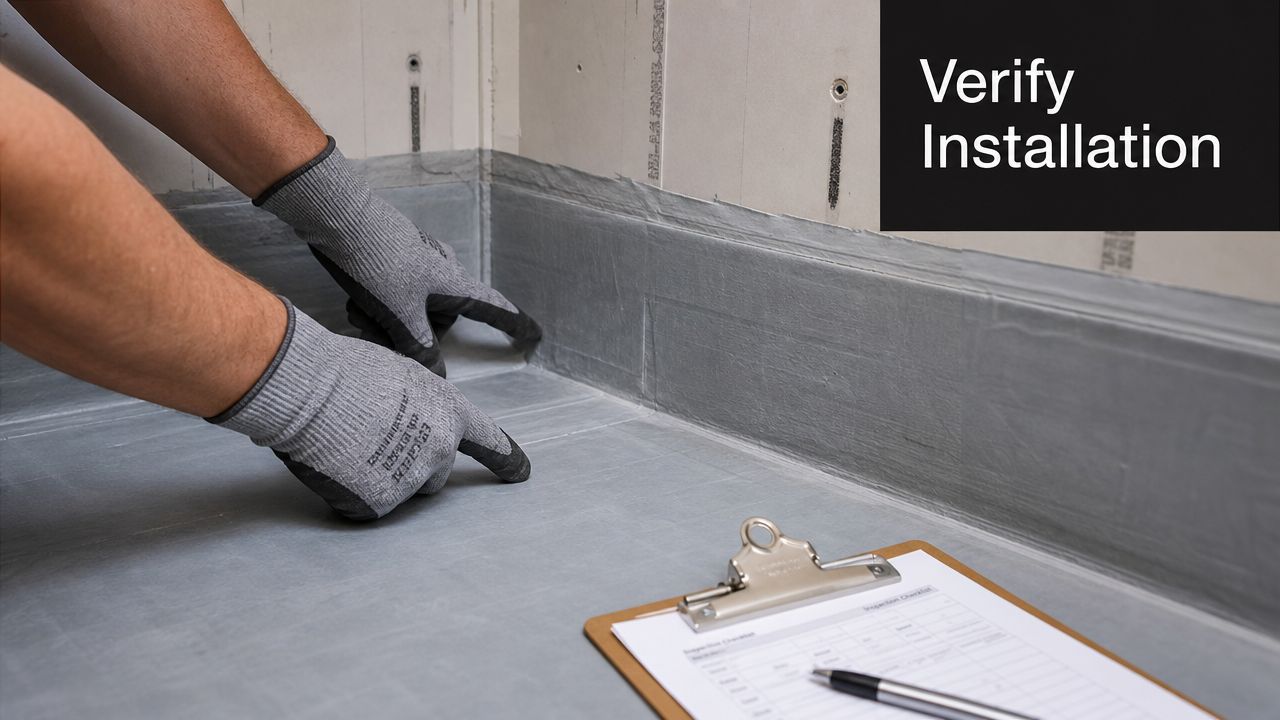
Check the substrate, floor levels, falls, corners, wall-to-floor junctions, movement joints, pipe penetrations and waste connection before tiling. Photograph each membrane stage, including collars, tapes, corners and transitions, and record the product specification, batch details and curing conditions.
A membrane that looks dry on the surface may not be ready for the next stage. Tiling over uncured material traps defects and makes later inspection impossible. The attractive finish comes last. The dry building envelope comes first.
What Licensed Trades Must Do Versus What You Can Do
A bathroom renovation saves money only when you keep DIY work within your competence. The legal and insurance risk starts when you alter services, seal a wet area or conceal work that nobody can later verify. In Victoria, plan the project around that boundary from the beginning.
Work you can reasonably handle
Take responsibility for visible, removable work if the substrate is sound and you do not disturb regulated services:
- Demolition: Remove cabinetry, screens, mirrors, accessories and finishes carefully. Protect pipework, wiring and adjoining rooms, and use suitable personal protective equipment.
- Painting: Prepare surfaces, apply the correct primer and add finish coats after dusty construction is complete.
- Flat-pack assembly: Build vanity and storage units accurately, leaving clear access for the plumber's connections.
- Accessory installation: Fit mirrors, shelves and accessories only where fixings will not pierce waterproofing or hit concealed services.
- Tiling: Lay tiles only after the substrate, falls, membrane and curing have been approved. You must also manage layout, cuts and movement joints correctly.
- Cleaning and sorting: Organise materials, protect completed surfaces and dispose of waste through the correct route.
Tiling is the highest-risk task in this list because poor cuts, movement joints or coverage can undermine an otherwise compliant wet area. If you cannot check those details, pay a tiler.
Work qualified practitioners must complete
A licensed plumber should handle plumbing alterations, new wastes, pipe relocations and final connections. A licensed electrician should handle wiring, new circuits, lights, switches, exhaust systems and connection work. Keep the plumbing and electrical certificates with your renovation records.
Waterproofing needs a firm handoff. The system must meet AS 3740 and Victorian requirements, with records that a future owner, insurer, building surveyor or body corporate can understand. Treat membrane installation as specialist work unless you hold the required qualifications and documented authority. Photograph the completed stages and retain product and installer details.
Structural changes, wall removal and window alterations may require building approval or building surveyor involvement. A small change inside the bathroom can affect framing, ventilation, drainage or the building envelope. Get the approval pathway confirmed before demolition.
Under A$10,000 does not mean unregulated. Project value can affect practitioner and contract obligations, but it does not authorise a homeowner to perform plumbing or electrical work.
Victorian consumer guidance covers registration and contract requirements for domestic building work above A$10,000, subject to applicable exemptions. Plumbing and electrical work still require appropriately licensed trades. (Victorian consumer guidance on builders and tradespeople)
This division protects more than compliance. If a concealed pipe fails or the wet area leaks, invoices, certificates, photographs and product records show who performed the regulated work and how the system was installed. That evidence supports insurance, resale and future repairs.
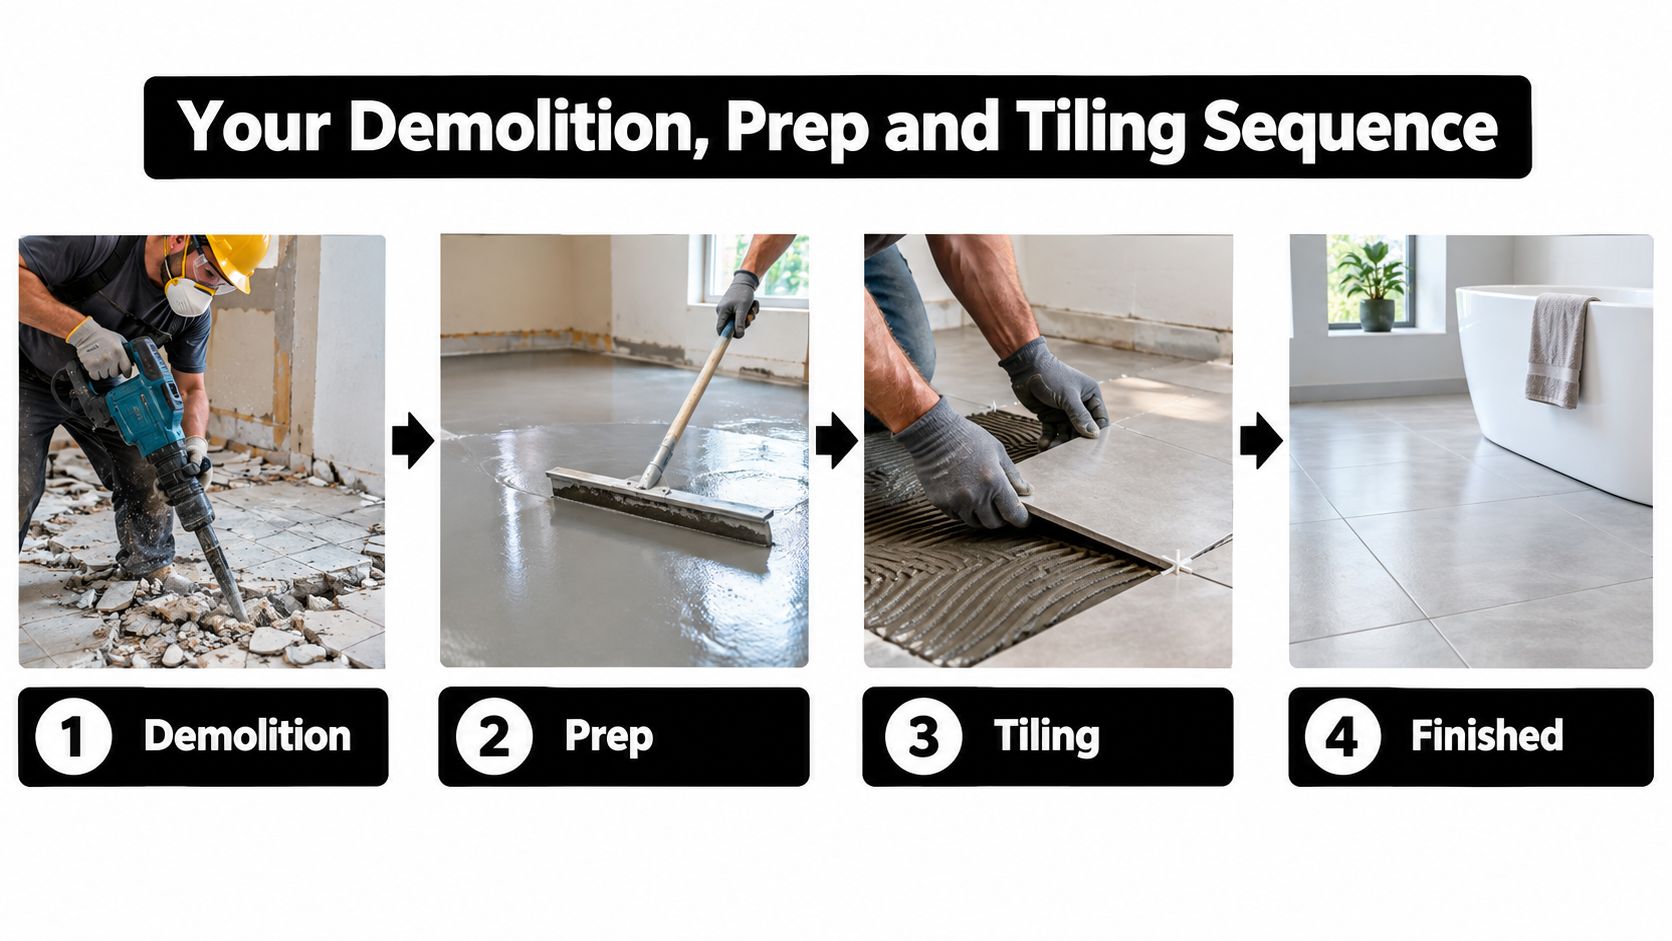
Your Demolition, Prep and Tiling Sequence
Own the sequence you can control, and stop before the work becomes regulated or concealed. Rushing demolition is a reliable way to damage pipework, framing or waterproofing zones that would've been cheaper to preserve.
Strip the room without creating a second project
Shut off services through the proper trade process before removing connected fixtures. Protect the doorway and adjoining floors, wear suitable eye, respiratory and hand protection, and separate waste rather than placing every material in one pile. Photograph the room before demolition, then record the exposed framing, subfloor, existing wastes and any moisture staining.
Inspect timber, flooring and wall framing once the finishes are out. Soft timber, swollen sheet material, mould, rusted fixings or persistent dampness are stop signs. Replace damaged material and establish a stable, clean, dry substrate before waterproofing.
On timber floors, use an appropriate wet-area substrate system and confirm sheet joints, movement joints, primers and fixing patterns with the system requirements. The floor must support the tile finish without flexing, and the shower area must accommodate the specified fall toward the waste.
Prepare the tile layout before mixing adhesive
Dry-lay the first rows. Centre the dominant wall, keep narrow slivers out of prominent corners, align grout lines with niches or screens, and check that the floor pattern doesn't create awkward cuts at the waste. Confirm the tile adhesive suits the substrate and tile type, then work in manageable areas.
Do not tile until the waterproofing has cured and been inspected. Use the same discipline for grout and silicone. Grout fills joints, while compatible wet-area sealants handle movement at internal corners, changes of plane and selected junctions. Generic sealant isn't a substitute for a designed wet-area system.
Waterproofing is a serious defect category. One NSW Class 2-building survey identified it as the source of about 42% of serious defects, while other industry estimates place waterproofing defects in 20–40% of modern multi-unit residential buildings. Those figures don't establish a failure rate for detached-house DIY work, but they justify a stricter documentation standard in Victorian apartments and body-corporate properties. (Australian wet-area defect reporting)
Keep photographing the substrate, framing, membrane coats, penetrations, corners, falls, wastes and finished joints. Record dates, products, batch information, curing times and every variation. A complete visual record is particularly valuable when the work will be handed to a surveyor, insurer, purchaser or owners corporation.
Future-Proofing, Water Efficiency and Accessibility Upgrades
A bathroom renovation is the easiest time to prepare for changing mobility. Once tiles and wall linings are finished, adding reinforcement or moving pipework becomes disruptive and expensive.
Put blocking behind the wall lining where future grab rails may be needed. Consider rough-in positions for a handheld shower, shower seating and a low-threshold or hobless shower, then choose slip-resistant flooring, lever taps and circulation clearances that work for the household now. These choices don't require an institutional appearance. They can sit inside a modern bathroom or designer bathroom with restrained fittings, coordinated finishes and concealed preparation.
Australian falls guidance identifies the bathroom as the highest-risk room in the home, accounting for approximately 80% of household falls, and reports that about one in four Australians aged 65 and over experiences a fall each year. The same guidance reports that 40.2% of older adults with repeated falls still lacked adequate bathroom modifications. (Australian accessible-bathroom falls guidance)
Make water efficiency part of the layout
The national WELS scheme gives fixture selection a measurable basis. YourHome recommends choosing the highest available WELS star ratings for toilets, showers and taps, using flow restrictors where taps deliver more water than needed, and considering a two-way or three-way bathroom arrangement where separating the toilet or vanity improves household function. (YourHome renovation and water-efficiency guidance)
A two-way arrangement can let one person use the vanity while another uses the toilet or shower area. That can make a family bathroom more practical without expanding the room. Plan the door swing, storage, ventilation and cleaning access at the same time, rather than adding water-saving fixtures after the layout has been fixed.
Design for ordinary life
Future-proofing also means choosing durable details. Use accessible controls, stable flooring and reachable storage, but keep the visual language consistent with the house. A well-planned bathroom should support a child, an older resident, an injured adult and a future buyer without advertising a narrow use case.
The false economy is spending the renovation budget on decorative upgrades while leaving the walls unprepared for a predictable change in household needs. Preparation is cheap only while the walls are open.
Troubleshooting, When to Stop and Your Handover Pack
Stop work when the membrane is punctured, tiles have been laid before curing, water ponds instead of draining, penetrations remain undocumented, or someone proposes generic sealant in place of the specified wet-area treatment. Don't cover a defect because the tile delivery has arrived.
The fix depends on what failed. A damaged membrane may require removal and reinstatement of the affected system. Incorrect falls may require rebuilding the substrate. Unapproved plumbing or electrical work needs the relevant licensed practitioner to inspect and rectify it. If you can't identify the cause, stop and bring in a qualified person before the defect becomes concealed.
Your handover pack should contain:
- Certificates: Plumbing certificates and certificates of electrical safety.
- Approval records: Building permit and surveyor documentation where applicable.
- Concealed-stage evidence: Photographs of framing, substrate, falls, penetrations, membrane coats and junctions.
- Product records: Specifications, batch details, curing information, invoices, warranties and approved variations.
Use this bathroom renovation checklist before tiling and again before sign-off. If the project needs structural coordination, regulated services, waterproofing oversight and a coherent 3D design, an end-to-end service such as SitePro Bathrooms can manage concept development, 3D design, construction and handover in one coordinated scope.
Your final test is simple: can you prove what was done, who did the regulated work, which products were installed and whether the concealed stages were inspected? If not, the bathroom isn't finished.
If you're planning a bathroom renovation in Highett or elsewhere in Victoria, decide your DIY boundary before demolition. Keep the painting, removal, assembly and suitable finishing work, then ask a qualified renovation team to price the services, waterproofing, approvals and documentation that protect the result. Contact SitePro Bathrooms through siteprobathrooms.com.au to discuss your layout, design and handover requirements before you commit to the first tile.