
Bathroom Design Online: A Practical Step-by-Step Guide
You've uploaded a rough sketch, added a few phone photos, and received a polished 3D bathroom design online. Then you notice the vanity blocks the door, the shower sits over an awkward waste position, and the render says nothing about what's behind the tiles. That's the point where a pretty concept becomes a costly problem.
A successful online process isn't just about choosing modern bathrooms, designer bathrooms, or the latest new bathroom ideas. It's one connected workflow, from accurate measurement to a checked layout, a site inspection, and a signed renovation quote. Some decisions are safe to make on-screen. Others must wait until a qualified professional sees the room before construction begins.
Measuring and Photographing Your Bathroom Before You Start
The homeowner who starts with inaccurate measurements usually spends the rest of the project correcting assumptions. A door swing gets missed, a window reveal is shallower than expected, or a pipe sits exactly where the new vanity needs to go. Measurement and photography are the most important inputs in bathroom design online, because every later decision depends on them.
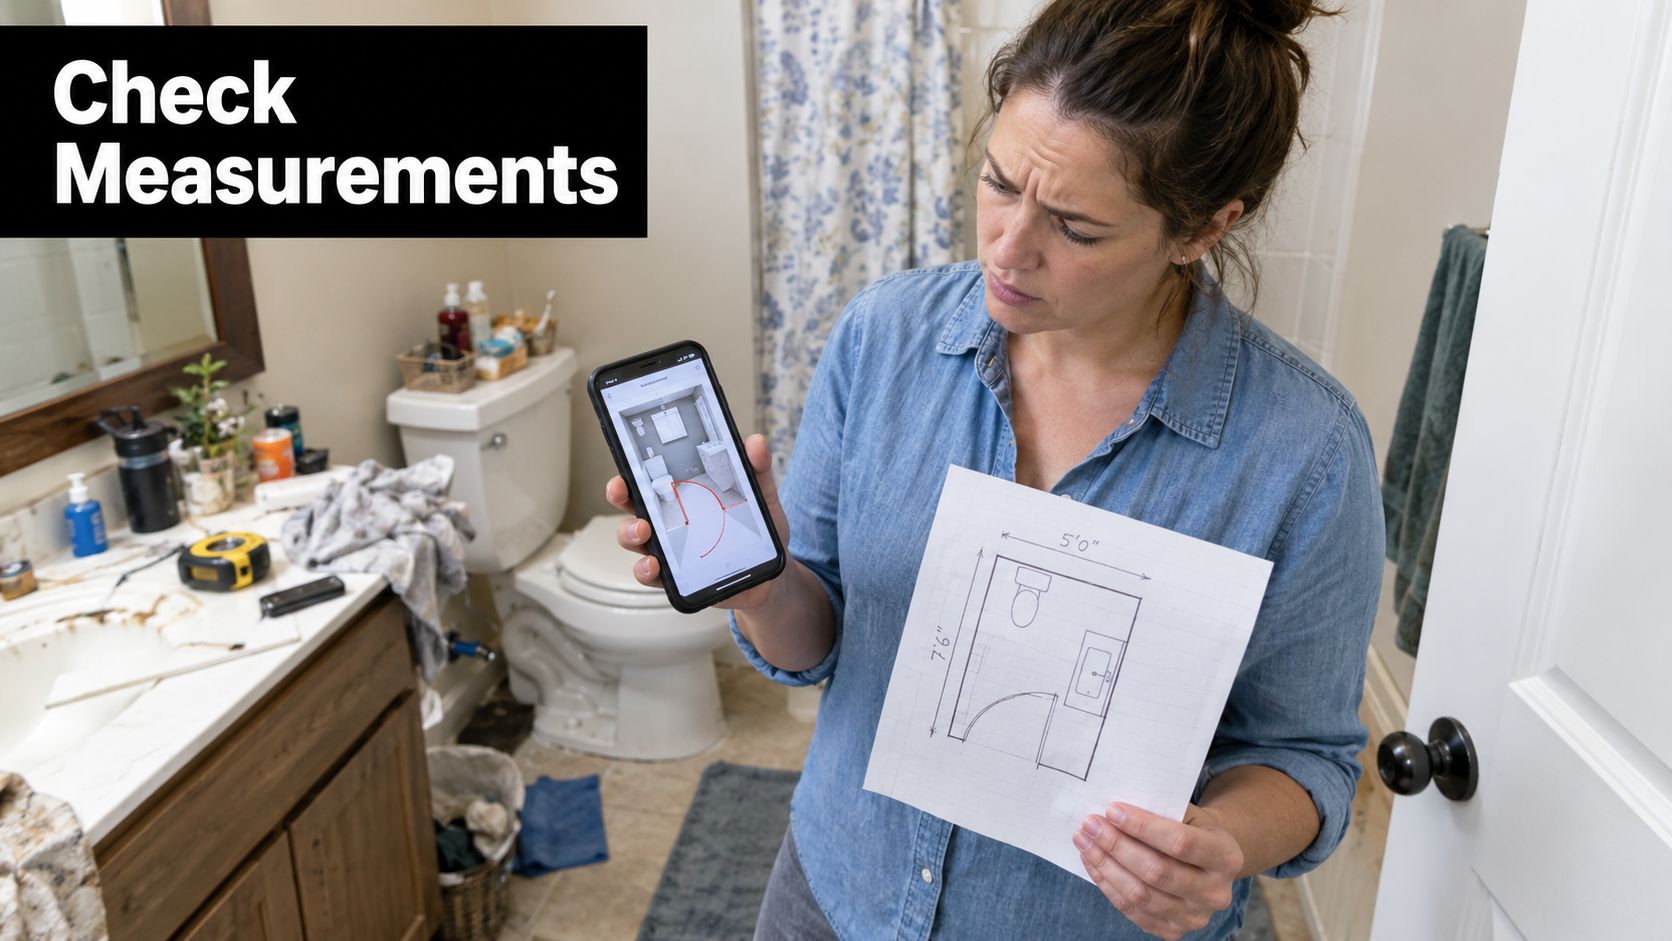
Start with a simple measured plan. Use a steel tape, laser measure, notepad, and level, then record each wall from finished corner to finished corner. Note wall thickness where it's visible, ceiling height, and every change in direction. Mark the precise position and size of:
- Doors: Record the opening width, frame position, swing direction, and available clearance.
- Windows: Measure sill height, overall opening, reveal depth, and distance from each adjacent wall.
- Fixtures: Locate the toilet, basin, bath, shower, vanity, and heated towel rail.
- Services: Mark plumbing outlets, electrical points, switches, exhaust fans, lights, and the floor waste.
- Drainage: Photograph and note the apparent waste-pipe direction, especially if the toilet or shower may move.
Don't rely on one dimension. Take measurements from more than one reference point, then check that the totals make sense. A level helps identify walls or floors that aren't straight, while a laser measure makes ceiling height and longer wall dimensions easier to verify.
Take photographs that answer construction questions
Take wide-angle photographs from every corner, keeping the camera level rather than pointing sharply up or down. Add close-ups of the window reveals, floor waste, ceiling condition, wall junctions, shower base, existing sealant, and any visible waterproofing evidence. Include a tape measure in difficult areas so the designer can understand scale.
Photos still have limits. They can't reliably confirm the wall substrate, subfloor falls, or the condition of pipes behind tiled surfaces. They also can't prove whether a wall is structural or whether an existing waterproofing system has been installed correctly. Those unknowns require a site visit, inspection, or controlled opening-up before anyone promises a final construction scope.
Use this small bathroom layout dimensions guide to cross-check the plan before sending it through. Your upload should include a dimensioned floor plan, labelled photographs, service locations, a short list of unknowns, and a note explaining which fixtures must stay in place. Accurate inputs won't solve every building question, but poor inputs guarantee avoidable revisions.
Choosing Your Online Design Path
There are three sensible ways to approach bathroom design online. The right choice depends on whether you need inspiration, a buildable concept, or a design that connects directly to bathroom renovations and construction.
DIY planners and 3D tools
A browser-based planner lets you place fixtures inside a generic room footprint and test different arrangements. It's useful for understanding whether you prefer a shower-only room, a bath with a separate shower, a wall-hung vanity, or a more open wet-area arrangement. It's also a quick way to create a mood board and identify your preferred colour, tile, and fixture direction.
The limitation is structural judgment. A generic tool won't know whether your wall can accept a recessed cabinet, whether the floor can accommodate a relocated waste, or whether the proposed clearances work with the actual door, window, and pipework. Treat the result as an early conversation document, not construction documentation. A free 3D bathroom planner can help you explore options before you commit to a brief.
Dedicated online design services
A remote designer works from your measurements, photographs, preferences, and product requirements. You'll usually receive a custom layout, selected fixtures, finish suggestions, and one or more visual concepts. This route suits homeowners who want professional interpretation without managing every design decision alone.
The trade-off is accountability at the handover. The designer may not inspect the room, confirm substrate conditions, or control the contractor's interpretation of the drawings. You need to establish exactly what the package includes, how revisions work, whether products are available locally, and who checks the design before ordering.
Local renovation firms with an online front end
A local renovation firm can use online design to begin the project, then connect the concept to an in-room measure, trade coordination, scheduling, and a construction contract. SitePro Bathrooms is one example of a Victorian renovation company offering 3D design and renovation planning as part of its service.
This path is usually tied to the firm completing the work, so it's less flexible if you want to take the design elsewhere. In return, the same team can reconcile the digital layout with the actual room before finalising the quote.
| Path | Best For | Main Strength | Main Limitation | Quote Linkage |
|---|---|---|---|---|
| DIY planner | Early ideas and rough layouts | Fast visual exploration | No site or structural judgement | Usually separate |
| Online design service | Tailored design guidance | Personalised concepts and selections | Site accountability may be limited | Often handed to another contractor |
| Local renovation firm | Design-to-build projects | Direct connection to scope and trades | Usually tied to the building firm | Integrated with inspection and quoting |
Don't choose based on the render alone. Choose based on the level of risk in the project. A cosmetic fixture swap needs less technical involvement than a wet-room conversion, structural alteration, or layout that moves multiple services.
Briefing Style, Layout and Fixtures the Right Way
A designer can't produce a useful first concept from “modern, luxurious, and easy to clean”. Those words mean different things to different homeowners. A strong brief turns taste into decisions.
Before uploading anything, write down your preferences for:
- Style direction: Choose a clear starting point, such as Hamptons, minimalist, industrial, heritage, or warm contemporary.
- Colour palette: Identify preferred neutrals, accent colours, metal finishes, and tones you want to avoid.
- Surfaces: State whether you're considering large-format tiles, small-format tiles, terrazzo, stone-look finishes, or painted walls outside wet areas.
- Vanity configuration: Decide whether you're leaning towards wall-hung, freestanding, or built-in joinery.
- Bath and shower priorities: Say which fixture matters most if the room can't comfortably accommodate both.
- Storage: List what must fit, such as cleaning products, spare towels, children's toiletries, or accessible daily-use items.
- Budget bracket: Set a realistic allowance for each fixture category rather than one broad total.
Package that information in a short written brief and a curated mood board. Six to ten reference images are enough if each image has a note explaining what you like. “The pale wall colour” is useful. “The floating vanity and concealed storage, but not the open shelving” is better.
Separate style decisions from layout constraints
Your layout brief should identify the things that can't move casually. Mark whether the toilet must remain on its current wall, whether the door may swing in the opposite direction, and which clearances are essential. Mention access requirements, child use, mobility considerations, cleaning preferences, and whether the bathroom needs to function as a family room or private ensuite.
Fifty unsorted inspiration images create noise. A designer can see that you like bathrooms, but not which elements you want combined. A shorter, annotated collection reveals intent and makes it easier to reject an attractive feature that conflicts with storage, ventilation, or maintenance.
The best brief arrives as a decision sheet, a labelled plan, annotated images, and a list of fixed constraints. On the designer's side, that creates a clear starting point for layout, fixture selection, and material coordination. It also reduces the revision cycle because the first concept answers the underlying questions instead of guessing at them.
Reading a 3D Design Before You Approve It
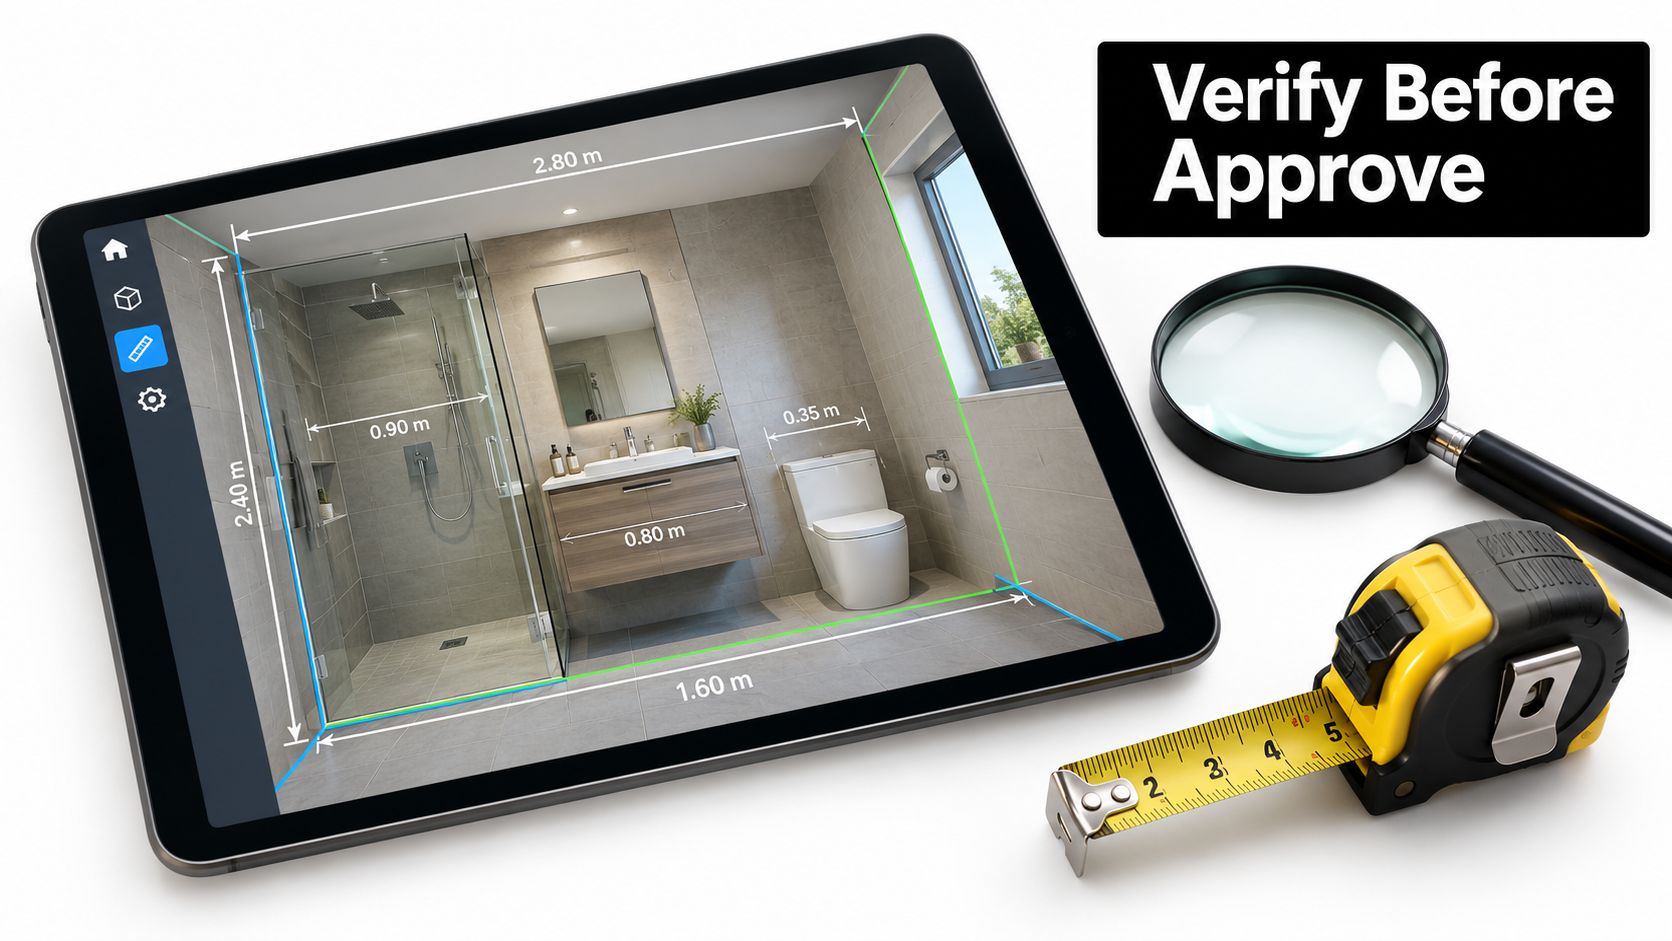
A 3D render is persuasive because it removes clutter. It shows clean tiles, perfect lighting, and a room without tools, dust, or exposed services. Review it as a technical proposal, not a finished photograph.
Begin with the plan view, then compare it with the render. Check the shower position against the existing plumbing rough-in and stack locations. Confirm that the toilet outlet, basin wastes, floor waste, and shower waste can connect in the proposed direction without creating an impractical chase, boxed-out wall, or excessive floor build-up.
Check water, waterproofing, and electrical constraints
For Victorian wet areas, the design must account for National Construction Code requirements. Shower floors must be waterproofed, wet-area walls are generally waterproofed to at least 1,800 mm, and a floor waste must have a continuous fall of at least 1:80 towards the waste. Compliance with Part 10.2 of the Housing Provisions or AS 3740 satisfies the wet-area performance requirement, as outlined in this Victorian bathroom renovation checklist.
The render won't prove that a floor falls correctly. It also won't show whether the substrate is suitable, whether the waterproofing membrane can be detailed around penetrations, or whether the shower screen needs additional support. Those items need technical review and, where necessary, site investigation.
Check window reveals for the proposed tile build-up. Review electrical points against wet-area zone separations, and make sure mirrors, cabinets, and lights don't conflict. Confirm that the exhaust fan has a sensible discharge route and that joinery won't obstruct isolation valves or service access.
Look for the failures that renders hide
A floor waste positioned mid-bath is a clear warning. So is a glass panel with no apparent structural framing, a vanity blocking the isolation valves, or a mirror placed where a window or wall light makes it unusable. Tile layouts deserve the same scrutiny. Check where cuts land at corners, how the pattern meets the door, and whether the selected tile creates awkward slivers around the vanity.
Print the plan if possible. Mark every water, waste, electrical, ventilation, and structural point. Walk through the room mentally, opening the door, stepping into the shower, using the vanity, and reaching the valves. Approve the visual design only after the floor plan, services, clearances, and wet-area requirements tell the same story.
Turning an Online Design Into a Real Renovation Quote
An online design can establish the intended layout, fixture schedule, tile direction, joinery concept, and visible finishes. It can often support reasonable allowances for fixture supply, tile quantities, and cabinetry. It can't confirm every concealed condition, so the quote must separate known scope from provisional risk.
A site visit becomes necessary when the design changes plumbing, removes or opens walls, alters floor levels, depends on existing waterproofing, or involves uncertain building materials. The contractor may need to inspect the substrate, assess the subfloor, confirm pipe routes, investigate electrical capacity, and determine whether asbestos testing is required. Structural wall removal can't be priced responsibly from a render.
Understand the Victorian paperwork
In Victoria, domestic building work worth more than $10,000 generally must be completed by a registered building practitioner, and this includes renovations. Work above that threshold also requires a major domestic building contract. From 1 July 2026, Home Warranty insurance is required for work worth more than $20,000, according to the Victorian renovation guidance linked in this bathroom renovation overview.
Check the practitioner's registration and the scope attached to it. Victoria has a domestic builder registration class limited to bathroom, kitchen, and laundry renovation work. Don't assume that a polished online presence replaces registration checks, written documentation, or a clear contract.
The builder's usual hand-off should include an in-room measure, reconciliation of the online design, a revised scope, identified exclusions, and a final pricing structure. That may be a lump-sum quote or a cost-plus arrangement, but you need to understand which items are fixed and which remain allowances.
Practical rule: The online design starts the quote. The site inspection earns the right to call it final.
Control variations before they control the budget
Confirm every PC item, product allowance, delivery charge, and installation assumption. Imported tiles, custom joinery, and discontinued finishes can affect the programme as well as the price. Keep the design files, quote versions, selections, invoices, approvals, photographs, and written variation requests together.
Ask how progress payments are scheduled and review the cooling-off provisions before signing. Payments should align with the contract and applicable Victorian guidance, not informal requests made after an unexpected site problem. If a variation arises, require a written description of the change, its cost effect, and any timing impact before approving it.
Planning Around Real Australian Timelines and Costs
A polished online design can still face delays once demolition exposes the room. Online planning brings decisions forward, but construction remains tied to product availability, inspections, curing, trade sequencing, and defect rectification.
Australian reporting for 2026 places full bathroom renovations at approximately A$10,221 to A$20,443 nationally, with Melbourne projects around A$10,500 to A$21,000. The report also identifies hidden costs of 10% to 25% and a typical construction period of two to three weeks. Homeowners who stay in the property during the work can add 30% to 50% to the timeline. These figures are summarised in Australian renovation cost and duration reporting for 2026.
That construction window is only one part of the project. Design refinement, ordering, demolition, waterproofing, curing, tiling, fit-off, inspections, and defect corrections all need time around the physical build. Imported feature tiles, custom vanity joinery, and specialist tapware can delay the start if they are not available before demolition. For a detailed breakdown of what affects renovation duration, see this guide on how long a bathroom remodel should take.
| Project Stage | Duration | Cost Drivers |
|---|---|---|
| Design refinement | Variable | Layout changes, selections, technical checking |
| Product procurement | Variable | Availability, custom joinery, imported finishes |
| Demolition and investigation | Site-dependent | Substrate damage, concealed services, testing |
| Waterproofing and curing | Trade and product dependent | Floor falls, penetrations, membrane detailing |
| Tiling | Site-dependent | Tile format, cuts, patterns, wall condition |
| Fit-off | Site-dependent | Plumbing, electrical, cabinetry, screens |
| Defect rectification | Allow time before handover | Adjustments, replacements, final sealing |
Budget for the house you have
The Australian bathroom market is large and high-value. HIA-linked coverage recorded 241,180 bathroom renovations in the 12 months covered by its 2020 to 2021 Kitchens and Bathrooms Report, with an average bathroom installation cost of $21,484 in 2021. It also reported 542,600 new bathroom installations in 2021/22, with the installation market reaching $6.5 billion, up 24.2% in one year. While these HIA figures date from 2021, they remain a useful baseline for market scale, with current costs running higher according to the 2026 reporting above. See the Australian bathroom renovation coverage for the HIA-linked data.
Treat trends as design input, not a budget. Warm neutrals, large-format tiles, freestanding baths, wet rooms, curved forms, and softer metal finishes must still work with slip resistance, cleaning, ventilation, grout exposure, moisture, and resale appeal. Current Australian design coverage highlights pink marble, pale blue, brick-look tiles, neutral terrazzo, and small square tiles, as shown in this modern Australian bathroom design roundup.
Don't price a Victorian bathroom from an inspiration board. Allow for concealed rework, service relocation, and conditions revealed after demolition. I'd use a 15% to 20% contingency when the renovation contains meaningful unknowns. Set the reserve according to the home's age, planned plumbing movement, and the findings from the site inspection.
If you're planning bathroom renovations in Highett or greater Victoria, start with a measured plan, labelled photographs, and clear requirements. Send them to SitePro Bathrooms for a design discussion, then require an in-room inspection and written quote separating confirmed work from provisional items. The online design should lead to a signed quote that survives contact with the actual room.