
You're probably looking at a render on one screen and a real bathroom or kitchen on another, trying to answer the same question every renovator asks at some point. Will the finished room look like this, or is this just a polished concept that falls apart once trades, plumbing points, tile stock and budget step in?
That's exactly where rendering before and after comparisons become useful. Not as showroom fluff. As a decision tool. A good render lets you test layout, sightlines, storage, tile scale and finish combinations before demolition starts. A finished photo then tells the truth about what translated well, what had to adapt on site, and why those changes usually make the room better rather than worse.
For bathroom renovations and kitchens in Victoria, that matters more than ever. People are putting serious thought into remodels because they want better function without the disruption of moving. They also want visual confidence. If you're choosing between modern bathrooms, more classic detailing, or sharper designer bathrooms, a side by side comparison helps you see the difference between an attractive idea and a buildable one.
Introduction to Rendering Before and After Transformations
A common starting point is a tired bathroom with decent bones, awkward storage, poor lighting and finishes that date the whole home. The homeowner doesn't need more inspiration. They need clarity. They want to know whether the floating vanity will make the room feel larger, whether a frameless shower is worth it, and whether the warm tile they love online will still work under real Melbourne light.
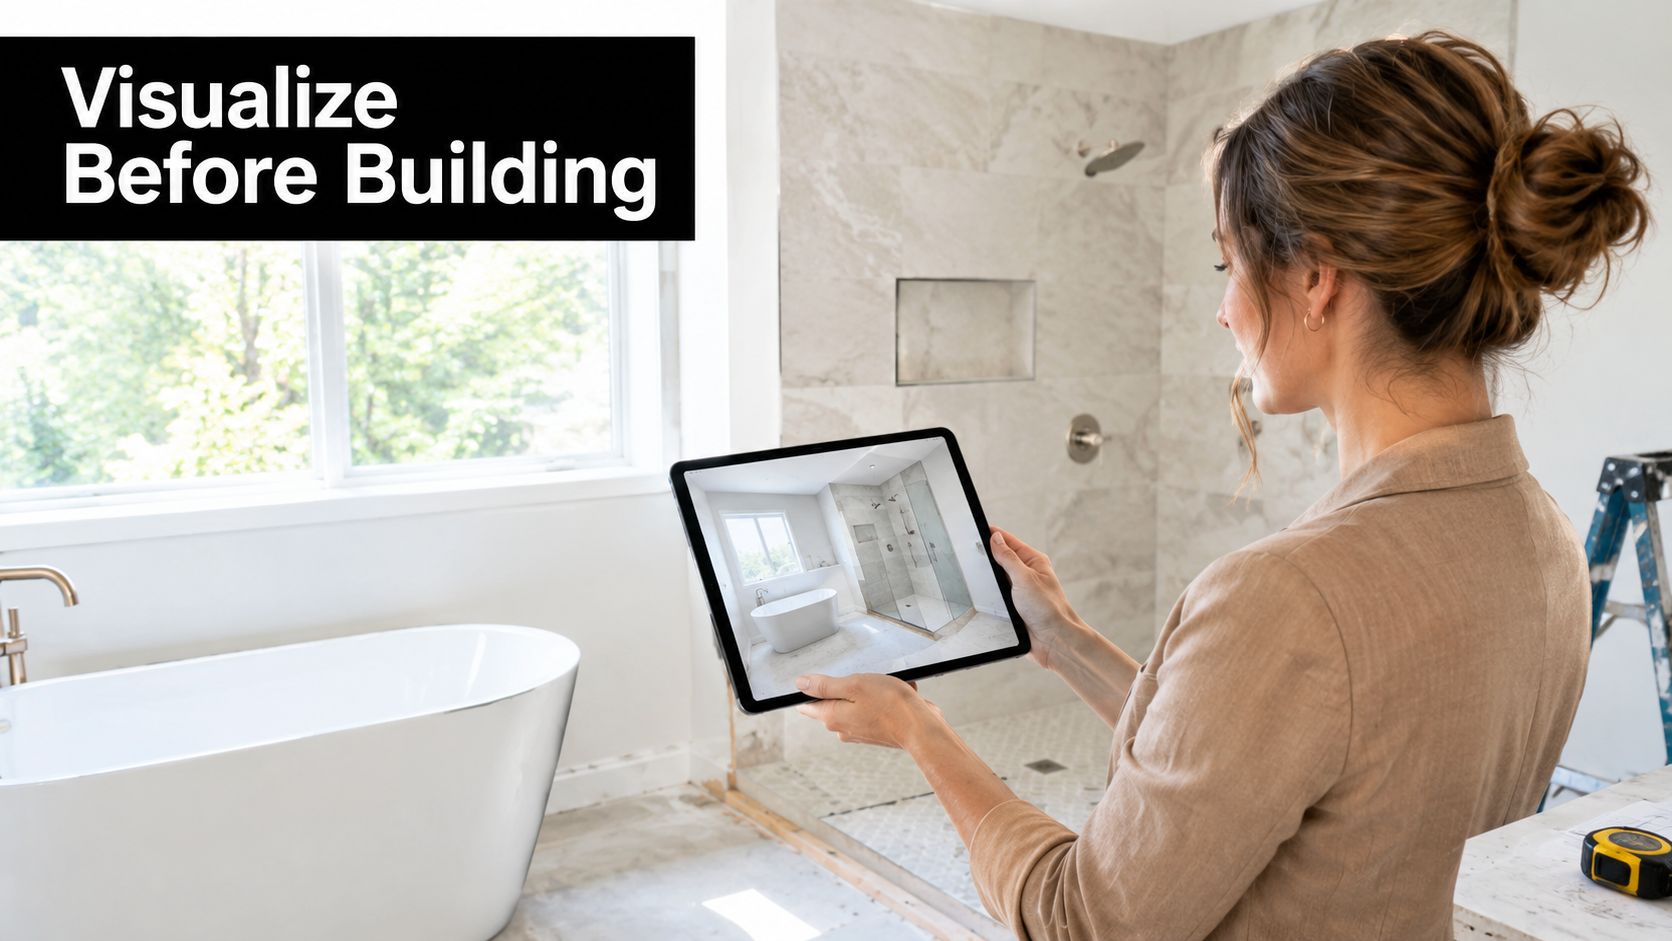
That's where rendering before and after work earns its place. The render isn't the final room. It's the testing ground for decisions that are expensive to change later. You can see whether the vanity depth pinches circulation, whether a niche lines up with grout joints, and whether the room needs contrast or a softer palette. Then, when you compare the render to the finished space, you can understand what changed because of real site conditions, not because the concept failed.
Victoria is a strong example of why this process matters. The Age reported that Victoria's renovation spending rose from 34.2% of total residential construction expenditure in 2018–19 to 40% in 2023–24, and the state's renovation activity reached 41% of construction spending last financial year. That tells you renovation isn't a side market anymore. It's a mainstream housing decision.
What a useful comparison actually shows
A worthwhile before and after gallery should do more than show a dramatic reveal. It should explain:
- Why the layout changed so the room functions better every day.
- Why certain materials were chosen for slip resistance, maintenance, warmth or visual scale.
- What constraints shaped the result such as window positions, structural walls, plumbing limits or product lead times.
- How the finished room differs from the render and whether that difference improved the outcome.
A render should answer practical questions before the build starts. If it only looks pretty, it's not doing enough work.
What to look for in the examples
The strongest examples usually connect a design move to a solved problem. A curved vanity softens a tight entry path. Larger floor tiles reduce visual noise. A recessed mirrored cabinet solves storage without crowding the basin zone. New bathroom ideas are only valuable when they improve the way the room lives, cleans and ages.
How to Read a 3D Render Against the Finished Room
Most homeowners make the same mistake with a render. They judge it like a photograph. That's not the right test. A render is better used as a technical preview with visual cues, not as a promise that every reflection, grout tone and shadow will match the finished room exactly.
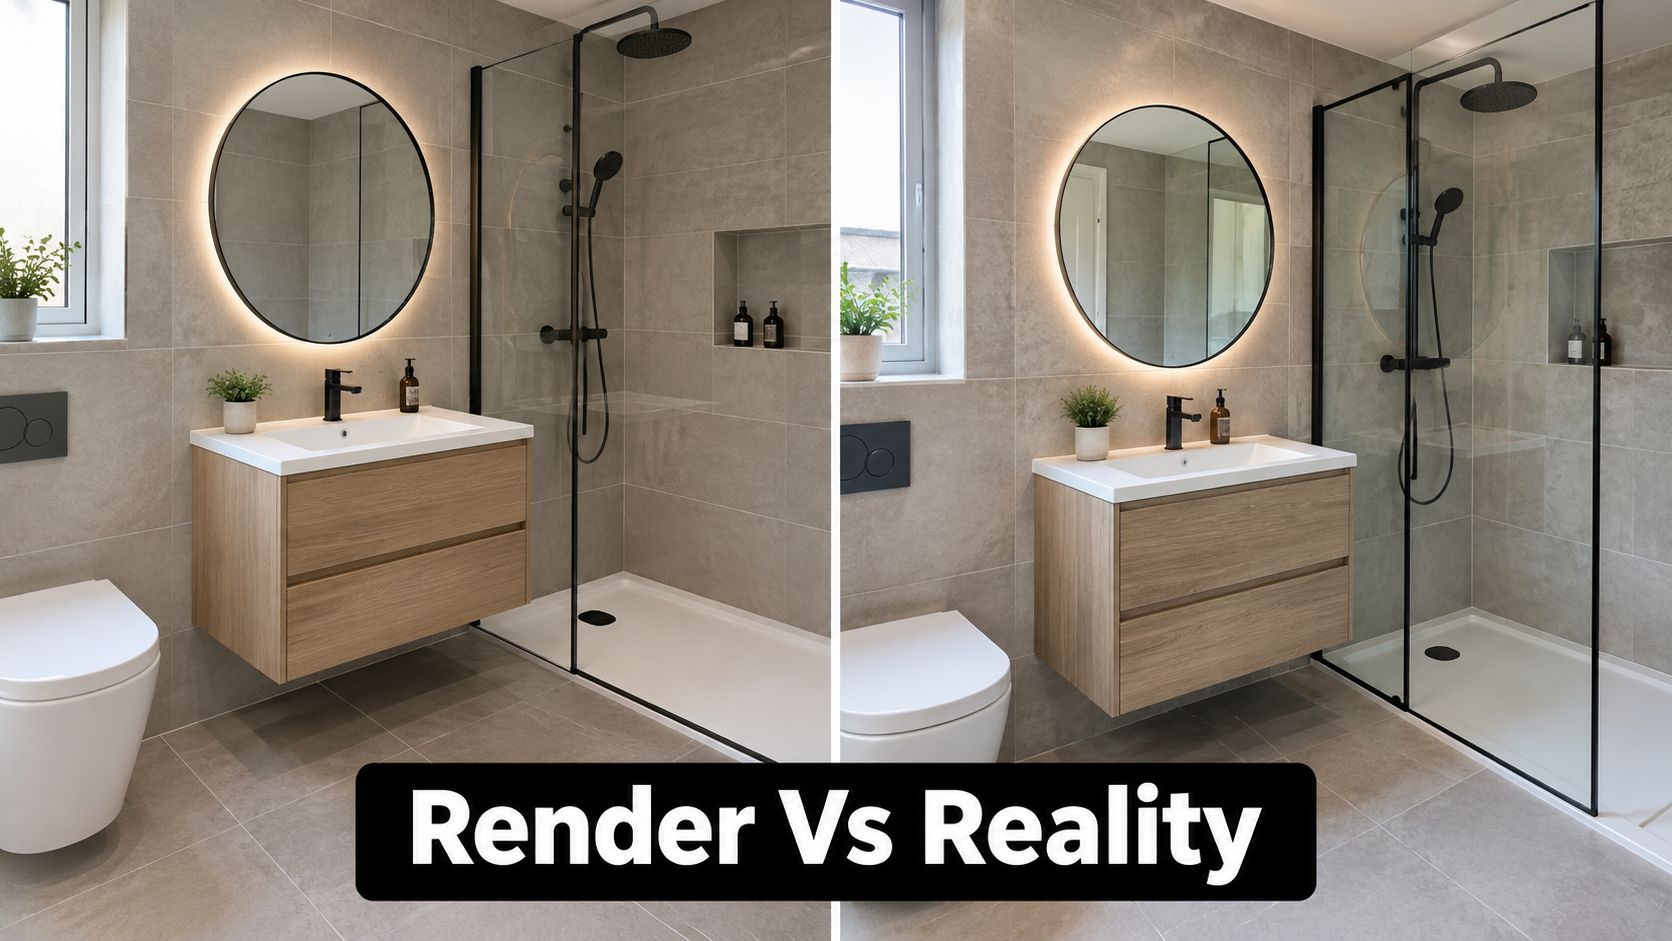
Australian renovation coverage has pointed to a move toward warm neutrals, stone-look finishes, textured surfaces and larger-format tiles, while also emphasising the value of using 3D to test layouts and materials before committing, as noted in this Australian renovation cost and planning reference. Those trends look excellent in renders, but they still need to be read carefully.
Start with the layout, not the styling
If the layout is right, the project is usually on solid ground. Check the distances between fixtures. Look at door swings, shower entry width, vanity projection and clear standing space. In kitchens, check whether drawers can open fully and whether island seating interrupts circulation.
If you want to test your own concept early, a 3D bathroom planner can help you spot obvious proportion issues before selections become too detailed.
Then check the materials under real conditions
A tile in a render often appears more even than it will in a finished room. Real batches vary. Light changes colour temperature through the day. Matte stone-look porcelain can read calm and refined in daylight, then deeper and warmer under artificial light at night.
Use this checklist when reviewing a render:
- Ask for tile size confirmation. The visual impact of a tile depends on its actual format and grout spacing.
- Check product availability early. A beautiful concept can shift if the selected tile, stone or vanity finish has long lead times or limited stock.
- Confirm light source assumptions. Warm LEDs, cool daylight and shaded southern light all change the way colours land.
- Review joinery tolerances. Custom cabinetry often needs minor dimensional adjustments once site measures are final.
- Question reflective surfaces. Gloss finishes and mirrors can look brighter in renders than they do in compact rooms with limited natural light.
Practical rule: Trust renders most for planning proportion, placement and finish direction. Treat exact colour and texture as a close guide, not a perfect duplicate.
Where finished rooms usually differ
The final room often departs from the render in small but important ways. Shadow lines may soften. Stone veining may be busier or quieter than the sample. Tapware finishes can read warmer or cooler depending on nearby materials. None of that is a problem if the design intent was correct from the start.
What works best is a render that has enough realism to support decisions, but not so much polish that it hides practical compromises.
Bathroom Renovations Gallery With Design Choices Explained
The most useful bathroom renovations aren't always the most dramatic. Often, the smartest projects are the ones where every move solves two problems at once. Better storage and cleaner sightlines. More warmth and easier maintenance. Stronger resale appeal and better day to day use.
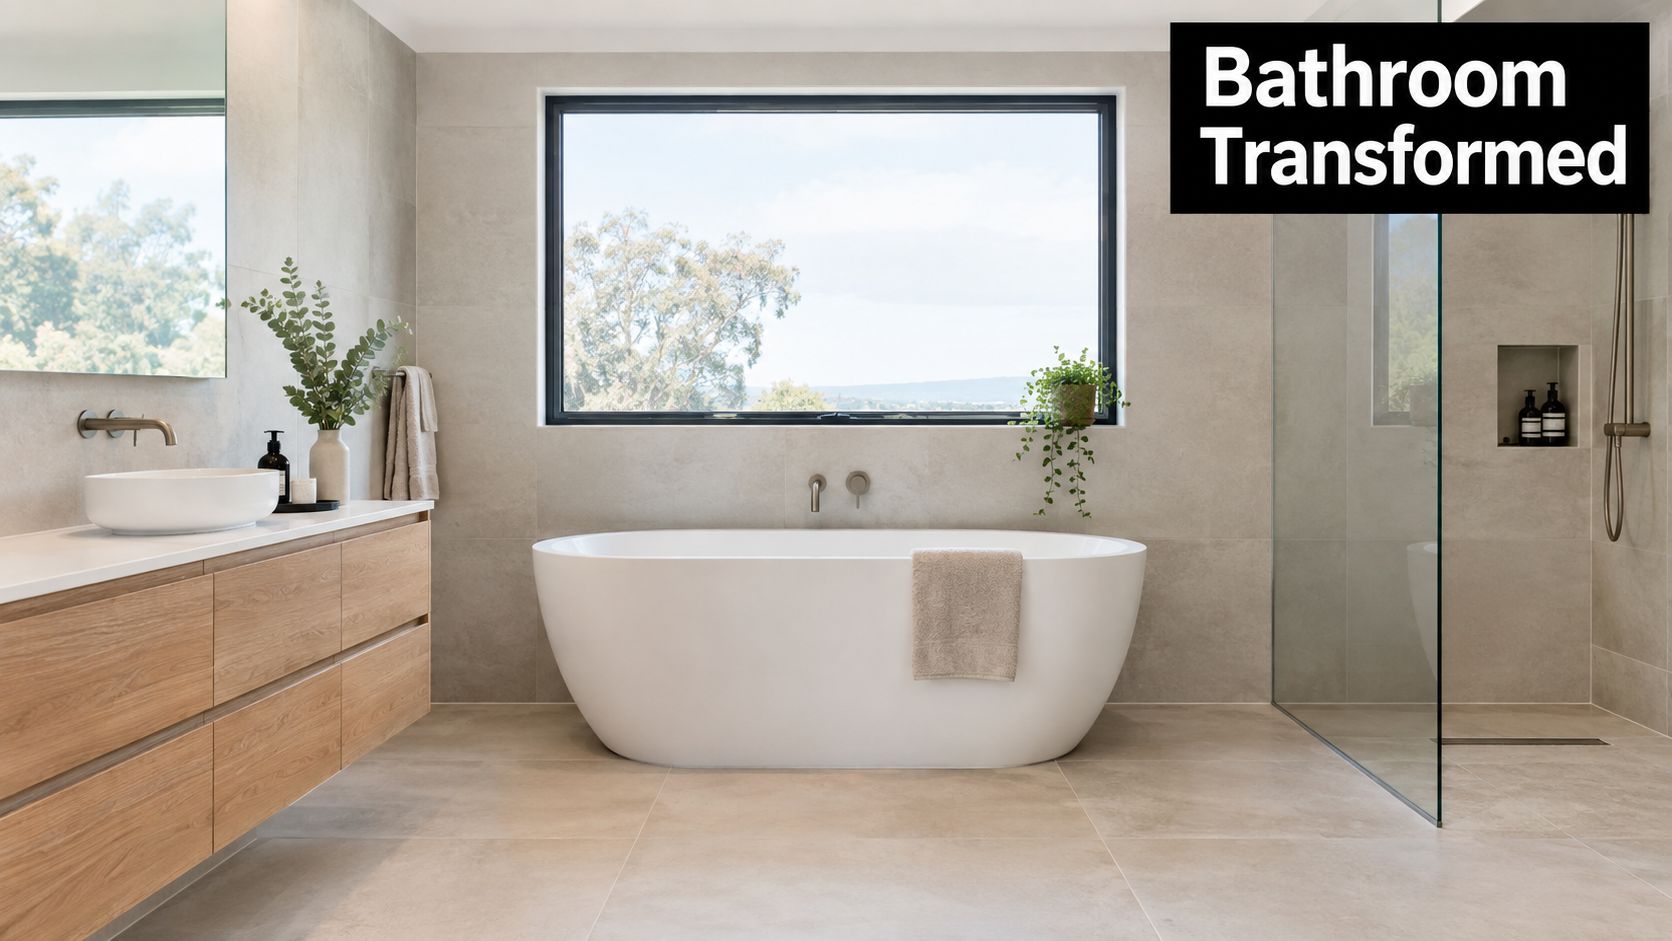
Australian bathroom reporting has become very clear on where many premium projects are heading. Recent trend coverage highlights curves replacing hard corners, warm neutrals replacing stark white, natural stone and earthy tiles replacing glossy subway tiles, and greater attention to smart storage. Those are exactly the kinds of choices that stand out in rendering before and after comparisons because you can see both the idea and the lived result.
Compact ensuite with less visual clutter
In a tight ensuite, a render often shows whether the room needs sharper lines or softer geometry. A wall hung vanity usually helps when floor area is limited because it keeps more of the floor visible. In the finished room, that visual openness only works if the plumbing set-out, waste location and drawer internals have been coordinated properly.
The better choice in small spaces is often restraint. Fewer material changes. A lighter wall tile. Storage hidden in a mirrored cabinet rather than added as separate shelving.
Family bathroom with stronger storage and easier cleaning
A family bathroom has different pressures. It needs room for daily traffic, concealed storage and surfaces that won't become a maintenance burden. Modern bathrooms often outperform trend-driven concepts that look impressive in isolation but don't age well in heavy use.
Common upgrades that translate well from render to real room include:
- Floating vanities with drawers because drawers usually outperform cupboards for practical access.
- Large-format wall tiles because they can calm a busy room and reduce grout lines.
- Frameless or semi-frameless shower screens when the goal is openness, provided cleaning expectations are discussed.
- Recessed niches when they're aligned with tile set-out instead of added as an afterthought.
For more visual examples of bathroom renovation before and after outcomes, this bathroom transformation gallery gives a useful reference point.
Premium bathroom with softer detailing
Designer bathrooms often succeed because they control edges well. Curved mirrors, rounded vanity corners and gently textured finishes can make a room feel more resolved than a space that relies on contrast alone. These details look subtle in a render, but the finished photo usually reveals whether they improved flow and comfort.
If a room has hard dimensions and sharp transitions everywhere, adding one curved element can settle it visually without making it feel overly styled.
Bathroom Design Choices Behind the Before and After
| Transformation Focus | Render Intent | Finished Material Choice | Challenge Solved |
|---|---|---|---|
| Small ensuite refresh | Make the room feel wider and less cramped | Wall hung vanity, light wall tile, clear shower screen | Preserved movement space and improved sightlines |
| Family bathroom update | Increase storage without adding bulk | Drawer vanity, mirrored cabinet, recessed niche | Reduced bench clutter and kept daily items organised |
| Warm contemporary scheme | Replace cold finishes with a softer palette | Warm neutral tiles, timber-look joinery, brushed tapware | Added warmth under real light without darkening the room |
| Premium retreat feel | Create a calmer and more tailored look | Curved mirror, floating vanity, stone-look surfaces | Softened hard lines and improved visual balance |
Kitchen Transformations That Show Layout and Function Gains
Kitchen renders reveal something bathrooms sometimes hide. Layout is the whole story. A kitchen can look polished in a finish board, then fail in real life if the aisle widths are tight, the pantry is awkward, or the island blocks movement.
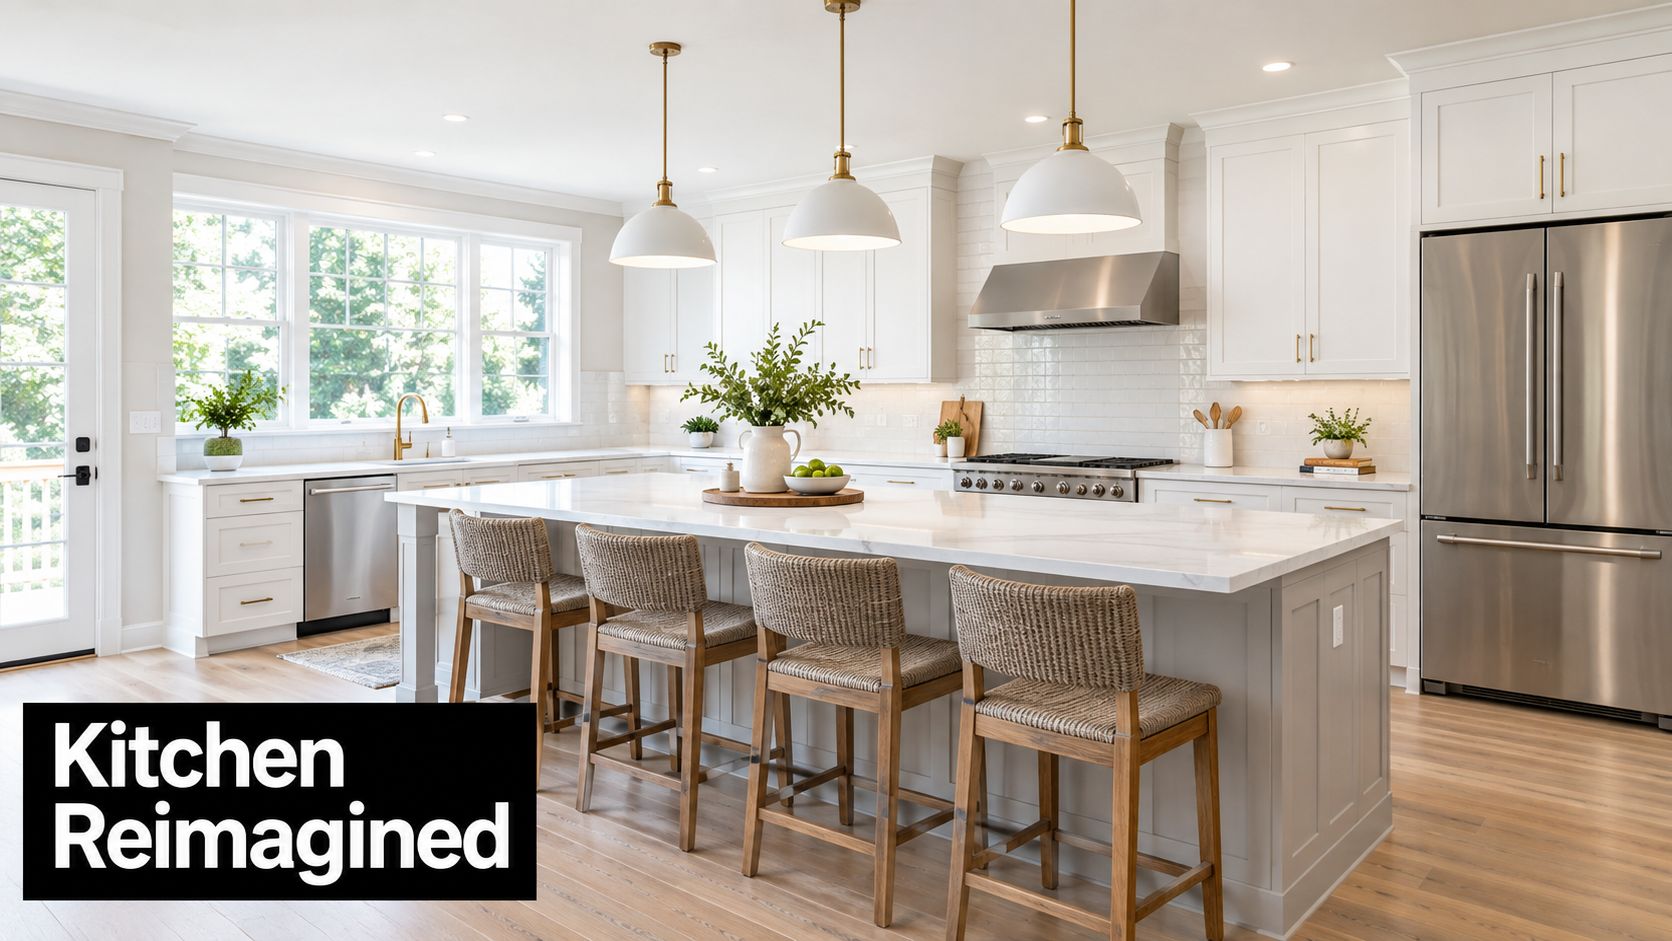
The strongest rendering before and after kitchen comparisons show gains in use, not just appearance. You can see whether the cooktop moved to a better wall, whether the fridge now sits in a cleaner line with tall storage, and whether the room opened toward dining or outdoor space in a way that suits the household.
Galley to open-plan improvement
A narrow galley kitchen often suffers from two issues. Congestion and poor connection to the rest of the home. A render can test whether removing a partial wall or changing the return bench creates enough circulation to justify the work.
In the finished room, the payoff usually comes from a few practical decisions made early:
- Wider uninterrupted bench space for prep.
- Better corner resolution so cabinetry is usable, not just nominally accessible.
- Cleaner appliance placement so doors don't clash in busy periods.
Storage that actually changes daily use
A kitchen before and after should show where things now live. Deep drawers for cookware. Integrated pantry storage. Bins positioned near prep zones. Overhead cabinetry only where it won't make the room feel top-heavy.
A useful render makes these gains visible. It shows not just the cabinet faces, but the overall rhythm of tall units, bench runs and open space. If everything is visually heavy on one side, the finished room usually feels that way too.
Examples help. A kitchen renovation before and after collection makes it easier to compare whether a change was mainly cosmetic or whether it improved the way the room works.
Why value often follows good planning
Kitchen and bathroom upgrades tend to deliver their best results when planning is disciplined before work begins. A Victorian case study from Greensborough showed a property purchased for $485,000, with $78,281 in renovation costs, reached a market value of $700,000 and sold for $715,000, producing an $83,045 profit, according to this renovation case study publication. That kind of uplift doesn't come from random finish changes. It comes from selecting improvements that buyers and occupants can feel immediately.
A kitchen render earns its keep when it helps you reject a bad layout before cabinetry is ordered.
What usually doesn't work
The weakest kitchen renders focus too heavily on feature pendants, splashback texture and stool styling while avoiding the harder questions. Where does the microwave go. Is there enough landing space beside the oven. Can two people cook without crossing each other constantly. Those are the details that decide whether the after photo still feels good six months later.
Budget Ranges Builder Requirements and Material Decisions
A lot of attractive concepts run into trouble. The render may be strong, but the specification underneath it hasn't been tested against real budget ranges, buildability or builder scope. That's when homeowners get an unpleasant surprise halfway through selections.
Independent Australian cost indicators are useful because they anchor the conversation early. Remodo's 2025 cost guide places a standard bathroom at A$13,360–A$22,810 and a quality bathroom at A$20,640–A$32,150. It places kitchens at A$14,360–A$19,760 for standard and A$22,200–A$35,600 for quality. Those ranges don't tell you your exact project cost, but they do help you sort ideas into realistic tiers.
Match the render to the cost band
A render with oversized porcelain, custom joinery detailing, feature lighting, recessed shaving cabinets, niche lighting and premium tapware shouldn't be assessed against a standard budget expectation. The room might still be achievable, but the finish level needs to be named clearly from the start.
Use a quick decision screen when reviewing concepts:
- Ask what's standard and what's upgraded so you know which visual elements are doing the heavy lifting on cost.
- Separate layout decisions from finish decisions because a better plan can matter more than a more expensive tile.
- Check local availability for tiles, stone, tapware and vanity finishes before approving the final visual package.
- Price the hidden items early such as waterproofing conditions, substrate repair, plumbing relocation and electrical changes.
Why bigger projects now dominate the conversation
Current renovation demand in Victoria isn't just about volume. It's about project intensity. Reporting on Victorian renovation activity noted that spending with permits was more than $3.902 billion in the past financial year, only slightly below the state record of $3.908 billion set in 2022, even as project numbers fell from 12,125 to 10,500. The same report said Australians spent $53.8 billion on home improvements and renovations in the past financial year, with Victoria accounting for $12.458 billion. In plain terms, fewer projects are absorbing nearly the same spend. That usually means larger scopes and higher expectations.
Builder scope matters as much as the design
A bathroom or kitchen render can look straightforward while the actual works are anything but. Moving walls, changing wet area layouts, coordinating multiple trades and resolving site conditions all affect who should carry the project.
That's why compliance questions should come early, not after selections are approved. If your concept depends on substantial reconfiguration, ask whether the builder class suits the full scope rather than only the finish trade package.
Bringing Your Own Before and After to Life
The best before and after outcomes start with a concept that can survive real conditions. That means clear layout decisions, realistic material choices, and builder involvement that matches the actual complexity of the job. Homeowners usually feel more confident once they can compare the render with the likely built result and understand where small changes may happen.
In Victoria, builder classification is part of that confidence. The VBA's domestic building guidance recognises a registered Domestic Builder (unlimited) as a valid referee class for bathroom, kitchen and laundry renovation work, which is why larger or more involved projects may require registered builders unlimited rather than a narrower limited class, as outlined in the VBA technical referee report for bathroom, kitchen and laundry renovation work. That matters when the project goes beyond simple replacement and into broader building coordination.
What helps a project stay on track
A strong process usually includes three things:
- A render that tests real decisions rather than just presenting a styled concept.
- Selections tied to budget and availability before construction starts.
- A builder and design pathway aligned to scope so technical responsibility is clear.
Turning ideas into an actionable brief
When you save examples of new bathroom ideas or kitchen layouts, don't just collect images. Note what you like about them. Is it the vanity shape, the tile scale, the storage approach, the warmer palette, or the way the room opens up visually? That's what helps a designer convert inspiration into a brief that can be priced and built.
For homeowners who want an end-to-end pathway, SitePro Bathrooms provides concept development, detailed 3D design, construction and finishing for bathroom renovations and kitchen projects in Victoria. That kind of integrated process can make render-led planning easier to carry through to handover because the design intent and construction decisions stay connected.
If you're judging rendering before and after examples, look past the reveal shot. Look for the decisions behind it. That's where value sits.
If you're ready to move from inspiration to a buildable plan, start with a render-led consultation, shortlist the materials you genuinely want to live with, and ask the hard questions early about budget, scope and builder requirements. That's how a concept becomes a finished room that still feels right long after the photos are taken.