

You've picked the bath first, then realised the room has to bend around it. That's the normal moment when a bathroom renovation stops being a mood board exercise and turns into a real site decision, especially in older Victorian homes where the floor, the waste line, and the available clearance all start speaking back. In bathroom renovations, a freestanding bath can look simple from the outside and still become the part that decides whether the rest of the room works.
That's why freestanding bath installation should be planned as a structural and plumbing job first, then a styling choice second. The tub itself can be the feature in modern bathrooms and designer bathrooms, but only if the floor can carry it, the waste can route cleanly, and the tapware lands where hands and bodies use it. In Victoria, that matters because many homes are being upgraded for the second or third time, and the best-looking bath is useless if it forces awkward plumbing, ugly access panels, or a compromised layout.
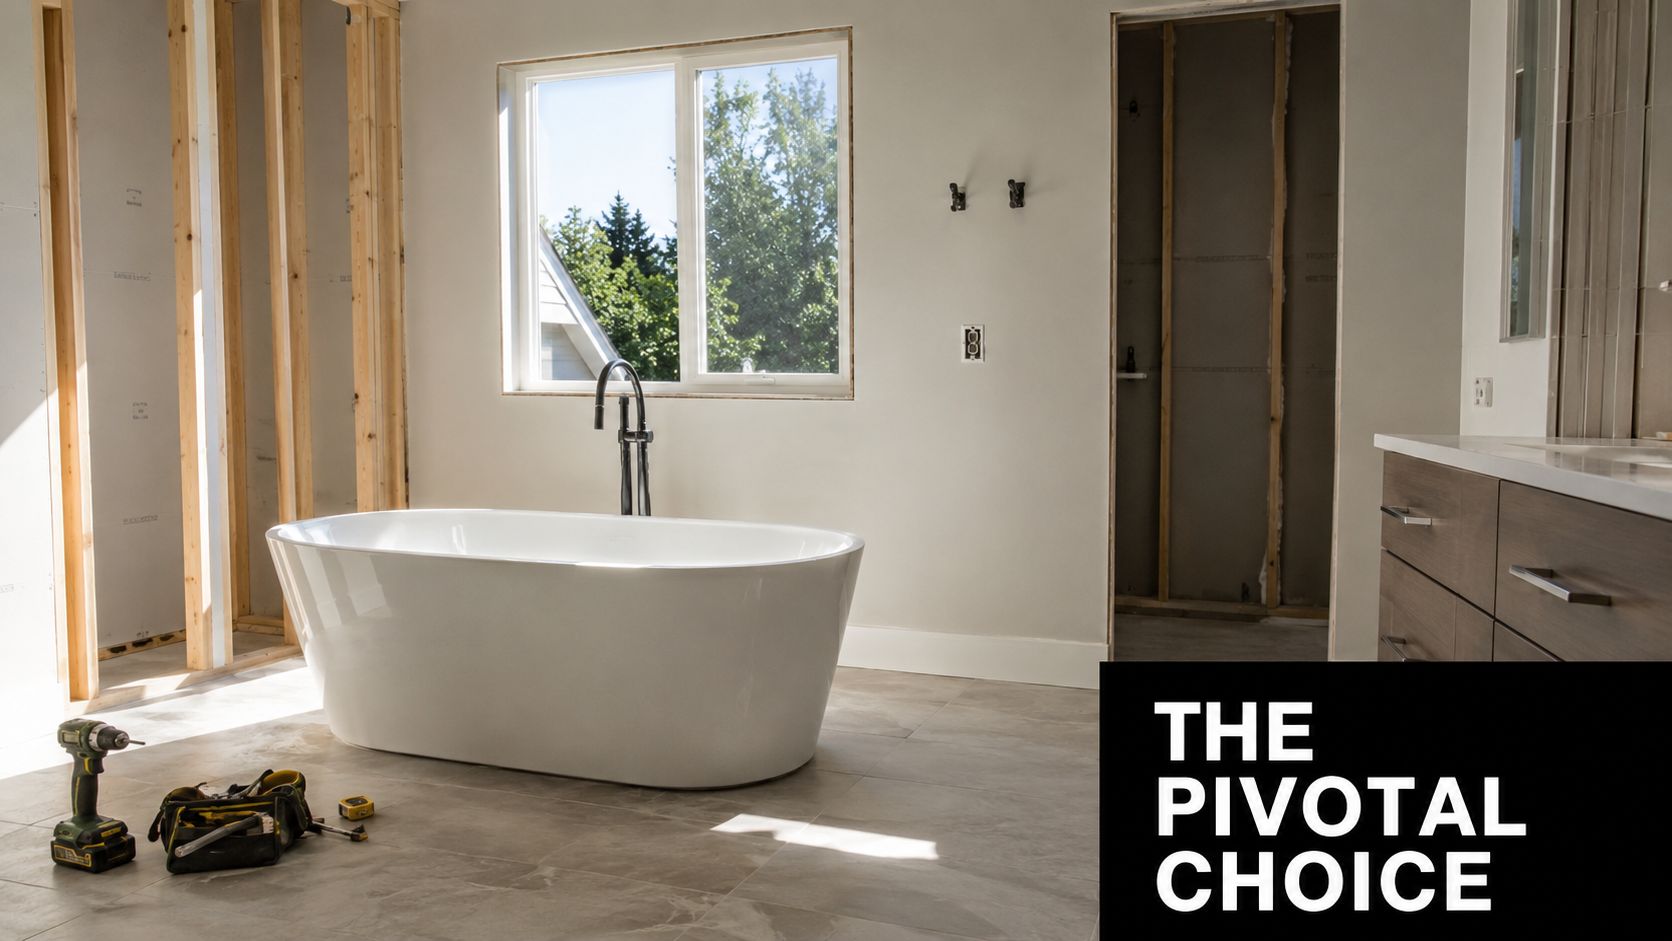
Why a Freestanding Bath Changes Your Renovation Plan
A homeowner in Highett points to a freestanding bath sample, and the room starts shifting around it straight away. The vanity moves. The tap position changes. The shower screen may need to shorten or move across the room. One choice affects flooring, waterproofing, plumbing rough-in, and the way the room feels underfoot as you move through it.
That change is not a setback. It means the bath has become the room's anchor, which is why it appears so often in new bathroom ideas and premium refurbishments where the bath is meant to be part of the room, not tucked away after everything else is decided.
The Australian housing stock keeps that reality front and centre. The national dwelling base is large, and Victoria has a substantial number of separate houses in the 2021 ABS Census of Population and Housing. That points to a lot of bathroom work happening in existing homes rather than new builds, the kind of setting where the right bath choice can refresh a tired room without stripping out every wall.
Practical rule: if the bath choice changes the position of the waste, taps, or walking path, treat it as a layout decision, not a shopping decision.
For homeowners, the first draft should cover the install workflow, the hidden trade-offs, and the questions that matter before anyone orders tile or plumbing fittings. If you're comparing registered builders, designers, or plumbers, the better ones will talk about structure, access, and rough-in reality before they promise a clean finish.
Site Assessment and Placement Before You Order
The smartest time to measure a freestanding bath is before you fall in love with one. Tape out the footprint on the floor, then stand back and check what the bath does to the room's circulation, the vanity door swing, and the entry path from the doorway. A bath can fit on paper and still feel wrong when it sits in the room.
The next step is to mark the waste position and see whether it lines up with the existing rough-in. If the planned waste falls outside the practical plumbing path, you're not choosing a bath anymore, you're choosing a plumbing job. That's why a pre-order check should include room width, usable clearances, and the route from the waste outlet to where the trap and connector can sit.
Photographs matter more than many realize. Take clear shots of the floor surface, wall substrate, skirting, and any visible service access point, because those images help a designer or plumber judge whether the room is ready for a straightforward install or whether extra carpentry and plumbing work is likely.
View a mid-century bathroom layout example
What to verify before anyone orders the bath
- Floor condition: Check whether the floor feels level and solid underfoot, because the bath shell has to sit stable from the start.
- Clearance around the bath: Leave room for cleaning, safe entry and exit, and the tap position you're planning to use.
- Access route into the house: Measure door widths, narrow hallways, and any turns that could make delivery awkward.
- Ceiling and handling space: Large baths can be difficult to manoeuvre, so the path from the truck to the bathroom matters.
- Plumbing proximity: Note how close the existing waste and water points are to the proposed bath position.
A bath that fits the room but not the access path can still become a problem on delivery day.
If you bring those measurements, photos, and a rough sketch to the first conversation, the installer can talk solutions instead of discovering problems on site. That usually saves time, and it often saves money too, because the hidden adjustments get discussed before demolition starts.
Structural Checks and Floor Reinforcement
The load question is where many freestanding bath installation plans get vague, and that's a mistake. A filled bath adds serious weight to the floor system, and that matters even more in upper-storey bathrooms and older Victorian homes with mixed-age construction. The shell might look elegant, but the floor underneath has to behave like a proper support structure.
Start with the timber frame if the home has one. You need to know joist direction, spacing, span, and condition before the bath is permanently placed. If the joists are undersized, damaged, or running in a direction that makes the chosen position awkward, the floor may need reinforcement before the bath goes in. That's the point where a registered builder or structural engineer stops being optional and becomes part of sensible renovation scope.
Floor type changes the risk profile
Timber subfloors usually give you more room to inspect and reinforce, but they also reveal hidden weaknesses fast. Particleboard can be fine in some settings, yet it needs proper assessment because surface appearance tells you very little about load behaviour. Slab floors remove the joist question, but they introduce other constraints around waste routing and access.
Practical rule: if you can't confidently explain how the bath load reaches the structure below, the bath shouldn't be ordered as a simple fit-off.
Bathroom renovations in older homes can drift from cosmetic work into building work. Extra framing, nogging, or localized reinforcement may be needed to spread the load. In some jobs, the bath position changes because the structure is sound in one area and marginal in another.
That's also why a licensed professional should be involved early when the bathroom sits above living space, where the consequences of a poor support decision are bigger and harder to correct later. A good site assessment doesn't just ask whether the bath will fit. It asks whether the floor will still behave properly once the tub is filled and used regularly.
Plumbing and Waste Connections That Actually Work
A freestanding bath can look simple from above and still fail at the waste connection if the underfloor path has not been checked properly. The cleanest installs start with a dry-fit, where the bath is set in place, the waste position is marked, and the trap line is checked against the rough-in before any pipe is cut. That step catches the common mistake of committing to a bath location before the plumbing route has been proven.
Once the position is confirmed, the bath base should sit slightly clear of the floor so the shell is not sitting in standing water and the unit can drain properly. Foot hardware is tightened only after the height and level are right, because locking it down too early can trap a bad set or leave the bath rocking. The aim is a stable shell that drains cleanly and stays steady when someone steps in.
Why the waste path makes or breaks the job
The waste connector has to meet the trap without stress, kinks, or an upward bend. Installation manuals for freestanding baths consistently warn against forcing the waste run out of line, and the reason is plain on site, drainage suffers when the connector is pushed into an awkward curve. Where access is tight, a flexible waste connector can be the workable choice, but flexible still means tidy. It needs a clear route and enough access to inspect it later.
Manufacturer installation guidelines also call for a clean, dry, stable base, then silicone sealing once the bath is level and seated correctly, with the seal left to cure before use. The usual site error is forcing fittings together just to make the bath fit. That usually leads to leaks at the joints or slow drainage that shows up after handover.
The plumbing test that matters is simple. Fill the bath, then check every joint below the floor before the seal is treated as final.
That leak test is the quality-control step you do not skip. If the underfloor joints stay dry during a fill-and-hold check, the waste alignment, trap seating, and connector route are working properly before the room is handed over.
Choosing and Positioning Mixers and Wastes
Tapware changes how the bath is used every day, not just how it looks in a photo. A wall-mounted mixer keeps the floor clear and suits tighter visual lines, but it depends on the wall being in the right place and the rough-in being set accurately before finishes go on. A floor-mounted filler gives the strongest visual statement, yet it needs floor plumbing and enough room around the bath for safe movement and easy cleaning. A deck-mounted tap can work when the bath design supports it, but it brings its own layout constraints and usually suits surrounds or baths designed for that style.
The decision isn't just aesthetic. It affects service access, cleaning, and whether the spout reaches into the bowl without splashing across the room. If a hand-held shower is being added nearby, you also need to check that it won't crowd the entry side or create a cluttered user zone.
Tapware Options for Freestanding Baths
| Tapware type | Rough-in location | Best for | Access consideration |
|---|---|---|---|
| Wall-mounted mixer | Concealed in the wall | Compact layouts and clean sightlines | Service access can be harder once the wall is closed |
| Floor-mounted filler | Concealed below the floor | Statement bathrooms with open space around the bath | Requires room for plumbing and cleaning around the base |
| Deck-mounted tap | On the bath rim or surrounding surface | Baths designed with a rim or surround for fittings | Easier access than concealed options, but only if the bath allows it |
Waste finishes matter too. Pop-up, click-clack, and cable-driven wastes all work, but each changes how easy it is to clean and service after the bath is sealed in place. A minimalist finish can look tidy, yet the question is whether the waste remains practical once the room is finished and used every week.
For homeowners planning designer bathrooms, the right answer usually depends on the room size, the position of the bath, and how much access you want to preserve for maintenance. If the layout is still in flux, the tapware decision should happen alongside the rough-in, not after tiling.
Tiling, Waterproofing, and Finishing Touches
The finish sequence decides whether the bath looks built in or dropped into the room at the end. Substrate preparation comes first, then waterproofing in the bath zone, then tile layout, then silicone. If that order gets reversed, the bath can look awkward and the edges are harder to protect properly over time.
Waterproofing around the bath needs to suit the wet zone, not just the visible edge. The floor and wall junctions must be treated carefully, and tile layout should be planned so the ugly cuts disappear behind or beside the bath rather than landing in the direct line of sight. If you want a deeper look at the room preparation side, this waterproofing guide is worth reading before finishes are locked in.
Open base or skirted base
An open-base bath leaves the underside visible, which can make the room feel lighter and gives easier access for cleaning and inspection. A skirted bath hides more of the support structure, which can suit a more polished room but can also reduce the visual sense of space.
Silicone should be used where the bath meets the finished surface in a way that controls moisture without trapping the bath in a rigid, hard-to-service setup. The seal has to look neat, but it also has to respect future access if the waste or fittings ever need attention.
Finishing rule: if the tile pattern and bath edge don't agree, the room will always look slightly unresolved, even when the plumbing is perfect.
A good finish is subtle. The bath should feel integrated into the room, not placed there after the hard work was done.
Costs, Timelines, Pitfalls, and When to Hire a Licensed Installer
The budget for a freestanding bath project usually expands in layers. There's the bath itself, then tapware, then plumbing rerouting if the rough-in doesn't suit the chosen position, then waterproofing, tiling, sealing, and labour. The cost pressure usually comes from the parts the homeowner doesn't see at selection time, especially when the waste needs to move or the floor needs reinforcement.
Timelines also stretch where the room depends on access, inspection, or structural work. A straightforward fit-off is much quicker than a bathroom where the plumber, builder, and waterproofer all need to coordinate around a changed layout. If you want a general remodel timing reference, this bathroom remodel timeline guide is useful for understanding how one trade delay can push everything else back.
Pitfalls that show up again and again
- Kinked flexible connectors: These create drainage problems and often happen when the bath position is chosen before rough-in reality is checked.
- Over-tightened fasteners: These can crack waste fittings or lock the bath into a bad height.
- Assuming the floor is level: Many rooms look level until the bath is dry-fitted and the shell rocks.
- Choosing the bath too early: The selected model might not suit the available waste route, access space, or structural capacity.
The right people need to be involved at the right time. A licensed plumber is essential for waste and water connections. A registered builder with unlimited registration becomes important when structural reinforcement, altered framing, or broader bathroom scope sits inside the same project. If waterproofing certification is part of the job, that also needs to be handled by the right trade in the right sequence.
SitePro Bathrooms also offers bathroom design and renovation planning, which suits projects where the bath position needs to be resolved before construction begins. That kind of coordination matters when the bathroom design, rough-in, and final fit-off all have to agree before a single tile is cut.
If you're planning a freestanding bath in Victoria, get the floor checked, the waste route confirmed, and the tapware position locked before you order. Then book a licensed installer who can coordinate the plumbing, structural, and finishing work as one job, because that's what keeps a premium bath from becoming an expensive layout compromise.