

Overhead Cabinet Height Guide for Australian Homes
In Australia, standard overhead cabinets are commonly 720 mm high, with a minimum 650 mm gap between the benchtop and cabinet underside, positioned around 1485 mm from the floor. That benchmark gives you a reliable starting point, but the right overhead cabinet height still depends on your ceiling, appliances, users and overall room design.
You're standing in a half-finished kitchen with a tape measure in one hand and a pencil in the other. The benchtop is installed, the wall is bare, and you're trying to decide whether the overhead cabinets should sit close enough for easy access or high enough to protect your workspace. One mark too low can make the room feel crowded. One mark too high can turn everyday storage into a job requiring a step stool.
Why Overhead Cabinet Height Matters
Overhead cabinet height affects more than the appearance of a joinery elevation. It determines how comfortably you can reach plates, glasses and pantry items, how much space remains for a kettle or mixer, and whether the room feels open when you stand at the benchtop. A cabinet run also needs to work around rangehoods, cooktops, splashbacks, cornices, power points and lighting.
The mistake many homeowners make is measuring from the wrong reference point. They measure from the floor to the cabinet top, or from the existing wall rather than the finished benchtop. Installers usually need to work from the finished floor, benchtop surface and cabinet underside, because those are the surfaces that control the usable clearances.
Practical rule: Mark the underside of the cabinet first. It gives the installer a clear line to level across the wall and makes the remaining cabinet height easier to calculate.
A badly chosen height is also costly to correct. Once cabinets have been fixed, splashbacks cut and electrical fittings positioned, moving the run can create new holes, exposed wall areas and mismatched tile lines. The same principle applies during bathroom renovations, where mirrored cabinets, floating vanities, plumbing and wall finishes must share a limited elevation.
This guide gives you a complete reference for standard measurements, reach comfort, ceiling-height options, appliance safety and custom joinery. It also explains how the logic transfers to new bathroom ideas, modern bathrooms and more specific designer bathrooms. By the end, you'll be able to identify whether the standard benchmark suits your home, whether an appliance requires a higher run, or whether custom cabinetry deserves consideration.
Standard Overhead Cabinet Heights in Australia
Australian joinery uses familiar modular dimensions, but each measurement describes a different part of the installation. The cabinet height is not the same as the benchtop clearance, and neither measurement tells you the cabinet's position until you account for the finished benchtop and floor.
| Measurement | Standard Dimension | What It Means |
|---|---|---|
| Wall cabinet height | 720 mm | The height of a commonly used overhead cabinet carcass |
| Wall cabinet depth | 300–450 mm | The front-to-back depth range commonly used for wall cabinets |
| Minimum benchtop-to-cabinet gap | 650 mm | The minimum clear distance from the finished benchtop to the underside of the overhead cabinet |
| Typical underside position | About 1485 mm from the floor | A common floor-to-cabinet-underside position in an Australian kitchen |
| Benchtop-to-cabinet gap in a standard setup | Roughly 565–585 mm | The practical gap often left above a 900 mm benchtop |
These benchmarks are summarised in Australian kitchen cabinet size guidance and supported by Australian joinery references covering wall cabinet height, depth and floor position. The widely used 720 mm cabinet height gives a useful balance between storage volume and reach. A 300–450 mm depth range keeps the cabinet useful without allowing the front edge to dominate the benchtop.
The minimum 650 mm clearance is measured vertically from the finished benchtop to the underside of the wall cabinet. It isn't measured to the cabinet top, cornice or highest decorative trim. If your benchtop sits at the common 900 mm height, the resulting gap may be smaller than 650 mm in some arrangements, so the actual installation needs to be checked from the finished surfaces rather than assumed from a catalogue dimension.
The 1485 mm floor-to-underside position provides a familiar starting point for a standard elevation. It helps align the overhead run with the working zone below while preserving usable space for benchtop appliances. Don't treat it as an automatic instruction, though. A cooktop, unusual benchtop height or accessibility requirement can override the general arrangement.
Ergonomics and Benchtop Clearance Guidelines
A technically acceptable height can still feel wrong in daily use. Stand at the benchtop and reach forward with your elbow relaxed. The shelves you use most should sit in a comfortable reach zone, while less frequently used cookware can occupy the higher areas.
The cabinet's underside also shapes the working corridor. A gap that feels generous in an empty room can become restrictive once a kettle, coffee machine, food processor or stand mixer is placed below it. Use the standard benchtop height reference alongside the cabinet measurement, because the two surfaces work as a pair.
Test the reach before ordering
Use painter's tape to mark the proposed cabinet underside on the wall. Then place a temporary box or sheet of cardboard at the approximate cabinet front edge. Ask the main users to reach for a mug, lift a saucepan and look towards the back of the benchtop.
Watch for three problems:
- Overhead reach: If regular items sit above comfortable shoulder height, the top shelf may become storage you own but rarely use.
- Forward projection: Deeper cabinets can affect sightlines and make the benchtop feel enclosed, particularly in a narrow kitchen.
- Working clearance: Small appliances need room for lids, handles, cords and movement, not just a gap that looks adequate on an elevation.
Shorter adults, children who access their own items and people using mobility aids may need a lower or selectively lowered storage zone. Taller users may prefer extra clearance above the benchtop, especially if they regularly prepare food beneath the cabinets. The correct decision is the one that serves the people using the room, not an assumed average household.
A cabinet can be perfectly level and still be in the wrong place for the person who uses it every day.
You don't have to lower the entire run to improve access. A designer can reserve the most reachable shelves for daily items, use drawers or open shelving in a working zone, or create a mixed-height elevation. Keep cooktop clearances separate from comfort adjustments, because appliance safety requirements aren't optional ergonomic preferences.
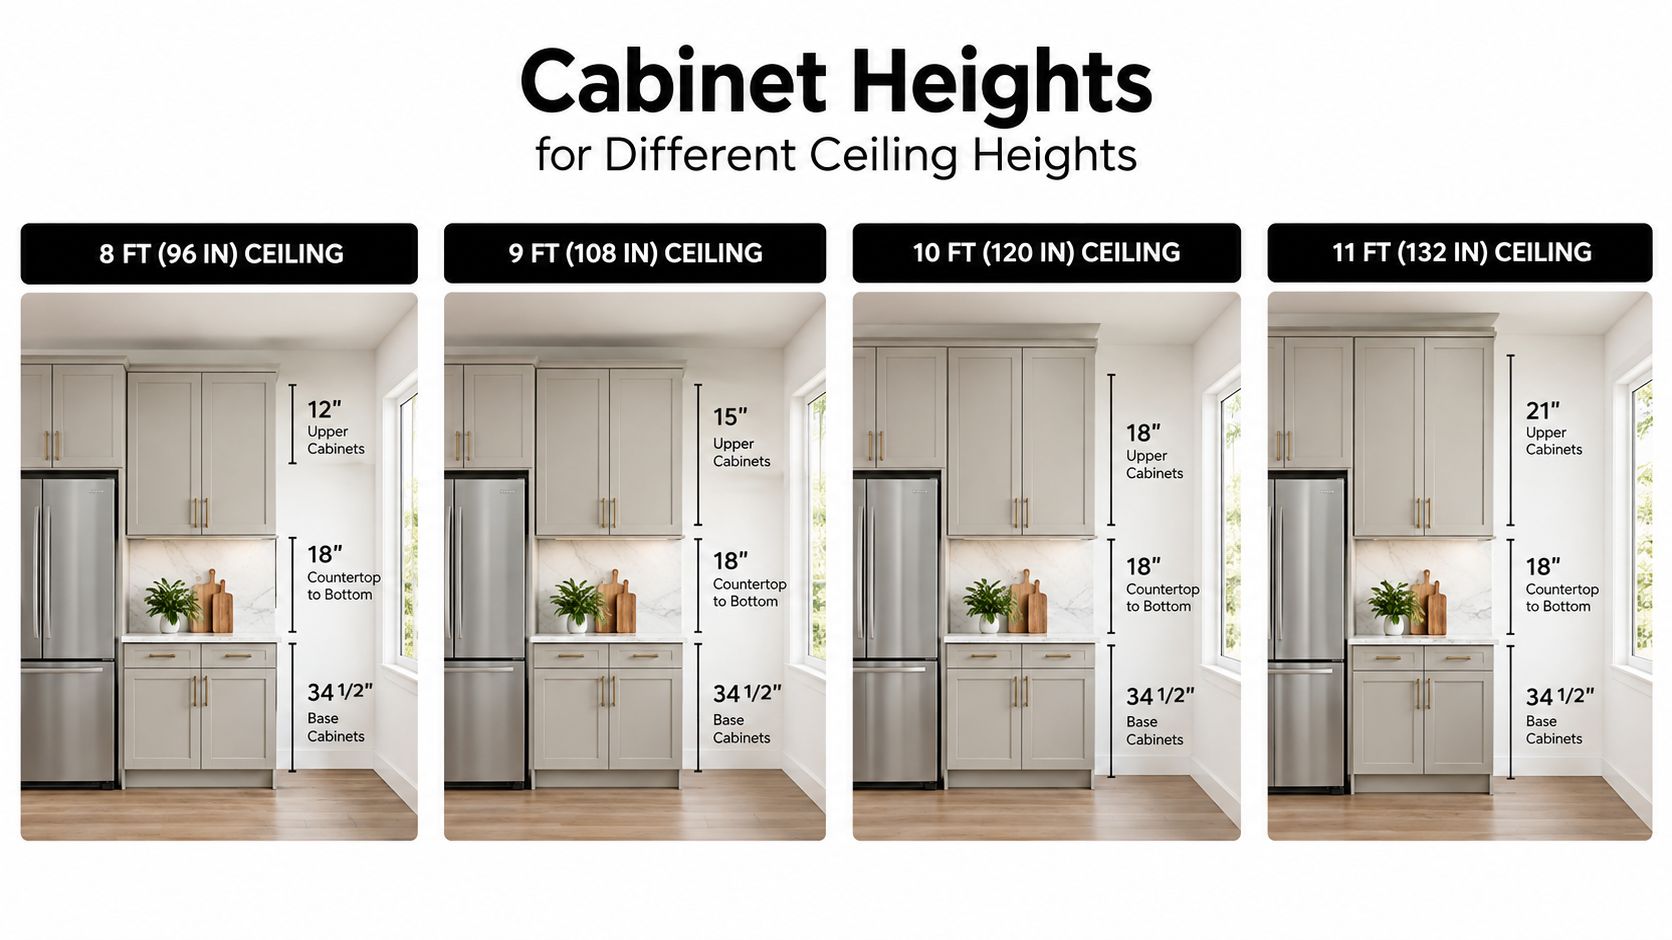
Cabinet Heights for Different Ceiling Heights
Ceiling height changes what happens above the cabinets, but it doesn't automatically change the safe or comfortable position of the underside. Start with the benchtop, appliance requirements and user reach. Then decide how to treat the space between the cabinet top and ceiling.
Standard ceiling rooms
In a room with a conventional ceiling, a 720 mm wall cabinet and a floor-to-underside position around 1485 mm can create a balanced, familiar elevation. The remaining space above may be finished with a cornice, filler panel or bulkhead, depending on the ceiling detail and the desired style.
Leaving a visible gap can suit a relaxed renovation, but it creates a surface where dust can collect. A closed treatment gives the cabinetry a more deliberate built-in appearance. Check the cornice and bulkhead dimensions early, because they can affect doors, lighting and the visual line of the room.
Higher ceilings
A higher ceiling gives you more vertical space, but raising the entire cabinet run can make everyday storage less accessible. Instead, keep the working underside close to the established benchmark where it suits the household, then use taller cabinetry, a second tier or a carefully proportioned bulkhead above.
The Australian cabinet range commonly extends to 905 mm in height, with wall cabinet depths around 300–350 mm in many layouts, as outlined in standard cabinet dimension guidance. A taller cabinet can use more of the wall without forcing every frequently used shelf higher.
Double-storey and raked ceilings
A double-storey void or raked ceiling often makes a full-height overhead run look visually heavy. In those rooms, designers may stop the cabinet at a clear architectural line, use a tall pantry bank at one end, or allow the upper wall to remain open. The right choice depends on whether the room needs more storage or more visual breathing space.
For a built-in treatment, a 260–320 mm bulkhead can close the run to the ceiling where the cabinet design and ceiling geometry allow it. Confirm the finished ceiling level before ordering. Raked ceilings, beams and uneven cornices can make a standard rectangular closure unsuitable.
Safety Clearances Around Cooktops and Appliances
The benchtop-to-cabinet gap is a general planning dimension. The space above a cooktop is a separate safety zone, and appliance requirements can force the cabinetry or rangehood higher than the surrounding run.
Australian kitchen guidance identifies a minimum 650 mm clearance between the cooktop area and the underside of overhead cabinetry, while some guidance states that the minimum rises to 700 mm near gas cooktops. The higher requirement reflects the heat and flame risk associated with gas appliances, so it must be treated as a safety constraint rather than a preference. See the Australian dimension guidance on kitchen clearances and appliance zones before finalising the elevation.
Check the appliance instructions first
The rangehood and cooktop installation instructions take priority over a general cabinet layout. They may specify a particular clearance, ventilation arrangement or relationship between the appliance and surrounding cabinetry. Your installer should check those requirements before the cabinet order is released.
A practical sequence is:
- Confirm the cooktop model and fuel type.
- Check the rangehood and cooktop installation requirements.
- Mark the required vertical clearance from the finished benchtop.
- Adjust the overhead cabinet or rangehood position.
- Check whether the change affects adjacent doors, fillers, lighting or the splashback.
Gas cooking can therefore create a different underside height from the cabinets beside it. The run may need a stepped arrangement, a higher central cabinet or a dedicated rangehood enclosure. Don't lower neighbouring cabinets just to create a level line if doing so compromises the cooktop zone.
Heat, steam and splashes also influence material selection and detailing. Cabinet doors, panels, rangehood surrounds and splashback junctions should be coordinated with the appliance installation, not treated as separate decisions after the joinery is designed.
Custom Installations and Full-Height Cabinet Runs
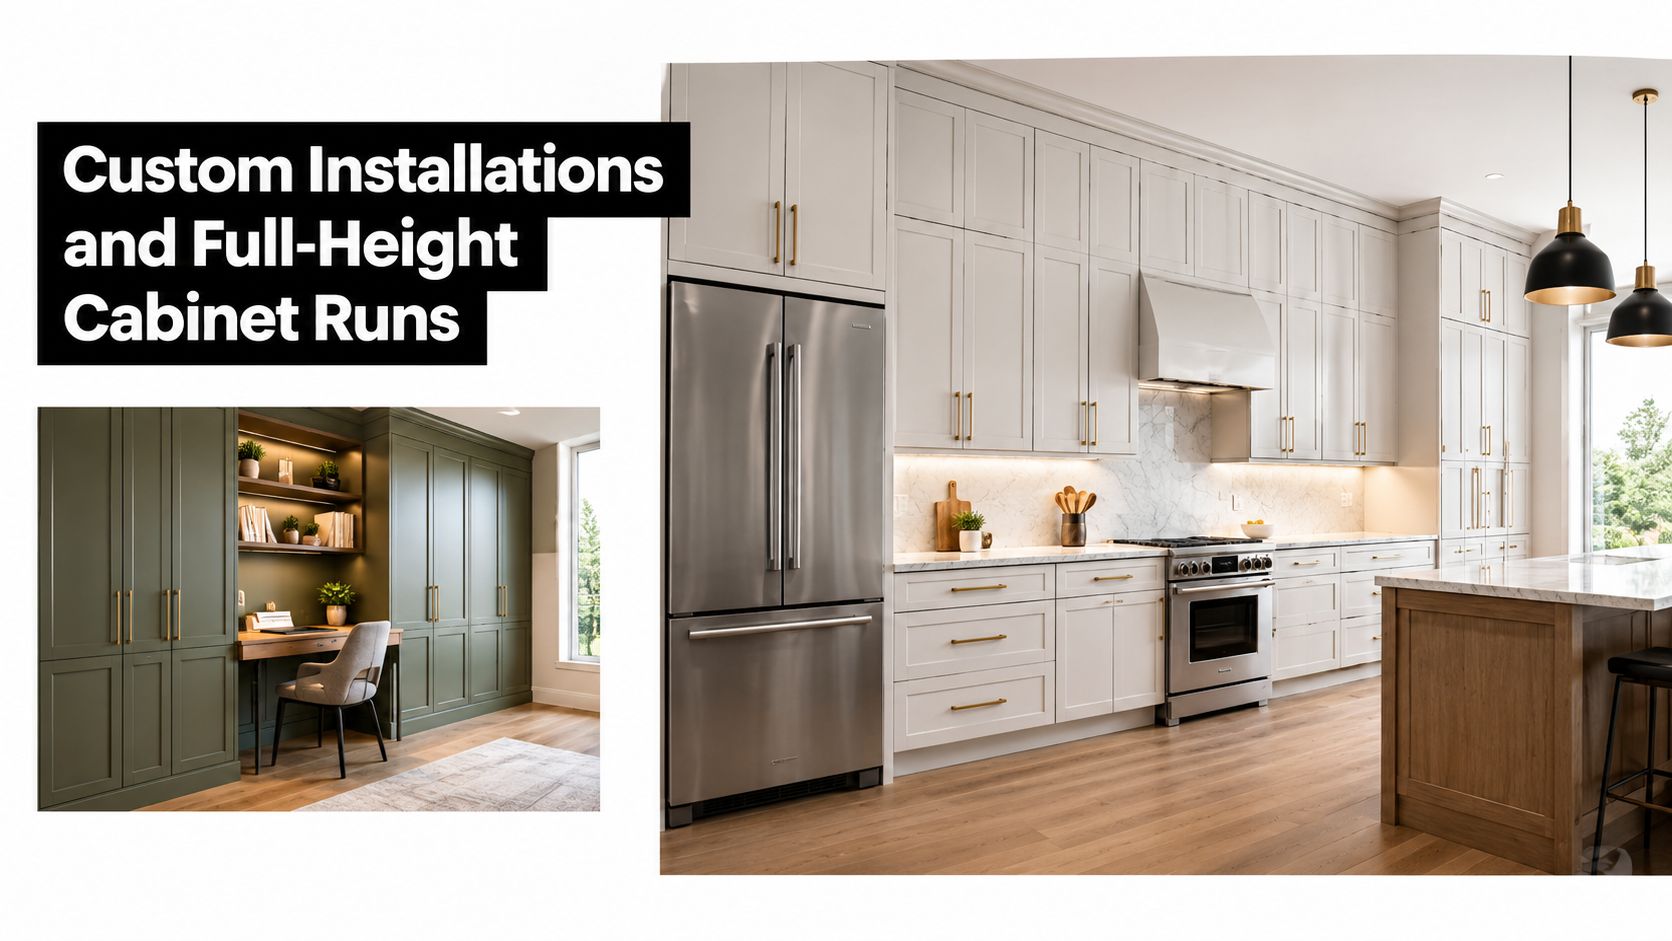
Stock modules work well when the room follows familiar proportions. Custom joinery earns its place when the ceiling, appliances, storage needs or architectural lines don't cooperate with standard modules.
A custom-height wall cabinet can preserve a comfortable underside while extending storage upwards. A stacked configuration can place everyday items in the lower cabinet and occasional-use items in the upper tier. In a butler's pantry, a stepped run may respond to different benchtop levels, appliance positions or a change from preparation space to tall storage.
Choose the right closure strategy
There are three common ways to handle the space above a cabinet:
- Open gap: Suitable when the ceiling detail is simple and the homeowner accepts the cleaning requirement.
- Bulkhead closure: A 260–320 mm bulkhead can close the run for a fitted appearance where the room allows it.
- Full-height joinery: Tall cabinets can run towards the ceiling and create a continuous architectural wall.
A tall or pantry cabinet may use a 2073 mm cabinet height, a dimension recorded in Australian modular joinery references. It can work beside a refrigerator, oven bank or laundry storage, but it needs careful coordination with doors, handles, skirting and ceiling finishes.
Material choice matters as much as height. Compare moisture resistance, door construction, internal finishes and edge details in a guide to kitchen cabinet materials before selecting a custom solution. Bathrooms require even closer attention to humidity, splash exposure and ventilation.
3D design visualisation is particularly useful here. A homeowner can compare a single cabinet tier with stacked doors, view the sightline from the entry, and test whether a full-height run overwhelms the room before construction begins. SitePro Bathrooms provides concept development and 3D design as part of its renovation process, which is one way to coordinate cabinet proportions with the wider room.
Overhead Cabinets in Bathroom Renovations
Bathrooms use the same basic measurement logic as kitchens, but the storage usually sits above a vanity rather than a food-preparation benchtop. The key reference surfaces are the finished floor, vanity top, basin, mirror and any nearby shower or tall storage.
A mirrored cabinet needs to serve the people looking into it, not just fill the wall. Mount it so the main users can see their faces comfortably without stretching or crouching, then check that the doors won't conflict with taps, wall lights or shower screens. A floating vanity changes the apparent height of the room by exposing more floor, but it doesn't remove the need to coordinate the mirror and storage elevation.
Match storage to the bathroom's daily rhythm
A compact ensuite may benefit from a mirrored cabinet above the basin and a tall storage tower beside the vanity. A family bathroom might need open access to towels, concealed storage for toiletries and a clear wall area around the basin. The cabinet should be positioned around those habits rather than copied from a kitchen elevation.
Current Australian bathroom design references feature open showers, subway tile, terrazzo floors, floating vanities and freestanding baths, with Melbourne examples showing contemporary and modern bathroom styles in local design galleries. Those features affect cabinet placement. A freestanding bath may need an uninterrupted focal wall, while an open shower requires careful consideration of splash exposure and storage materials. See the modern bathroom design examples for the range of styles homeowners are using as inspiration.
A designer bathroom often looks simple because the measurements have been carefully resolved. The mirror may align with a tile grid, the vanity may leave a deliberate visual gap below, and a tall cabinet may occupy an otherwise unused corner. Test the sightlines from the doorway, basin and shower, just as you would test reach and appliance clearance in a kitchen.
Working With a Registered Builder on Your Project
Cabinet height decisions become more complicated when the work includes waterproofing, plumbing relocation, structural changes or electrical installation. A builder can coordinate those trades before a cabinet position becomes fixed, reducing the risk that a mirror, power point, pipe or rangehood lands in the wrong place.
Victoria also has a specific compliance threshold. Domestic building work worth more than $10,000 must use a registered builder or building company, according to Victorian practitioner guidance summarised in bathroom renovation guidance for Victorian homeowners. That requirement is particularly relevant when a bathroom renovation combines demolition, waterproofing, joinery and finishing work under one project.
What the unlimited class means
The Domestic Builder, Unlimited registration class is a real Victorian practitioner category. Public Victorian listings include examples with licence codes such as CDB-U 48514 and CDB-U 100587, demonstrating that the category is used for licensed domestic builders undertaking broader residential work. The registration class doesn't remove the need to check the builder's experience, insurance, written scope and proposed subcontractors.
Before signing, ask the builder to confirm:
- Registration: Verify the current registration and the relevant practitioner class.
- Scope: Make sure cabinet installation, waterproofing, plumbing, electrical work and finishing are clearly allocated.
- Drawings: Review the elevations and service locations before ordering joinery.
- Variations: Establish how changes to cabinet height or appliance position will be documented and priced.
- Handover: Confirm what inspections, certificates and warranties apply to the completed work.
An experienced renovation team should spot conflicts between cabinet height, cornice lines, plumbing outlets, lighting and appliance clearances during design. That planning is valuable in both kitchens and bathrooms, where a small elevation change can affect several trades at once.
Quick-Reference Measurement Checklist
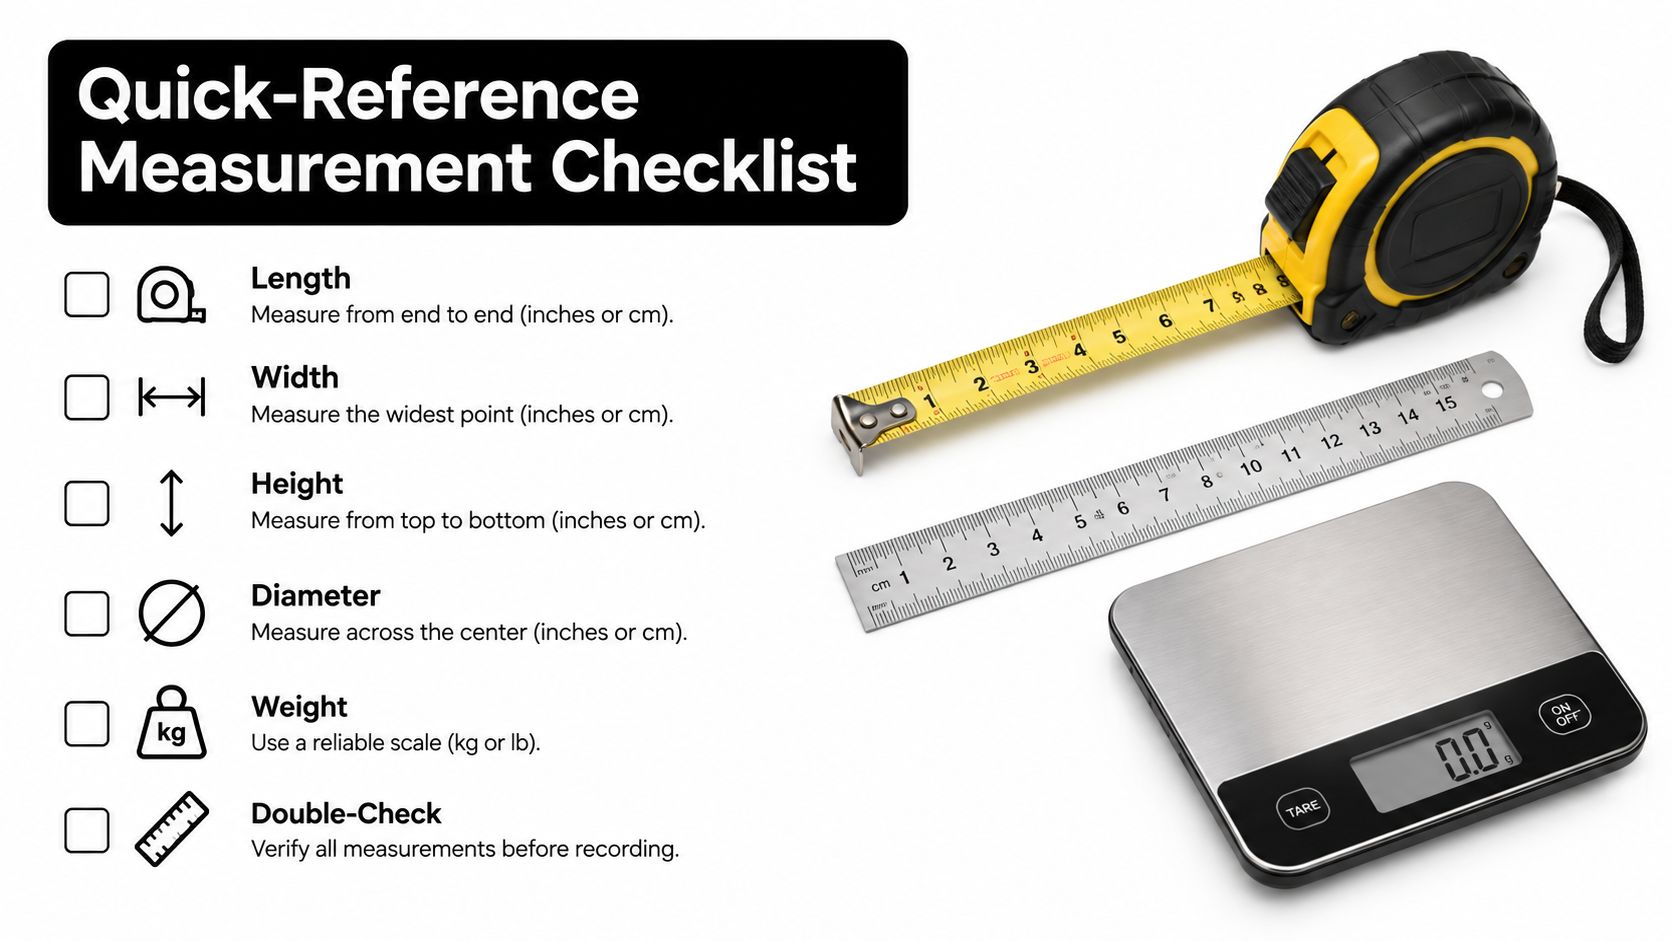
Keep this list beside your tape measure during the design appointment. Each figure applies to a particular part of the room, so don't use a cabinet dimension as though it were an appliance clearance.
- Wall cabinet height: 720 mm for a commonly used Australian overhead cabinet carcass. See the cited Australian cabinet dimension guidance above.
- Wall cabinet depth: 300–450 mm as a common range for overhead storage.
- Minimum general clearance: 650 mm from the finished benchtop to the cabinet underside.
- Gas cooktop clearance: 700 mm where the applicable guidance requires the higher minimum near gas.
- Typical underside position: About 1485 mm from the floor in a standard kitchen arrangement.
- Typical benchtop gap: Roughly 565–585 mm above a 900 mm benchtop in the standard setup.
- Full-height closure: A 260–320 mm bulkhead can close the upper gap where the ceiling and cabinetry allow it.
- Tall pantry height: 2073 mm is a recorded Australian modular tall-cabinet dimension.
- Bathroom storage: Apply the same reach and sightline principles around the vanity, mirror and tall storage, then check moisture exposure and plumbing locations.
For a conventional ceiling, begin with the standard underside benchmark and test the reach. For a higher ceiling, consider taller modules, a second tier or a bulkhead rather than automatically raising everyday storage. For a raked ceiling, unusual appliance zone or designer bathroom layout, use a measured elevation and 3D view before committing to custom joinery.
Before ordering cabinets, measure the finished floor and benchtop, mark the proposed underside, test reach with the main household users, and check every cooktop and rangehood requirement. If you're planning a kitchen or bathroom renovation in Highett or greater Victoria, contact SitePro Bathrooms to arrange a design consultation, review the elevation in 3D, and coordinate cabinetry, plumbing, electrical work and construction before installation begins.