
You mop the floor, the tiles come up well, and the grout still looks tired. That's the part that frustrates most homeowners. Clean tile with dirty grout makes the whole room feel older than it is.
In bathrooms, that matters more than people think. Grout sits in the joints where moisture, soap residue, body oils and general foot traffic collect. It also tends to show every shortcut. Wipe-only cleaning makes the surface look better for a day, but it rarely pulls the dirt out of the grout line itself.
A professional result comes from using the right sequence, choosing products that suit the tile and grout you have, and knowing when discolouration is no longer a cleaning problem. That last point is the one many DIY guides miss. Sometimes dark grout is just grime. Sometimes it's the bathroom telling you something deeper is going on underneath.
Beyond the Grime Why Grout Health Matters
Grout becomes noticeable when it stops matching the rest of the floor. The tiles still reflect light. The room may even smell clean. But the joints look patchy, dark or uneven, and suddenly the whole bathroom feels neglected.
That visual effect isn't trivial. Grout lines frame every tile, so when they stain, the floor loses definition. In a well-finished bathroom, especially one with careful tile selection, clean grout is what makes the layout read as sharp and intentional. If you're planning updates, the tile choice itself matters just as much as the maintenance plan, and this guide on how to choose bathroom tiles is worth reading before you commit to a finish.
What grout is really doing
Grout isn't just cosmetic filler. It's a porous joint material that sits in a hard-working part of the room. On a bathroom floor, it deals with splashed water, cleaning residue, dust, skin oils and whatever gets tracked in from the rest of the house.
That's why grout often gets dirty faster than the tile around it. The tile surface is comparatively easy to wipe. The grout line grabs residue and holds it.
Practical rule: If the floor looks dirty again soon after mopping, the problem is often in the grout lines, not on the tile face.
What discolouration can mean
In many bathrooms, dark grout is built-up soil. A proper clean fixes it. In others, the darkening keeps returning in the same zones, especially near showers, corners and drainage points. That's where experience matters.
Look at the pattern, not just the colour:
- Even general dullness usually points to surface grime and residue.
- Patchy dark areas can suggest repeated moisture exposure.
- Cracking, powdering or soft spots often mean cleaning isn't the actual issue.
- Discolouration that returns quickly after drying deserves closer attention.
Grout health affects more than appearance. It influences how clean the bathroom feels, how easy it is to maintain, and whether a small maintenance task stays small. If the joints are intact and the staining is superficial, cleaning and sealing can restore the floor nicely. If the grout is failing, you're not preserving the bathroom by scrubbing harder. You're only delaying the proper fix.
The Foundation A Safe and Effective Everyday Clean
Most grout doesn't need aggressive treatment first. It needs the right order. When homeowners ask me how to clean floor tile grout without damaging it, I start with a simple rule. Remove dry debris first, then clean, then extract the residue fully.
Professional guidance for floor tile grout follows this sequence: dry-sweep or vacuum first, apply a non-abrasive, pH-balanced cleaner or a baking-soda and peroxide paste, let it dwell for about 5 to 10 minutes, scrub with a soft- or stiff-bristle brush in short strokes, then rinse thoroughly with warm water and dry the surface. The same guidance notes that removing loose debris first prevents pushing grime deeper into the grout line, as outlined in this step-by-step professional grout cleaning guide.
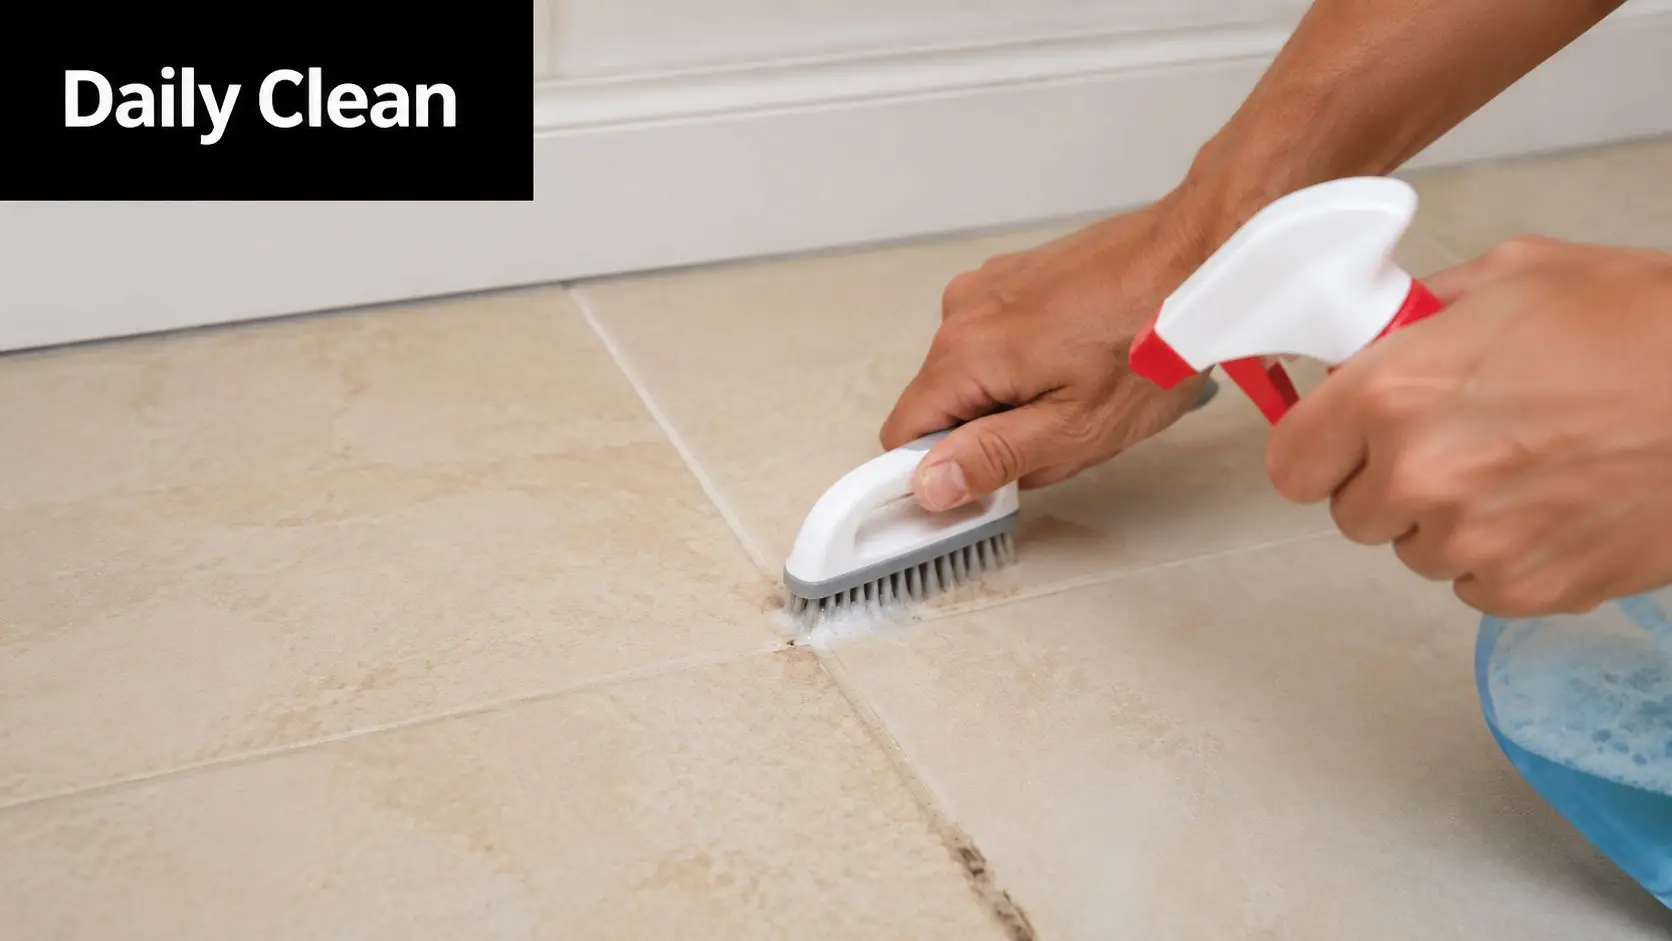
Start dry, not wet
This is the step people rush past. If dust, hair and grit are still on the floor, the brush turns them into slurry and pushes them into the grout.
Use a broom or vacuum and take your time around the edges. Bathrooms collect fine debris in corners and along the wall line. That debris ends up in the joints if you skip prep.
For tiled floors with larger porcelain pieces, grout lines can be visually subtle, which makes hidden residue easier to miss. That's one reason installation quality and material choice matter in the first place. If you're dealing with broad tile surfaces and narrow joints, this article on installing large-format porcelain tiles gives useful context.
Use a mild cleaner the right way
For a routine clean, use a non-abrasive, pH-balanced cleaner. If you prefer a more hands-on DIY approach for general soil, a diluted cleaner can work well when used properly. One grout-cleaning guide specifies 2 tablespoons of cleaner to 1 cup of water, then recommends leaving the solution on the grout for a few minutes before scrubbing, rinsing and drying in this grout cleaning guide.
The important part isn't flooding the floor. It's giving the cleaner contact time.
Let the product sit on the grout long enough to loosen grime, but don't leave the floor soaking. Controlled dwell time works better than excess water.
Scrub with control, then remove what you loosened
Use a grout brush or a small bristle brush. Short strokes work better than wide sweeping motions because they keep pressure in the joint where the grime sits. You're not polishing the tile. You're agitating the grout line.
A good everyday process looks like this:
- Sweep or vacuum thoroughly so loose dirt doesn't get pushed into the joints.
- Apply cleaner to the grout lines rather than flooding the whole floor.
- Wait for the dwell time so the cleaner can break down residue.
- Brush in short passes with steady pressure.
- Rinse with warm water and lift the dirty water away.
- Dry the surface so moisture doesn't sit in the joints.
If you only wipe the area after scrubbing, some of the loosened residue stays behind. That's why pros focus on removal, not just agitation. Grout is porous. If the dirty solution isn't properly rinsed and taken off the floor, the line can dry looking almost as dull as it did before.
Targeted Solutions for Stubborn Grout Stains
Some grout responds straight away to a routine clean. Some doesn't. The mistake is treating every stain the same way. If you keep throwing more elbow grease at a stain that needs a different approach, you waste time and wear the grout down.
When an everyday clean stalls, step up carefully. For deeper cleaning, a commonly recommended DIY method is a peroxide-and-baking-soda paste made with 1/2 cup baking soda plus 1/4 cup hydrogen peroxide, left for 5 to 10 minutes before scrubbing and rinsing. That timing aligns with other instructions that use a 10-minute dwell time for 3% hydrogen peroxide to break down grime, as explained in this guide to cleaning grout and tile.
For general deep-set grime
This is the most common bathroom-floor problem. The grout looks grey or brown, especially along walking lines and near the vanity.
Use the peroxide and baking soda paste on the grout only. Apply it neatly, let it sit within that 5 to 10 minute window, then scrub and rinse thoroughly. Don't let the paste dry hard on the surface. If it dries completely, you've created another residue-removal job.
What usually works:
- Targeted application keeps the treatment where it's needed.
- Moderate dwell time gives the mix time to break down grime.
- Thorough rinsing stops loosened dirt from settling back into the joint.
What usually doesn't:
- Smearing paste across the whole floor and hoping for an even result.
- Leaving it too long because more time isn't always better.
- Skipping the rinse and just wiping the tile face.
For damp-area spotting and recurring dark marks
Bathrooms often get small dark patches in the grout near showers, around the toilet, or in corners where airflow is poor. Start with the same deeper-cleaning method above, then watch what happens over the next few days.
If the area lightens, dries evenly and stays stable, the issue was likely surface contamination. If it darkens again quickly in the exact same spot, take that seriously. Repeating the same treatment over and over doesn't solve moisture coming from below or behind.
Stains that return in a pattern are rarely random. Bathrooms tend to tell you where the real problem is.
For greasy build-up and layered residue
Kitchen grout often gets grease. Bathroom floor grout usually gets soap film, body-product residue and cleaner build-up. The fix is similar in principle. You need a cleaner that breaks down the film, plus brushing and a proper rinse.
A layered residue problem often shows up as grout that feels tacky when wet or looks blotchy after drying. In that case, do two smaller controlled cleaning passes instead of one heavy attack. The first pass loosens the top layer. The second gets to what's underneath.
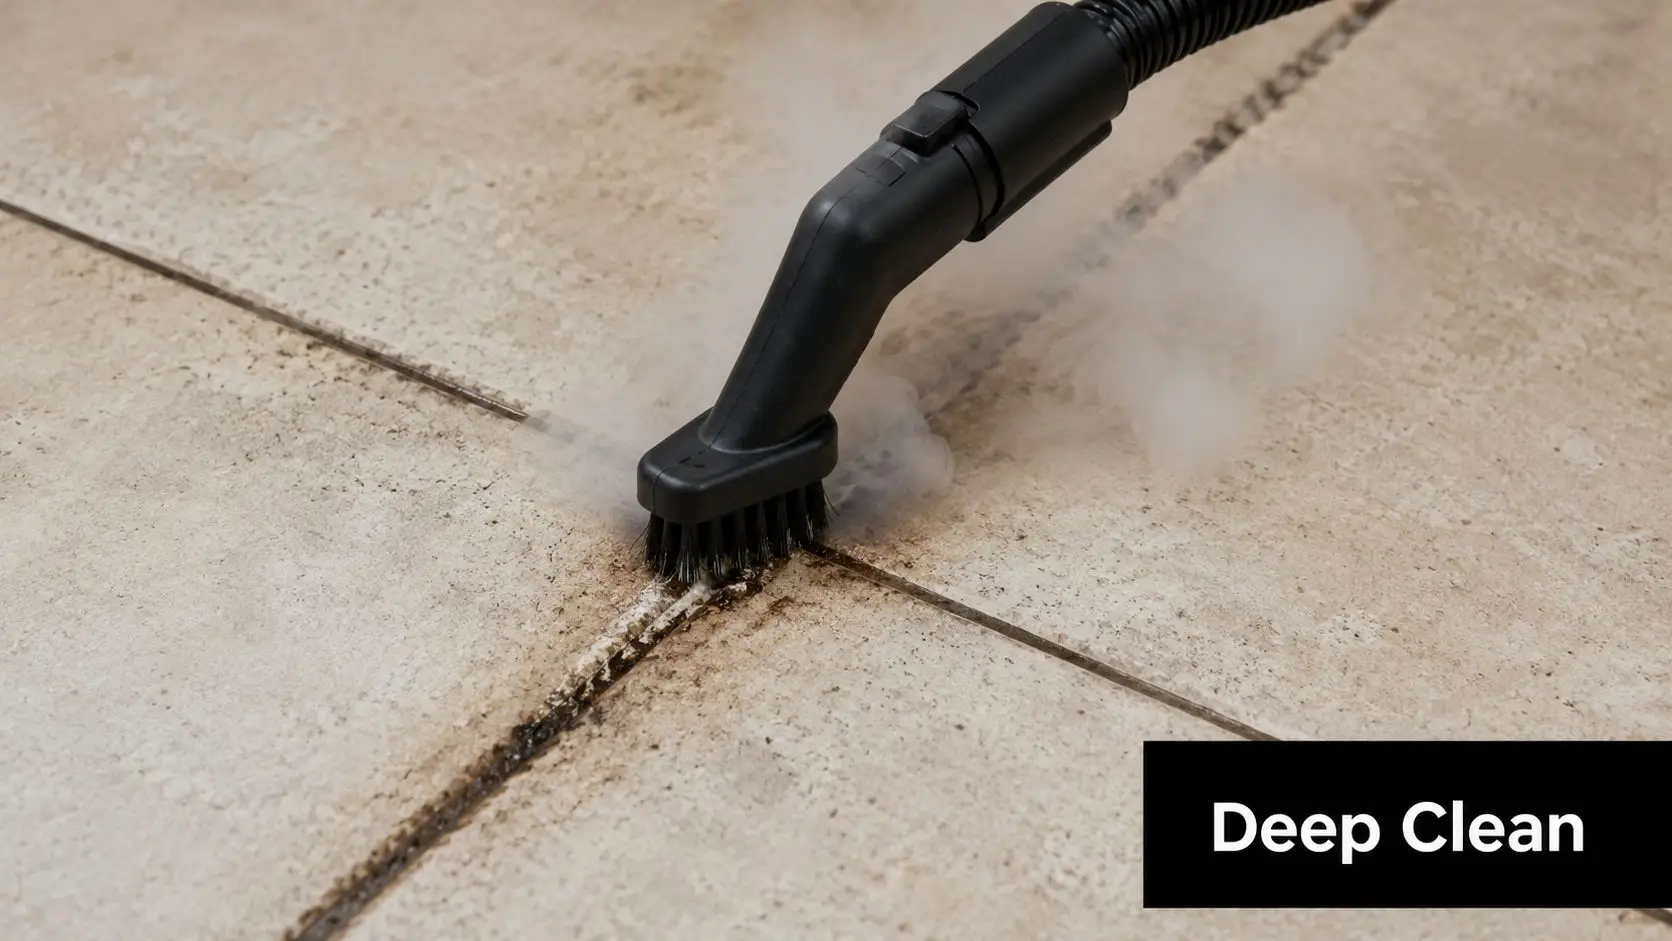
Steam and hand cleaning compared
Steam can help on stubborn grout, but it isn't magic. It's useful when you want a low-chemical approach and you're careful with the material.
| Method | Best use | Watch for |
|---|---|---|
| Hand scrubbing | Precise spot treatment and routine deep cleaning | Too much force can wear weak grout |
| Steam cleaning | Low-chemical cleaning on suitable surfaces | Heat and moisture can be a poor choice for already failing grout |
| Paste treatment | Deep grime in porous grout lines | Residue if not rinsed off properly |
Use steam as a tool, not a shortcut. If grout is cracked, loose or powdery, steam won't repair it. It may just expose how compromised the joint already is.
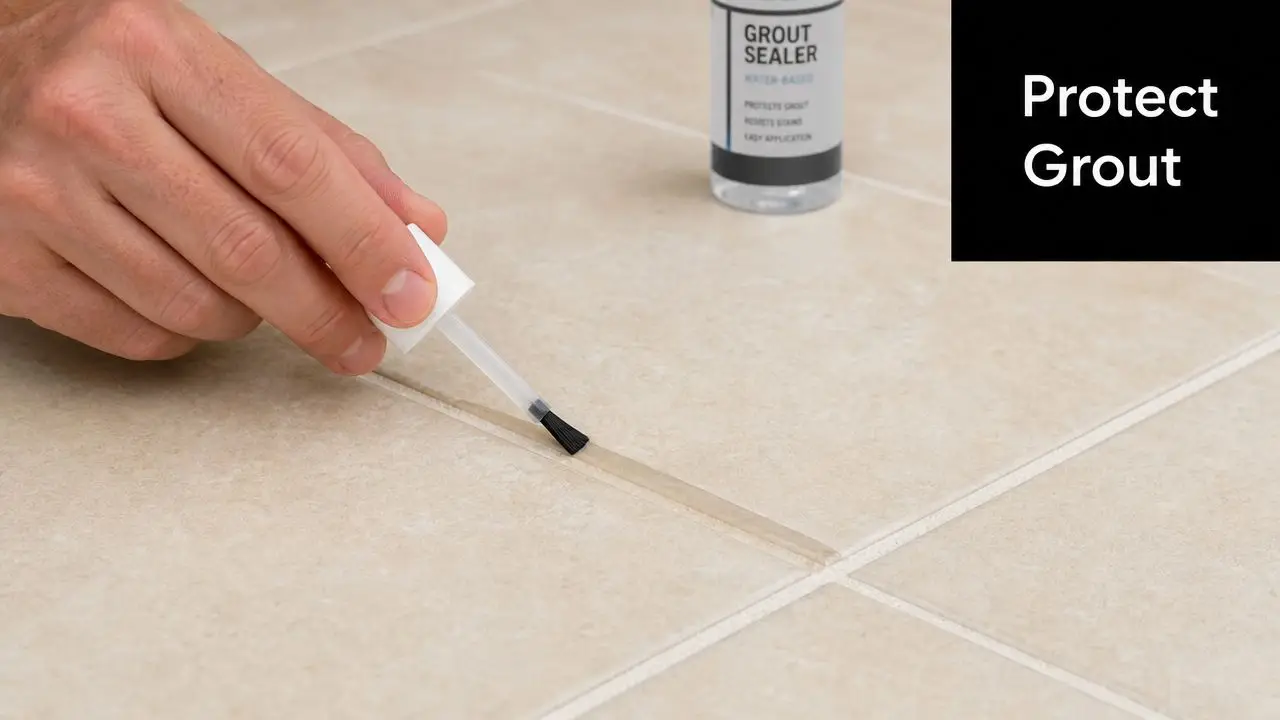
Protect Your Work Grout Sealing and Minor Repairs
A clean grout line looks good for a moment. A sealed grout line stays cleaner for longer. That's the difference between a weekend clean-up and proper maintenance.
Grout is porous, so once you've cleaned it properly, it makes sense to protect that surface from taking on new staining straight away. Expert DIY guidance recommends letting grout dry fully before applying a thin coat of sealer and repeating sealing annually for light-coloured grout. The same guidance warns against acidic cleaners like vinegar on natural stone because they can etch the surface, as explained in this grout cleaning and sealing guide.
Manual care versus steam-assisted maintenance
Homeowners often ask whether they should rely on brushing and sealing alone, or add steam into the mix. The answer depends on the floor condition and the material.
A simple comparison helps:
- Manual clean plus sealer suits most standard maintenance jobs. It gives you control and lets you inspect the grout closely.
- Steam plus sealer can work where you want less chemical use, but only if the grout and tile finish can handle it.
- Repeated harsh cleaning without sealing is the worst option. You do the hard work, then leave the grout open to absorb new staining again.
For modern bathrooms, sealing is especially important because cleaner lines and lighter grout colours show dirt quickly. A sealed joint is easier to maintain and less likely to take on every splash and footprint.
Minor cosmetic repairs you can handle
Cleaning sometimes reveals that the issue isn't just staining. You may find hairline cracks, shallow pinholes or small sections where the grout has worn back.
For minor cosmetic issues:
- Touch-up pens can help with appearance where the grout is sound but uneven in colour.
- Small repair kits can patch localised defects if the surrounding grout is still solid.
- Fresh sealer after repair helps protect the area once it has cured and dried properly.
What these options can't do is fix movement, water intrusion or widespread failure. If the grout line keeps opening up, crumbles under light brushing or sounds hollow beside loose tiles, cosmetic products are only hiding the symptom.
Clean first, inspect second, seal last. If you reverse that order, you lock in problems instead of solving them.
When to Stop Scrubbing and Call a Professional
There's a point where more cleaning stops being maintenance and starts being avoidance. If the grout is still dark after proper treatment, or if it keeps changing colour again after drying, the floor may be pointing to a failure in the tile assembly rather than a dirty surface.
Persistent grout darkening can indicate a compliance or waterproofing issue in line with AS 3740, the Australian standard for waterproofing wet areas. Consumer cleaning advice often doesn't help homeowners distinguish a surface stain from a more serious assembly failure, which is why this wet-area grout article is such an important reference point.

Warning signs that cleaning won't fix
Put the brush down if you're seeing signs like these:
- The same grout lines darken again and again after they appear to dry.
- Grout is cracking, flaking or washing out during normal cleaning.
- Tiles feel loose or sound hollow underfoot.
- Musty odours keep returning even after the room has been cleaned.
- Staining is concentrated near wet zones such as the shower entry or floor waste.
Those are maintenance red flags. In bathrooms, surface finishes and waterproofing work as a system. If one part fails, the visible symptom often appears in the grout first.
Why this matters for renovation value
Cleaning directly connects to long-term bathroom value. A floor that only looks dirty may need a proper deep clean and reseal. A floor with moisture-related grout failure may need regrouting, local tile removal, or a broader bathroom renovation depending on what's underneath.
That matters if you're weighing up new bathroom ideas, planning designer bathrooms, or trying to preserve the condition of an existing space before problems spread. Homeowners often wait too long because the issue still looks cosmetic from above.
If a professional inspection shows waterproofing failure or a failed tile bed, the right next step isn't another cleaning product. It's a proper remedial approach by experienced bathroom renovators and registered builders unlimited who understand how wet areas should perform, not just how they should look.
A Pro's Perspective on Grout Cleaning Safety
The safest way to clean grout depends on what's on either side of it. That's the part generic advice skips. Guidance differs for sanded, unsanded, epoxy and natural-stone installations, and some materials need a much gentler approach than others. This tile and grout care guide notes the need to avoid acidic cleaners like vinegar on natural stone and to use softer brushes or pH-neutral cleaners where appropriate.
Match the method to the material
If you're working on ceramic or porcelain with sound cement-based grout, you've got more room to use brushing and targeted deep cleaning. If the floor includes natural stone, polished finishes or specialty grout, be conservative.
A simple safety filter works well:
- Natural stone needs non-acidic cleaning and gentle tools.
- Epoxy grout usually needs less aggressive treatment because it resists staining differently.
- Older or fragile grout can fail under hard scrubbing even if the tile itself looks fine.
Ventilation matters too. Bathrooms that stay damp are harder to keep clean and harder to keep dry after cleaning. Good airflow supports every other maintenance step, which is why practical upgrades like bathroom exhaust fan installation can make a real difference to ongoing grout condition.
Use grout as a diagnostic tool
The smartest way to think about grout is this. It's not just a cleaning target. It's a visible indicator of how the bathroom is performing.
If a careful clean restores the joints and they stay consistent, your maintenance routine is doing its job. If the grout keeps deteriorating, darkens in fixed areas, or starts breaking apart, the bathroom is asking for more than a scrub. At that stage, DIY has given you useful information, and that's valuable in itself.
If your grout problems look like more than surface dirt, contact SitePro Bathrooms for advice on repair options, waterproofing-related issues, or a full bathroom renovation that fixes the cause instead of covering it up.